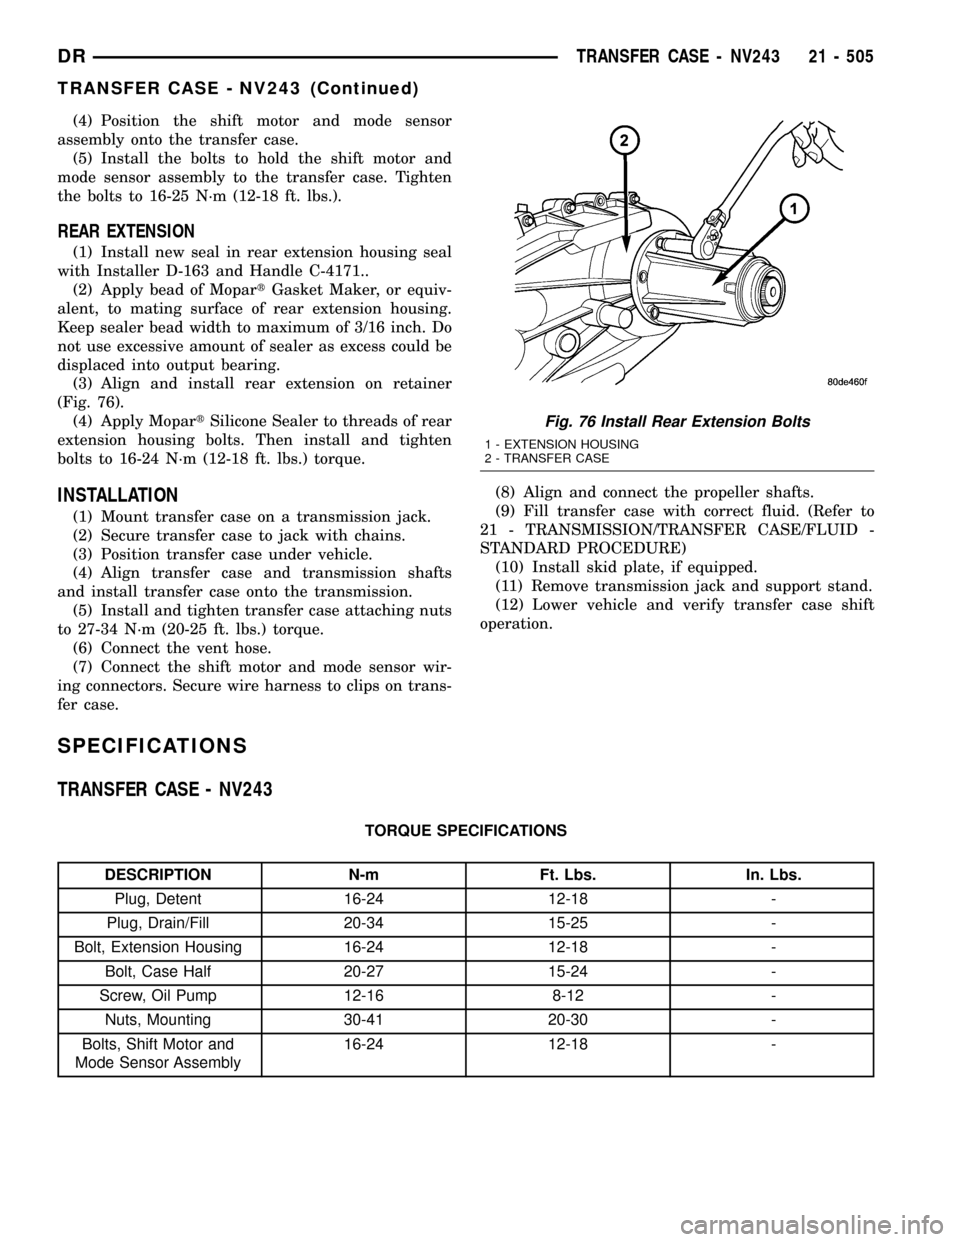
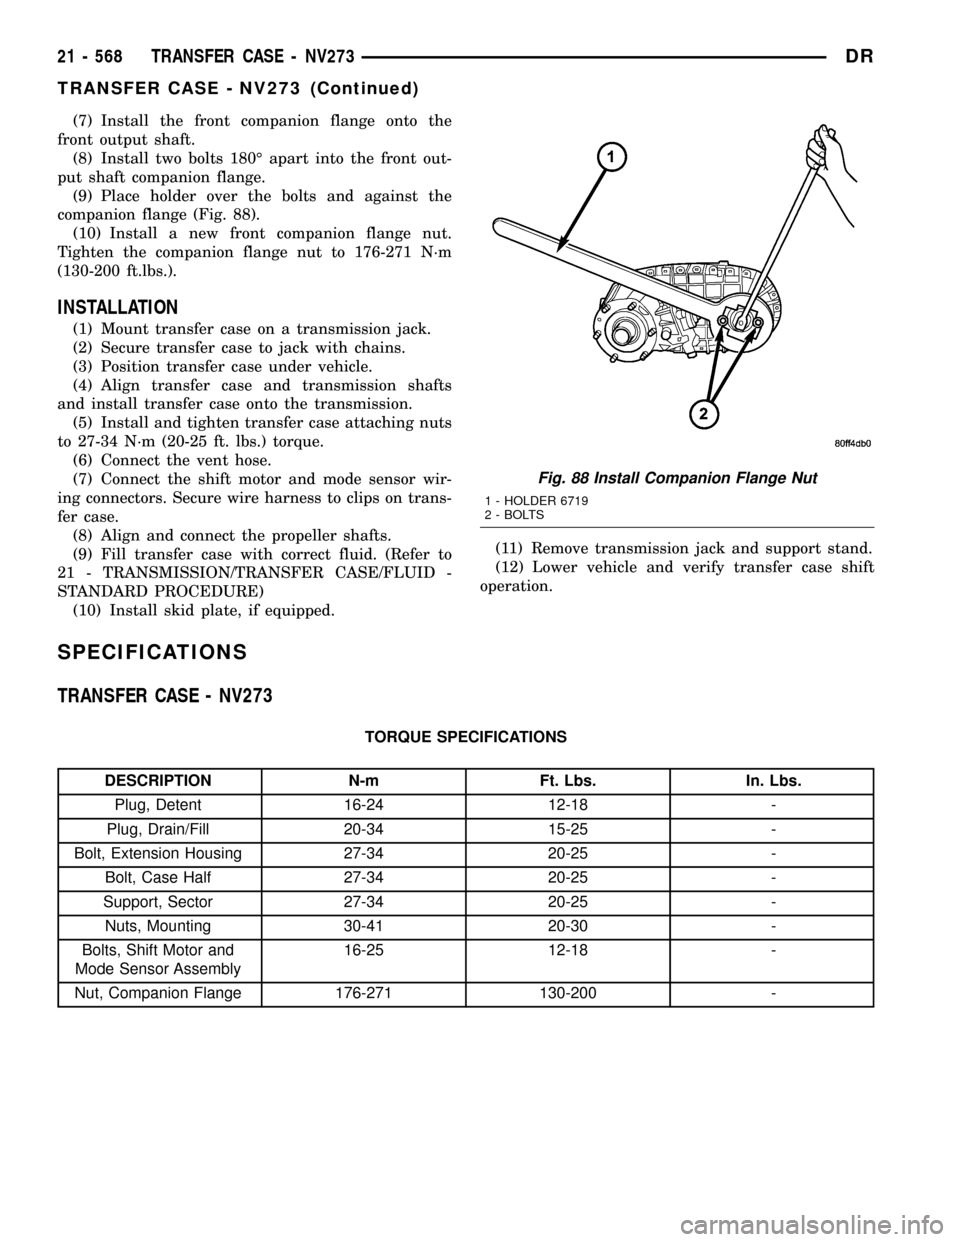
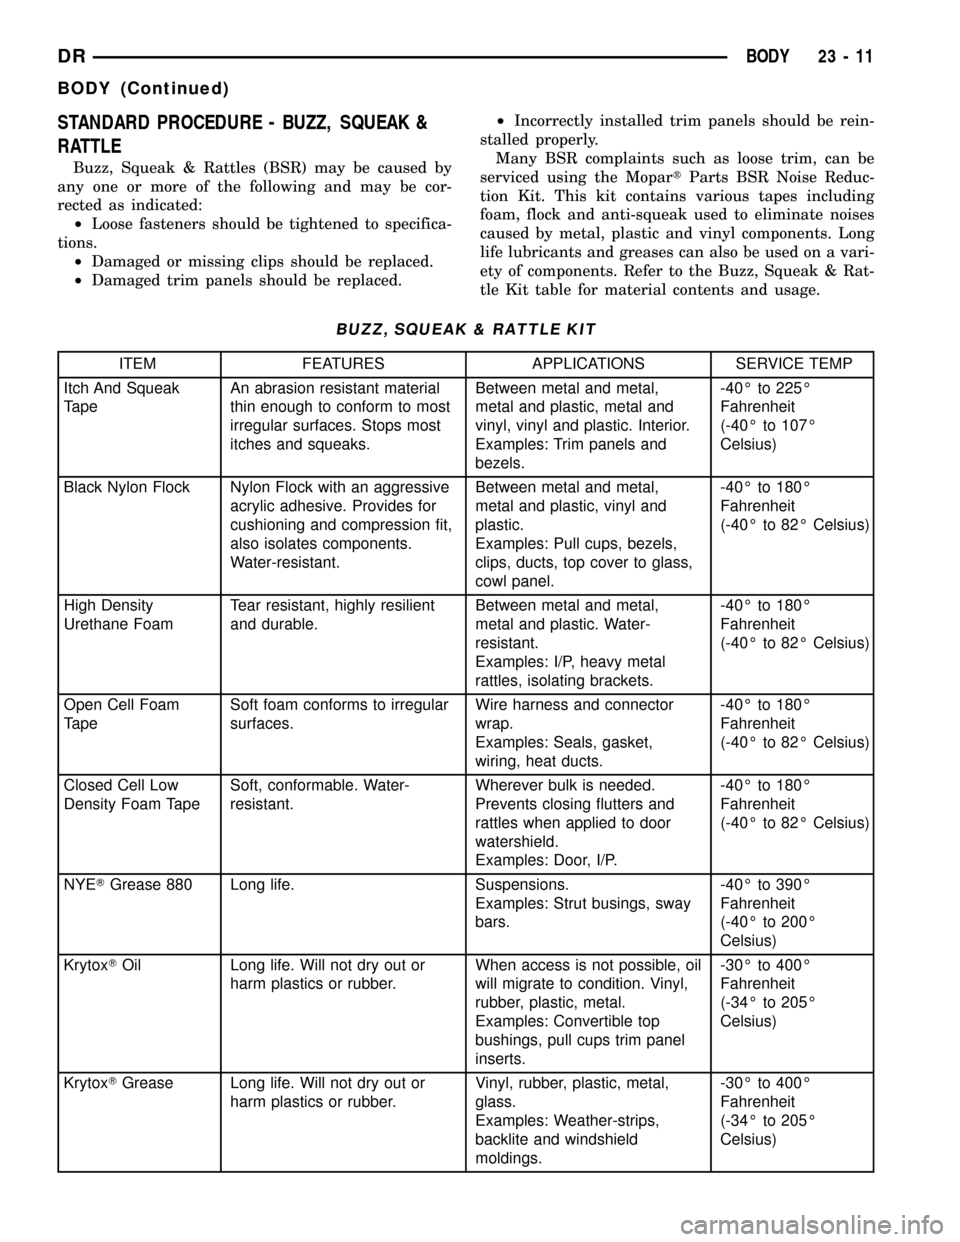
1998 DODGE RAM 1500 harness
[x] Cancel search: harnessPage 2038 of 2627

(16) Install transfer case, if equipped. Tighten
transfer case nuts to 35 N´m (26 ft.lbs.).
(17) Install rear support to transmission. Tighten
bolts to 47 N´m (35 ft.lbs.).
(18) Lower transmission onto crossmember and
install bolts attaching transmission mount to cross-
member. Tighten clevis bracket to crossmember bolts
to 47 N´m (35 ft.lbs.). Tighten the clevis bracket to
rear support bolt to 68 N´m (50 ft.lbs.).
(19) Remove engine support fixture.
(20) Connect gearshift cable to transmission.
(21) Connect wires to solenoid and pressure switch
assembly (Fig. 55) connector, input (Fig. 56) and out-
put (Fig. 57) speed sensors, and line pressure sensor
(Fig. 58). Be sure transmission harnesses are prop-
erly routed.
CAUTION: It is essential that correct length bolts be
used to attach the converter to the driveplate. Bolts
that are too long will damage the clutch surface
inside the converter.
Fig. 54 Install Transmission
1 - ENGINE
2 - TRANSMISSION
Fig. 55 Connect Transmission Solenoid
1 - TRANSMISSION
2 - TRANSMISSION SOLENOID/TRS ASSEMBLY
Fig. 56 Connect Input Speed Sensor
1 - TRANSMISSION
2 - INPUT SPEED SENSOR
Fig. 57 Connect Output Speed Sensor
1 - TRANSMISSION
2 - OUTPUT SPEED SENSOR
DRAUTOMATIC TRANSMISSION - 45RFE/545RFE 21 - 335
AUTOMATIC TRANSMISSION - 45RFE/545RFE (Continued)
Page 2208 of 2627

(4) Position the shift motor and mode sensor
assembly onto the transfer case.
(5) Install the bolts to hold the shift motor and
mode sensor assembly to the transfer case. Tighten
the bolts to 16-25 N´m (12-18 ft. lbs.).
REAR EXTENSION
(1) Install new seal in rear extension housing seal
with Installer D-163 and Handle C-4171..
(2) Apply bead of MopartGasket Maker, or equiv-
alent, to mating surface of rear extension housing.
Keep sealer bead width to maximum of 3/16 inch. Do
not use excessive amount of sealer as excess could be
displaced into output bearing.
(3) Align and install rear extension on retainer
(Fig. 76).
(4) Apply MopartSilicone Sealer to threads of rear
extension housing bolts. Then install and tighten
bolts to 16-24 N´m (12-18 ft. lbs.) torque.
INSTALLATION
(1) Mount transfer case on a transmission jack.
(2) Secure transfer case to jack with chains.
(3) Position transfer case under vehicle.
(4) Align transfer case and transmission shafts
and install transfer case onto the transmission.
(5) Install and tighten transfer case attaching nuts
to 27-34 N´m (20-25 ft. lbs.) torque.
(6) Connect the vent hose.
(7) Connect the shift motor and mode sensor wir-
ing connectors. Secure wire harness to clips on trans-
fer case.(8) Align and connect the propeller shafts.
(9) Fill transfer case with correct fluid. (Refer to
21 - TRANSMISSION/TRANSFER CASE/FLUID -
STANDARD PROCEDURE)
(10) Install skid plate, if equipped.
(11) Remove transmission jack and support stand.
(12) Lower vehicle and verify transfer case shift
operation.
SPECIFICATIONS
TRANSFER CASE - NV243
TORQUE SPECIFICATIONS
DESCRIPTION N-m Ft. Lbs. In. Lbs.
Plug, Detent 16-24 12-18 -
Plug, Drain/Fill 20-34 15-25 -
Bolt, Extension Housing 16-24 12-18 -
Bolt, Case Half 20-27 15-24 -
Screw, Oil Pump 12-16 8-12 -
Nuts, Mounting 30-41 20-30 -
Bolts, Shift Motor and
Mode Sensor Assembly16-24 12-18 -
Fig. 76 Install Rear Extension Bolts
1 - EXTENSION HOUSING
2 - TRANSFER CASE
DRTRANSFER CASE - NV243 21 - 505
TRANSFER CASE - NV243 (Continued)
Page 2237 of 2627

SEAL BOOT AND SHIFT MOTOR ASSEMBLY
(1) Install a new seal boot clamp onto the seal
boot.
(2) Install the seal boot (Fig. 76) and clamp onto
the slinger hub and tighten the clamp with Crimp
Tool C-4975-A.
(3) Position the shift motor and mode sensor
assembly onto the transfer case.
(4) Install the bolts (Fig. 77) to hold the shift
motor and mode sensor assembly to the transfer
case. Tighten the bolts to 16-25 N´m (12-18 ft. lbs.).
REAR EXTENSION
(1) Install new seal in rear extension housing seal
with Installer D-163 and Handle C-4171. Verify that
the weep hole in the rubber is oriented downward.
(2) Apply bead of MopartGasket Maker, or equiv-
alent, to mating surface of rear extension housing.
Keep sealer bead width to maximum of 3/16 inch. Do
not use excessive amount of sealer as excess could be
displaced into output bearing.
(3) Align and install rear extension on retainer
(Fig. 78).
(4) Apply MopartSilicone Sealer to threads of rear
extension housing bolts. Then install and tighten
bolts to 16-24 N´m (12-18 ft. lbs.) torque.
INSTALLATION
(1) Mount transfer case on a transmission jack.
(2) Secure transfer case to jack with chains.
(3) Position transfer case under vehicle.
(4) Align transfer case and transmission shafts
and install transfer case onto the transmission.
(5) Install and tighten transfer case attaching nuts
to 27-34 N´m (20-25 ft. lbs.) torque.
(6) Connect the vent hose.
(7) Connect the shift motor and mode sensor wir-
ing connectors. Secure wire harness to clips on trans-
fer case.
(8) Align and connect the propeller shafts.
(9) Fill transfer case with correct fluid. (Refer to
21 - TRANSMISSION/TRANSFER CASE/FLUID -
STANDARD PROCEDURE)
(10) Install skid plate, if equipped.
(11) Remove transmission jack and support stand.
(12) Lower vehicle and verify transfer case shift
operation.
Fig. 76 Install Seal Boot
1 - SEAL BOOT
2 - SEAL SLINGER
Fig. 77 Install the Shift Motor and Mode Sensor
Assembly Bolts - Typical
1 - TRANSFER CASE
2 - SHIFT MOTOR AND MODE SENSOR ASSEMBLY
3 - BOLT
Fig. 78 Install Rear Extension Bolts
1 - EXTENSION HOUSING
2 - TRANSFER CASE
21 - 534 TRANSFER CASE - NV244 GENIIDR
TRANSFER CASE - NV244 GENII (Continued)
Page 2271 of 2627

(7) Install the front companion flange onto the
front output shaft.
(8) Install two bolts 180É apart into the front out-
put shaft companion flange.
(9) Place holder over the bolts and against the
companion flange (Fig. 88).
(10) Install a new front companion flange nut.
Tighten the companion flange nut to 176-271 N´m
(130-200 ft.lbs.).
INSTALLATION
(1) Mount transfer case on a transmission jack.
(2) Secure transfer case to jack with chains.
(3) Position transfer case under vehicle.
(4) Align transfer case and transmission shafts
and install transfer case onto the transmission.
(5) Install and tighten transfer case attaching nuts
to 27-34 N´m (20-25 ft. lbs.) torque.
(6) Connect the vent hose.
(7) Connect the shift motor and mode sensor wir-
ing connectors. Secure wire harness to clips on trans-
fer case.
(8) Align and connect the propeller shafts.
(9) Fill transfer case with correct fluid. (Refer to
21 - TRANSMISSION/TRANSFER CASE/FLUID -
STANDARD PROCEDURE)
(10) Install skid plate, if equipped.(11) Remove transmission jack and support stand.
(12) Lower vehicle and verify transfer case shift
operation.
SPECIFICATIONS
TRANSFER CASE - NV273
TORQUE SPECIFICATIONS
DESCRIPTION N-m Ft. Lbs. In. Lbs.
Plug, Detent 16-24 12-18 -
Plug, Drain/Fill 20-34 15-25 -
Bolt, Extension Housing 27-34 20-25 -
Bolt, Case Half 27-34 20-25 -
Support, Sector 27-34 20-25 -
Nuts, Mounting 30-41 20-30 -
Bolts, Shift Motor and
Mode Sensor Assembly16-25 12-18 -
Nut, Companion Flange 176-271 130-200 -
Fig. 88 Install Companion Flange Nut
1 - HOLDER 6719
2 - BOLTS
21 - 568 TRANSFER CASE - NV273DR
TRANSFER CASE - NV273 (Continued)
Page 2306 of 2627

STANDARD PROCEDURE - BUZZ, SQUEAK &
RATTLE
Buzz, Squeak & Rattles (BSR) may be caused by
any one or more of the following and may be cor-
rected as indicated:
²Loose fasteners should be tightened to specifica-
tions.
²Damaged or missing clips should be replaced.
²Damaged trim panels should be replaced.²Incorrectly installed trim panels should be rein-
stalled properly.
Many BSR complaints such as loose trim, can be
serviced using the MopartParts BSR Noise Reduc-
tion Kit. This kit contains various tapes including
foam, flock and anti-squeak used to eliminate noises
caused by metal, plastic and vinyl components. Long
life lubricants and greases can also be used on a vari-
ety of components. Refer to the Buzz, Squeak & Rat-
tle Kit table for material contents and usage.
BUZZ, SQUEAK & RATTLE KIT
ITEM FEATURES APPLICATIONS SERVICE TEMP
Itch And Squeak
TapeAn abrasion resistant material
thin enough to conform to most
irregular surfaces. Stops most
itches and squeaks.Between metal and metal,
metal and plastic, metal and
vinyl, vinyl and plastic. Interior.
Examples: Trim panels and
bezels.-40É to 225É
Fahrenheit
(-40É to 107É
Celsius)
Black Nylon Flock Nylon Flock with an aggressive
acrylic adhesive. Provides for
cushioning and compression fit,
also isolates components.
Water-resistant.Between metal and metal,
metal and plastic, vinyl and
plastic.
Examples: Pull cups, bezels,
clips, ducts, top cover to glass,
cowl panel.-40É to 180É
Fahrenheit
(-40É to 82É Celsius)
High Density
Urethane FoamTear resistant, highly resilient
and durable.Between metal and metal,
metal and plastic. Water-
resistant.
Examples: I/P, heavy metal
rattles, isolating brackets.-40É to 180É
Fahrenheit
(-40É to 82É Celsius)
Open Cell Foam
TapeSoft foam conforms to irregular
surfaces.Wire harness and connector
wrap.
Examples: Seals, gasket,
wiring, heat ducts.-40É to 180É
Fahrenheit
(-40É to 82É Celsius)
Closed Cell Low
Density Foam TapeSoft, conformable. Water-
resistant.Wherever bulk is needed.
Prevents closing flutters and
rattles when applied to door
watershield.
Examples: Door, I/P.-40É to 180É
Fahrenheit
(-40É to 82É Celsius)
NYETGrease 880 Long life. Suspensions.
Examples: Strut busings, sway
bars.-40É to 390É
Fahrenheit
(-40É to 200É
Celsius)
KrytoxTOil Long life. Will not dry out or
harm plastics or rubber.When access is not possible, oil
will migrate to condition. Vinyl,
rubber, plastic, metal.
Examples: Convertible top
bushings, pull cups trim panel
inserts.-30É to 400É
Fahrenheit
(-34É to 205É
Celsius)
KrytoxTGrease Long life. Will not dry out or
harm plastics or rubber.Vinyl, rubber, plastic, metal,
glass.
Examples: Weather-strips,
backlite and windshield
moldings.-30É to 400É
Fahrenheit
(-34É to 205É
Celsius)
DRBODY 23 - 11
BODY (Continued)
Page 2313 of 2627

DOOR - FRONT
TABLE OF CONTENTS
page page
DOOR
REMOVAL.............................18
INSTALLATION.........................18
ADJUSTMENTS
ADJUSTMENT........................19
DOOR GLASS
REMOVAL.............................20
INSTALLATION.........................20
EXTERIOR HANDLE
REMOVAL.............................20
INSTALLATION.........................21
GLASS RUN CHANNEL
REMOVAL.............................21
INSTALLATION.........................22
HINGE
REMOVAL.............................22
INSTALLATION.........................22
INSIDE HANDLE ACTUATOR
REMOVAL.............................22
INSTALLATION.........................22
LATCH
REMOVAL.............................23
INSTALLATION.........................23
ADJUSTMENTS
ADJUSTMENT........................23LATCH STRIKER
REMOVAL.............................23
INSTALLATION.........................23
ADJUSTMENTS
ADJUSTMENT........................24
LOCK CYLINDER
REMOVAL.............................24
INSTALLATION.........................24
TRIM PANEL
REMOVAL.............................24
INSTALLATION.........................24
WATERDAM
REMOVAL.............................25
INSTALLATION.........................25
WINDOW REGULATOR - POWER
REMOVAL.............................25
INSTALLATION.........................26
WINDOW REGULATOR - MANUAL
REMOVAL.............................26
INSTALLATION.........................27
SIDE VIEW MIRROR FLAG
REMOVAL.............................27
INSTALLATION.........................27
DOOR
REMOVAL
(1) Disconnect the door wire harness electrical con-
nector at the A-pillar. (Fig. 1)
(2) Using a grease pencil or equivalent, mark the
outline of the door hinges on the door to aid in instal-
lation.
(3) Support the door with a suitable lifting device.
NOTE: The epoxy bonded washers should not be
seperated from the hinge. If the washers are
removed the door may have to be re-adjusted.
(4) Remove the nuts and bolts attaching the door
hinges to the door.
INSTALLATION
(1) Support the door with a suitable lifting device
and install the door onto the hinges.
(2) Install the washers, if there were removed pre-
viously, nuts and tighten to 28 N´m (21 ft. lbs.).
(3) Connect the electrical connectors.
(4) Adjust the door as necessary. (Refer to 23 -
BODY/DOOR - FRONT/DOOR - ADJUSTMENTS)
23 - 18 DOOR - FRONTDR
Page 2314 of 2627

ADJUSTMENTS
ADJUSTMENT
NOTE: For vehicles with four doors, it is recom-
mended that you adjust the rear door before adjust-
ing the front door. (Refer to 23 - BODY/DOORS -
REAR/DOOR - ADJUSTMENTS)
²Door adjustment measurements should be
taken from stationary or welded body panels like
the roof, rocker or quarter panels.
²During adjustment procedures, it is recom-
mended that all the hinge fasteners be loosened
except for the upper most fasteners. Adjustments
can be made using the upper bolts to hold the door
with final torque of the fasteners occurring after
correct door positioning is achieved.
²A suitable body sealant should be used when
removing or moving the hinges.
FORE/AFT
NOTE: Fore/aft (lateral) door adjustment is done by
loosening the hinge to the hinge pillar fasteners
one hinge at a time and moving the door to the cor-
rect position.
(1) Support the door with a suitable lifting device.
(2)
Loosen the hinge to hinge pillar fasteners. (Refer
to 23 - BODY/DOOR - FRONT/HINGE - REMOVAL)
(3) Adjust the door to the correct position. (Refer
to 23 - BODY/BODY STRUCTURE/GAP AND
FLUSH - SPECIFICATIONS)(4) Tighten the hinge pillar fasteners to 28 N´m
(21 ft. lbs.).
UP/DOWN
NOTE: Up/down door adjustment is done by loosen-
ing either the hinge to the hinge pillar fasteners or
the hinge to door fasteners and moving the door to
the correct position.
NOTE: When adjustment of the door requires the
loosening of the door to hinge fasteners, it will be
necessary to separate the epoxy bonded washers
with a chisel or other suitable tool.
NOTE: When the up/down adjustments are done
correctly, the top of the door is positioned over
flush to the roof. (Refer to 23 - BODY/BODY STRUC-
TURE/GAP AND FLUSH - SPECIFICATIONS)
(1) Support the door with a suitable lifting device.
(2) Loosen the latch striker bolts. (Refer to 23 -
BODY/DOOR - FRONT/LATCH STRIKER -
REMOVAL)
(3) Loosen the hinge to door fasteners (Refer to 23
- BODY/DOOR - FRONT/DOOR - REMOVAL) or
loosen the hinge to hinge pillar fasteners (Refer to 23
- BODY/DOOR - FRONT/HINGE - REMOVAL).
(4) Adjust the door to the correct position. (Refer
to 23 - BODY/BODY STRUCTURE/GAP AND
FLUSH - SPECIFICATIONS)
(5) Tighten the hinge pillar fasteners or the door
to hinges fasteners to 28 N´m (21 ft. lbs.).
(6) Tighten the latch striker bolts. (Refer to 23 -
BODY/DOOR - FRONT/LATCH STRIKER - INSTAL-
LATION)
IN/OUT
NOTE: In/out door adjustment is done by loosening
the hinge to door fasteners one hinge at a time and
moving the door to the correct position.
NOTE: When adjustment of the door requires the
loosening of the door to hinge fasteners, it will be
necessary to separate the epoxy bonded washers
with a chisel or other suitable tool.
(1) Support the door with a suitable lifting device.
(2) Loosen the latch striker bolts. (Refer to 23 -
BODY/DOOR - FRONT/LATCH STRIKER -
REMOVAL)
(3) Loosen the hinge to door fasteners. (Refer to 23
- BODY/DOOR - FRONT/DOOR - REMOVAL)
Fig. 1 FRONT DOOR
1 - NUTS (2)
2 - UPPER HINGE
3 - STUDS
4 - FRONT DOOR
5 - WIRE HARNESS
6 - LOWER HINGE
7 - ELECTRICAL CONNECTORS (2)
8 - BOLTS (2)
DRDOOR - FRONT 23 - 19
DOOR (Continued)
Page 2315 of 2627

(4) Adjust the door to the correct position. (Refer
to 23 - BODY/BODY STRUCTURE/GAP AND
FLUSH - SPECIFICATIONS)
(5) Tighten the door to hinges fasteners to 28 N´m
(21 ft. lbs.).
(6) Tighten the latch striker bolts. (Refer to 23 -
BODY/DOOR - FRONT/LATCH STRIKER - INSTAL-
LATION)
DOOR GLASS
REMOVAL
(1) Remove the waterdam. (Refer to 23 - BODY/
DOOR - FRONT/WATERDAM - REMOVAL)
(2) Reinstall the window handle, if equipped.
(3) Remove the window switch from the door trim
panel and reconnect it to the door wire harness, if
equipped.
(4) Raise the window to the position shown and
remove the two nuts attaching the glass to the win-
dow regulator. (Fig. 2)
(5) Remove the two front run channel screws.
(Refer to 23 - BODY/DOOR - FRONT/GLASS RUN
CHANNEL - REMOVAL)
(6) Remove the inner belt molding. (Refer to 23 -
BODY/WEATHERSTRIP/SEALS/FRONT DOOR
INNER BELT WEATHERSTRIP - REMOVAL)
(7) Disengage the glass from the regulator and
lower into the door.
(8) Twist the glass forward in the door window
opening and remove.
INSTALLATION
(1) Position the glass into the window opening.(2) Engage the glass into the glass run weather-
strip.
(3) Raise the glass within the door opening and
connect the window regulator to the lift plate.
(4) Install the nuts and tighten to 10 N´m (89 in.
lbs.).
(5) Install the inner belt molding. (Refer to 23 -
BODY/WEATHERSTRIP/SEALS/FRONT DOOR
INNER BELT WEATHERSTRIP - INSTALLATION)
(6) Position the front run channel and install the
screws. (Refer to 23 - BODY/DOOR - FRONT/GLASS
RUN CHANNEL - INSTALLATION)
(7) Remove the window switch from the wire har-
ness, if equipped.
(8) Remove the window handle, if equipped.
(9) Install the waterdam. (Refer to 23 - BODY/
DOOR - FRONT/WATERDAM - INSTALLATION)
EXTERIOR HANDLE
REMOVAL
(1) Remove the door glass. (Refer to 23 - BODY/
DOOR - FRONT/DOOR GLASS - REMOVAL)
(2) Disconnect the lock switch electrical connector,
if equipped. (Fig. 3)
(3) Disconnect the actuator rods at the handle.
(4) Remove the nuts and remove the handle.
Fig. 2 DOOR GLASS POSITIONING
1 - SIGHT WINDOW
2 - WIDOW REGULATOR
3 - SIGHT WINDOW
4 - REGULATOR STABILIZER
Fig. 3 EXTERIOR HANDLE
1 - EXTERIOR HANDLE
2 - NUTS (2)
3 - ELECTRICAL CONNECTOR
4 - FRONT DOOR
5 - DOOR LATCH ASSEMBLY
6 - LATCH ACTUATOR ROD
7 - LOCK SWITCH WIRE HARNESS
8 - KEY CYLINDER ACTUATOR ROD
23 - 20 DOOR - FRONTDR
DOOR (Continued)