1998 CHEVROLET VENTURE change time
[x] Cancel search: change timePage 237 of 474
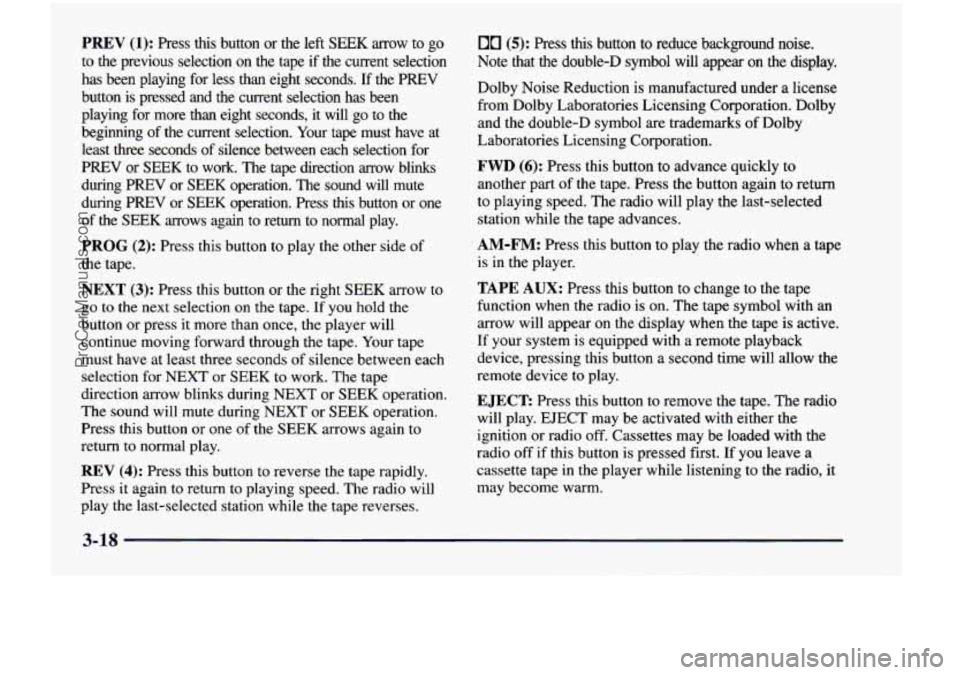
PREV (1): Press this button or the left SEEK arrow to go
to the previous selection on the tape if the current selection
has been playing for less than eight seconds. If the PREV
button is pressed and the current selection has been
playing for more
than eight seconds, it will go to the
beginning of the current selection.
Your tape must have at
least three seconds
of silence between each selection for
PREV or
SEEK to work. The tape direction arrow blinks
during PREV or SEEK operation. The sound will mute during
PREV or SEEK operation. Press this button or one
of the SEEK arrows again to return to normal play.
PROG (2): Press this button to play the other side of
the tape.
NEXT (3): Press this button or the right SEEK arrow to
go to the next selection on the tape. If you hold
the
button or press it more than once, the player will
continue moving forward through the tape. Your tape
must have
at least three seconds of silence between each
selection for
NEXT or SEEK to work. The tape
direction arrow blinks during NEXT or SEEK operation.
The sound will mute during NEXT or SEEK operation.
Press this button or one
of the SEEK arrows again to
return to normal play.
REV (4): Press this button to reverse the tape rapidly.
Press it again to return to playing speed. The radio will
play
the last-selected station while the tape reverses.
00 (5): Press this button to reduce background noise.
Note
that the double-D symbol wdl appear on the display.
Dolby Noise Reduction
is manufactured under a license
from Dolby Laboratories Licensing Corporation. Dolby
and the double-D symbol are trademarks of Dolby
Laboratories Licensing Corporation.
FWD (6): Press this button to advance quickly to
another part of the tape. Press the button again to return
to playing speed. The radio will play the last-selected
station while the tape advances.
AM-FM: Press this button to play the radio when a tape
is in the player.
TAPE AUX: Press this button to change to the tape
function when the radio is on. The tape symbol with
an
arrow will appear on the display when the tape is active.
If your system is equipped with a remote playback
device, pressing this button
a second time will allow the
remote device to play.
EJECT Press this button to remove the tape. The radio
will play. EJECT may be activated with either the
ignition or radio off. Cassettes may be loaded with the
radio
off if this button is pressed first. If you leave a
cassette tape
in the player while listening to the radio, it
may become warm.
3-18
ProCarManuals.com
Page 241 of 474
Playing a Compact Disc
Insert a disc partway into the slot, label side up. The
player
will pull it in. The disc should begin playing. The
display will show CD and the CD symbol. If you want
to insert a compact disc with the ignition off, first press
RECALL
or EJECT.
If you’re driving
on a very rough road or if it’s very hot,
the disc may not play and ERR
(error) may appear on
the display. Press RECALL to take ERR off the display.
When things get back to normal, the disc should play. If
the disc comes out, it could be that:
The disc is upside down.
It is dirty, scratched or wet.
0 It is very humid. (If so, wait about an hour and
PREV (1): Press this button or the left SEEK arrow to
go to the previous track if the current selection has been
playing for less than eight seconds. If the PREV button
is pressed and the current selection has been playing for
more than eight seconds, it will go to the beginning of
the current selection. If you hold the button or press it
more than once, the player will continue moving back
through the disc. The sound will mute while seeking.
try again.)
RDM (2): Press this button
to hear the tracks in random,
rather than sequential, order. RANDOM will show
on
the display. Press RDM again to turn off random play.
RDM is reset to off when the disc is ejected.
NEXT (3): Press this button or the right SEEK arrow to
go to the next track.
If you hold the button or press it
more than once, the player will continue moving
forward through the disc. The sound will mute
while seeking.
REV (4): Press and hold this button to quickly reverse
within a track. Release it to play the passage. You can
use the counter reading on the display to locate a
passage more easily.
FWD (6): Press and hold this button to advance
quickly within a track. Release it to resume playing. You
can use the counter reading on the display to locate a
passage easily.
RECALL: Press this button to see which track is
playing. Press it again within five seconds to see how
long it has been playing (elapsed time). The track
number also appears when you change the volume or
when a new track starts to play.
3-22
ProCarManuals.com
Page 242 of 474
AM-FM: Press this button to play the radio when a disc
is in the player. The letters CD will go off the display.
CD AUX: Press this button to change to the disc
function when the radio is on.
A CD icon will appear on
the display when the disc is in the player, whether
it is
active or not. If your system is equipped with a remote
playback device, pressing this button a second
time will
allow the remote device to play.
EJECT Press this button to remove the disc. The radio
will play. The disc will start at the first track when you
reinsert it.
If
you turn off the ignition or radio with a disc in the
player, it will stay in the player. When you turn on the
ignition or system, the disc will start playing where
it
was stopped. If you press EJECT but don’t remove
the disc, the player will pull the disc back in to protect
it
after about one minute. If you leave a compact disc
in the player while listening to the radio,
it may
become warm.
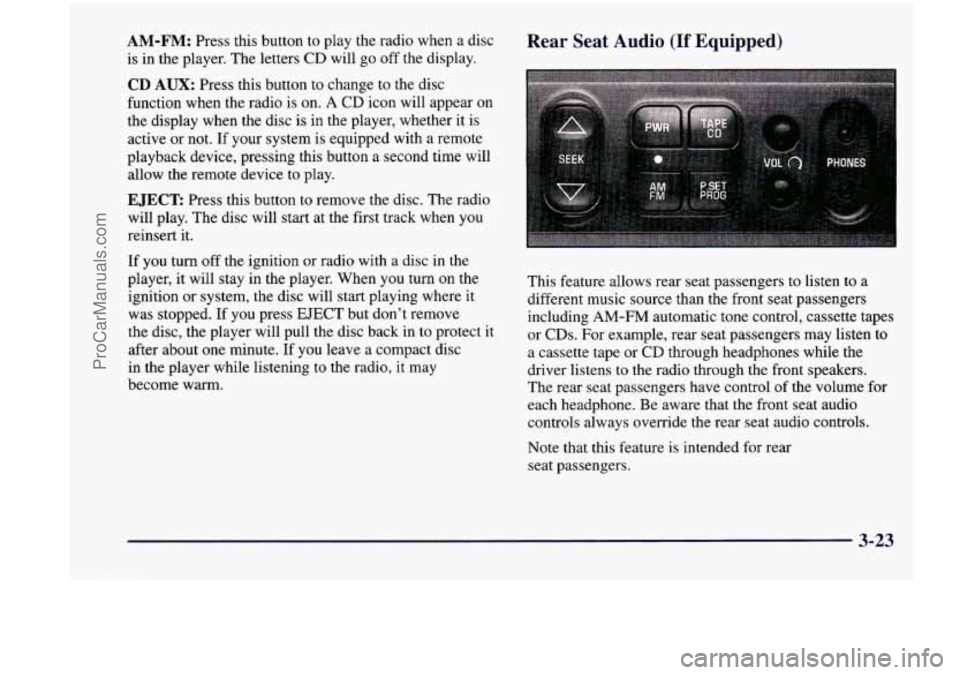
Rear Seat Audio (If Equipped)
This feature allows rear seat passengers to listen to a
different music source than the front seat passengers
including AM-FM automatic tone control, cassette tapes
or CDs. For example, rear seat passengers may listen to
a cassette tape or CD through headphones while the
driver listens
to the radio through the front speakers.
The rear seat passengers have control of the volume for
each headphone. Be aware that the front seat audio
controls always override the rear seat audio controls.
Note that this feature is intended for rear
seat passengers.
3-23
ProCarManuals.com
Page 262 of 474
Remember: Anti-lock doesn’t change the time you need
to get your foot
up to the brake pedal or always decrease
stopping distance.
If you get too close to the vehicle in
front of you,
you won’t have time to apply your brakes
if that vehicle suddenly slows or stops. Always leave
enough room up ahead to stop, even though you have
anti-lock brakes.
Using Anti-Lock
Don’t pump the brakes. Just hold the brake pedal down
firmly and let anti-lock work for you. You may feel a
slight brake pedal pulsation or notice some noise, but
this is normal.
LOW
TRACTION
If your vehicle has the
traction control system, this
light will come on when
your anti-lock system is
adjusting brake pressure to
help avoid
a braking skid.
See
“Low Traction Light” in the Index.
Traction Control System (If Equipped)
Your vehicle may have a traction control system that
limits wheel spin. This is especially useful in slippery
road conditions. The system operates only if it senses
that
one or both of the front wheels are spinning or
beginning to lose traction. When this happens, the
system works
the front brakes and reduces engine
power to limit wheel spin.
LOW
TRACTION
’ This light will come on
when the traction control
system is limiting wheel
spin. See “Low Traction
Light”
in the Index.
You may feel or hear the system working, but this
is normal.
If your vehicle is in cruise control when the traction
control system begins to limit wheel spin, the cruise
control will automatically disengage. When road
conditions allow you to safely use
it again, you may
reengage the cruise control. (See “Cruise Control”
in the Index.)
4-9
ProCarManuals.com
Page 267 of 474
Do not get too close to the vehicle you want to
pass whde you’re awaiting an opportunity. For one thing, following too closely reduces your area of
vision, especially if you’re following a larger
vehicle.
Also, you won’t have adequate space if the
vehicle ahead suddenly slows or stops. Keep back a
reasonable distance.
When it looks like a chance to pass is coming up,
start to accelerate but stay in the right lane and don’t
get too close. Time your move
so you will be
increasing speed as the time comes to move into the
other lane. If the way
is clear to pass, you will have a
“running start” that more than makes up for the
distance you would lose by dropping back. And
if
something happens to cause you to cancel your pass,
you need only slow down and drop back again and
wait for another opportunity.
0 If other cars are lined up to pass a slow vehicle, wait
your turn. But take care that someone isn’t trying to
pass you as you pull out to pass the slow vehicle.
Remember to glance over your shoulder and check
the blind spot.
Check your mirrors, glance over your shoulder and
start your left lane change signal before moving out
of the right lane to pass. When you
are far enough
ahead of the passed vehicle to see its front in your
inside mirror, activate your right lane change signal
and move back into the right lane. (Remember that
your right outside mirror is convex. The vehicle you
just passed may seem to be farther away from you
than it really is.)
Try not to pass more than one vehicle at a time
on two-lane roads. Reconsider before passing the
next vehicle.
0 Don’t overtake a slowly moving vehicle too rapidly.
Even though the brake lamps are not flashing, it may
be slowing down or starting
to turn.
0 If you’re being passed, make it easy for the
following driver
to get ahead of you. Perhaps you
can ease
a little to the rieht.
4-14
ProCarManuals.com
Page 285 of 474
Things you put inside your vehicle can strike
and injure people in a sudden stop or turn, or in
a crash.
0 Put things in the cargo area of your vehicle.
0 Never stack heavier things, like suitcases,
Try to spread the
weight evenly.
inside the vehicle
so that some of them are
above the tops
of the seats.
Don’t leave an unsecured child restraint in
your vehicle.
0 When you carry something inside the
vehicle, secure
it whenever you can.
0 Don’t leave a seat folded down unless you
need to.
Payload (Cargo Van Only)
The payload capacity is shown on the Certificatioflire
label. This is the maximum load capacity that your
vehicle can carry. Be sure to include the weight of the people inside as part
of your load.
If you added any
accessories or equipment after your vehicle left the
factory, remember to subtract the weight
of these things
from the payload. You should never exceed the
GVWR
or the GAWR. Your dealer can help you determine
your payload.
Electronic Level Control (Option)
On vehicles equipped with the optional electronic level
control, the rear of the vehicle is automatically kept
level as you load or unload your vehicle. However, you
should still not exceed the
GVWR or the GAM.
You may hear the compressor operating when you load
or unload your vehicle, and periodically as the system
self-adjusts.
This is normal.
The compressor should operate for brief periods of time.
If the sound continues for an extended period of time,
your vehicle needs service. To keep your battery from
being drained, you may want to remove the ELC fuse in
the fuse control panel until you can get your vehicle
serviced (see “Fuses and Circuit Breakers” in the Index)\
.
Using heavier suspension components to get added
durability might not change your weight ratings. Ask
your dealer to help you load your vehicle the right way.
4-32
ProCarManuals.com
Page 286 of 474
Towing a Trailer
A CAUTION:
If you don’t use the correct equipment and drive
properly, you can lose control when
you pull a
trailer. For example, if the trailer is too heavy, the
brakes may not work well
-- or even at all. You
and your passengers could be seriously injured.
Pull
a trailer only if you have followed all the
steps in this section.
Ask your dealer for advice
and informatinn about towing a trailer with
your vehicl-
NOTICE:
Pulling a trailer improperly can damage your
vehicle and result in costly repairs not covered by
your warranty.
To pull a trailer correctly, follow
the advice in this
part, and see your dealer for
important information about towing a trailer
with your vehicle. Your
vehicle can tow a trailer.
To identify what the
vehicle trailering capacity is for your vehicle, you
should read the information in “Weight of the Trailer”
that appears later in this section. But trailering
is
different than just driving your vehicle by itself.
Trailering means changes in handling, durability and
fuel economy. Successful, safe trailering takes correct
equipment, and it has to be used properly.
That’s the reason for this section. In
it are many
time-tested, important trailering tips and safety rules.
Many of these are important for your safety and that of
your passengers.
So please read this section carefully
before you pull a trailer.
Load-pulling components such as the engine, transaxle,
wheel assemblies and tires are forced to work harder
against the drag of the added weight. The engine is
required to operate at relatively higher speeds and under
greater loads, generating extra heat. What’s more, the
trailer adds considerably to wind resistance, increasing
the pulling requirements.
4-33
ProCarManuals.com
Page 328 of 474
A CAUTION:
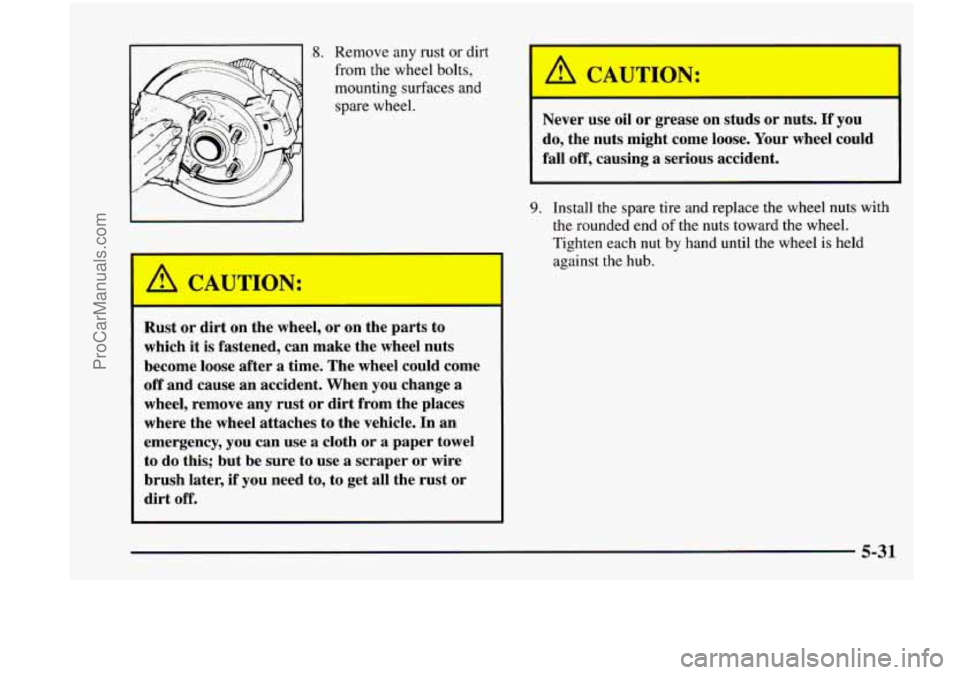
8. Remove any rust or dirt
from the wheel bolts,
mounting surfaces and
spare wheel.
Rust or dirt on the wheel, or on the parts to
which it
is fastened, can make the wheel nuts
become loose after
a time. The wheel could come
off and cause an accident. When you change a
wheel, remove any rust or dirt from the places
where the wheel attaches
to the vehicle. In an
emergency, you can use a cloth or a paper towel
to do this; but be sure to use a scraper or wire
brush later,
if you need to, to get all the rust or
dirt off.
'
A CAUTION:
Never use oil or grease on studs or nuts. If you
do, the nuts might come loose. Your wheel could
fall off, causing
a serious accident. -1
~~
9. Install the spare tire and replace the wheel nuts with
the rounded end of the nuts toward the wheel.
Tighten each nut by hand until the wheel is held
against the hub.
5-31
ProCarManuals.com