1998 CHEVROLET PRIZM clutch
[x] Cancel search: clutchPage 91 of 364

Downloaded from www.Manualslib.com manuals search engine Starting Your Engine
Automatic Transaxle
Move your shift lever to PARK (P) or NEUTRAL (N).
Your engine won’t start in any other position -- that’s a
safety feature. To restart when you’re already moving,
use NEUTRAL (N) only.
I NOTICE:
Don’t try to shift to PARK (P) if your Chevrolet
is moving. If you do, you could damage the
transaxle, Shift to PARK (P) only when your
vehicle is stopped.
Manual Transaxle
The gear selector should be in NEUTRAL (N) and the
parking brake engaged. Hold the clutch pedal to the
floor and start the engine. Your vehicle won’t start if
the clutch pedal is not all the way down
-- that’s a
safety feature.
Starting Your 1.8 Liter Engine
1. Without pushing the accelerator pedal, turn your
ignition key to START. When the engine starts, let
go
of the key. The idle speed will go down as your
engine gets warm.
NOTICE:
Holding your key in START for longer than
15 seconds at a time will cause your battery to
be drained much sooner. And the excessive heat
can damage your starter motor.
2. If it doesn’t start in three seconds, wait about
15 seconds and try again to start the engine by
turning the ignition key to START. Wait about
15 seconds between each try to help avoid draining
your battery
or damaging your starter.
When your engine has run about
10 seconds to warm
up, your vehicle is ready to be driven. Don’t “race”
your engine when it’s cold.
If the weather is below freezing (32” F or O’C), let
the engine
run for a few minutes to warm up.
2-13
Page 96 of 364

Downloaded from www.Manualslib.com manuals search engine Manual Transaxle Operation
5-Speed
I
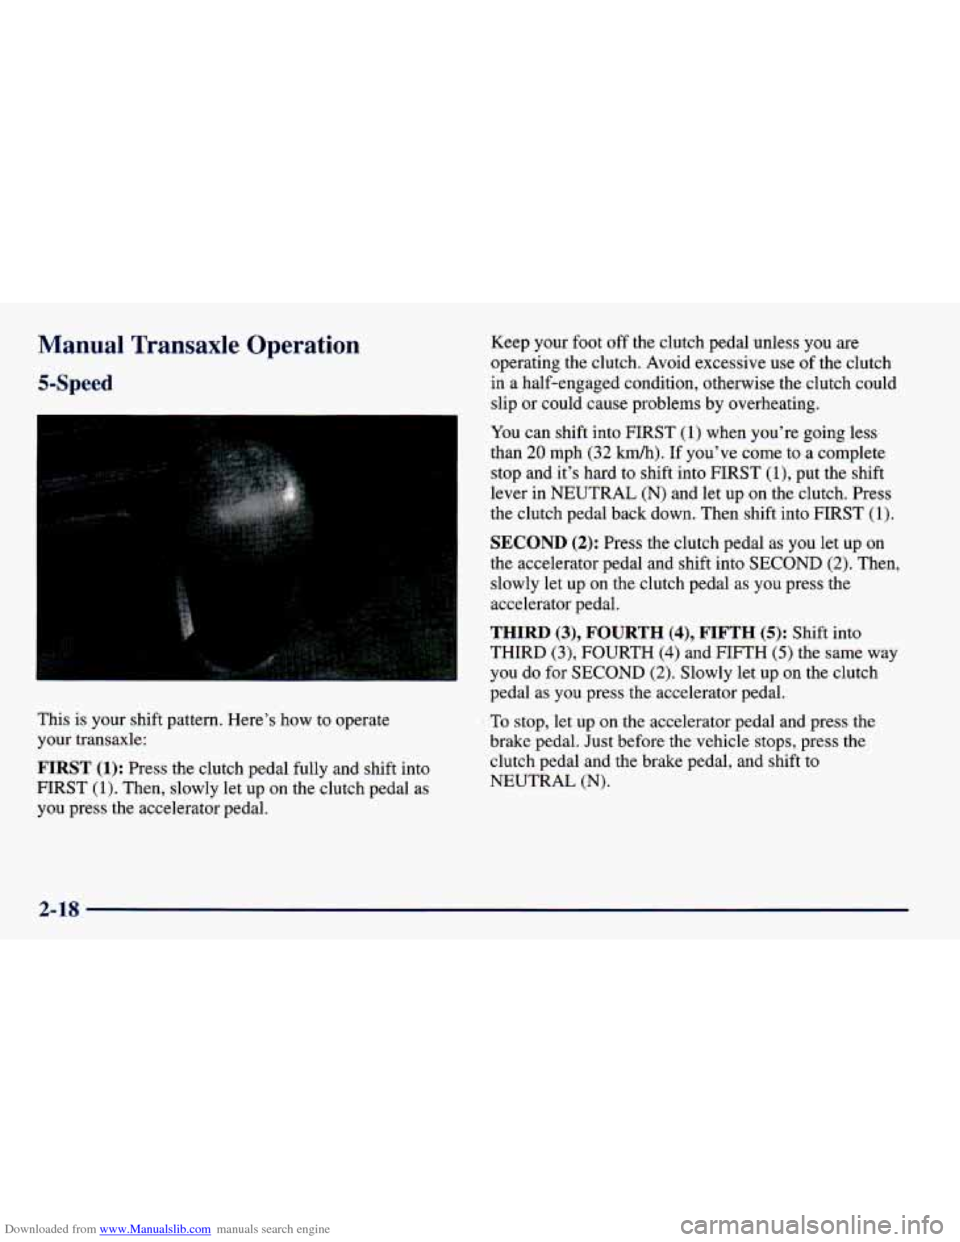
This is your shift pattern. Here’s how to operate
your transaxle:
FIRST (1): Press the clutch pedal fully and shift into
FIRST
(1). Then, slowly let up on the clutch pedal as
you press the accelerator pedal. Keep
your foot off the clutch pedal unless you
are
operating the clutch. Avoid excessive use of the clutch
in a half-engaged condition, otherwise the clutch could
slip or could cause problems by overheating.
You can shift into FIRST (1) when you’re going less
than
20 mph (32 kmk). If you’ve come to a complete
stop and it’s hard to shift into FIRST
(1)’ put the shift
lever in NEUTRAL
(N) and let up on the clutch. Press
the clutch pedal back down. Then shift into FIRST
(1).
SECOND (2): Press the clutch pedal as you let up on
the accelerator pedal and shift into SECOND
(2). Then,
slowly let up on the clutch pedal
as you press the
accelerator pedal.
THIRD (3), FOURTH (4), FIF 3 (5): Shift into
THIRD
(3)’ FOURTH (4) and FIFTH (5) the same way
you do for SECOND (2). Slowly let up on the clutch
pedal as
you press the accelerator pedal.
To stop, let up on the accelerator pedal and press the
brake pedal. Just before the vehicle stops, press the
clutch pedal and the brake pedal, and shift to
NEUTRAL (N).
2-1s
Page 97 of 364

Downloaded from www.Manualslib.com manuals search engine NEUTRAL (N): Use this position when you start or
idle your engine.
REVERSE (R): To back up, press down the clutch
pedal and shift into REVERSE
(R). Let up on the clutch
pedal slowly while pressing the accelerator pedal.
NOTICE:
Shift to REVERSE (R) only after your vehicle is
stopped. Shifting to REVERSE
(R) while your
vehicle is moving could damage your transaxle.
Shift Speeds
Also, use REVERSE (R) along with the parking brake
for parking your vehicle.
-
A CAUTICY:
If you skip more tl n one gear when you
downshift, you could lose control of your vehicle.
And you could injure yourself or others. Don’t
shift from FIFTH
(5) to FIRST (1).
This chart shows when to shift to the next gear for the
best fuel economy.
Manual Transaxle Recommended Shift Speeds
ENGINE
1.8L
(Code 8)
1 to 2 2 to 3 3 to 4 4
to 5
or2to1 or3to2 or4to3
orst04
15 mph 23 mph 40 mph 45 mph
(24 km/h) (37 km/h) (64 kmk) (72 km/h)
If your speed drops below 20 mph (32 km/h), or if the
engine is not running smoothly, you should downshift to
the next lower gear.
You may have to downshift two or
more gears to keep the engine running smoothly or for
good performance.
2-19
Page 110 of 364

Downloaded from www.Manualslib.com manuals search engine Using Cruise Control on Hills
How well your cruise control will work on hills depends
upon
your speed, load and the steepness of the hills.
When going up steep hills, you may have
to step on the
accelerator pedal to maintain your speed. When going
downhill, you may have to brake
or shift to a lower gear
to keep your speed down.
Of course, applying the brake
or downshifting to SECOND
(2) or LOW (L) takes you
out of cruise control. Many drivers find this to be too
much trouble and don’t use cruise control on steep hills.
Ending Out of Cruise Control
There are several ways to turn off the cruise control:
Step lightly on the brake pedal or push the clutch
pedal, if you have a manual transaxle.
lever toward you to cancel.
Press the CRUISE ON-OFF button again or pull the
Erasing Speed Memory
When you turn off the cruise control or the ignition,
your cruise control set speed memory is erased.
Exterior Lamps
Headlamps
Turn the outside part of the
lever to control the lamps.
There are three positions for
the lamp switch.
OFF: All lamps, except your Daytime Running Lamps
(DRL), are
off.
CENTER: At the middle position, the parking lamps,
taillamps, license plate lamp and the instrument panel
lights come
on. The headlamps are off and DRL is on.
- Eo - : The headlamps and all other operating lamps
come
on. DRL is off.
2-32
Page 227 of 364

Downloaded from www.Manualslib.com manuals search engine 0 Section 6 Service and Appearance Care
Here you will find information about the care of your vehicle. This section begins with service and fuel information,
and then
it shows how to check important fluid and lubricant levels. There is also technical information about your
vehicle, and
a part devoted to its appearance care.
6-2
6-
3
6-5
6-6
6-
8
6-9
6-12
6-16
6-18
6-2
1
6-22 6-23
6-25
6-25
6-26
6-27
Service
Fuel
Fuels in Foreign Countries
Filling Your Tank
Filling a Portable
Fuel Container
Checking Things Under the Hood
Engine Oil
Air Cleaner
Automatic Transaxle Fluid
Manual Transaxle Fluid
Hydraulic Clutch
Engine Coolant
Radiator Pressure Cap
Thermostat Power Steering Fluid
Windshield Washer Fluid
6-28
6-32
6-33
6-37
6-44
6-45
6-47
6-47
6-48
6-53
6-53
6-5
8
6-59 6-60
Brakes
Battery
Bulb Replacement
Tires
Appearance Care
Cleaning the Inside
of Your Vehicle
Cleaning the Built-in Child Restraint
Care of Safety Belts and Built-in Child
Restraint Harness
Cleaning the Outside of Your Vehicle
Vehicle Identification Number
(VIN)
Electrical System
Replacement Bulbs
Capacities and Specifications
Air Conditioning Refrigerants
Page 248 of 364

Downloaded from www.Manualslib.com manuals search engine 3. If the fluid level is good, install the plug and be sure
it is fully seated.
If the fluid level is low, add more
fluid as described in the next steps.
How to Add Fluid
Here’s how to add fluid. Refer to the Maintenance
Schedule to determine what kind of fluid to use. See
“Recommended Fluids and Lubricants” in the Index.
1. Remove the filler plug.
2. Add fluid at the filler plug hole. Add only enough
fluid to bring the fluid level up
to the bottom of the
filler plug hole.
3. Install the filler plug. Be sure the plug is fully seated.
Hydraulic Clutch
The hydraulic clutch linkage in your vehicle is
self-adjusting. The clutch master cylinder reservoir
is
filled with hydraulic clutch fluid.
It isn’t a good idea to “top off’ your clutch fluid. Adding
fluid won’t correct a leak.
A fluid loss in this system could indicate a problem.
Have the system inspected and repaired.
When to Check and What to Use
Refer to the Maintenance Schedule to determine how
often you should check the fluid level in your clutch
master cylinder reservoir and for the proper fluid. See
“Owner Checks and Services” and “Recommended
Fluids and Lubricants’’ in the Index.
How to Check
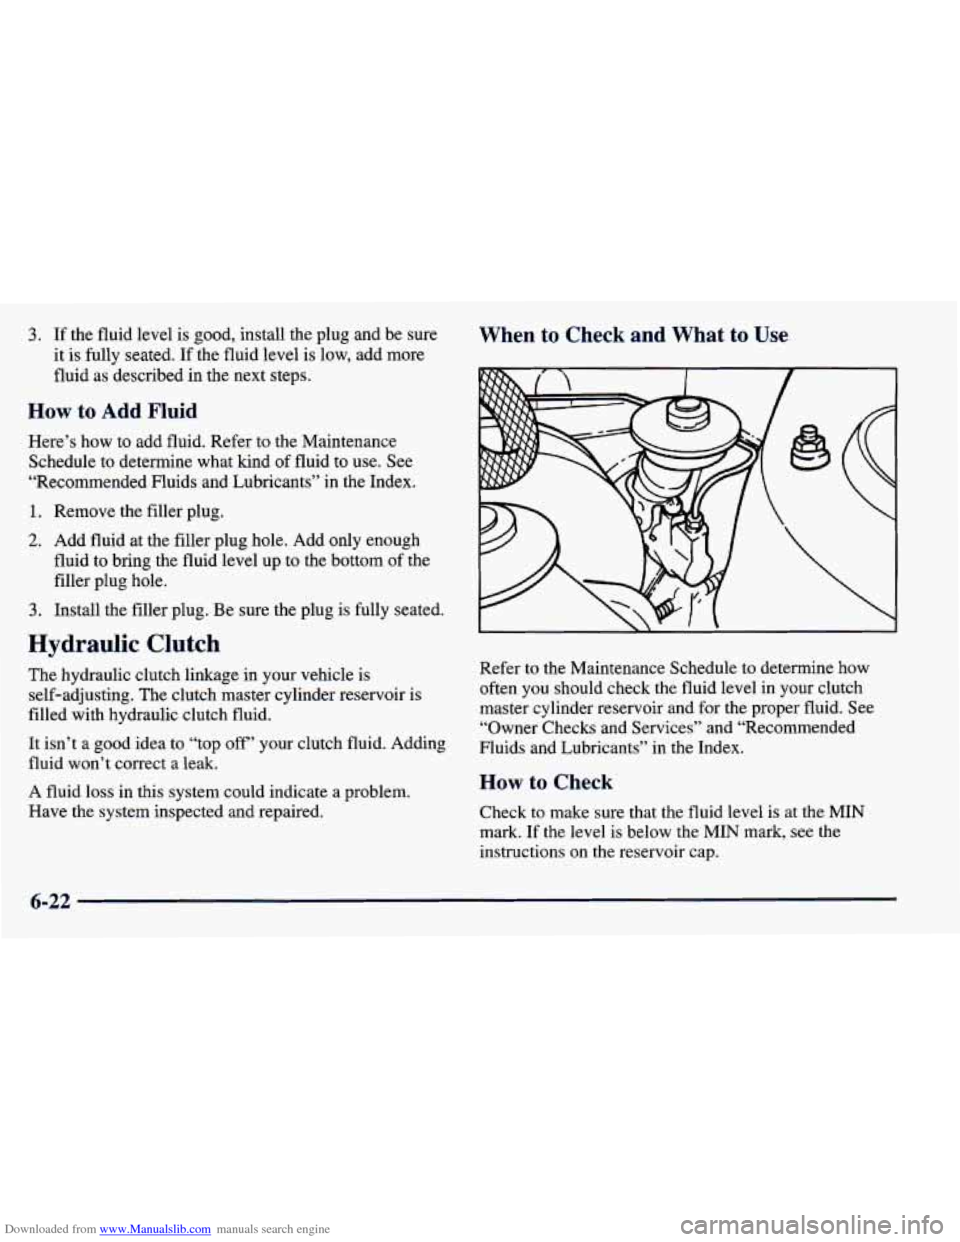
Check to make sure that the fluid level is at the MIN
mark. If the level is below the MIN mark, see the
instructions on the reservoir cap.
6-22
Page 324 of 364

Downloaded from www.Manualslib.com manuals search engine At Least Twice a Year Wiper Blade Check
Restraint System Check
Make sure the safety belt reminder light and all your
belts, buckles, latch plates, retractors and anchorages are
working properly.
If your vehicle has a built-in child
restraint, also periodically make sure the harness straps,
latch plates, buckle, clip, and anchorages are working
properly.
Look for any other loose or damaged safety
belt and built-in child restraint system parts. If you
see anything that might keep a safety belt or built-in
child restraint system from doing its
job, have it
repaired. Have any torn or frayed safety belts or
harness straps replaced.
Also look for any opened or broken air bag coverings,
and have them repaired or replaced. The air bag system
should be inspected by a qualified technician
10 years
from the manufacture date on the Certification label.
After
10 years from the manufacture date, have the
system inspected every
24 months. (The Certification
label is located on the rear edge
of the driver’s door.) Inspect
wiper blades for wear or cracking. Replace blade
inserts that appear worn or damaged
or that streak or
miss areas
of the windshield. Also see “Wiper Blades,
Cleaning” in the Index.
Fluid Level Check
Check the power steering pump, hydraulic clutch and
automatic or manual transaxle fluid levels and add as
needed. See “Power Steering,” “Hydraulic Clutch” and
“Automatic Transaxle” or “Manual Transaxle” in the
Index. Check for leaks. A fluid loss in these systems
could indicate a problem. Have the system inspected
and repaired at once.
7-38
Page 325 of 364

Downloaded from www.Manualslib.com manuals search engine At Least Once a Year
Key Lock Cylinders Service
Lubricate the key lock cylinders with the lubricant
specified in Part
D.
Seat 01 ion Check
Make sure the head restraints stay in position and all
seat latches lock. Check that the recliner holds by
pushing and pulling the seatback while it
is reclined.
Body Lubrication Service
Lubricate all body door hinges. Also lubricate all
hinges and latches, including those for the hood, secondary latches, rear compartment and any folding
seat hardware. Part
D tells you what to use. More
frequent lubrication may be required when exposed to
a corrosive environment.
Starter Switch Check
When you are doing this check, tne vehicle could
move suddenly.
If it does, you or others could be
injured. Follow the steps below.
1. Before you start, be sure you have enough room
around the vehicle.
2. Firmly apply both the parking brake (see “Parking
Brake” in the Index if necessary) and the regular brake.
NOTE: Do not use the accelerator pedal, and be
ready to turn off the engine immediately if it starts.
3. On automatic transaxle vehicles, try to start the
engine
in each gear. The starter should work only in
PARK (P) or NEUTRAL (N). If the starter works in
any other position, your vehicle needs service.
On manual transaxle vehicles, put the shift lever in
NEUTRAL (N), push the clutch down halfway and
try to start the engine. The starter should work only
when the clutch is pushed down all the way
to the
floor. If the starter works when the clutch isn’t
pushed all the way down, your vehicle
needs service.
7-39