1998 CHEVROLET PRIZM reset
[x] Cancel search: resetPage 109 of 364
Downloaded from www.Manualslib.com manuals search engine Resuming a Set Speed
Suppose you set your cruise control at a desired speed
and then
you apply the brake. This, of course, shuts off
the cruise control. But you don’t need to reset it.
Unless you’re going about
25 mph (40 km/h) or less or
you slowed down to 10 mph (16 kmh) less than your
preset speed, you can press the lever up to RESIACC
(Resume/Accelerate) for about half
a second.
You’ll go right back up to your chosen speed and
stay there.
If your preset speed cancels out when it shouldn’t,
there may be
a problem with your cruise control.
See your dealer.
Increasing Speed While Using Cruise Control
There are two ways to go to a higher speed:
Use the accelerator pedal to get to the higher speed.
Push
the lever to SETICOAST and hold it for less
than a second. Release the lever and the accelerator
pedal. You’ll now cruise at the higher speed.
Move the cruise lever up to RESIACC. Hold
it there until
you get up to the speed you want, and
then release the lever. (To increase your speed in
very small amounts, move the lever to RESIACC
for less than half a second and then release
it.
Each time you do this, your vehicle will go about
1 mph (1.6 km/h) faster.)
Reducing Speed While Using Cruise Control
There are two ways to reduce your speed while using
cruise control:
Push the lever to SETICOAST until you reach the
lower speed you want,
then release it.
To slow down in very small amounts, push the lever
for less than half a second. Each time
you do this,
you’ll
go 1 mph (1.6 km/h) slower.
Passing Another Vehicle While Using Cruise Control
Use the accelerator pedal to increase your speed. When
you take your foot off the pedal, your vehicle will slow
down to the cruise control speed you set earlier.
2-31
Page 122 of 364
Downloaded from www.Manualslib.com manuals search engine Speedometer and Odometer
Your speedometer lets you see your speed in both
miles per hour (mph) and kilometers per hour
(km/h).
Your odometer shows how far your vehicle has been
driven, in miles.
Trip Odometers
The trip odometers can tell you how far your vehicle has
been driven since you last set the trip odometer to zero.
The button located on the right side of the instrument
panel cluster allows you to switch between the odometer
and the two trip odometers. Press the button once to
switch to
TRIP A and again to switch to TRIP B. To
return the display
to the odometer reading press the trip
odometer button again.
To reset the trip odometers to zero, press and hold the
knob on the right side of the instrument panel.
Tachometer
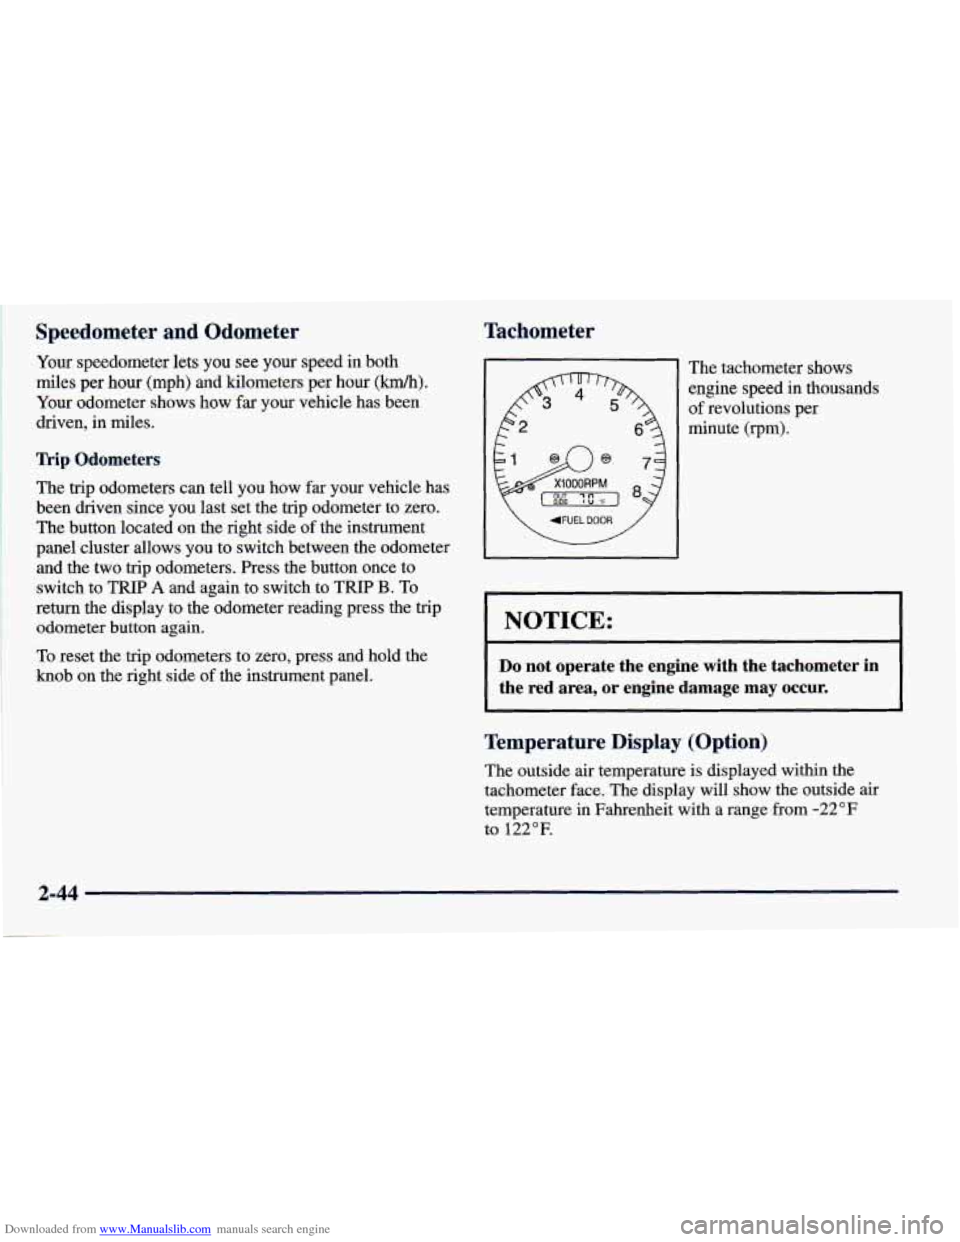
The tachometer shows
engine speed in thousands
of revolutions per
minute (rpm).
NOTICE:
Do not operate the engine with the tachometer in
the red area, or engine damage may occur.
Temperature Display (Option)
The outside air temperature is displayed within the
tachometer face. The display will show the outside air
temperature in Fahrenheit with a range from -22°F
to
122°F.
2-44
Page 126 of 364
Downloaded from www.Manualslib.com manuals search engine Anti-Lock Brake System Warning
Light (Option)
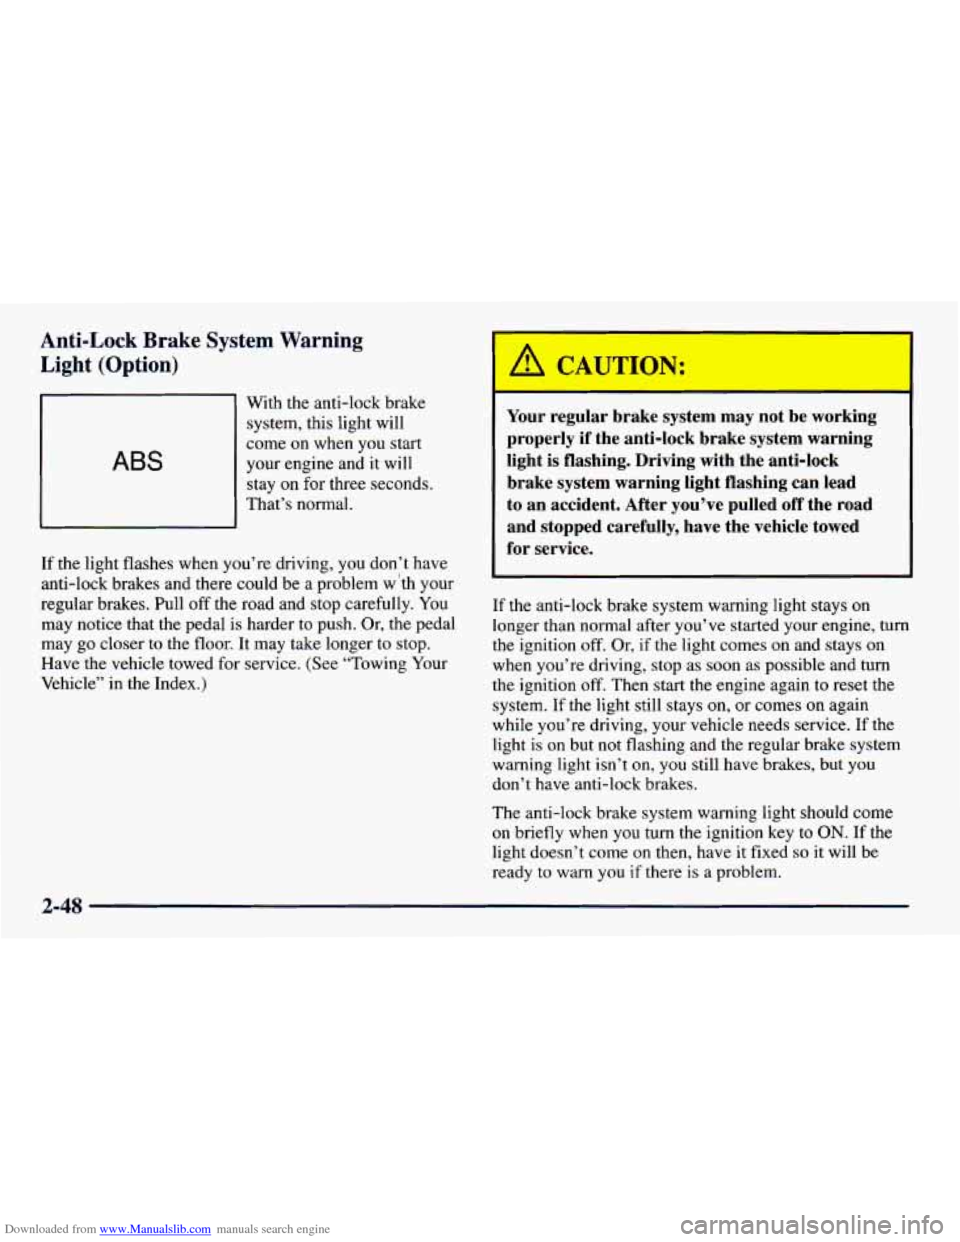
ABS
With the anti-lock brake
system, this light will
come
on when you start
your engine and it will
stay on for three seconds.
That’s normal.
If the light flashes when you’re driving, you don’t have
anti-lock brakes and there could be a problem w ‘th your
regular brakes. Pull
off the road and stop carefully. You
may notice that the pedal is harder to push. Or, the pedal
may go closer to the floor. It may take longer to stop.
Have the vehicle towed for service. (See “Towing Your
Vehicle” in the Index.)
Your regular brake system may not be working
properly if the anti-lock brake system warning
light is flashing. Driving with the anti-lock
brake system warning light flashing can lead
to an accident. After you’ve pulled
off the road
and stopped carefully, have the vehicle towed
for service.
If the anti-lock brake system warning light stays on
longer than normal after you’ve started your engine, turn
the ignition
off. Or, if the light comes on and stays on
when you’re driving, stop as soon as possible and turn
the ignition
off. Then start the engine again to reset the
system. If the light still stays
on, or comes on again
while you’re driving, your vehicle needs service. If the
light is
on but not flashing and the regular brake system
warning light isn’t
on, you still have brakes, but you
don’t have anti-lock brakes.
The anti-lock brake system warning light should come
on briefly when you turn the ignition key to ON. If the
light doesn’t come
on then, have it fixed so it will be
ready to warn
you if there is a problem.
Page 143 of 364
Downloaded from www.Manualslib.com manuals search engine Setting the Tone
BASS: Press this knob lightly so it extends. Turn the
knob to the right to increase bass and to the left to
decrease bass.
TREB: Press this knob lightly so it extends. Turn the
knob to the right to increase treble and to the left to
decrease treble. If a station is weak or noisy, you may
want to decrease the treble.
Push these knobs back into their stored positions when
you’re not using them.
TONE: Press this button to choose preset bass and
treble equalization settings designed for ROCK,
NEWS,
POP, JAZZ and CLASSIC. ROCK will appear when
you first press TONE. Each time you press it, another
setting will appear on the display. If you press it one
more time, after CLASSIC appears on the display, tone
control will be back to the BASS and TREB knobs.
Adjusting the Speakers
BAL:
Press this knob lightly so it extends. Then pull
the knob all the way out. Turn the knob to the right
for the right speakers and to the left for the left
speakers. The middle position balances the sound
between the speakers.
FADE: Press this knob lightly so it extends. Then pull
the knob all the way out. Turn the knob to the right to
adjust the sound
to the rear speakers and to the left for
the front speakers. The middle position balances the
sound between the speakers.
Push these knobs back into their stored positions when
you’re not using them.
Playing a Cassette Tape
With the ignition and radio on, insert a cassette tape.
The tape will begin playing as soon as it is inserted.
Press EJECT
or RECALL to load a tape with the
ignition off. Then insert the cassette tape.
A tape symbol
is shown in the center of the graphic display whenever a
tape
is inserted. When a tape is active, the tape symbol
will be accompanied
by a direction arrow.
Your tape player is built to work best with tapes that are
30 to 45 minutes long on each side. Tapes longer than
that are
so thin they may not work well in this player.
The longer side with the tape visible should face to the
right. If you hear nothing
or hear just a garbled sound, it
may not be
in squarely. Press EJECT to remove the tape
and start over.
Page 145 of 364
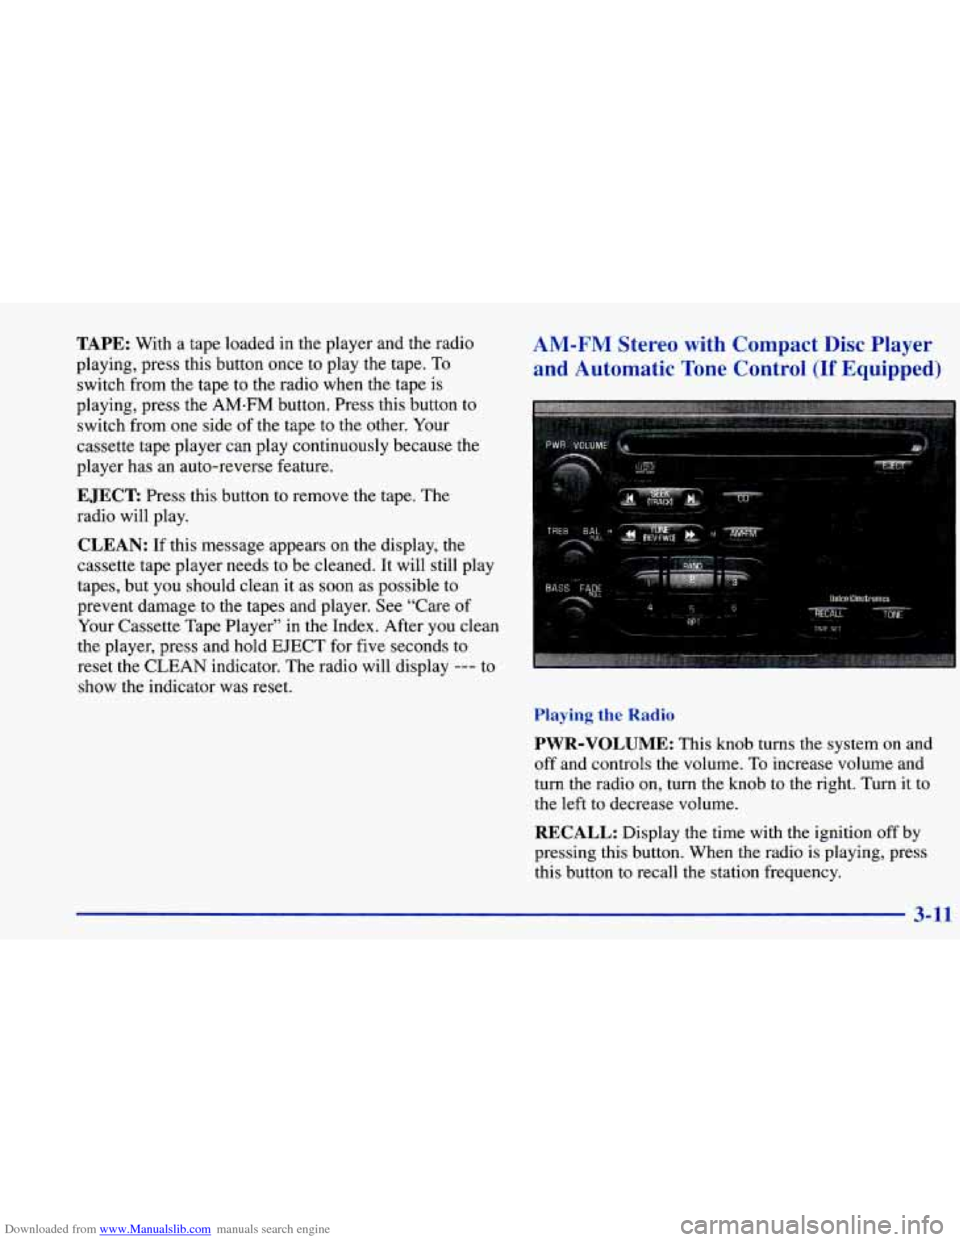
Downloaded from www.Manualslib.com manuals search engine TAPE: With a tape loaded in the player and the radio
playing, press this button once to play the tape. To
switch from the tape to the radio when the tape is
playing, press the AM-FM button. Press this button to
switch
from one side of the tape to the other. Your
cassette tape player can play continuously because the
player has
an auto-reverse feature.
EJECT Press this button to remove the tape. The
radio will play.
CLEAN: If this message appears on the display, the
cassette tape player needs to be cleaned. It will still play
tapes, but you should clean it as soon as possible to
prevent damage to the tapes and player. See "Care of
Your Cassette Tape Player" in the Index. After you clean
the player, press and hold EJECT for five seconds to
reset the CLEAN indicator. The radio will display
--- to
show the indicator was reset.
AM-FM Stereo with Compact Disc Player
and Automatic Tone Control
(If Equipped)
. . ... .. . Ef9ctmnics
.: .. ..., ~ ..... . ., ...,,.. sir?c"' =T%r
Playing the Radio
PWR-VOLUME: This knob turns the system on and
off and controls the volume.
To increase volume and
turn the radio on, turn the knob to the right. Turn it to
the left to decrease volume.
RECALL: Display the time with the ignition off by
pressing this button. When the radio
is playing, press
this button to recall the station frequency.
3-11
Page 146 of 364
Downloaded from www.Manualslib.com manuals search engine Finding a Station
AM-FM: Press this button to switch between AM, FM1
and FM2. The display shows your selection.
Setting the Tone
BASS: Press this knob lightly so it extends. Turn the
knob to the right to increase bass and to the left to
decrease bass.
TUNE: Press the right or left arrows to go to a higher or
lower station.
Press and hold to continue tuning and
release when you find your station. The display will
show the frequency of each station tuned.
SEEK: Press the right or left arrow to go to the next
higher or lower station and stay there.
PUSHBUTTONS: The six numbered pushbuttons
let you return to your previously played stations.
You can
set up to 18 stations (six AM, six FM1 and
six FM2). Just:
1. Turn the radio on.
2. Press AM-FM to select the band.
3. Tune in the desired station.
4. Press one of the six pushbuttons for at least
two seconds. The sound will mute and then return
when the station is stored. Whenever
you press
that numbered button, the station you set will return.
5. Repeat the steps for each pushbutton.
TREB: Press this knob lightly so it extends. Turn the
knob to the right
to increase treble and to the left to
decrease treble. If a station is weak or noisy, you may
want to decrease the treble.
Push these knobs back into their stored positions
when you’re
not using them.
TONE: Press this button to choose preset bass and
treble equalization settings designed for ROCK, NEWS.
POP, JAZZ and CLASSIC. ROCK will appear when
you first press TONE. Each time you press it, another
setting will appear
on the display. If you press it one
more time, after CLASSIC appears on the display, tone
control will be back
to the BASS and TREB knobs.
Adjusting the Speakers
BAL:
Press this knob lightly so it extends. Then pull
the knob all the way out. Turn the knob
to the right
for the right speakers and to the left for the left
speakers. The middle position balances the sound
between
the speakers.
3-12
Page 149 of 364
Downloaded from www.Manualslib.com manuals search engine To help avoid hearing loss or damage:
Adjust the volume control to the lowest setting.
0 Increase volume slowly until you hear comfortably
and clearly.
NOTICE:
Before you add any sound equipment to your
vehicle
-- like a tape player, CB radio, mobile
telephone or two-way radio
-- be sure you can
add what you want.
If you can, it’s very
important to do it properly. Added sound
equipment may interfere with the operation of
your vehicle’s engine, Delco Electronics radio or
other systems, and even damage them. Your
vehicle’s systems may interfere with the
operation
of sound equipment that has been
added improperly.
So, before adding sound equipment, check with
your dealer and be sure to check Federal rules
covering mobile radio and telephone units.
A tape player that is not cleaned regularly can cause
reduced sound quality, ruined cassettes or a damaged
mechanism. Cassette tapes should be stored in their
cases away from contaminants, direct sunlight and
extreme heat. If they aren’t, they may
not operate
properly or may cause failure of the tape player.
Your tape player should be cleaned regularly after
every
50 hours of use. Your radio may display
CLEAN to indicate that you have used your tape player
for
50 hours without resetting the tape clean timer. If
this message appears on the display, your cassette tape
player needs to be cleaned. It will still play tapes, but
you should clean it as soon as possible to prevent
damage to your tapes and player.
If you notice a
reduction in sound quality, try a known good cassette
to see if it is the tape or the tape player at fault.
If this
other cassette has no improvement in sound quality,
clean the tape player.
The recommended cleaning method for your
cassette tape player
is the use of a scrubbing action,
non-abrasive cleaning cassette with pads which scrub
the tape head as the hubs of the cleaner cassette turn.
The recommended cleaning cassette is available through
your dealership
(GM Part No. 12344789).
3-15
Page 150 of 364
Downloaded from www.Manualslib.com manuals search engine When using a scrubbing action, non-abrasive cleaning
cassette, it is normal for the cassette to eject because
your unit is equipped with a cut tape detection feature
and
a cleaning cassette may appear as a broken tape. To
prevent the cleaning cassette from being ejected, use the
following steps.
1. Turn the ignition to RUN or ACCESSORY.
2. Turn the radio off.
3. Press and hold the TAPE button for five seconds.
The tape symbol
on the display will flash for
two seconds.
4. Insert the scrubbing action cleaning cassette.
5. Eject the cleaning cassette after the manufacturer’s
recommended cleaning time.
When the cleaning cassette has been ejected, the cut
tape detection feature is active again. You may
also choose a non-scrubbing action, wet-type
cleaner which uses
a cassette with a fabric belt to clean
the tape head. This type of cleaning cassette will not
eject on its own.
A non-scrubbing action cleaner may
not clean as thoroughly as the scrubbing type cleaner.
The
use of a non-scrubbing action, dry-type cleaning
cassette is not recommended.
After you clean the player, press and hold
EJECT for
five seconds to reset the CLEAN indicator.
The radio
will display
--- to show the indicator was reset.
Cassettes are subject to wear and the sound quality
may degrade over time. Always make sure the cassette
tape is in good condition before you have your tape
player serviced.
3-16