1998 CHEVROLET PRIZM light
[x] Cancel search: lightPage 90 of 364

Downloaded from www.Manualslib.com manuals search engine ACC (ACCESSORY) (B): In this position, you can
operate some of your electrical power accessories (such
as the radio, but not the ventilation fan). It unlocks the
steering wheel and ignition.
To move the key from ACC
to LOCK, push in the key and then turn it to LOCK.
ON (C): The switch returns to this position after you
start your engine and release the switch. The switch
stays in the
ON position when the engine is running. But
even when the ignition is not running, you can use ON
to operate your electrical power accessories (including
the ventilation fan) and to display some warning and
indicator lights.
START (D): This position starts the engine. When the
engine starts, release the key. The ignition switch will
return to ON for normal driving.
When the engine is not running,
ACC and ON allow
you to operate some
of your electrical accessories.
A warning tone will sound if you open the driver’s
door when the ignition
is in ACC or LOCK and the
key is in the ignition. On manual transaxle
vehicles, turning the key to
LOCK and removing it will lock the steering
column and result in
a loss of ability to steer the
vehicle. This could cause
a collision. If you need
to turn the engine off while the vehicle is moving,
turn the key only to
ACC. Don’t push the key in
while the vehicle is moving.
NOTICE:
If your key seems stuck in LOCK and you can’t
turn it, be sure you are using the correct key; if
so, is it all the way in? If it is, then turn the
steering wheel left and right while you turn the
key hard. But turn the key only with your hand.
Using
a tool to force it could break the key or the
ignition switch. If none
of this works, then your
vehicle needs service.
2-12
Page 95 of 364

Downloaded from www.Manualslib.com manuals search engine LOW (L): This position gives you even more power
(but lower fuel economy) than SECOND
(2). You can
use it on very steep hills,
or in deep snow or mud. If the
shift lever is put in
LOW (L), the transaxle won’t shift
into low gear until the vehicle is going slowly enough.
I NOTICE.
If your front wheels can’t rotate, don’t try to
drive. This might happen
if you were stuck in
very deep sand or mud or were up against
a
solid object. You could damage your transaxle.
Also, if you stop when going uphill, don’t hold
your vehicle there with only the accelerator
’ pedal. This could overheat and damage the
1 transaxle. Use your brakes to hold your vehicle
~ in position on a hill.
Overdrive (Option)
If your automatic transaxle has OVERDRIVE, you
can use it for better fuel economy. After starting your
engine, always push in the OVERDRIVE button. Then
select the gear you want and press the accelerator pedal.
Gradual starts give you the best fuel economy. Fast
starts use the most fuel.
A light on the instrument panel will come on whenever
you turn
off OVERDRIVE. See “Overdrive Off Light”
in the Index.
2-17
Page 98 of 364

Downloaded from www.Manualslib.com manuals search engine Parking Brake
To set the parking brake, hold the brake pedal down and
pull up
on the parking brake lever. If the ignition is on,
the brake system warning light will
cQme on.
To release the parking brake, hold the brake pedal down.
Pull the parking brake lever up until you can press the
release button. Hold the release button
in as you move
the lever all the way down.
2-20
Page 103 of 364

Downloaded from www.Manualslib.com manuals search engine Power Windows (Option)
It can be dangerous to get out of your vehicle if
the shift lever is not fully in PARK (P) with the
parking brake firmly
set. Your vehicle can roll.
Don’t leave your vehicle when the engine is
running unless you have to.
If you’ve left the
engine running, the vehicle can move suddenly.
You or others could be injured.
To be sure your
vehicle won’t move, even when you’re on fairly
level ground, always set your parking brake and
move the shift lever to
PARK (P).
Follow the proper steps to be sure your vehicle won’t
move. See “Shifting Into
PARK (P)” in the Index.
If you are parking on a hill and
if you’re pulling a
trailer, also see “Towing a Trailer” in the Index.
Windows
Manual Windows
Use the window crank to open and close each window. With power
windows, switches on the driver’s door
control each window when the ignition is on.
Push down
the front of the switch to lower a window and lift the
front of the switch to raise
a window.
The AUTO switch for the driver’s window has an
express-down feature. To use express-down, push the
switch down all the way. Release the switch and the
window will lower completely. Pull
up on the switch
lightly and release it to stop
the window partway.
2-25
Page 106 of 364

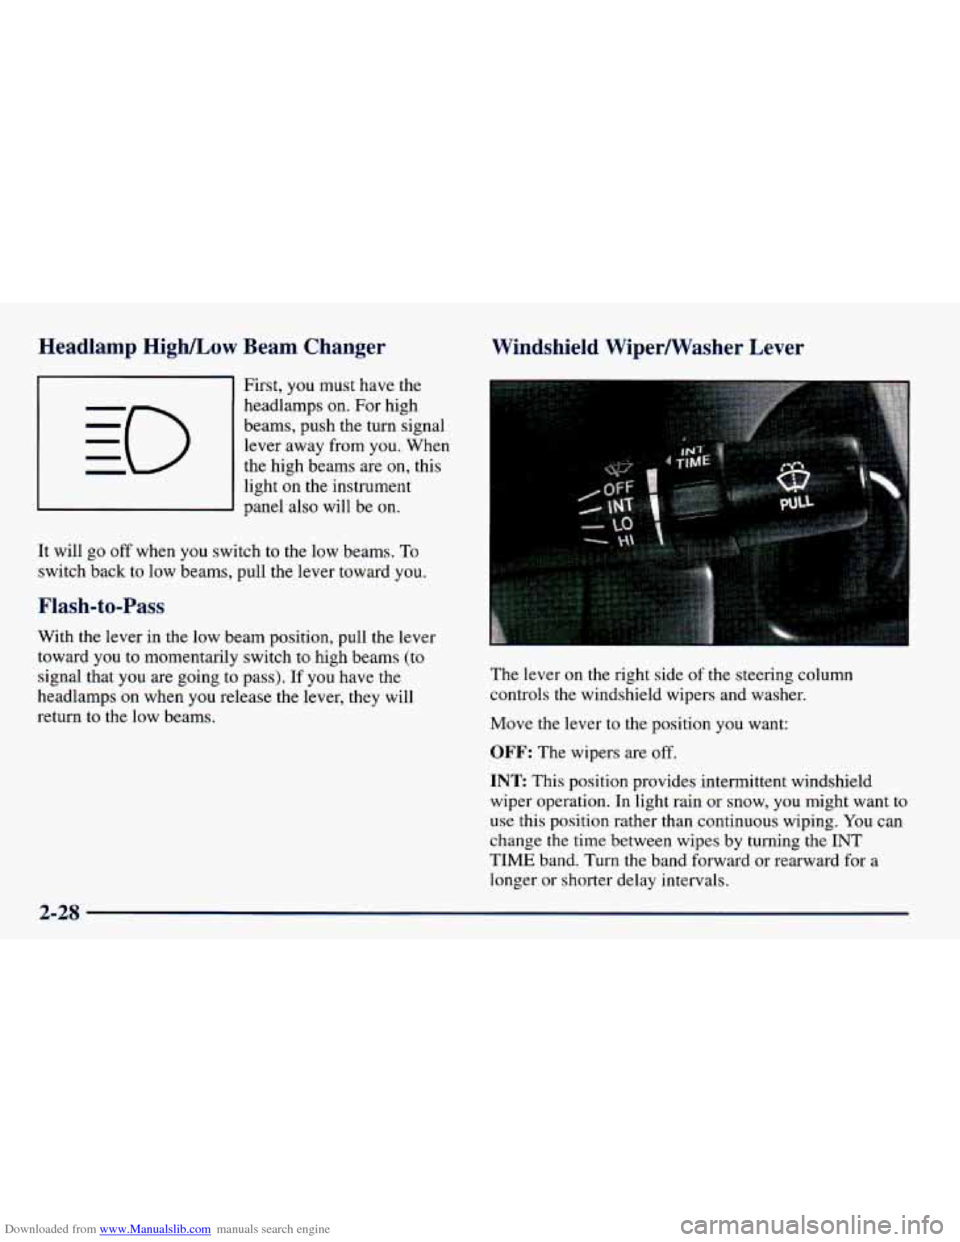
Downloaded from www.Manualslib.com manuals search engine Headlamp HighlLow Beam Changer
First, you must have the
headlamps on. For high
beams, push the turn signal
lever away from
you. When
the high beams are on, this
light on the instrument
panel also will be
on.
It will go off when you switch to the low beams. To
switch back to low beams, pull the lever toward you.
Flash-to-Pass
With the lever in the low beam position, pull the lever
toward you to momentarily switch to high beams (to
signal that you are going to pass). If you have the
headlamps on when you release the lever, they will
return
to the low beams.
Windshield Wipermasher Lever
The lever on the right side of the steering column
controls the windshield wipers and washer.
Move the lever to the position you want:
OFF: The wipers are off.
INT
This position provides intermittent windshield
wiper operation. In light rain or snow, you might want
to
use this position rather than continuous wiping. You can
change
the time between wipes by turning the INT
TIME band. Turn the band forward or rearward for a
longer or shorter delay intervals.
2-28
Page 108 of 364

Downloaded from www.Manualslib.com manuals search engine Cruise Control (Option) Setting Cr’se Co--’---’
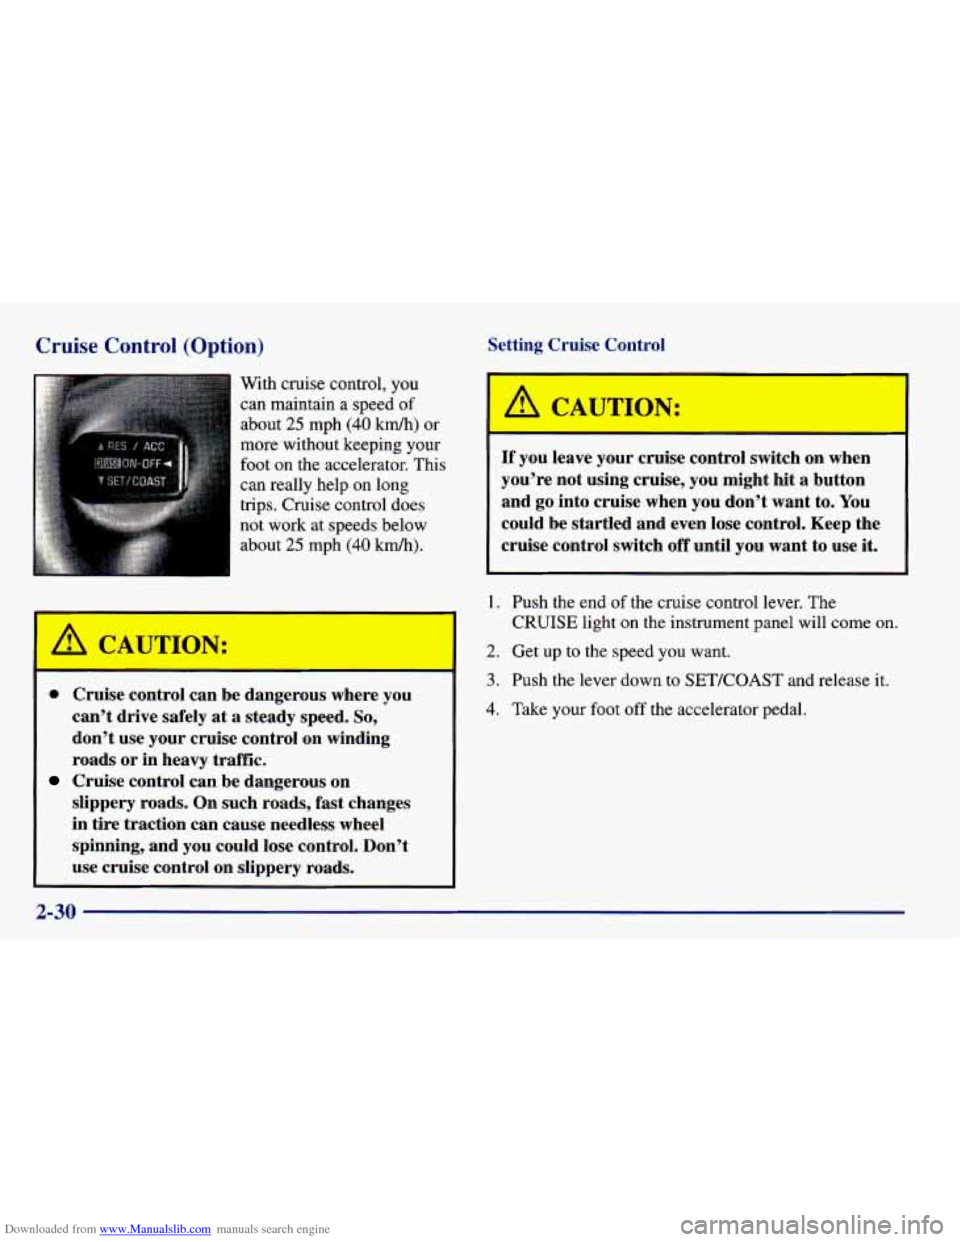
With cruise control, you
can maintain a speed of
about
25 mph (40 kmh) or
more without keeping your
foot
on the accelerator. This
can really help on long
trips. Cruise control does
not
work at speeds below
about
25 mph (40 kmk).
I A CAUTidN:
--
If you leave your cruise control switch on when
you’re not using cruise, you might hit a button
and go into cruise when you don’t want to.
You
could be startled and even lose control. Keep the
cruise control switch
off until you want to use it.
I A CAUTION:
I-
@ Cruise control can be dangerous where you
can’t drive safely at a steady speed.
So,
don’t use your cruise control on winding
roads or in heavy traffic.
slippery roads. On such roads, fast changes
in tire traction can cause needless wheel
spinning, and you could lose control. Don’t
use cruise control on sliDpery roads.
Cruise control can be dangerous on
1. Push the end of the cruise control lever. The
CRUISE light on the instrument panel will come on.
2. Get up to the speed you want.
3. Push the lever down to SETKOAST and release it.
4. Take your foot off the accelerator pedal.
2-30
Page 110 of 364

Downloaded from www.Manualslib.com manuals search engine Using Cruise Control on Hills
How well your cruise control will work on hills depends
upon
your speed, load and the steepness of the hills.
When going up steep hills, you may have
to step on the
accelerator pedal to maintain your speed. When going
downhill, you may have to brake
or shift to a lower gear
to keep your speed down.
Of course, applying the brake
or downshifting to SECOND
(2) or LOW (L) takes you
out of cruise control. Many drivers find this to be too
much trouble and don’t use cruise control on steep hills.
Ending Out of Cruise Control
There are several ways to turn off the cruise control:
Step lightly on the brake pedal or push the clutch
pedal, if you have a manual transaxle.
lever toward you to cancel.
Press the CRUISE ON-OFF button again or pull the
Erasing Speed Memory
When you turn off the cruise control or the ignition,
your cruise control set speed memory is erased.
Exterior Lamps
Headlamps
Turn the outside part of the
lever to control the lamps.
There are three positions for
the lamp switch.
OFF: All lamps, except your Daytime Running Lamps
(DRL), are
off.
CENTER: At the middle position, the parking lamps,
taillamps, license plate lamp and the instrument panel
lights come
on. The headlamps are off and DRL is on.
- Eo - : The headlamps and all other operating lamps
come
on. DRL is off.
2-32
Page 111 of 364

Downloaded from www.Manualslib.com manuals search engine Lamps On Reminder
If you turn the ignition to LOCK or ACC and leave the lamps
on, you’ll hear a tone when you open the driver’s door.
Daytime Running Lamps
Daytime Running Lamps (DRL) can make it easier for
others to
see the front of your vehicle during the day.
DRL can be helpful in many different driving
conditions, but they can be especially helpful in
the
short periods after dawn and before sunset.
The DRL system will make your low-beam headlamps
come on at a reduced brightness when the parking brake
is released with the engine started, even with the lamp
switch in the
OFF position. They will not go off until
the engine is turned off.
When you
turn on the headlamp switch, your DRL will go
out and your headlamps will come on. The other lamps
that come on with your headlamps will also come on.
When you turn
off the headlamp switch, the regular
lamps will go off and your low-beam headlamps come
on at the reduced brightness of DRL. DRL also comes
on if you are only using the parking lamps.
As with any vehicle, you should turn on the regular
headlamp system when you need
it.
Automatic Light Control
Your vehicle is equipped with an automatic light sensor
on top of the instrument panel, so be sure it is not
covered which will cause the nighttime lights to be
on continuously.
When
it is dark enough outside, your ALC will turn
on your low-beam headlamps at the normal brightness
along with other lamps such as the taillamps,
sidemarker, park lamps and instrument panel lights.
There is
a 20-second delay in the transition between
daytime and nighttime operation of the DRL and the
ALC systems. If the light sensor senses a reduction
in lighting that lasts longer than
20 seconds, it will
activate the nighttime lamps. If you are driving through
a parking garage, heavy overcast weather, a tunnel or
fueling your vehicle in a low light area, the ALC will
turn on your low-beam headlamps at a normal
brightness along with the taillamps, sidemarker, park
lamps and the instrument panel lights. The radio lights
will be dimmer.
As with any vehicle, you should turn on the regular
headlamp system when you need it.
2-33