1998 CHEVROLET PRIZM key battery
[x] Cancel search: key batteryPage 43 of 364

Downloaded from www.Manualslib.com manuals search engine If your vehicle ever gets into a lot of water -- such as
water up to the carpeting or higher
-- or if water enters
your vehicle and soaks the carpet, the air bag controller
can be soaked and ruined. If this ever happens, and then
you start your vehicle, the damage could make the
frontal and side impact air bags inflate and safety belt
pretensioners activate, even if there’s
no crash. You
would have to replace the air bags, all the sensors and
related parts, parts of the safety belt system and parts of
the driver and right front passenger’s seatbacks.
If your
vehicle is ever in a flood, or if it’s exposed to water that
soaks the carpet, you can avoid needless repair costs by
turning off the vehicle immediately. Don’t let anyone
start the vehicle, even to tow it, unless the battery cables
are first disconnected.
Servicing Your Air Bag-Equipped Vehicle
Air bags affect how your vehicle should be serviced.
There are parts of the air bag systems in several
places around your vehicle. Your dealer and the
Prizm Service Manual have information about servicing
your vehicle and the air bag systems. To purchase a
service manual, see “Service and Owner Publications”
in the Index.
1
For up to 90 seconds after the ignition key is
’ turned off and the battery disconnected, an air
bag can still inflate during improper service. You
can be injured if you are close to an air bag when
it inflates. Avoid wires wrapped with yellow tape
or yellow connectors. They are probably part of
the air bag system. Be sure to follow proper
service procedures, and make sure the person
performing work for you is qualified to do
so.
The air bag systems should be inspected by a qualified
technician
10 years from the manufacture date on the
Certification label. After
10 years from the manufacture
date, have the systems inspected every
24 months. (The
Certification label is located at the rear edge of the
driver’s door.)
1-29
Page 85 of 364

Downloaded from www.Manualslib.com manuals search engine This device complies with Part 15 of the FCC Rules.
Operation is subject
to the following two conditions:
(1)
this device may not cause harmful interference, and
(2) this device must accept any interference received,
including interference that may cause undesired operation.
This device complies with RSS-210
of Industry Canada.
Operation is subject to the following two conditions:
(1) this device may not cause interference, and (2) this
device must accept any interference received, including
interference that may cause undesired operation
of
the device.
Changes or modifications to this system by other than
an authorized service facility could void authorization
to use this equipment.
This system has
a range of about 3 feet (1 m) up to
30 feet (9 m). At times you may notice a decrease in
range. This is normal for any remote keyless entry
system. If the transmitter does not work or if you have
to stand closer to your vehicle for the transmitter to
work, try this:
0 Check to determine if battery replacement is
necessary. See the instructions that follow.
Check the distance. You may be too far from your
vehicle.
You may need to stand closer during rainy
or snowy weather.
0 Check the location. Other vehicles or objects may
be blocking the signal. Take
a few steps to the left
or right, hold
the transmitter higher, and try again.
0 If you’re still having trouble, see your dealer or a
qualified technician for service.
Operation
The following functions are available with the remote
keyless entry system:
LOCK: All doors will automatically lock when the
LOCK button on the transmitter is pressed. The
taillamps will flash once, to confirm that the doors
have locked. The interior lamps will stay on for two
seconds after all of the doors are closed. The remote
lock function will not work
if the key is in the ignition.
UNLOCK: The driver’s door will unlock automatically
when the UNLOCK button
on the transmitter is pressed.
The taillamps will flash twice and the interior
lamps will
come on to confirm that the doors have unlocked.
If the
unlock button is pressed again within five seconds, all
remaining doors will unlock. The interior lamps will
stay on for 15 seconds or until the ignition is turned on.
If unlock is pressed and no door is opened, the doors
will lock automatically after
30 seconds.
Page 86 of 364

Downloaded from www.Manualslib.com manuals search engine Matching Transmitter(s) To Your Vehicle
Each remote keyless entry transmitter is coded to
prevent another transmitter from unlocking your vehicle.
If a transmitter is lost or stolen, a replacement can be
purchased through your dealer. Remember
to bring any
remaining transmitters with you when
you go to your
dealer. When the dealer matches the replacement
transmitter to your vehicle, any remaining transmitters
must also be matche,d. Once your dealer has coded the
new transmitter, the 'lost transmitter will not unlock your
vehicle. Each vehicle can have only four transmitters
matched to it.
Battery Replacement
Under normal use, the battery in your remote keyless
entry transmitter should last about two years.
You can tell the battery is weak
if the transmitter won't
work
at the normal range in any location. If you have to
get close
to your vehicle before the transmitter works,
it's probably time to change the battery.
NOTICE:
When replacing the battery, use care not to
touch any
of the circuitry. Static from your
body transferred to these surfaces may damage
the transmitter.
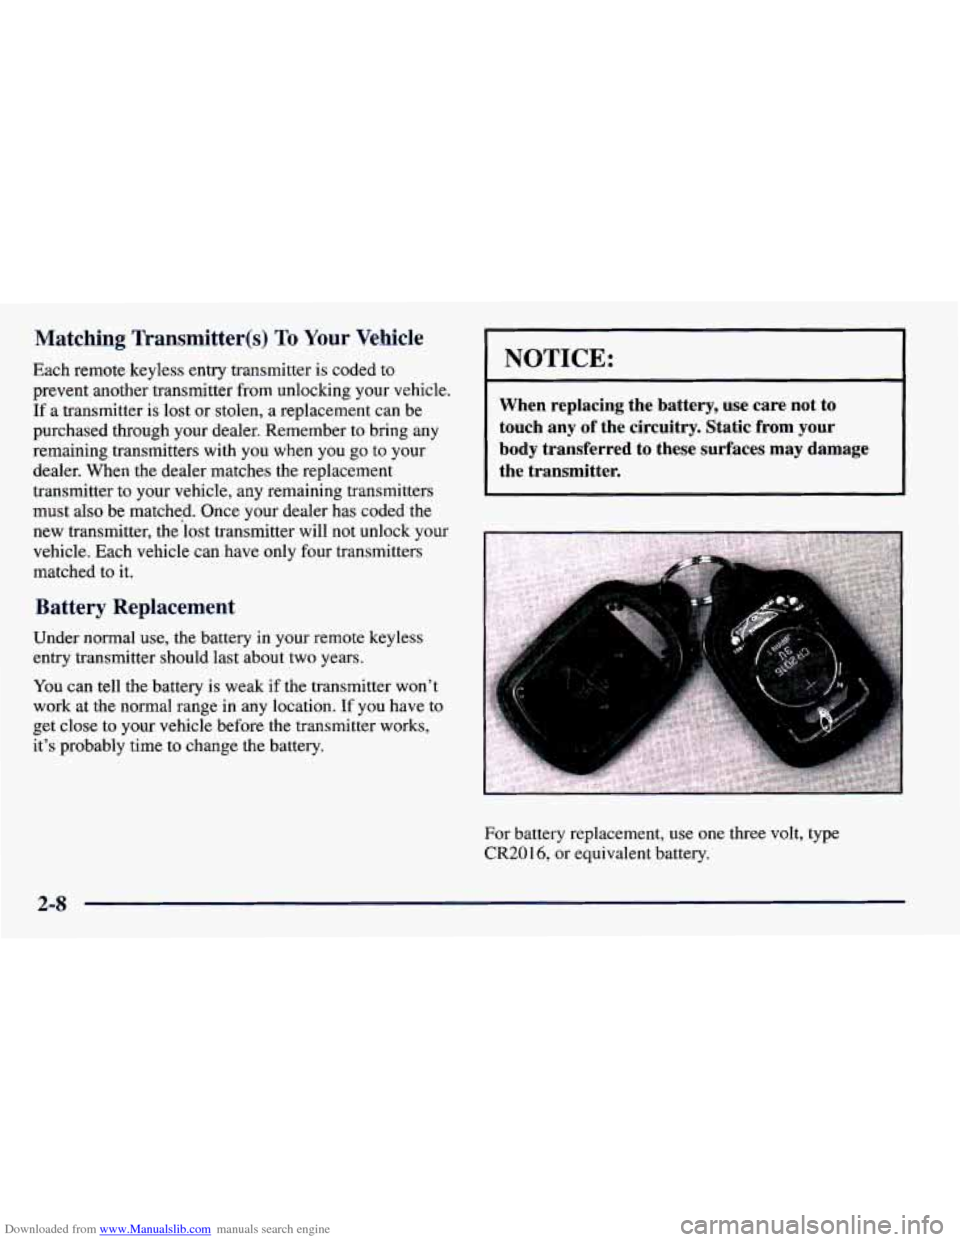
For battery replacement, use one three volt, type
CR20 1 6, or equivalent battery.
2-8
Page 87 of 364

Downloaded from www.Manualslib.com manuals search engine To replace the battery: Trunk
1. Insert a coin into the notch near the keyring. Turn
the coin to the left to separate the two halves
of
the transmitter.
2. Once the transmitter is separated, use a pencil eraser
to remove the old battery.
Do not use a metal object.
3. Replace the battery with the positive (+) side
facing upward.
4. Snap the transmitter back together tightly to be
sure
no moisture can enter.
It can be dangerous to drive with the trunk open
because carbon monoxide
(CO) gas can come into
your vehicle. You can’t see or smell
CO. It can
cause unconsciousness and even death.
If you must drive with the trunk open or if
electrical wiring or other cable connections
must pass through the seal between the body
and the trunk:
Make sure all windows are shut.
Thrn the fan on your heating or cooling
system
to its highest speed with the setting
on
VENT. That will force outside air into
your vehicle. See “Comfort Controls” in
the Index.
instrument panel, open them all the way.
If you have air outlets on or under the
See “Engine Exhaust” in the Index.
2-9
Page 91 of 364

Downloaded from www.Manualslib.com manuals search engine Starting Your Engine
Automatic Transaxle
Move your shift lever to PARK (P) or NEUTRAL (N).
Your engine won’t start in any other position -- that’s a
safety feature. To restart when you’re already moving,
use NEUTRAL (N) only.
I NOTICE:
Don’t try to shift to PARK (P) if your Chevrolet
is moving. If you do, you could damage the
transaxle, Shift to PARK (P) only when your
vehicle is stopped.
Manual Transaxle
The gear selector should be in NEUTRAL (N) and the
parking brake engaged. Hold the clutch pedal to the
floor and start the engine. Your vehicle won’t start if
the clutch pedal is not all the way down
-- that’s a
safety feature.
Starting Your 1.8 Liter Engine
1. Without pushing the accelerator pedal, turn your
ignition key to START. When the engine starts, let
go
of the key. The idle speed will go down as your
engine gets warm.
NOTICE:
Holding your key in START for longer than
15 seconds at a time will cause your battery to
be drained much sooner. And the excessive heat
can damage your starter motor.
2. If it doesn’t start in three seconds, wait about
15 seconds and try again to start the engine by
turning the ignition key to START. Wait about
15 seconds between each try to help avoid draining
your battery
or damaging your starter.
When your engine has run about
10 seconds to warm
up, your vehicle is ready to be driven. Don’t “race”
your engine when it’s cold.
If the weather is below freezing (32” F or O’C), let
the engine
run for a few minutes to warm up.
2-13
Page 124 of 364

Downloaded from www.Manualslib.com manuals search engine Air Bag Readiness Light
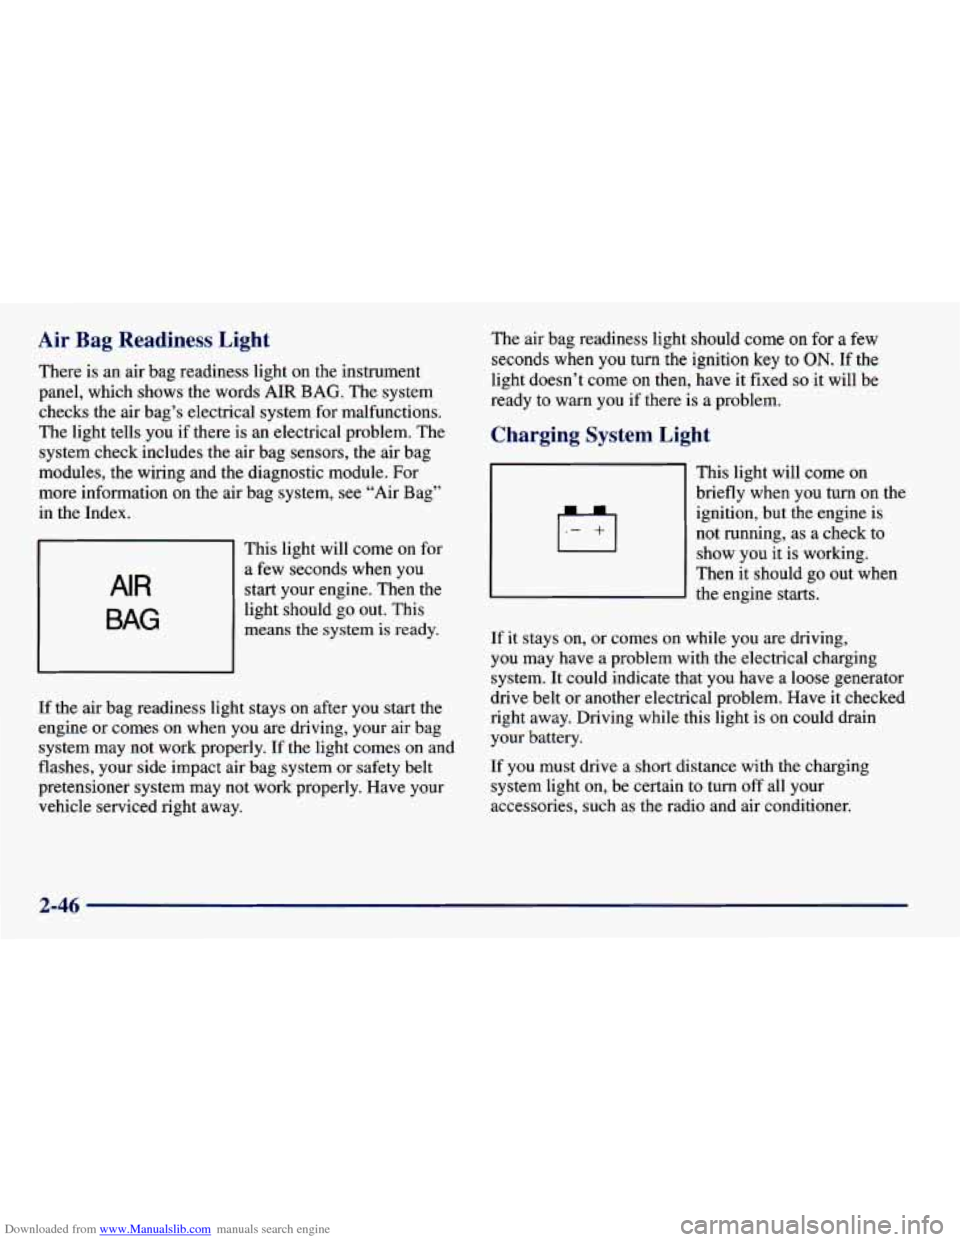
There is an air bag readiness light on the instrument
panel, which shows the words
AIR BAG. The system
checks the air bag’s electrical system for malfunctions.
The light tells you if there is an electrical problem. The
system check includes the air bag sensors, the air bag
modules, the wiring and the diagnostic module. For
more information on the air bag system,
see “Air Bag”
in the Index.
AIR
BAG
This light will come on for
a few seconds when you
start your engine. Then the
light should go out. This
means
the system is ready.
If the air bag readiness light stays on after you start
the
engine or comes on when you are driving, your air bag
system may not work properly.
If the light comes on and
flashes, your
side impact air bag system or safety belt
pretensioner system may not work properly. Have your
vehicle serviced right away.
The air bag readiness light should come on for a few
seconds when
you turn the ignition key to ON. If the
light doesn’t come
on then, have it fixed so it will be
ready
to warn you if there is a problem.
Charging System Light
This light will come on
briefly when you turn on the
ignition, but the engine is
not running, as a check to
show you it is working.
Then it should go out when
the engine starts.
If it stays on, or comes on while you are driving,
you may have
a problem with the electrical charging
system. It could indicate that you have a
loose generator
drive belt or another electrical problem. Have it checked
right away. Driving while this light is on could drain
your battery.
If you must drive a short distance with the charging
system light
on, be certain to turn off all your
accessories, such as the radio and air conditioner.
2-46
Page 349 of 364

Downloaded from www.Manualslib.com manuals search engine 0 Section 9 Index
Adding Equipment to the Outside of Your Vehicle ..... 6-3
AirBag
....................................... 1-21
How Does it Restrain .......................... 1-27
How it Works ................................ 1-24
Location
.................................... 1-24
Readiness Light
......................... 1.23. 2.46
Servicing
................................... 1-29
What Makes
it Inflate .......................... 1-26
What Will You See After it Inflates
............... 1-27
When Should it Inflate
......................... 1-26
Aircleaner
............................... 6.16. 6.60
Air Conditioning Refrigerants
................ 6.59. 6.60
Alignment and Balance. Tire
...................... 6-42
Antenna
...................................... 3-17
Antifreeze
..................................... 6-23
Anti-Lock Brake System Warning Light
................ 2.48. 4.7
Brakes
...................................... 4-7
Appearancecare
............................... 6-44
Appearance Care Materials
....................... 6-52
Arbitration Program
.............................. 8-9
Ashtrays
...................................... 2-38
Audio Systems
.................................. 3-6
Automatic Light Control
......................... 2-33
Automatic Transaxle Fluid
....................................... 6-18
Air Conditioning
................................ 3-3
Fluid Level Check
............................ 7-38
Operation
................................... 2-14
Park Mechanism Check
........................ 7-41
Starting Your Engine
.......................... 2-13
Backing Up While Driving a Trailer
............... 4-35
Back-up Lamp Bulb Replacement
................. 6-36
Battery
....................................... 6-32
Jump Starting ................................. 5-3
Replacement. Keyless Entry
..................... 2-8
Warnings
................................ 5.3. 5.5
BBB Auto Line ................................. 8-9
Better Business Bureau Mediation
................... 8-9
Blizzard
...................................... 4-26
Brake Adjustment
.................................. 6-32
Fluid
....................................... 6-28
Master Cylinder
.............................. 6-28
Parking
..................................... 2-20
PedalTravel
................................. 6-31
Replacing System Parts
........................ 6-32
System Warning Light
......................... 2-47
Trailer
...................................... 4-34
Transaxle Shift Interlock
.................. 2.22. 7.40
Transaxle Shift Interlock Check
.................. 7-40
Wear
....................................... 6-31
9-1