1998 CHEVROLET CORVETTE fog light
[x] Cancel search: fog lightPage 15 of 378
Downloaded from www.Manualslib.com manuals search engine Vehicle Symbols
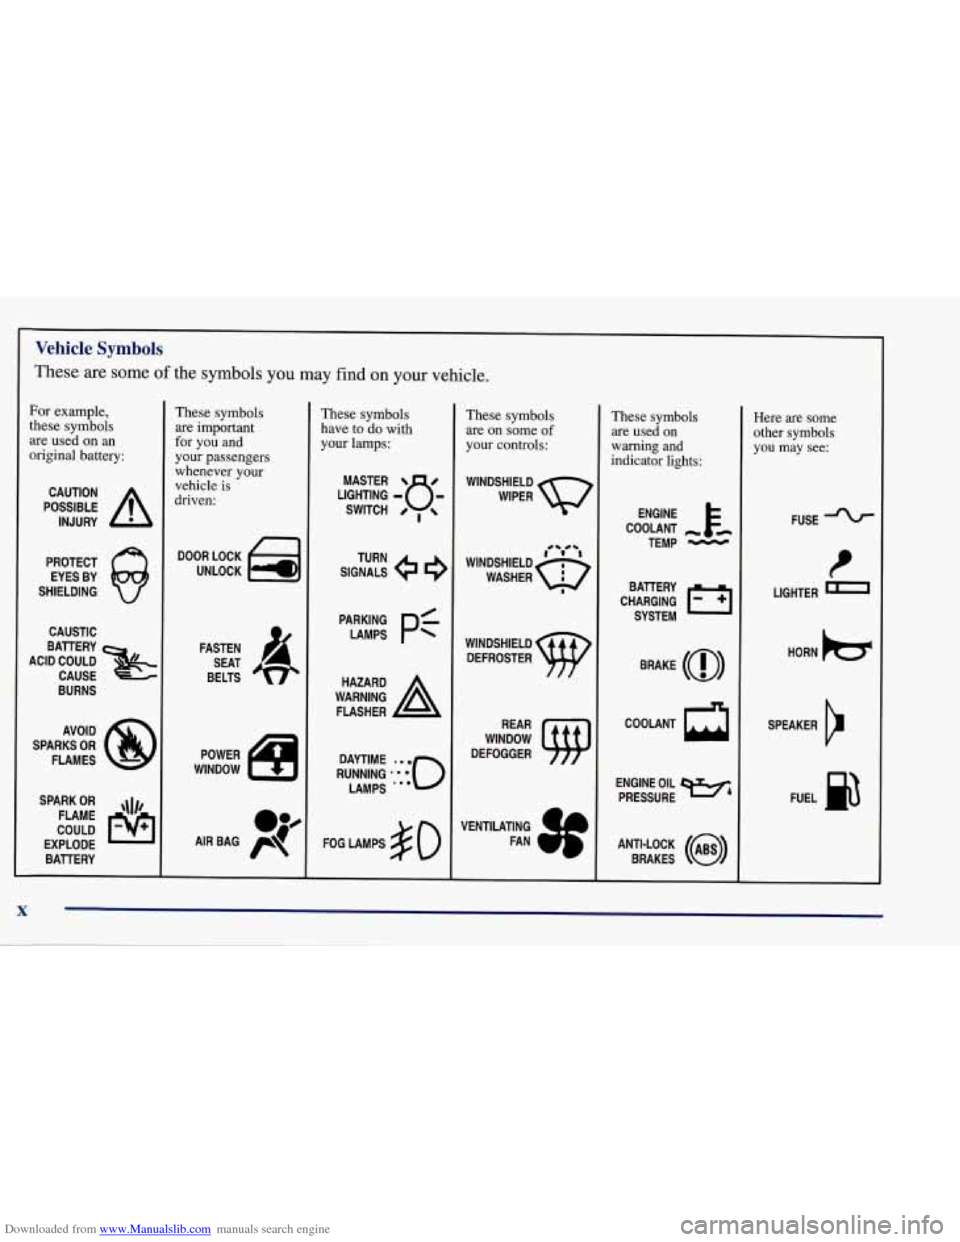
These are some of the symbols you may find on your vehicle.
For example,
these symbols
are used on
an
original battery:
POSSIBLE A
CAUTION
INJURY
PROTECT EYES BY
SHIELDING
Q
CAUSTIC
These symbols
are important
for you and
your passengers
whenever your
vehicle
is
driven:
DOOR LOCK
UNLOCK
ACID COULD BAlTERY
CAUSE
BURNS
AVOID
SPARKS
OR
FLAMES
SPARK
OR ,\I/,
COULD FLAME
EXPLODE BAllERY FASTEN
SEAT
BELTS
These symbols
have
to do with
your lamps:
SIGNALS TURN
A
FLASHER
FOG LAMPS
$0
These symbols
are on some
of
your controls:
WINDSHIELD
DEFROSTER
WINDOW
DEFOGGER
VENTILATING FAN
These symbols
are used on
warning and
indicator lights:
COOLANT -
TEMP -
CHARGING I-1
BATTERY
SYSTEM
BRAKE
(@)
COOLANT
a
ENGINE OIL
PRESSURE
WA
ANTI-LOCK (@)
BRAKES
Here are some
other symbols
you may see:
FUSE
t
LIGHTER
HORN
b
SPEAKER
b
FUEL p3
X
Page 98 of 378
Downloaded from www.Manualslib.com manuals search engine Headlamp High/Low-Beam Changer
To change the headlamps
signal lever all the
from
low beam to high or
high to low, push the turn
-
- way forward.
When the high beams are on, this light on the instrument
panel also will be
on. To change the headlamps from
high to low, pull the lever rearward.
Flash-To-Pass
Momentarily pull the turn signal lever toward you. The
high-beam indicator will flash to indicate to the other
driver that you intend to pass. If the low-beam
headlamps are off and you have the optional fog lamps
on, the fog lamps will flash.
Windshield Wipers
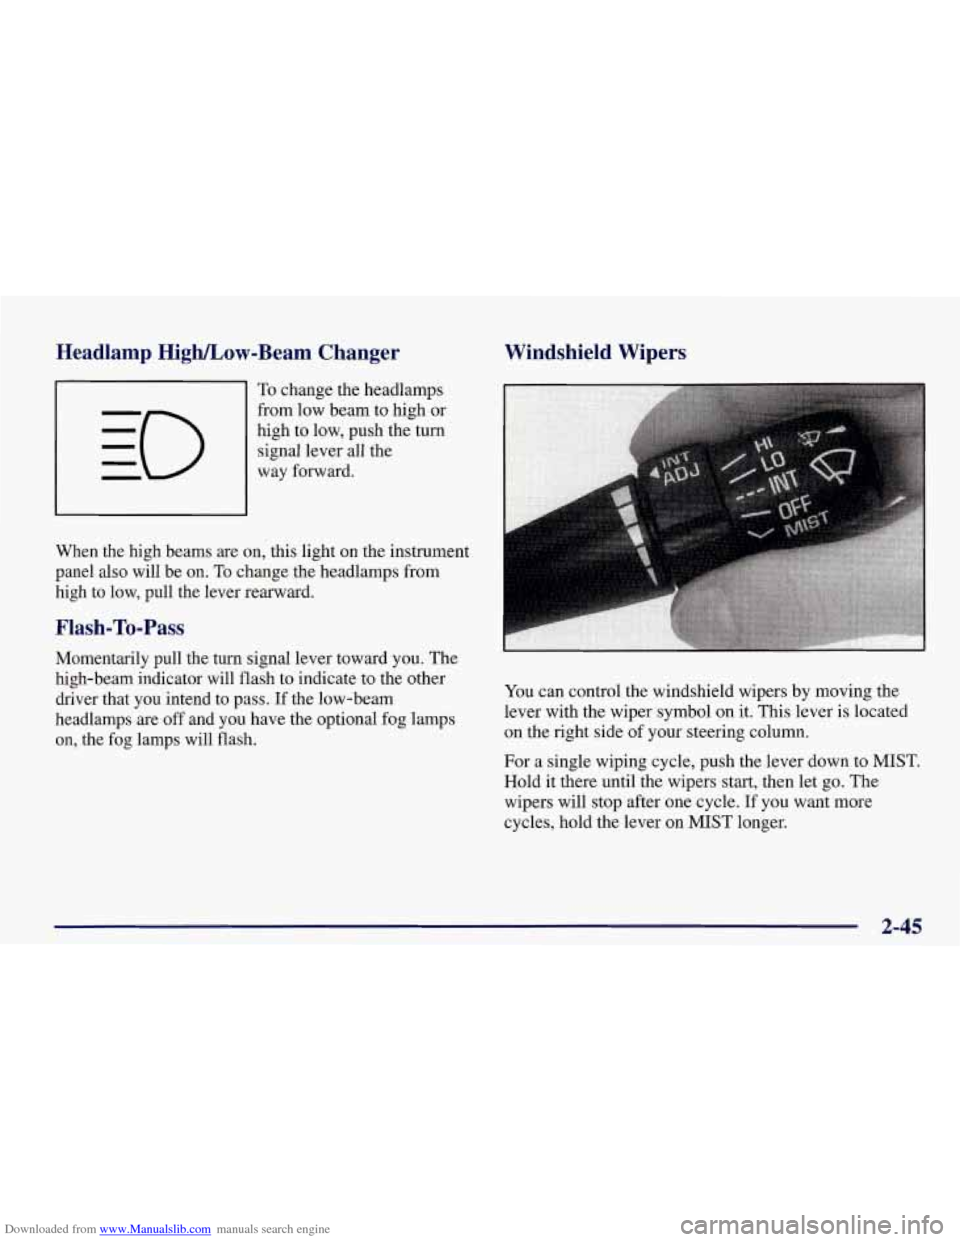
You can control the windshield wipers by moving the
lever with the wiper symbol
on it. This lever is located
on the right side
of your steering column.
For a single wiping cycle, push the lever down to MIST.
Hold it there until the wipers start, then let go. The
wipers will stop after one cycle. If you want more
cycles, hold the lever on MIST longer.
2-45
Page 104 of 378
Downloaded from www.Manualslib.com manuals search engine When you turn on your headlamps, your front turn
signal lamps (DRL) will go out. The other lamps that
come on with your headlamps will also come on.
On vehicles built for Canada, when it’s dark enough
outside, your front turn signal lamps will automatically
go out and your headlamps will come on. The other
lamps that come on with your headlamps will also come
on. When it’s bright enough outside, the headlamps will
go off, and your front turn signal lamps (DRL) will
come on.
Also on Canadian vehicles, there is a light sensor in the
defroster grille, at the base of the windshield and the
instrument panel. This sensor makes the
DRL work
automatically,
so be sure it isn’t covered.
As with any vehicle, you should turn on the regular
headlamp system when you need it.
Fog Lamps (Option)
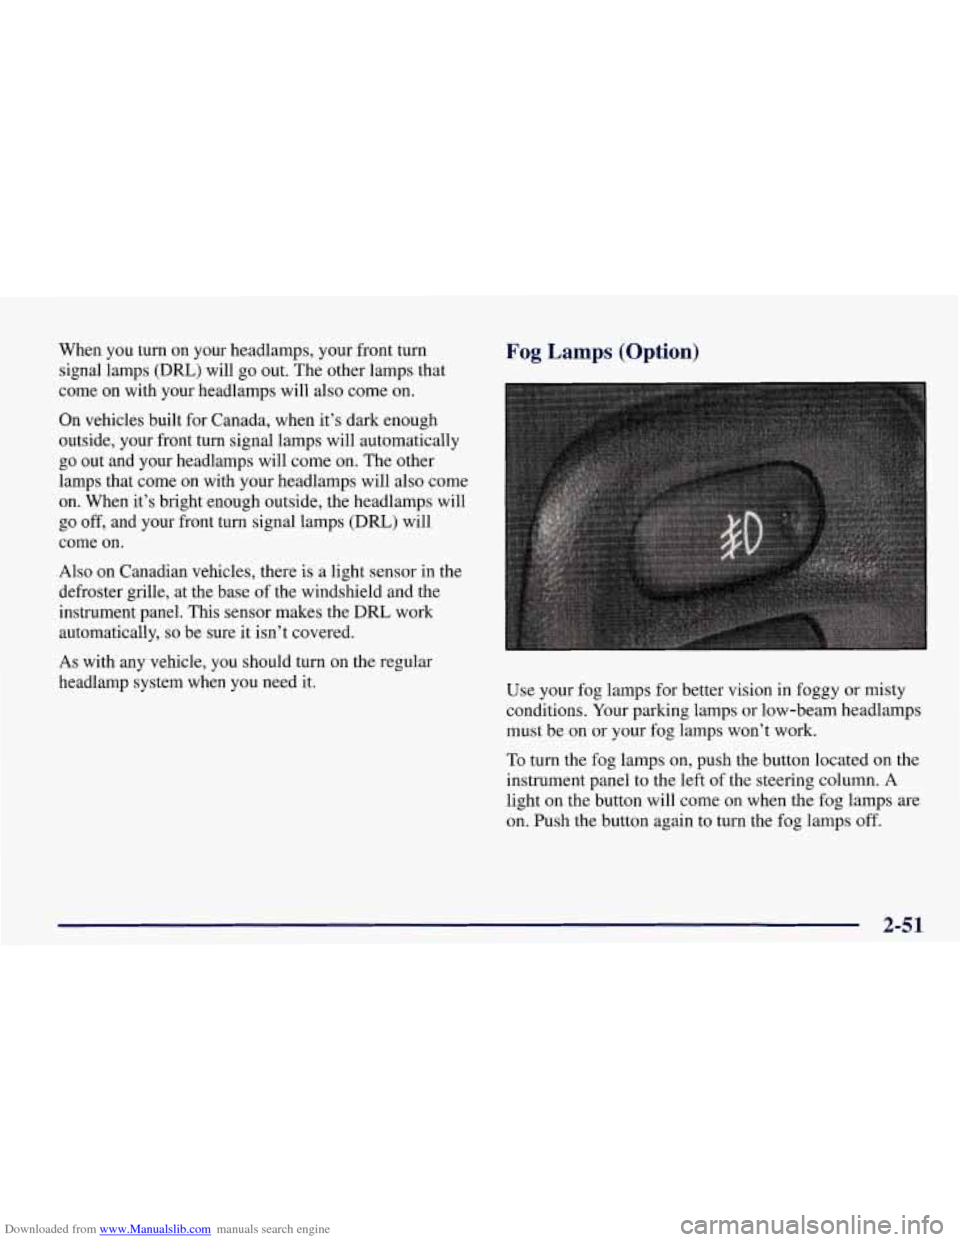
Use your fog lamps for better vision in foggy or misty
conditions. Your parking lamps or low-beam headlamps
must be on or your fog lamps won’t work.
To turn the fog lamps on, push the button located on the
instrument panel to the left of the steering column. A
light on the button will come on when the fog lamps are
on. Push the button again to turn the fog lamps off.
2-51
Page 107 of 378
Downloaded from www.Manualslib.com manuals search engine Powermeated Remote Control Mirrors
Convex Outside Mirror
Your passenger’s side mirror is convex. A convex
mirror’s surface is curved
so you can see more from the
driver’s seat.
A convex mirror can make things (like other
vehicles) look farther away than they really are.
If
you cut too sharply into the right lane, you
could hit a vehicle on
your right. Check your
inside mirror or glance over your shoulder before changing lanes.
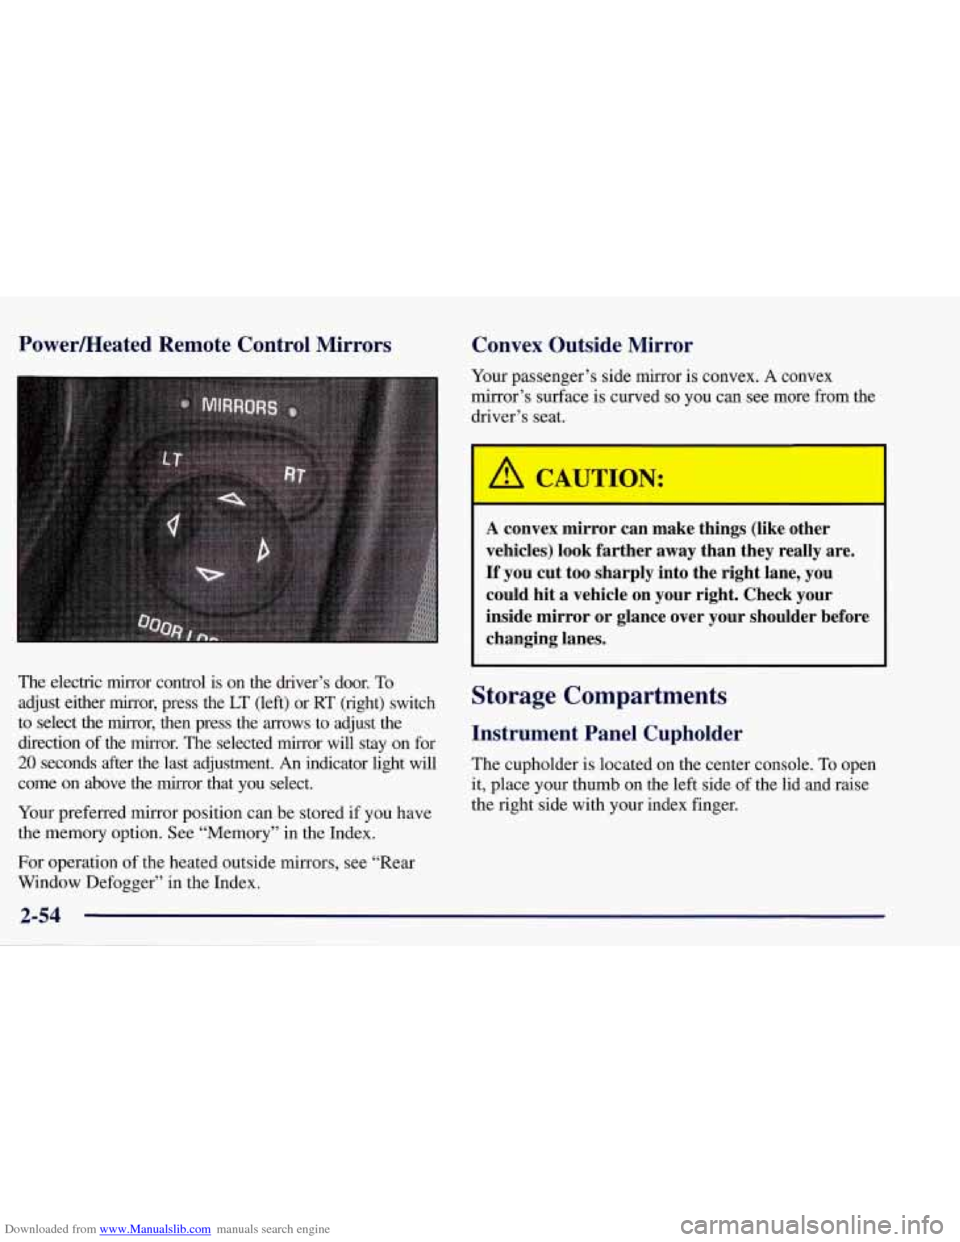
The electric mirror control is on the driver’s door. To
adjust either mirror, press the
LT (left) or RT (right) switch
to select the mirror, then press the arrows to adjust the
direction of the mirror. The selected mirror will stay on for
20 seconds after the last adjustment. An indicator light will
come on above the mirror that you select.
Your preferred mirror position can be stored if you have
the memory option. See “Memory” in the Index.
For operation of the heated outside
mirrors, see “Rear
Window Defogger” in the Index.
Storage Compartments
Instrument Panel Cupholder
The cupholder is located on the center console. To open
it, place your thumb on the left side of the lid and raise
the right side with your index finger.
Page 128 of 378
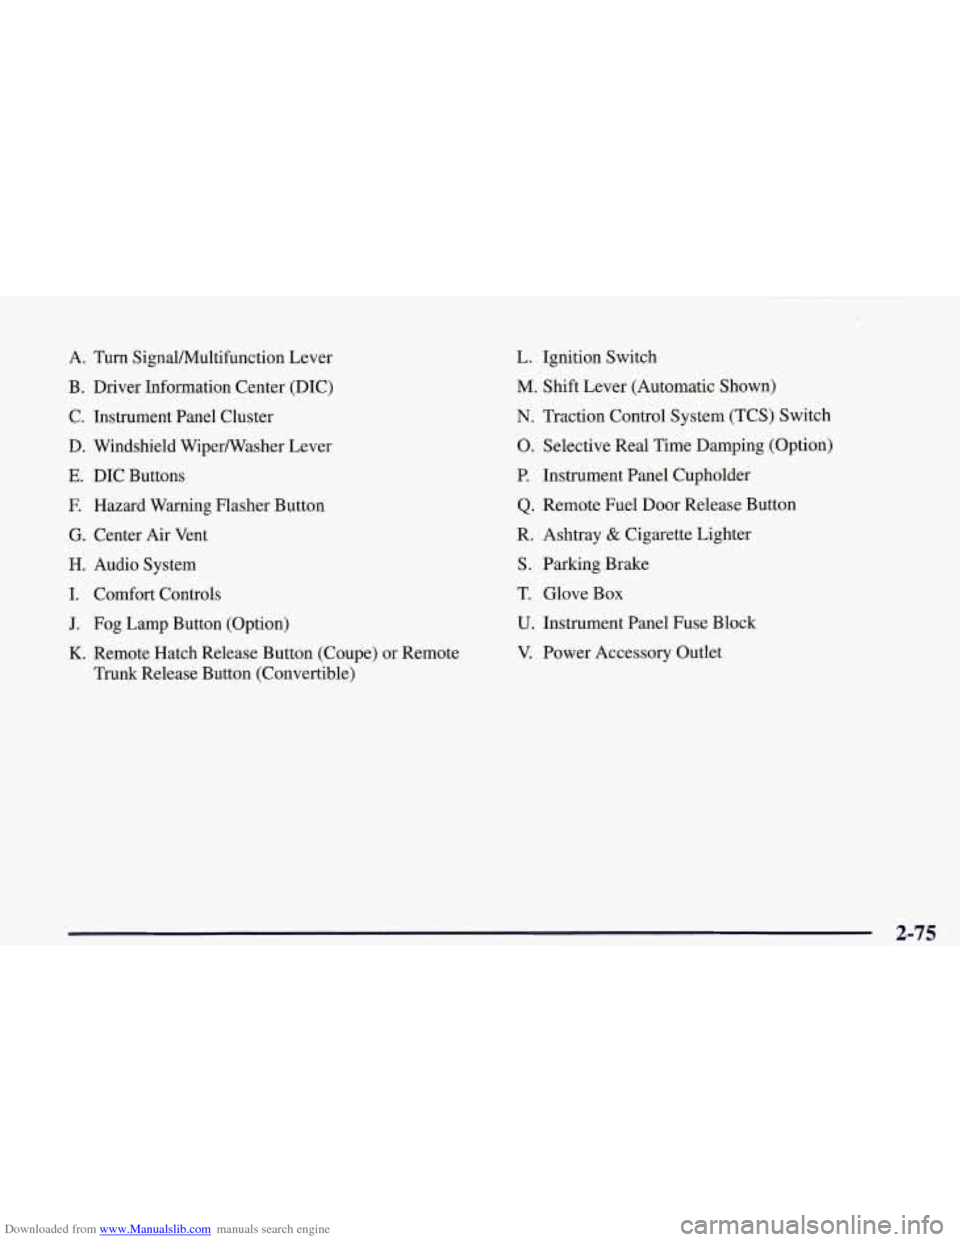
Downloaded from www.Manualslib.com manuals search engine A. Turn Signal/Multifunction Lever
B. Driver Information Center (DIC)
C. Instrument Panel Cluster
D. Windshield Wipermasher Lever
E. DIC Buttons
E Hazard Warning Flasher Button
G. Center Air Vent
H. Audio System
I. Comfort Controls
J. Fog Lamp Button (Option)
K. Remote Hatch Release Button (Coupe) or Remote
Trunk Release Button (Convertible)
L. Ignition Switch
M. Shift Lever (Automatic Shown)
N. Traction Control System (TCS) Switch
0. Selective Real Time Damping (Option)
P. Instrument Panel Cupholder
Q. Remote Fuel Door Release Button
R. Ashtray
& Cigarette Lighter
S. Parking Brake
T. Glove Box
U. Instrument Panel Fuse Block
V. Power Accessory Outlet
2-75
Page 148 of 378
Downloaded from www.Manualslib.com manuals search engine Alarm
Press the OPTIONS button until ALARM appears on
the display, then use the RESET button to page through
the following selections:
0 ALARMHORN
ALARM HORN & LIGHTS
If you choose ALARM HORN, the horn will sound
during
an alarm. If you choose ALARM HORN &
LIGHTS, the horn will sound and the interior and
exterior lamps will flash during an alarm.
Passive Unlock
Press the OPTIONS button until PASSIVE UNLOCK
appears on the display, then use the RESET button to
page through the following selections:
PASSIVE UNLOCK- DRIVER
0 PASSIVE UNLOCK- BOTH
If you choose the PASSIVE UNLOCK- DRIVER, only
the driver’s door lock
will be programmed to passively
unlock. The driver’s door will passively unlock when
you approach the vehicle with the key fob transmitter
slider switch set to
ON.
If you choose PASSIVE UNLOCK- BOTH, the driver
and passenger’s door locks will be programmed to
passively unlock. The driver and passenger doors will
passively unlock when you approach the vehicle with
the key fob transmitter slider switch set to
ON.
See “Remote Function Actuation (FWA) System” in the
Index for more information.
Approach Lights
Press the OPTIONS button until APPROACH LIGHTS
appears on the display, then use the RESET button to
page through the following choices:
0 APPROACH LIGHTS ON
0 APPROACH LIGHTS OFF
If you choose APPROACH LIGHTS ON, the fog lamps,
front
turn signal, rear back-up and courtesy lamps will
come on for
30 seconds as you approach the vehicle
with the key fob transmitter. This will occur only when
it is dark outside.
APPROACH LIGHTS
OFF turns off this option.
See “Remote Function Actuation (RFA) System” in the
Index for more information.
2-95
Page 162 of 378
Downloaded from www.Manualslib.com manuals search engine a
+' LOWER: This setting directs most of the air
through the lower ducts to the floor area of the vehicle with some of the air also directed toward the windshield
and side window vents.
+# DEFOG: This setting divides the air between the
windshield and lower outlets with a small amount directed toward the side window vents. This is useful
when fog appears on the windshield or side glass due to
rain or snowy conditions.
DEFROST Use this setting to quickly remove fog
or frost from the windshield. This setting directs most of
the airflow to the windshield with
a small amount
directed toward the lower and side window outlets.
Mode Buttons
These buttons control the air intake, the air conditioning and the rear window defogger operation.
FRESH AIR: Press this button and it will bring
outside air into your vehicle. The light on the button will
come on when operating. Use this setting while trying to
defrost or defog windows to help clear moisture.
RECIRCULATE: Press this button to limit the
amount of fresh air entering your vehicle by
recirculating most of the
air inside your vehicle. The
light on the button will come on when operating. This
setting is helpful when you are trying to cool the air
quickly or to limit odors entering your vehicle.
RECIRCULATE cannot be used while in the DEFROST
or
DEFOG modes.
e A/C: This button turns the air conditioning
compressor
off or on under most conditions. The light
on the A/C button comes on when the compressor is
operating. The air conditioning does not operate at
temperatures below approximately
35 OF to 40°F (2" C
to 4°C). The air conditioning cools and dehumidifies the
air coming into the vehicle. The air conditioning cannot
be turned
off in DEFROST as it helps to remove
moisture from the vehicle. It also helps to keep the
windows clear.
The air conditioning may be forced
off at high engine
speeds
or high engine oil or coolant temperatures.
3-3
Page 166 of 378
Downloaded from www.Manualslib.com manuals search engine MODE: Press the MODE button to manually lock in the
current air delivery setting and to stop the automatic
mode control. Pressing the MODE button will delete
AUTO from the digital display and the mode graphics
will be shown. To change the setting, press the MODE
button again. The AUTO button must be pressed to
return to the automatic mode selection.
-bo
UPPER: This setting directs most of the air
through the instrument panel outlets and a very small amount to the lower outlets.
+# BI-LEVEL: This setting directs air into your
vehicle in two ways. Cooler air is directed toward your upper body through the instrument panel outlets, while
warmer air is directed through the lower outlets.
+# LOWER: This setting directs most of the air to
the floor area and some of it toward the windshield and
side window vents.
+’, DEFOG: This setting divides the air between
the windshield and lower outlets and a small amount
toward the side window vents. This is useful when fog
appears
on the windshield or side glass due to rain or
snowy conditions.
+e
e
w.
Mode Buttons
These buttons control climate control OWOFF, air
intake, front defrost, rear defrost and the air
conditioning operation.
OFF: Press the OFF button to turn off the climate
control system.
This is the only setting that fully shuts
off the fan. The digital display will show only the
outside temperature. You can still adjust the driver set
temperature, the passenger temperature offset and the
air
intake mode while in OFF.
a A/C: This button turns the air conditioning
compressor on or
off, except in the FRONT defrost
mode. The light on the
A/C button will come on when
the compressor is operating in either the automatic or
manual mode. The air conditioning may also be forced
off at high engine speeds. The light on the A/C button
will flash
if pressed when air conditioning operation is
not allowed.
3-7