Page 252 of 378
Downloaded from www.Manualslib.com manuals search engine When you put the cap back on, turn it to the right
(clockwise) until you hear a clicking sound. Make sure
you fully install the cap.
/9 CAUTION:
If J ,.I get gasoline on yourself and then
something ignites it, you could be badly burned.
Gasoline can spray out on you
if you open the
fuel filler cap too quickly. This spray can happen
if your tank is nearly full, and is more likely in
hot weather. Open the fuel filler cap slowly and
wait for any “hiss” noise to stop. Then unscrew
the cap all the way.
Be careful not to spill gasoline. Clean gasoline from
painted surfaces as soon as possible. See “Cleaning the
Outside of Your Vehicle” in the Index.
I NOTICE:
If you need a new cap, be sure to get the right
type. Your dealer can get one for you.
If you get
the wrong type, it may not fit or have proper
venting, and your fuel tank and emissions system
might be damaged.
6-7
Page 279 of 378
Downloaded from www.Manualslib.com manuals search engine 6
3. Remove the screws on each side of the
headlamp bezel.
4. Open the hood.
5. To remove the bezel, pull the sides slightly outward
and tilt the bezel forward. Pull the clip centered
above the lens outward. Be careful not to scratch
the paint.
6. Reach behind the lamp and turn the bulb to the left
(counterclockwise) to remove it. Don’t touch the
halogen bulbs. The inner bulb is the high beam and
the outer bulb is the low beam.
7. Disconnect the desired bulb from the wiring harness.
8. Reverse the steps with a new bulb.
Page 280 of 378
Downloaded from www.Manualslib.com manuals search engine Front nrn Signal Lamps Rear nrn Signal and Taillamps
1. Remove the front fascia close out panel
attaching bolts.
2. Remove the front fascia close out panel.
3. Grasp the cooling duct and pull to release it from the
front fascia, then reposition
it. This will give you
better access to the bulb.
4. Squeeze the tab on the socket and turn it to the
left (counterclockwise) to remove the socket with
the bulb.
5. Remove the bulb from the socket.
6. Reverse the steps with a new bulb.
Front Sidemarker Lamps
1. Follow Steps 1 through 3 in “Front Turn Signal
Lamps” described previously.
2. Turn the socket one-quarter of a turn to the left and
pull it out.
3. Pull the bulb straight out of the socket.
4. Reverse the steps with a new bulb.
A. Back-up Lamp
B. Inboard Taillamp
C. Outboard Taillamp
6-35
Page 281 of 378
Downloaded from www.Manualslib.com manuals search engine 1. Remove the screws.
2. Pull the taillamp housing assembly out.
3. To remove the socket with the bulb, squeeze
the tab while you turn the socket to the
left (counterclockwise).
Page 357 of 378

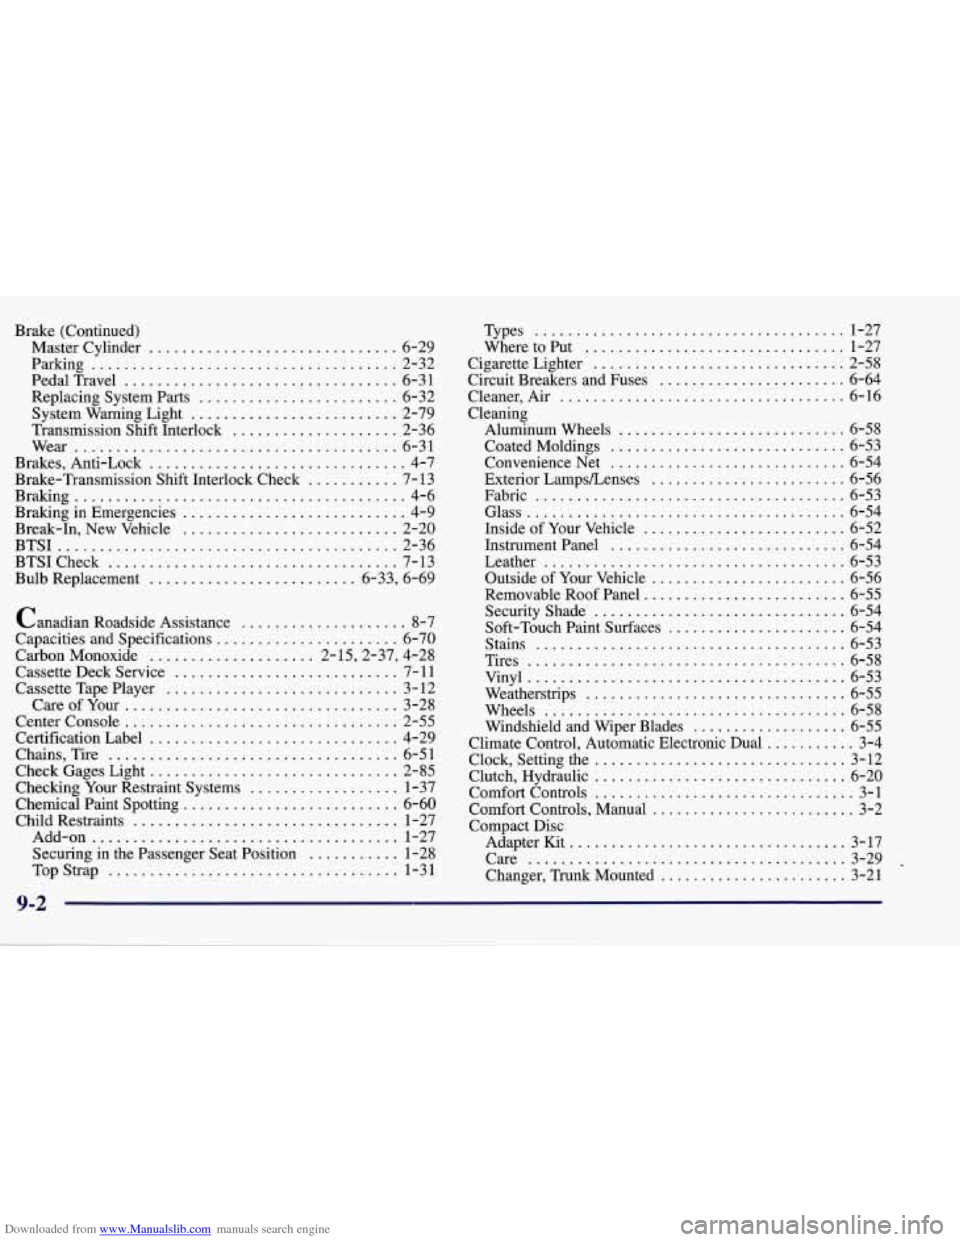
Downloaded from www.Manualslib.com manuals search engine Brake (Continued) Master Cylinder
.............................. 6-29
Parking
..................................... 2-32
PedalTravel
................................. 6-31
Replacing System Parts
........................ 6-32
System Warning Light
......................... 2-79
Transmission Shift Interlock
.................... 2-36
Wear
....................................... 6-31
Brakes. Anti-Lock
............................... 4-7
Brake-Transmission Shift Interlock Check
........... 7- 13
Braking
........................................ 4-6
Braking in Emergencies
........................... 4-9
Break.In. New Vehicle
.......................... 2-20
BTSI
......................................... 2-36
BTSICheck
................................... 7-13
Bulb Replacement
......................... 6.33. 6.69
Canadian Roadside Assistance
.................... 8-7
Capacities and Specifications
...................... 6-70
Carbon Monoxide
.................... 2.15.2.37. 4.28
Cassette Deck Service
........................... 7- 11
Cassette Tape Player ............................ 3-12
CareofYour
................................. 3-28
Center Console
................................. 2-55
Certification Label
.............................. 4-29
Chains. Tire
................................... 6-51
Check Gages Light
.............................. 2-85
Checking Your Restraint Systems
.................. 1-37
Chemical Paint Spotting
.......................... 6-60
Child Restraints
................................ 1-27
Add-on
..................................... 1-27
Securing in the Passenger Seat Position
........... 1-28
Top Strap
.................................... 1-3 1
Types ...................................... 1-27
WheretoPut
................................ 1-27
Cigarette Lighter
............................... 2-58
Circuit Breakers and Fuses
....................... 6-64
Cleaner. Air
................................... 6-16
Cleaning Aluminum Wheels
............................ 6-58
Coated Moldings
............................. 6-53
ConvenienceNet
............................. 6-54
Exterior LampsLenses
........................ 6-56
Fabric
...................................... 6-53
Glass
....................................... 6-54
Inside of Your Vehicle
......................... 6-52
Instrument Panel
............................. 6-54
Leather
..................................... 6-53
Outside of Your Vehicle
........................ 6-56
Removable Roof Panel
......................... 6-55
Security Shade
............................... 6-54
Soft-Touch Paint Surfaces
...................... 6-54
Stains
...................................... 6-53
Tires
....................................... 6-58
Vinyl
....................................... 6-53
Weatherstrips
................................ 6-55
Wheels
..................................... 6-58
Windshield and Wiper Blades
................... 6-55
Climate Control. Automatic Electronic Dual
........... 3-4
Clock. Setting the
............................... 3-12
Clutch. Hydraulic
............................... 6-20
Comfort Controls
................................ 3-1
Comfort Controls. Manual
......................... 3-2
Compact Disc
AdapterKit
.................................. 3-17
Care
....................................... 3-29 .
Changer. TmnkMounted ....................... 3-21
9-2