Page 7 of 400
Downloaded from www.Manualslib.com manuals search engine Instrument Panel Fuse Block
Supplement to the 1998 Chevrolet
Cavalier and Pontiac Sunfire
Owner’s Manual
This information replaces the “Instrument Panel Fuse
Block” and “Engine Compartment Fuse Block”
information
found on pages 6-59 through 6-62 in
Section
6 of your Owner’s Manual.
The fuse panel is located at the left end of the instrument
panel.
To open, push the tab on the access door to the
left
and pull the door forward. Make sure to insert the
tabs
when replacing the cover.
Part No. 22615825
1
Page 8 of 400
Downloaded from www.Manualslib.com manuals search engine Fuse
TRN-BL
F/P-INJ
RR
DFOG
CLUSTER
I TRN-BIL~ ERLS 1 ALA;' PCMIIGN I IGN 1
FIP- INJ AIR BAG CRUISE
RR DFOG PWR ACC STOP HA L HDLP R HDLP
CLUSTER EXT LAMP INT LAMP
HORN
I I I INST LPS I I I
I I I I
I 02 HTR I HVAC I I I I
1
WIPER RADIO
Usage
Exterior Lamps, Back-up Lamps
Fuel Pump, Fuel Injectors
Rear Window Defogger
Instrument Cluster, Anti-Lock
Brake System
Fuse
CLS/PCM
02 HTR
WIPER
ERLS
AIR BAG
PWR ACC
EXT LAMP
HVAC
Usage
Instrument Cluster, Powertrain
Control Module, Daytime
Running Lamps
Rear
02 Sensor Heater
Windshield Wipers,
Windshield Washers
Automatic Transaxle, Brake
Transaxle Shift Interlock, A/C
Compressor, Cruise Control,
Multiport Fuel Injection
Supplemental Inflatable
Restraint System
Power Door Locks, Convertible
Top (Convertible Model Only)
Exterior Lamps, Instrument
Panel Lights
Heater and NC Control, Engine
Cooling
Fan
Page 18 of 400
Downloaded from www.Manualslib.com manuals search engine Vehicle Symbols
These are some of the symbols you may find on your vehicle.
For example,
these symbols are used on an
original battery:
POSSIBLE A
CAUTION
INJURY
PROTECT EYES BY
SHIELDING
CAUSTIC
ACID COULD BAlTERY
CAUSE
BURNS
AVOID
SPARKS OR FLAMES
SPARK
OR ,111,
COULD FLAME
EXPLODE BAITERY
These symbols
are important
for you and
your passengers whenever your
vehicle is
driven:
DOOR LOCK
UNLOCK
n
WINDOW ISJ
These symbols
have to do with
your lamps:
RUNNING 0
DAYTIME -0 0
LAMPS '**
FOG LAMPS $0
These symbols
are on some of
your controls:
WINDSHIELD
DEFROSTER
WINDOW
DEFOGGER
VENTILATING FAN
These symbols
are used on
warning and
indicator lights:
CHARGING BAllERY
SYSTEM
BRAKE
(a)
COOLANT a
ENGINE OIL
PRESSURE
ANTI-LOCK
(a)
BRAKES
Here are some
other symbols
you may see:
FUSE
LIGHTER
n
HORN )tr
SPEAKER
b
FUEL p3
1
viii
Page 24 of 400

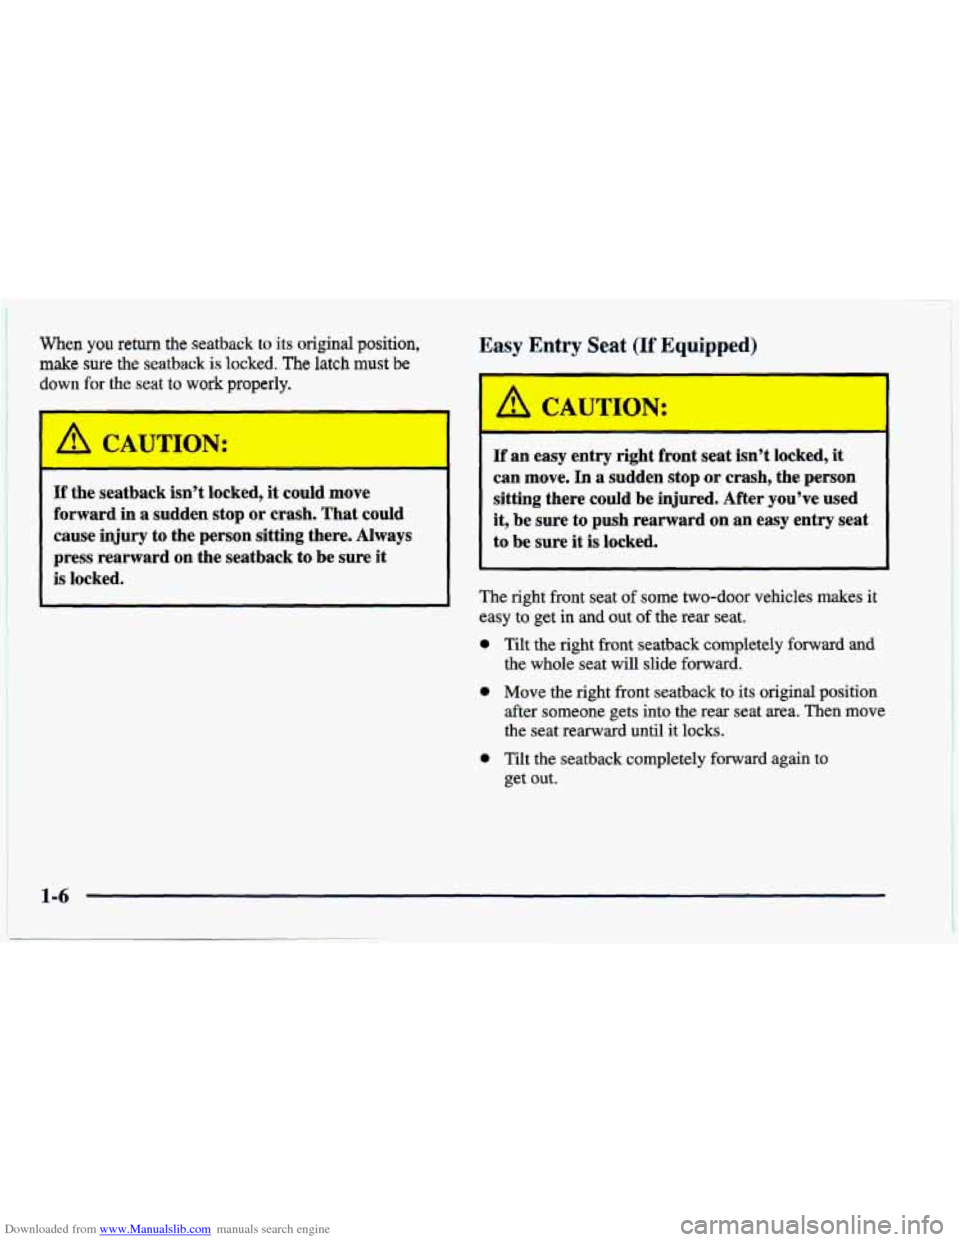
Downloaded from www.Manualslib.com manuals search engine When you return the seatback to its original position,
make sure the seatb,ack is locked. The latch must be
down for the seat to work properly.
If the seatback isn’t locked, it could move
forward in a sudden stop or crash. That could
cause injury to the person sitting there. Always
press rearward on the seatback to be sure it
is locked.
Easy Entry Seat (If Equipped)
‘ A CAUTION:
+
If an easy entry right front seat isn’t locked, it
can move. In a sudden stop or crash, the person
sitting there could be injured. After you’ve used
it, be sure to push rearward on an easy entry seat
to be sure it is locked.
The right front seat of some two-door vehicles makes it
easy to get in and out of the rear seat.
0 Tilt the right front seatback completely forward and
the whole seat will slide forward.
0 Move the right front seatback to its original position
after someone gets into the rear seat area. Then move
the seat rearward until it locks.
0 Tilt the seatback completely forward again to
get out.
1-6
Page 32 of 400
Downloaded from www.Manualslib.com manuals search engine Driver Position
This part describes the driver’s restraint system.
Lap-Shoulder Belt
The driver has a lap-shoulder belt. Here’s how to wear
it
properly.
1. Close and lock the door.
2. Adjust the seat (to see how, see “Seats” in the Index)
so you can sit up straight.
3. Pick up the latch plate and pull the belt across you.
Don’t let it get twisted.
The shoulder belt may lock
if you pull the belt across
you very quickly.
If this happens, let the belt go back
slightly to unlock it. Then pull the belt across you
more slowly.
4. Push the latch plate into the buckle until it clicks.
1-14
Page 35 of 400
Downloaded from www.Manualslib.com manuals search engine Shoulder Belt Height Adjuster (&Door Models)
Before you begin to drive, move the shoulder belt adjuster to the height that
is right for you.
To move it down, squeeze the release button and move
the adjuster to the desired position. You
can move the
adjuster
up just by pushing up on the shoulder belt
guide. After you move the adjuster to where you want it,
try to move it down without squeezing the release button
to make sure it has locked into position.
Adjust the height
so that the shoulder portion of the
belt is centered on your shoulder. The belt should be
away from your face and neck, but not falling
off
your shoulder.
1-17
Page 77 of 400

Downloaded from www.Manualslib.com manuals search engine 0 Section 2 Features and Controls
Here you can learn about the many standard and optional featur\
es on your vehicle, and information on starting,
shifting and braking. Also explained are the instrument panel and the warning systems that tell you if everything is
working properly
-- and what to do if you have a problem.
2-2
2-4
2-6
2-11
2- 12
2-13
2-
13
2- 15
2-18
2- 19
2-24
2-26
2-27
2-29
2-29
Keys
Door Locks Keyless Entry System (If Equipped)
Theft
Passlock@
New Vehicle “Break-In”
Ignition Positions
Starting Your Engine
Engine Coolant Heater (If Equipped) Automatic Transaxle Operation
Manual Transaxle Operation
Parking Brake
Shifting Into PARK (P)
(Automatic Transaxle Only)
Shifting Out of Park
(P)
(Automatic Transaxle)
Parking Your Vehicle
(Manual Transaxle Models Only)
2-30
2-30
2-3 1
2-32
2-33
2-33
2-40
2-43
2-45
2-47
2-48
2-48
2-49
2-49
2-60
2-62 2-65 Parking Over Things That Burn
Engine Exhaust
Running Your Engine While You’re Parked
(Automatic Transaxle)
Windows
Tilt Wheel (If Equipped)
Turn SignalMultifunction Lever
Exterior Lamps
Interior Lamps
Mirrors Storage Compartments
Ashtrays and Cigarette Lighter Sun Visors
Sunroof
(If Equipped)
Convertible Top (If Equipped) Instrument Panel
Instrument Panel Clusters
Warning Lights, Indicators and Gages
2-1
Page 79 of 400
Downloaded from www.Manualslib.com manuals search engine .. .
One key
ignition,
all other is
for the
the doors
locks. and
When
a new vehicle is delivered, the dealer removes the
key tag from the key, and gives it to the first owner. Each
tag has
a code on it that tells your dealer or a
qualified locksmith how to make extra keys. Keep the
tag
in a safe place. If you lose your key, you'll be able to
have a new one made easily using the tag.
NOTICE:
Your vehicle has a number of new features that
can help prevent theft. But you can have a lot of
trouble getting into your vehicle if
you ever lock
your key inside. You may even have to damage
your vehicle to get in.
So be sure you have an
extra key.
2-3