Page 108 of 400

Downloaded from www.Manualslib.com manuals search engine Windows
On a vehicle with manual windows, use the window
crank to open and close each window.
Power Windows (If Equipped)
The driver’s window switch has an auto-down feature.
The driver’s window can be opened to the desired
amount by pushing the rear of the switch to the first
detent.
For the auto-down feature, push the rear of the
switch all the way down. The window will continue
going down until fully opened.
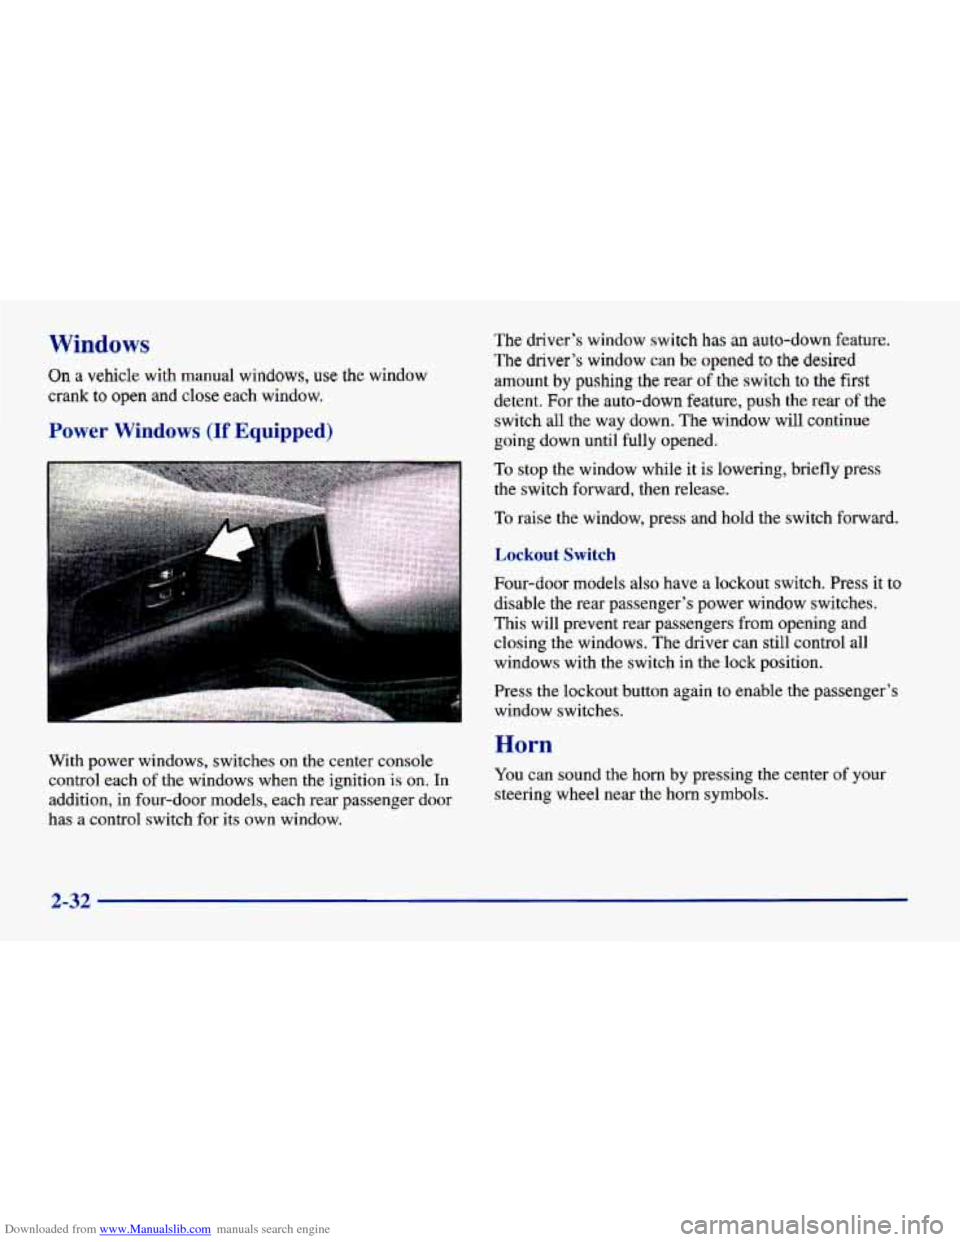
With power windows, switches
on the center console
control each
of the windows when the ignition is on. In
addition, in four-door models, each rear passenger door
has a control switch for its own window.
To stop the window while it is lowering, briefly press
the switch forward, then release.
To raise the window, press and hold the switch forward.
Jmkout Switch
fiour-door moclels also have a lockout switch. Press it to
disable the rear passenger’s power window switches.
This will prevent rear passengers from opening and
closing the windows. The driver can still control all
windows with the switch in the lock position.
Press the lockout button again to enable the passenger’s
window switches.
Horn
You can sound the horn by pressing the center of your
steering wheel near the horn symbols.
2-32
Page 119 of 400
Downloaded from www.Manualslib.com manuals search engine Interior Lamps
Instrument Panel Intensity Control
You can brighten or dim the instrument panel lights by
turning the dial up or down.
Turn the dial up all the way to turn on the interior
courtesy lamps.
Illuminated Entry
When you open either front door, or open a rear door,
the lamps inside your vehicle will go on. These lamps
will fade
off after about 40 seconds, or when the ignition
is turned on after all the
doors have been closed.
If the ignition has been
off for less than two minutes,
the lamps inside your vehicle will stay
on for about
15 seconds to provide an illuminated exit when you
remove the key from the ignition.
After
you exit the vehicle and all of the doors have been
closed, the lamps will stay on for an additional four
seconds before fading off. These lamps will also go on
when you press the LOCK or UNLOCK button
on the
optional keyless entry transmitter.
2-43
Page 132 of 400
Downloaded from www.Manualslib.com manuals search engine Raising the Convertible Top
1. Set the parking brake and shift your automatic
transaxle to
PARK (P) or your manual transaxle to
NEUTRAL (N).
2. Turn the ignition to RUN.
3. Lower the door windows to avoid wear to
the weatherstrips.
4. Push the button in the latch handle and rotate the
handle down.
5. Push the handle forward toward the windshield and
hold it until the convertible top is fully raised, and
the latch pins
are all the way in the holes above
the windshield.
6. Turn the latch handle up to lock the top. Be sure the
top is securely latched
on both sides.
2-56
Page 216 of 400

Downloaded from www.Manualslib.com manuals search engine Total Weight on Your Vehicle’s Tires
Be sure your vehicle’s tires are inflated to the upper limit
for cold tires. You’ll find these numbers on the
Tie-Loading Information Label at
the rear edge of the
driver’s door, or see “Loading Your Vehicle” in the Index.
Then be sure you don’t go over the
GVW limit for your
vehicle, including the weight of the
trailer tongue.
Hitches
It’s important to have the correct hitch equipment.
Crosswinds, large trucks going by and rough roads are a
few reasons why you’ll need the right hitch. Here are
some rules to follow:
0 The rear bumper on your vehicle is not intended for
hitches.
Do not attach rental hitches or other
bumper-type hitches to it. Use only a frame-mounted
hitch that does not attach to the bumper.
Will you have to make any holes in the body of your
vehicle when you install a trailer hitch? If you do,
then be sure to seal the holes later when you remove
the hitch. If you don’t seal them, deadly carbon
monoxide
(CO) from your exhaust can get into your
vehicle (see “Carbon Monoxide” in the Index). Dirt
and water can, too.
Safety Chains
You should always attach chains between your vehicle
and your trailer. Cross the safety chains under the tongue
of the trailer so that the tongue will not drop to the road
if it becomes separated from the hitch. Instructions
about safety chains may be provided by the hitch
manufacturer or by the trailer manufacturer. Follow the
manufacturer’s recommendation for attaching safety
chains and
do not attach them to the bumper. Always
leave just enough slack
so you can turn with your rig.
And, never allow safety chains to drag on the ground.
Trailer Brakes
Does your trailer have its own brakes? Be sure to read
and follow the instructions for the trailer brakes
so
you’ll be able to install, adjust and maintain them
properly. Because you have anti-lock brakes, do not try
to tap into your vehicle’s brake system. If you do, both
brake systems won’t work well, or at all.
Driving with a Trailer
Towing a trailer requires a certain amount of experience.
Before setting out for the open road, you’ll want to get
to know your rig. Acquaint yourself with the feel of
handling and braking with the added weight
of the
4-36
Page 264 of 400
Downloaded from www.Manualslib.com manuals search engine If you get gasoline on yourself and then
something ignites it, you could be badly burned.
Gasoline can spray out on you
if you open the
fuel filler cap too quickly.
This spray can happen
if your tank is nearly full, and is more likely in
hot weather. Open the fuel filler cap slowly and
wait for any “hiss” noise to stop. Then unscrew
the cap all the
way.
~~ ~ ~ ~~~~ ~ ~ ~~ ~~~~ ~~
The cap is behind a hinged door on the right side of
your vehicle.
While refueling, hang the tethered cap inside the fuel door by placing the fuel cap strap in the strap hanger.
To remove the cap, turn it slowly to the left
(counterclockwise). The cap has a spring in it; if
you let
go
of the cap too soon, it will spring back to the right. Be
careful
not to spill gasoline. Clean gasoline from
painted surfaces as soon as possible. See “Cleaning the
Outside of Your Vehicle” in the Index.
6-6
Page 296 of 400
Downloaded from www.Manualslib.com manuals search engine Back-up Lamps
1. Open the trunk lid and locate the back-up lamp
2. Gently remove the bulb from the socket by turning it
assembly on the trunk lid.
counterclockwise and pulling
it out.
3. To remove the bulb, pull it out.
4. Push in a new bulb.
5. Reverse all steps to replace the taillamp assembly.
3. Replace the bulb in the socket by aligning the tabs
and turning clockwise.
Center High-Mounted Stoplamp (Models Without
a Spoiler)
If you have a four-door sedan, the Center
High-Mounted Stoplamp (CHMSL)
is accessible from
the interior.
To change the bulb, do the following:
1. Open the trunk and view the access hole under the
2. Remove the bulb sockets by rotating and pull down.
rear shelf.
3. Remove the bulb and replace.
4. Re-install the new bulb and socket into the CHMSL.
6-38
Page 317 of 400

Downloaded from www.Manualslib.com manuals search engine Fuses and Circuit Breakers
The wiring circuits in your vehicle are protected from
short circuits by a combination of fuses, circuit breakers
and fusible thermal links. This greatly reduces the
chance of damage caused by electrical problems.
Look at the silver-colored band inside the fuse. If the
band is broken or melted, replace the fuse.
Be sure you
replace a bad fuse with a new one of the identical size
and rating.
If you ever have a problem on the road and don’t have a
spare fuse, you can borrow one that has the same
amperage. Just pick some feature of your vehicle that
you can get along without
-- like the radio or cigarette
lighter
-- and use its fuse if it is the correct amperage.
Replace it as soon
as you can.
There are two fuse blocks in your vehicle: the
instrument panel
fuse block and the engine compartment
fuse block.
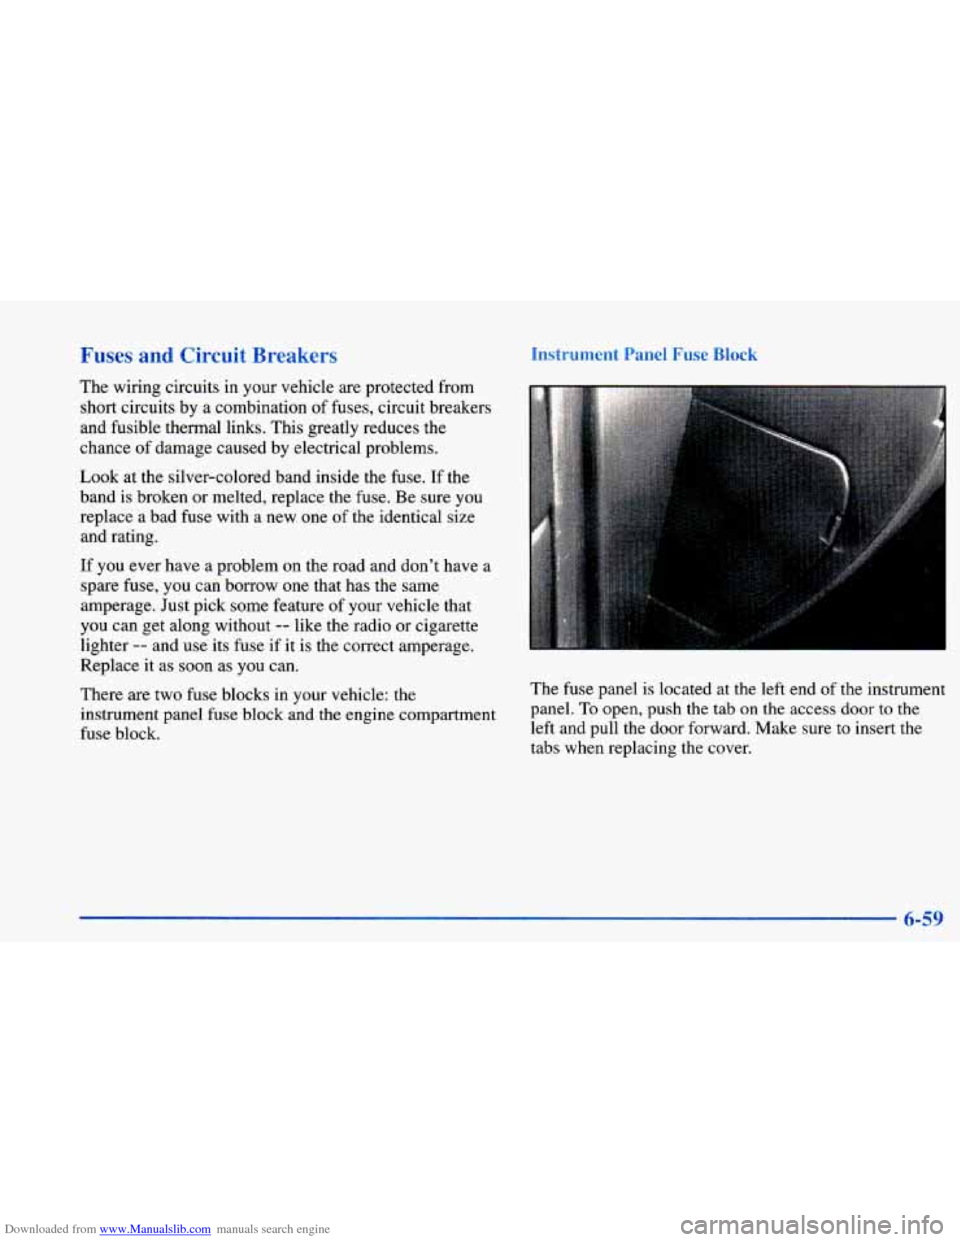
Instrument Panel Fuse Block
The fuse panel is located at the left end of the instrument
panel.
To open, push the tab on the access door to the
left and pull the door forward.
Make sure to insert the
tabs when replacing the cover.
6-59
Page 318 of 400
Downloaded from www.Manualslib.com manuals search engine Fuse
TRN-BL FA'-INJ
RR DFOG
CLUSTER
Usage
Exterior Lamps, Back-up Lamps
Fuel Pump, Fuel Injectors
Rear Window Defogger
Instrument Cluster, Anti-Lock
Brake System
Fuse
CLSRCM
02 HTR
WIPER
ERLS
AIR BAG
PWR ACC
EXT LAMP
HVAC
Usage
Instrument Cluster,
Powertrain Control Module,
Daytime Running Lamps
Multiport Fuel Injection
Windshield Wipers,
Windshield Washers Automatic Transaxle, Brake
Transaxle Shift Interlock, A/C
Compressor, Cruise Control,
Multiport Fuel Injection
Supplemental Inflatable
Restraint System
Power Door Locks, Convertible
Top (Convertible Model Only)
Exterior Lamps, Instrument
Panel Lights
Heater and A/C Control,
Anti-lock Brake System,
Engine Cooling Fan
6-60