Page 137 of 400
Downloaded from www.Manualslib.com manuals search engine Your instrument panel is designed to let you know at a glance how your vehicle is running. You’ll know how fast
you’re going, how much fuel is left in the tank, and many other things you’ll need to drive sa\
fely and economically,
The main components
of your instrument panel are:
1. Instrument Panel Intensity Control
2. Turn SignaVMultifunction Lever
3. Hazard Warning Flashers Switch
4. Ignition Switch
5. Windshield Wiperwasher Controls
6. Audio System
7. Climate Controls and Rear Window Defogger
8. Ashtray
9. Parking Brake Lever
10. Tilt Steering Wheel Lever (If Equipped)
11. Hood Release Lever
12. Fuse Panel
2-61
Page 138 of 400
Downloaded from www.Manualslib.com manuals search engine Instrument Panel Clusters
Standard Cluster
Your vehicle is equipped with one of these instrument panel clusters, which include indicator warning lights and
gages
that are explained on the following pages. Be sure to read about those that apply to the instrument panel cluster
for your vehicle.
2-62
Page 142 of 400
Downloaded from www.Manualslib.com manuals search engine Safety Belt Reminder Light
When the key is turned to RUN or START, a chime will
come on for about eight seconds to remind people to
fasten their safety belts, unless the driver’s safety belt is
already buckled.
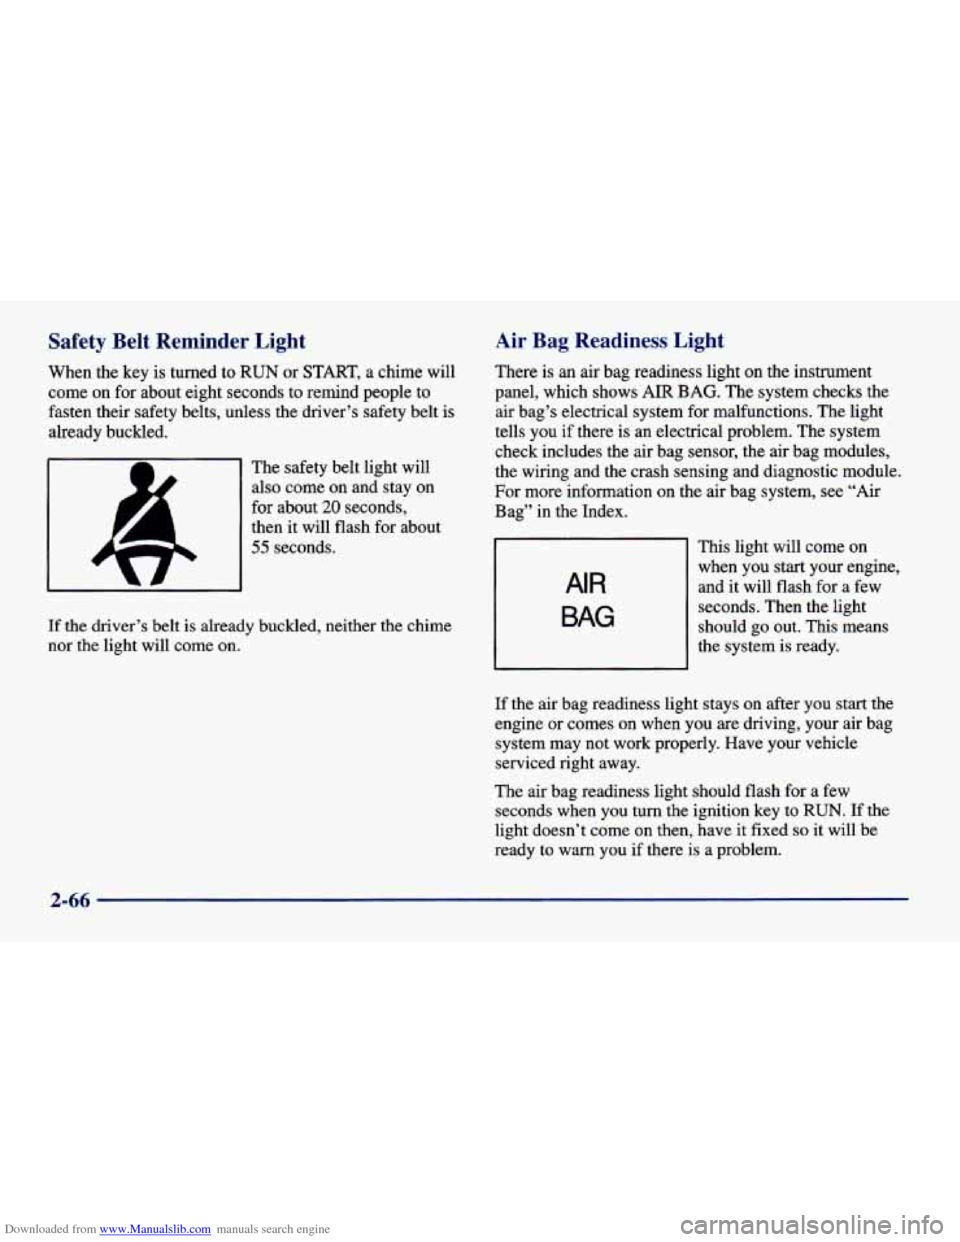
The safety belt light will
also come on and stay on
for about
20 seconds,
then it
will flash for about
55 seconds.
If the driver’s belt is already buckled, neither the chime
nor the light will come on.
Air Bag Readiness Light
There is an air bag readiness light on the instrument
panel, which shows
AIR BAG. The system checks the
air bag’s electrical system for malfunctions. The light
tells you if there is an electrical problem. The system
check includes the air bag sensor, the air bag modules,
the wiring and the crash sensing and diagnostic module.
For more information on the air bag system, see
“Air
Bag” in the Index.
AIR
BAG
This light will come on
when you start your engine,
and it will flash
for a few
seconds. Then the light
should go out. This means
the system is ready.
If the air bag readiness light stays on after you start the
engine or comes on when you are driving, your air bag
system may not work properly. Have your vehicle
serviced right away.
The air bag readiness light should flash for a few
seconds when you turn the ignition key to
RUN. If the
light doesn’t come
on then, have it fixed so it will be
ready to
warn you if there is a problem.
2-66
Page 156 of 400
Downloaded from www.Manualslib.com manuals search engine Comfort Controls Fan Knob
This section tells you how to make your air system work
for
you. The optional climate control system with air
conditioning
uses ozone-friendly R- 134a refrigerant.
With these systems,
you can control the ventilation
and heating in your vehicle. Your vehicle also has the
flow-through ventilation system described later in
this section.
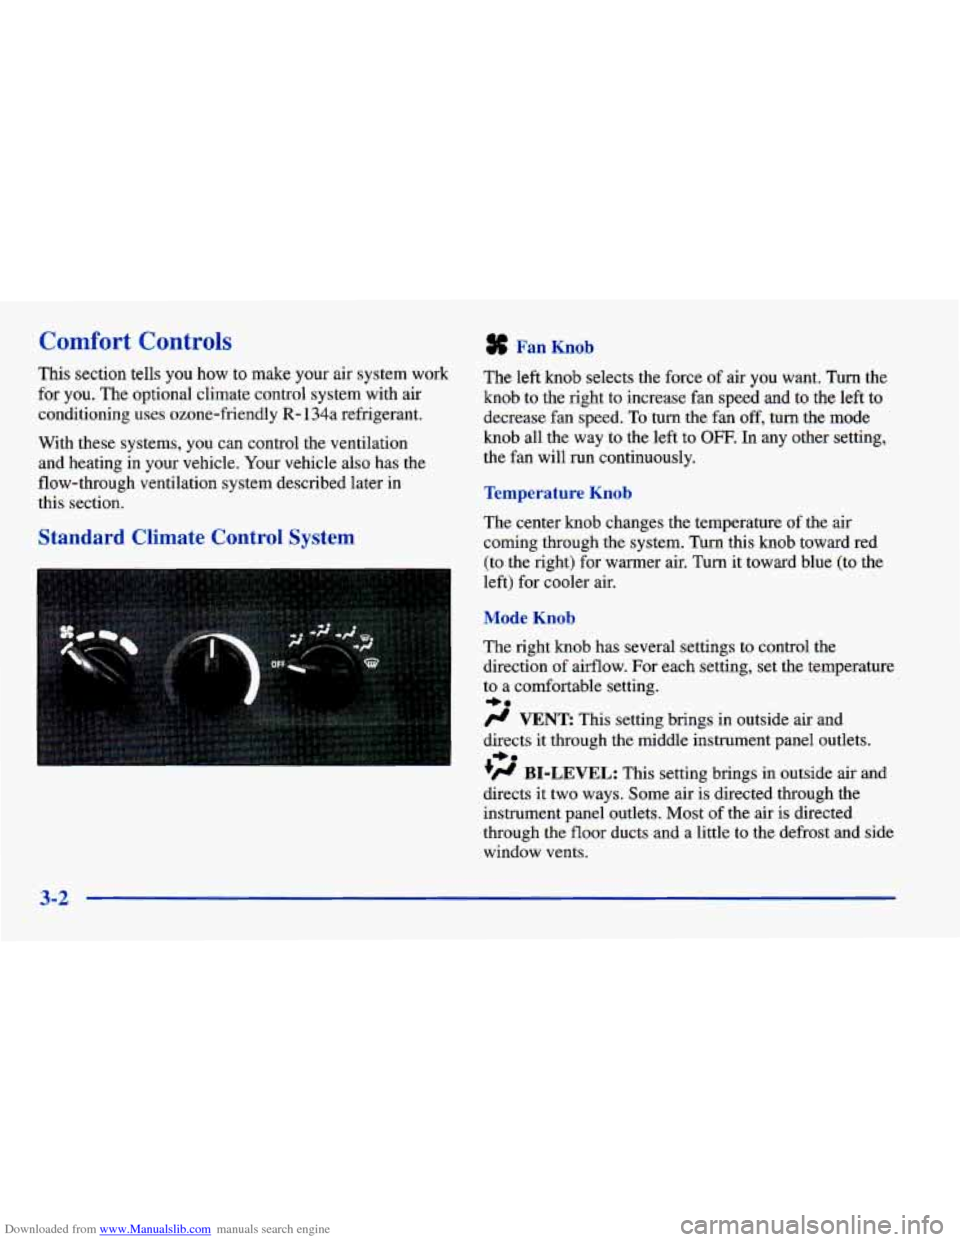
Standard Climate Control System
The left knob selects the force of air you want. Turn the
knob to the right to increase fan speed
and to the left to
decrease fan speed.
To turn the fan off, turn the mode
knob all the way
to the left to OFF. In any other setting,
the fan will run continuously.
Temperature Knob
The center knob changes the temperature of the air
coming through the system. Turn this knob toward red (to the right) for warmer air. Turn it toward blue (to the
left) for cooler air.
Mode Knob
The right knob has several settings to control the
direction of airflow. For each setting, set the temperature
to
a comfortable setting.
# VENT This setting brings in outside air and
directs it through the middle instrument panel outlets.
+’ BI-LEVEL: This setting brings in outside air and
directs
it two ways. Some air is directed through the
instrument panel outlets. Most of the air is directed
through the floor ducts and a little to
the defrost and side
window vents.
+e
+e
3-2
Page 157 of 400
Downloaded from www.Manualslib.com manuals search engine 0
+’ FLOOR: This setting sends most of the air
through the ducts near the floor. The rest comes out
of
the defroster and side window vents.
+# DEFOG: This setting allows half of the air to
go to the floor ducts and half to the defroster and side
window vents.
w.
DEFROST: This setting directs most of the air
through the defroster and side window vents. Some
of
the air goes to the floor ducts.
Climate Control System with Air
Conditioning
(If Equipped)
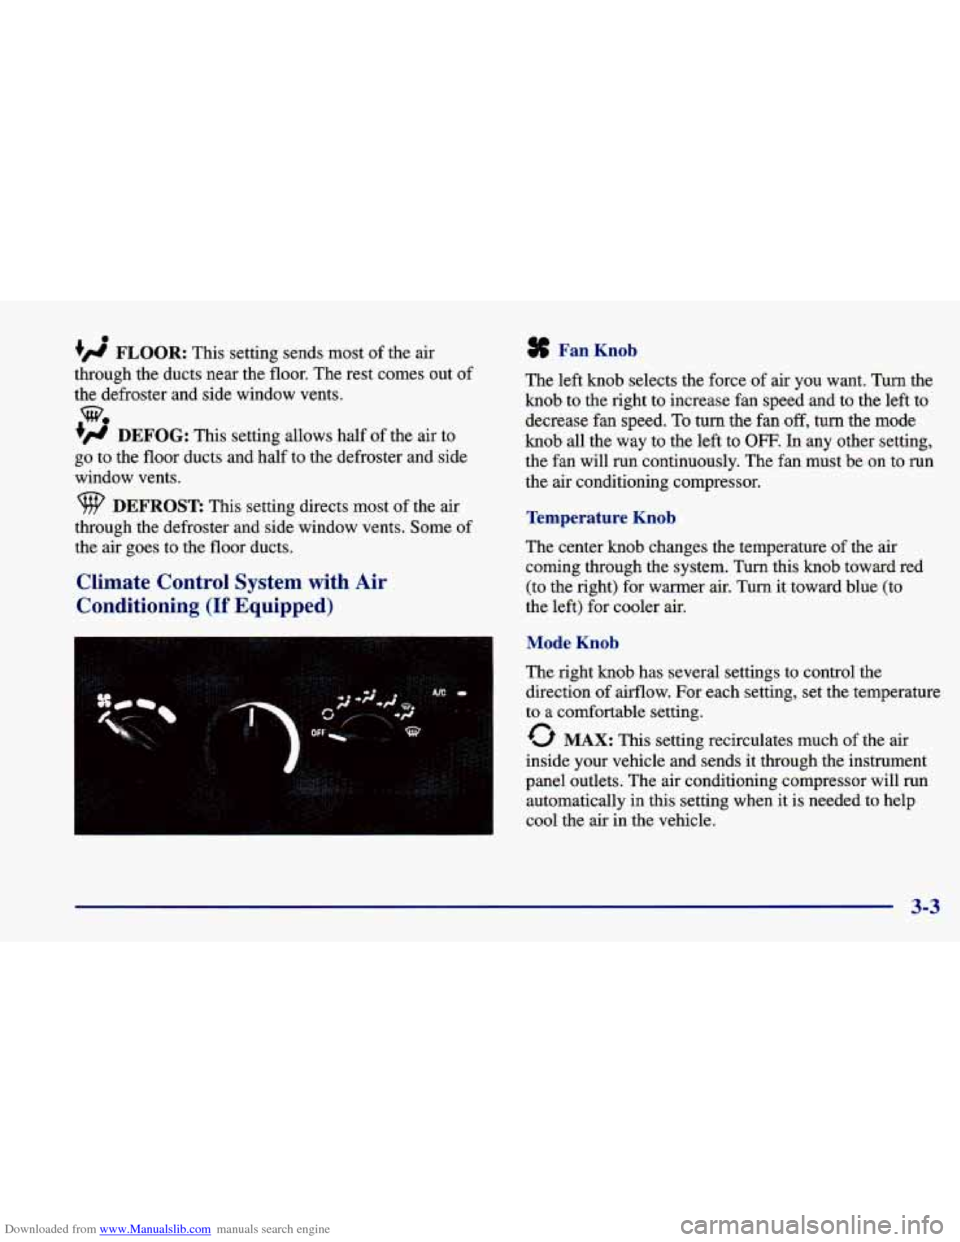
Fan Knob
The left knob selects the force of air you want. Turn the
knob to the right to increase fan speed and to the left to
decrease fan speed.
To turn the fan off, turn the mode
knob all the way to the left to OFF. In any other setting,
the fan will run continuously. The fan must be
on to run
the
air conditioning compressor.
Temperature Knob
The center knob changes the temperature of the air
coming through the system. Turn this
knob toward red
(to the right) for warmer air. Turn it toward blue
(to
the left) for cooler air.
Mode Knob
The right knob has several settings to control the
direction of airflow. For each setting, set the temperature
to a comfortable setting.
0 MAX: This setting recirculates much of the air
inside your vehicle and sends it through the instrument
panel outlets. The air conditioning compressor will run
automatically in this setting when it is needed to help
cool the air in the vehicle.
3-3
Page 158 of 400
Downloaded from www.Manualslib.com manuals search engine -0
/J VENT This setting brings in outside air and
directs it through the instrument panel.
+fl BI-LEVEL: This setting brings in outside air and
directs it two ways. Some air is directed through the
instrument panel outlets. Most of the air
is directed
through the floor ducts and a little to the defrost and side
window vents.
+# FLOOR: This setting sends most of the air
through the ducts near the floor. The rest comes out of
the defroster and side window vents.
+’ DEFOG: This setting allows half of the air to
go to the floor ducts and half to the defroster and side
window vents.
+e
e
we
DEFROST: This setting directs most of the air
through the defroster and side window vents. Some
of
the air goes to the floor ducts. The air conditioning
compressor will run automatically in
this setting when it
is needed to help dry the air in the vehicle.
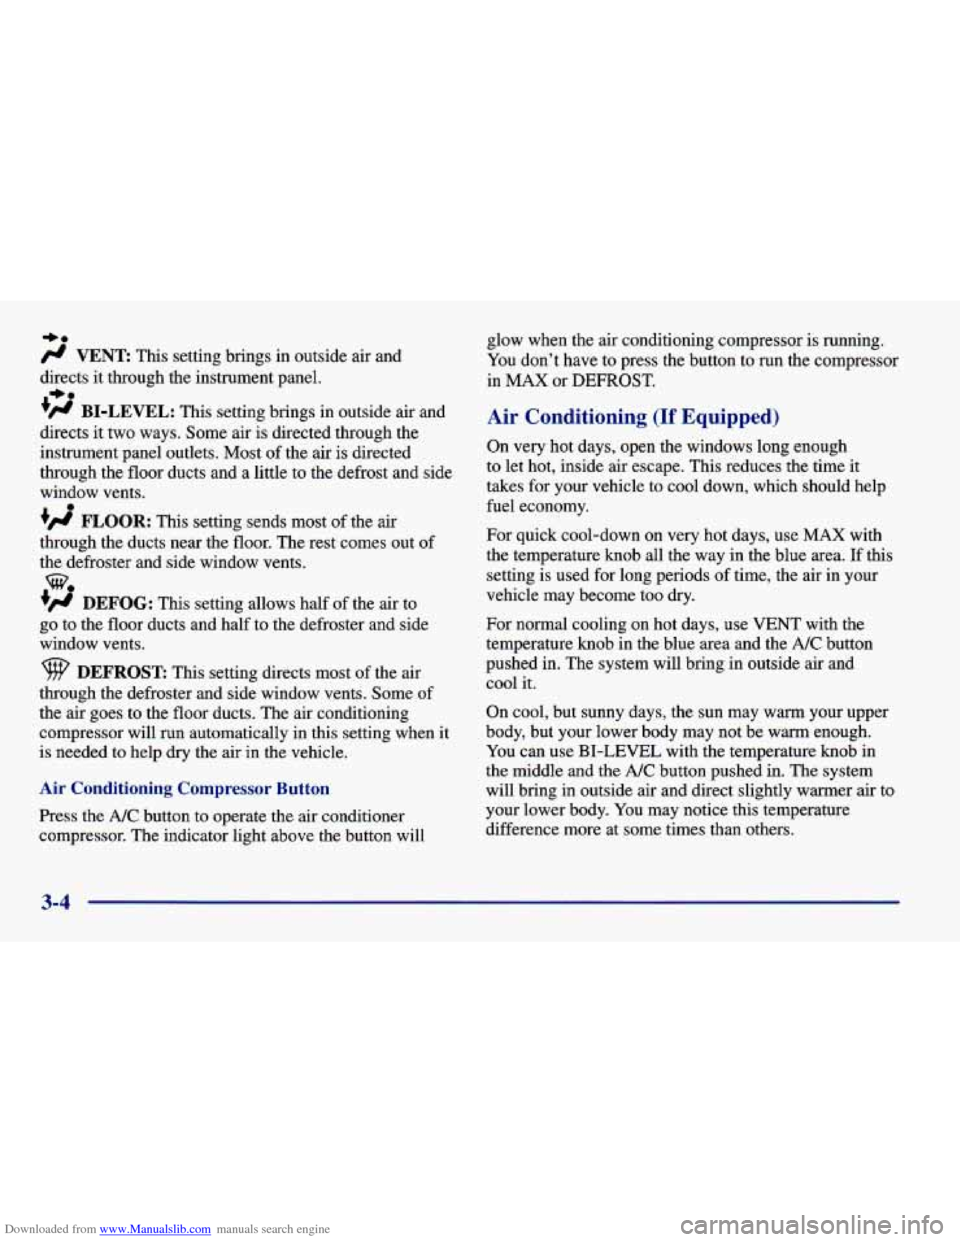
Air Conditioning Compressor Button
Press the NC button to operate the air conditioner
compressor. The indicator light above the button will glow
when the air conditioning compressor is running.
You don’t have to press the button to run the compressor
in MAX or DEFROST.
Air Conditioning (If Equipped)
On very hot days, open the windows long enough
to let hot, inside air escape. This reduces the time it
takes for your vehicle to cool down, which should help
fuel economy.
For quick cool-down on very hot days, use
MAX with
the temperature knob all the way in the blue area. If this
setting is used for long periods of time, the air in your
vehicle may become too dry.
For normal cooling on hot days, use VENT with the
temperature knob
in the blue area and the A/C button
pushed in. The system will bring in outside air and
cool it.
On cool, but sunny days, the sun may warm your upper
body, but your lower body may not be warm enough.
You can use BI-LEVEL with the temperature knob in
the middle and the
NC button pushed in. The system
will bring in outside air and direct slightly warmer air to
your lower body. You may notice this temperature
difference more at
some times than others.
3-4
Page 209 of 400
Downloaded from www.Manualslib.com manuals search engine 3. Open the fuse panel on the driver’s side of the
instrument panel. Remove the fuse labeled
CLSPCM. This will keep your battery from
draining while towing.
4. Turn the ignition key to OFF to unlock the steering
5. Clamp the steering wheel in a straight-ahead position
6. Release the parking brake.
When
you are finished towing, make sure you replace
the
CLSPCM fuse in the instrument panel fuse block.
wheel.
See “Ignition Positions” in the Index.
with a clamping device designed for towing.
an
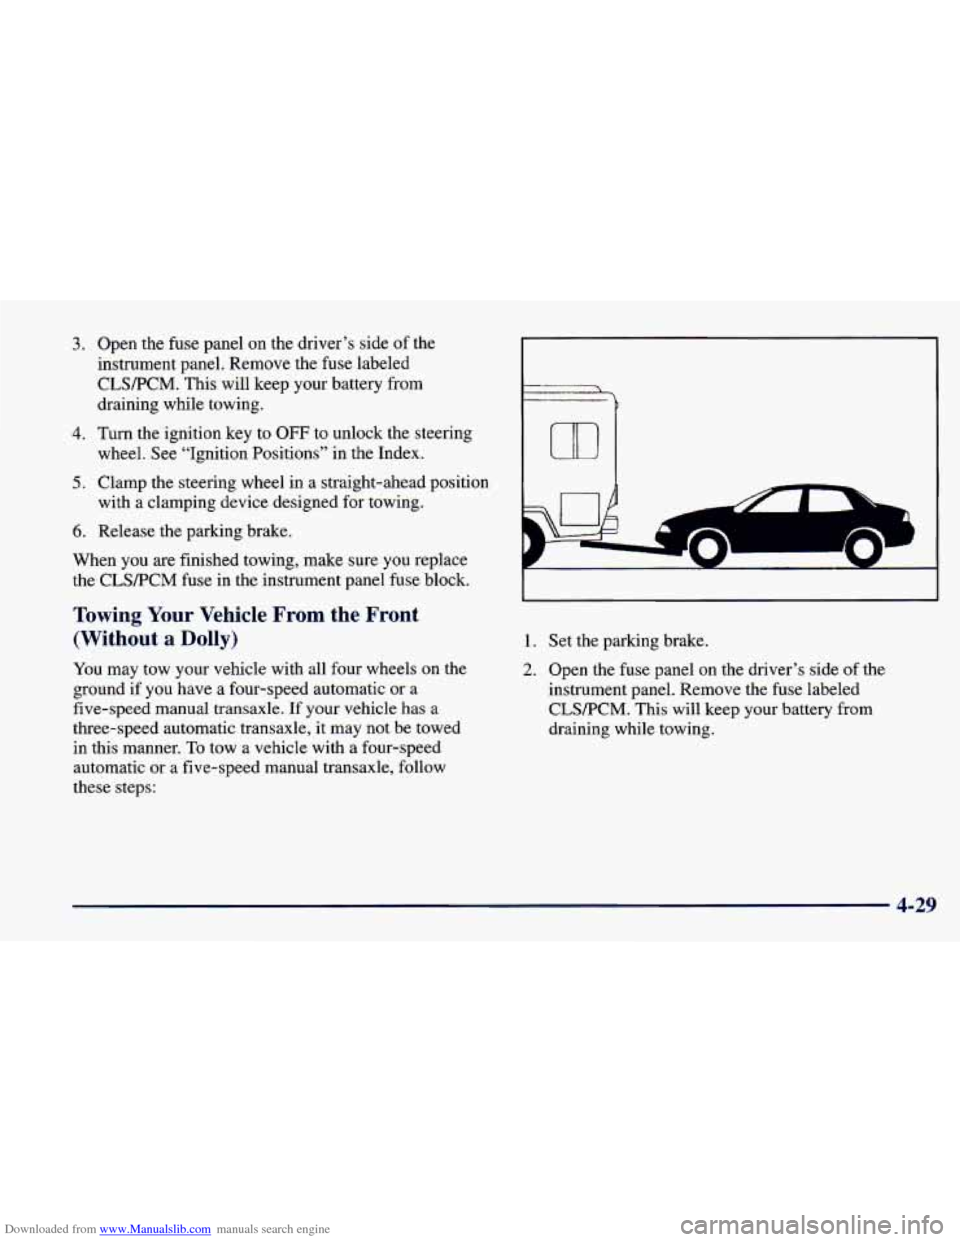
Towing Your Vehicle From the Front
(Without
a Dolly)
You may tow your vehicle with all four wheels on the
ground if you have a four-speed automatic or a
five-speed manual transaxle.
If your vehicle has a
three-speed automatic transaxle, it may not be towed
in this manner.
To tow a vehicle with a four-speed
automatic
or a five-speed manual transaxle, follow
these steps:
1. Set the parking brake.
2. Open the fuse panel on the driver’s side of the
instrument panel. Remove the fuse labeled
CLSPCM. This will keep your battery from
draining while towing.
4-29
Page 210 of 400
Downloaded from www.Manualslib.com manuals search engine 3. Turn me ignition key to OFF to unlock the
4. Shift your transaxle to NEUTRAL (N).
5. Release the parking brake.
When you are finished towing, make sure you replace
the CLWPCM fuse in the instrument panel fuse block.
steering wheel.
NOTICE:
Make sure that the towing speed does not exceed
65 mph (110 km/h), or your vehicle could be
badly damaged.
Towing Your Vehicle from the Rear
r
'b
UD 8
I NOTICE:
Do not tow your vehicle from the rear. Your
vehicle could be badly damaged and the repairs
would not be covered by your warranty.
4-30