1998 CHEVROLET ASTRO four
[x] Cancel search: fourPage 66 of 414

Downloaded from www.Manualslib.com manuals search engine 4. Then press the leg rest firmly into the seatback, and secure it by pressing the upper corners against the
fastener strips on the seatback.
Just like the other restraint systems in your vehicle, your
built-in child restraint needs to be periodically checked
and may need to have parts replaced after
a crash. See
“Checking Your Restraint Systems” and “Replacing Seat
and Restraint System
Parts After a Crash” in the Index.
Child Restraints
Every time infants and young children ride in
vehicles, they should have protection provided by
appropriate restraints.
@ What are the different types of add-on
A: Add-on child restraints are available in four
basic types. When selecting a child restraint,
take into consideration not only the child’s weight
and size, but also whether or not the restraint will
be compatible with the motor vehicle in which it
will be used.
child restraints?
1-52
Page 69 of 414
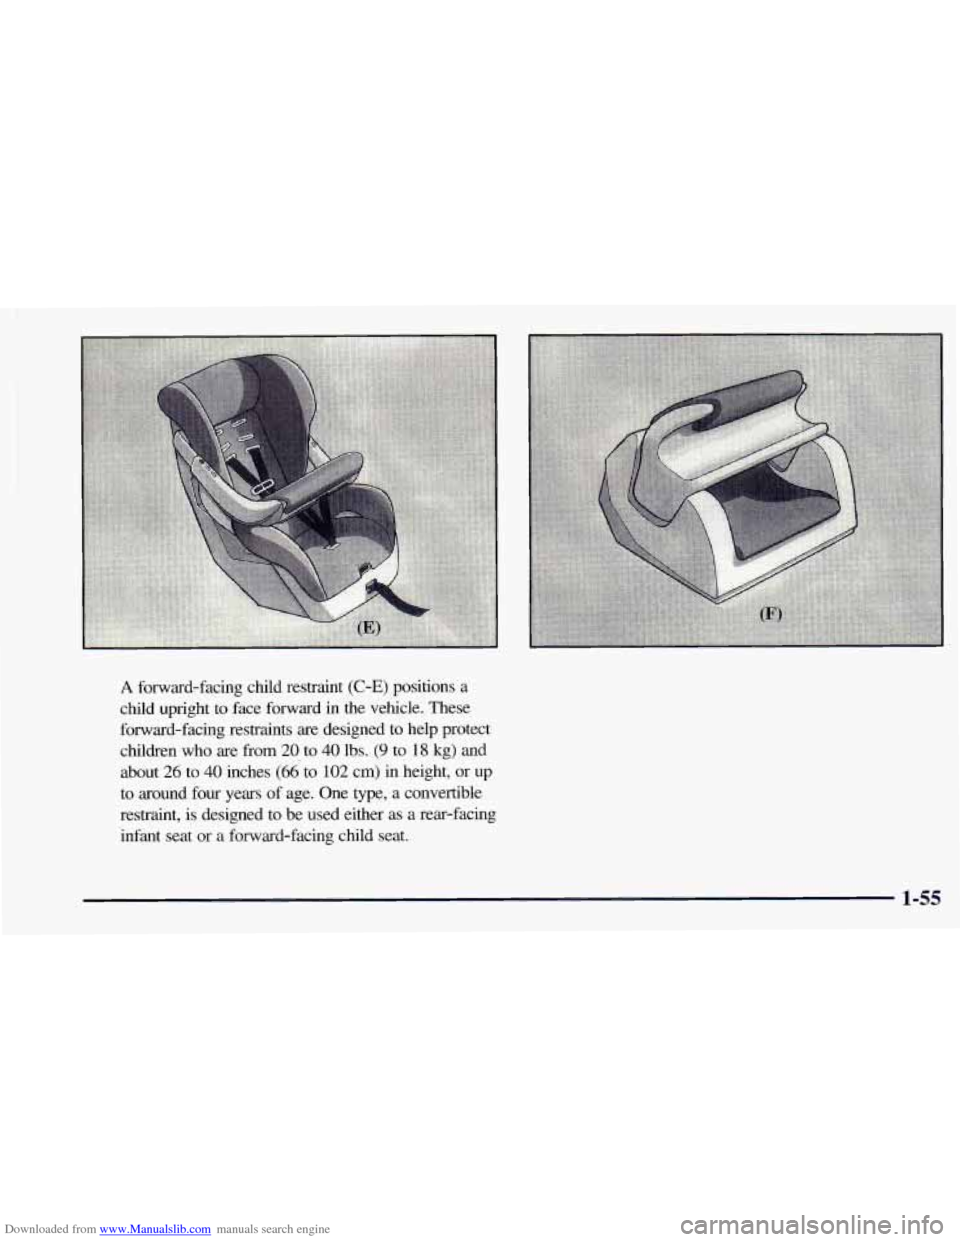
Downloaded from www.Manualslib.com manuals search engine A forward-facing child restraint (C-E) positions a
child upright to face forward in the vehicle. These
forward-facing restraints are designed to help protect
children who are from
20 to 40 lbs. (9 to 18 kg) and
about
26 to 40 inches (66 to 102 cm) in height, or up
to around
four years of age. One type, a convertible
restraint, is designed to be used either as a rear-facing
infant seat or a forward-facing child seat.
1-55
Page 70 of 414

Downloaded from www.Manualslib.com manuals search engine A booster seat (F, G) is designed for children who
are about
40 to 60 lbs. (18 to 27 kg) and about
four
to eight years of age. It’s designed to improve
the fit
of the vehicle’s safety belt system. Booster
seats with shields use lap-only belts; however,
booster seats without shields use lap-shoulder
belts. Booster seats can also help a child to see
out the window. When choosing
a child restraint, be sure the child
restraint
is designed to be used in a vehicle. If it is, it
will have a label saying that it meets Federal Motor
Vehicle Safety Standards.
Then follow the instructions
for the restraint. You may
find these instructions on the restraint itself or in a
booklet,
or both. These restraints use the belt system in
your vehicle, but the child also has to be secured within
the restraint
to help reduce the chance of personal injury.
The instructions that come with the infant or child
restraint will show you how to do that. Both the owner’s
manual and the child restraint instructions are important,
so if either one of these is not available, obtain a
replacement copy from the manufacturer.
Where to Put the Restraint
(Except Cargo Vans)
Accident statistics show that children are safer if they
are restrained in the rear rather than the front seat. We at
General Motors therefore recommend that
you put your
child restraint in a rear seat.
Never put a rear-facing
child restraint in the front passenger seat. Here’s why:
1-56
Page 102 of 414

Downloaded from www.Manualslib.com manuals search engine 3. If your engine still won’t start (or starts but then
stops), wait
15 seconds and start over.
When the engine starts, let go
of the key and the
accelerator pedal.
I NOTICE:
Your engine is designed to work with the
electronics in your vehicle. If you add electrical
parts or accessories, you could change the way
the engine operates. Before adding electrical
equipment, check with your dealer. If you don’t,
your engine might not perform properly.
If you ever have to have your vehicle towed, see
the part
of this manual that tells how to do it
without damaging your vehicle. See “Towing
Your Vehicle” in the Index.
Fuel Regulator
You have a fuel regulator that shuts the fuel off when the
engine reaches
5,600 rpm.
Engine Coolant Heater (If Equipped)
In very cold weather,
0°F (-18°C) or colder,
the engine coolant heater
can help. You’ll get easier
starting and better
fuel
economy during engine
warm-up. Usually, the
coolant heater should
be
plugged in a minimum of
four hours prior to starting
your vehicle.
To Use the Engine Coolant Heater
1. Turn off the engine.
2. Open the hood and unwrap the electrical cord.
The engine coolant heater cord is located on the
driver’s side
of the engine compartment, near the
power steering fluid reservoir.
3. Plug it into a normal, grounded 110-volt AC outlet.
2-18
Page 112 of 414
Downloaded from www.Manualslib.com manuals search engine A CAUTION:
It can be dangerous to get out of your vehicle if
the shift lever is not fully in
PARK (P) with the
parking brake firmly set. Your vehicle can roll.
Don’t leave your vehicle when the engine is
running unless you have to. If you’ve left the
engine running, the vehicle can move suddenly.
You or others could be injured. To be sure your
vehicle won’t move, even when you’re on
fairly
level ground, always set your parking brake and
move the shift lever to
PARK (P).
Locking Rear Axle (Option)
If you have this feature, your locking rear axle can give
you additional traction on snow, mud, ice, sand or
gravel. It works like a standard axle most of the time,
but when one
of the rear wheels has no traction and the
other does, this feature will allow the wheel with
traction to move
the vehicle.
All-Wheel Drive (Option)
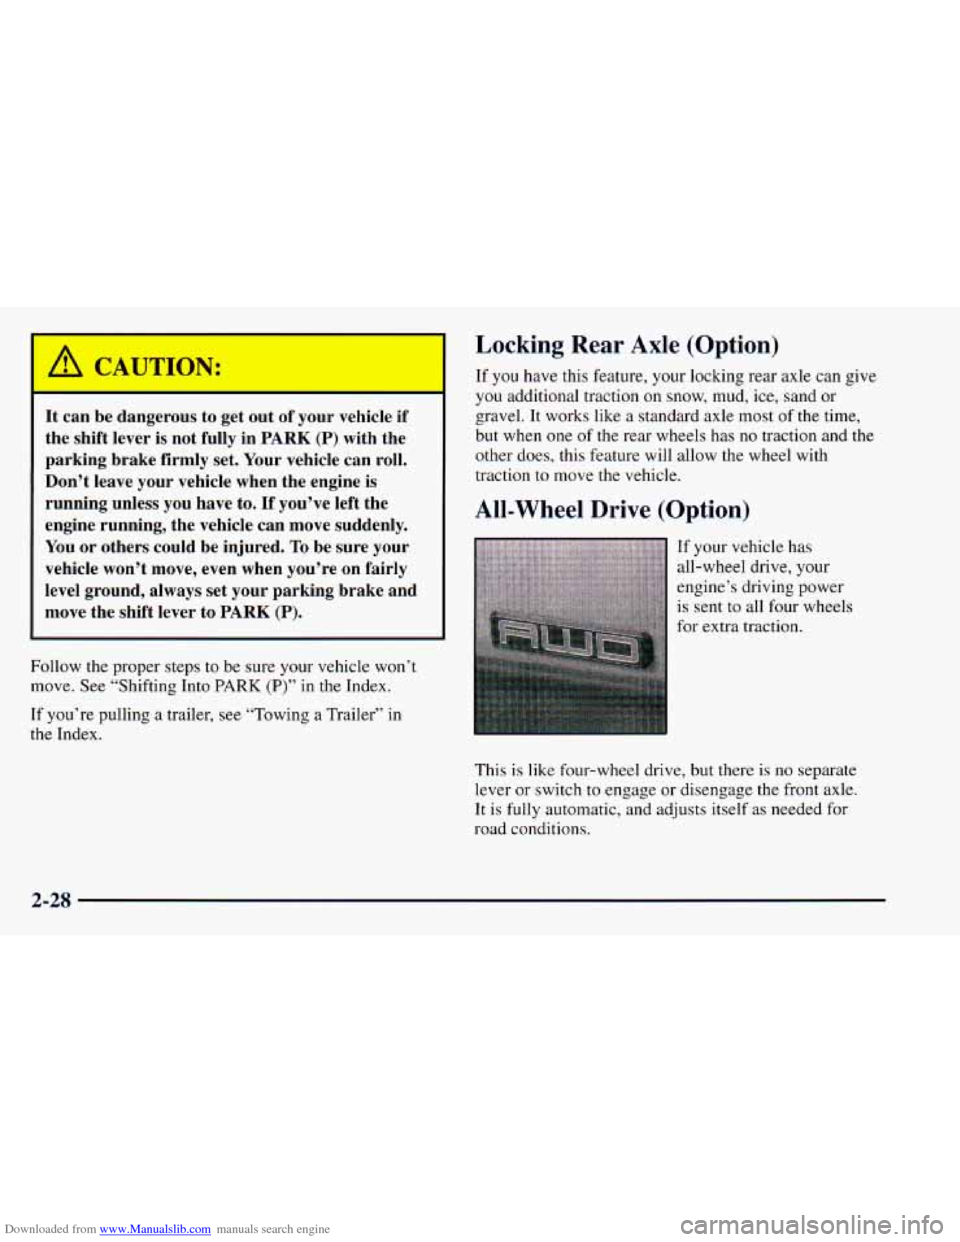
If your vehicle has
all-wheel drive, your
engine’s driving power
is sent to all four wheels
for extra traction.
Follow
the proper steps to be sure your vehicle won’t
move. See “Shifting Into
PARK (P)” in the Index.
If you’re pulling a trailer, see “Towing a Trailer’’ in
the Index.
This is like four-wheel drive, but there
is no separate
lever or switch
to engage or disengage the front axle.
It is fully automatic, and adjusts itself as needed for
road conditions.
2-2s
Page 124 of 414
Downloaded from www.Manualslib.com manuals search engine I Mirrors
I Inside Daymight Rearview Mirror
You can adjust the mirror for day or night driving. Press
the tab forward (away from you) for day driving. Pull
the tab back (toward you) for night driving.
1 Outside Mirrors
j of your vehicle. Adjust your outside mirrors
so you can just see the side
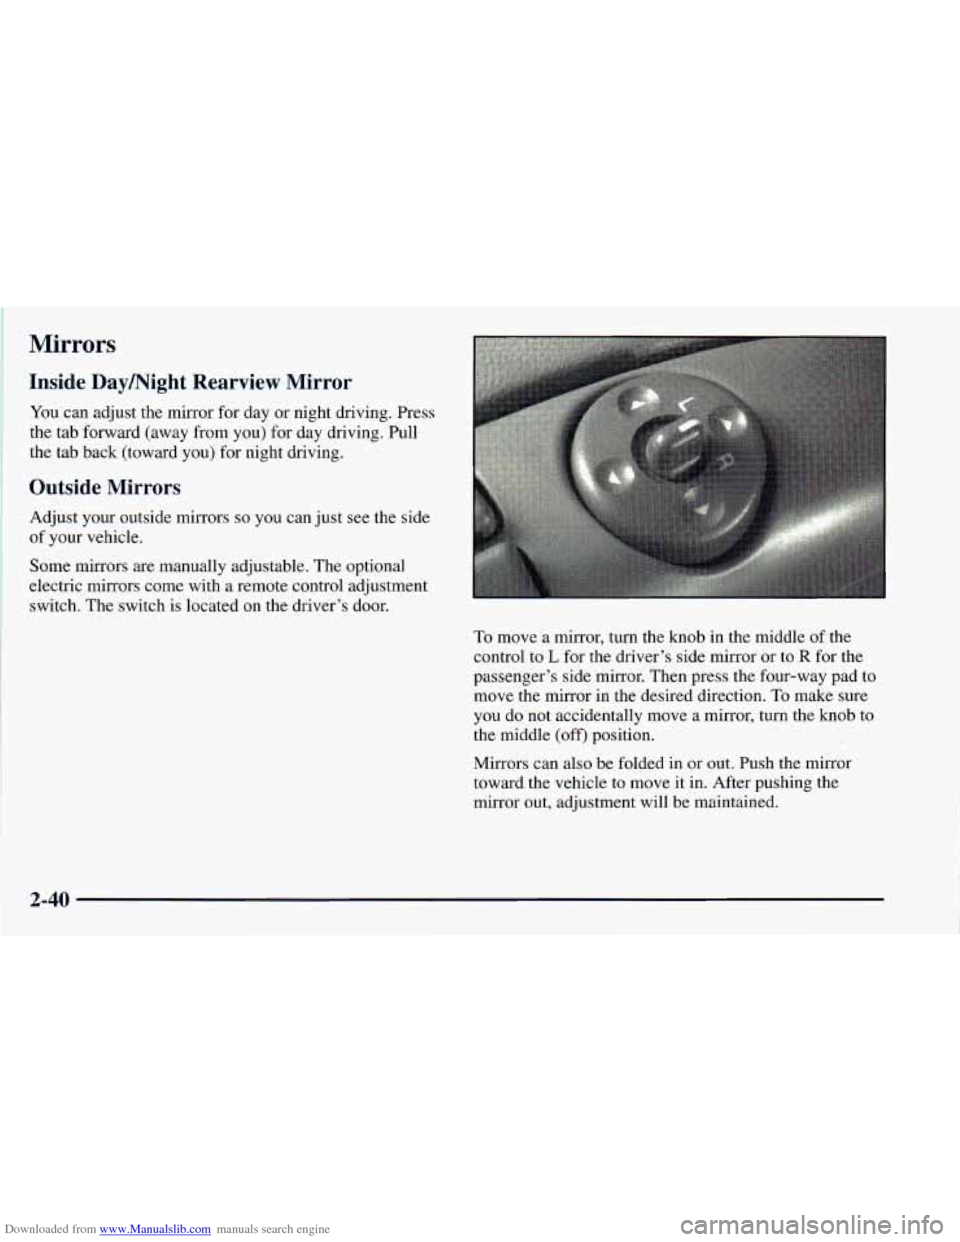
Some mirrors are manually adjustable. The optional
electric mirrors come with a remote control adjustment
switch. The switch is located on the driver’s door.
To move a mirror, turn the knob in the middle of the
control to
L for the driver’s side mirror or to R for the
passenger’s side mirror. Then press the four-way pad to
move the mirror in the desired direction.
To make sure
you do not accidentally move a mirror, turn the knob to
the middle (off) position.
Mirrors can also be folded in or out. Push the mirror
toward the vehicle to move
it in. After pushing the
mirror out, adjustment will be maintained.
2-40
Page 154 of 414
Downloaded from www.Manualslib.com manuals search engine Comfort Controls
This section tells you how to make your air system
work for you. Your comfort control system uses
ozone-friendly
R- 134a refrigerant.
With these systems, you can control the heating,
cooling and ventilation in your vehicle. Your vehicle
also has a flow-through ventilation system described
later in this section.
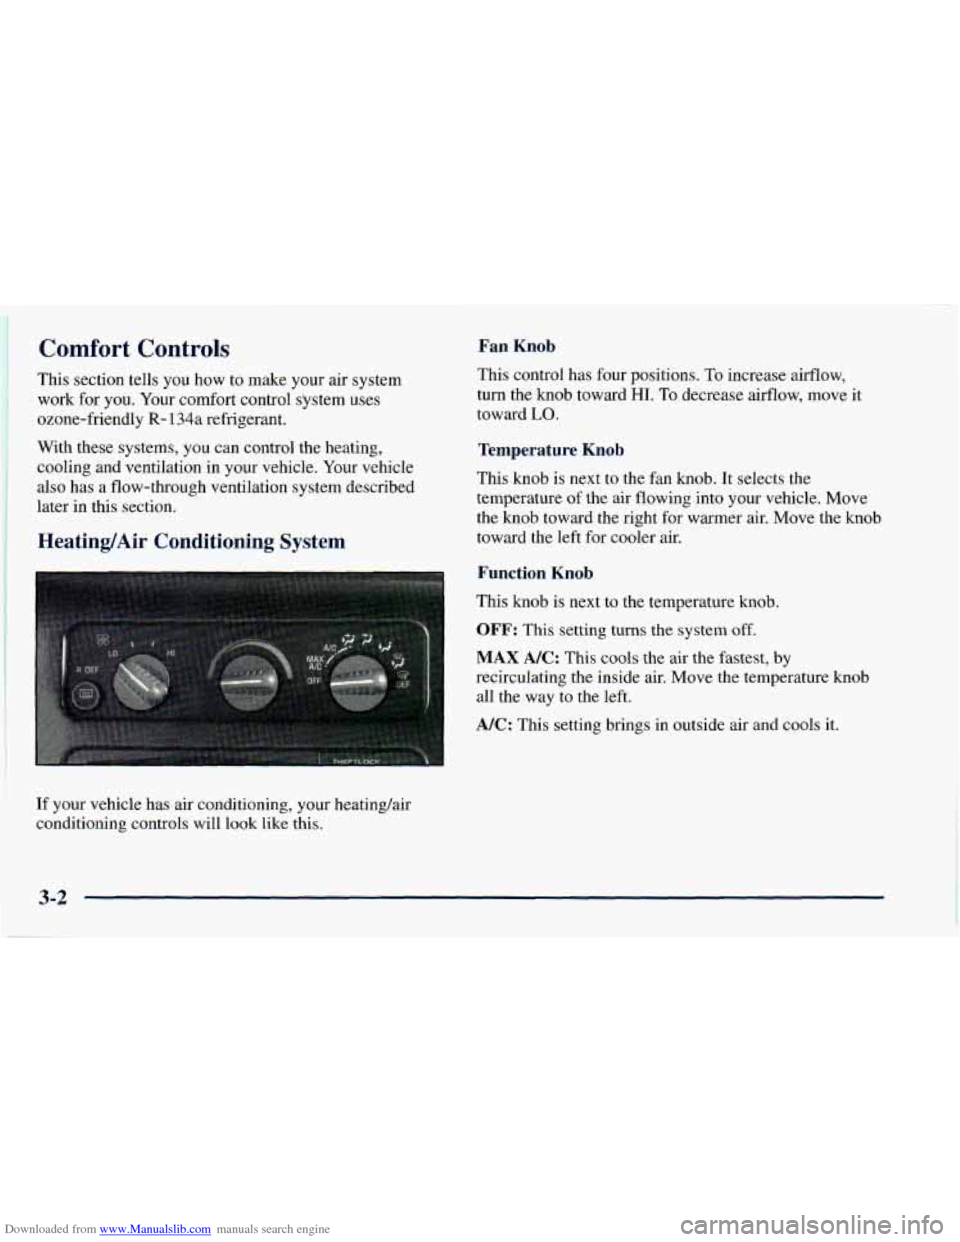
Heating/Air Conditioning System
If your vehicle has air conditioning, your heating/air
conditioning controls will look like this.
Fan Knob
This control has four positions. To increase airflow,
turn the knob toward
HI. To decrease airflow, move it
toward
LO.
Temperature Knob
This knob is next to the fan knob. It selects the
temperature of the air flowing into your vehicle. Move
the knob toward the right for warmer air. Move the knob
toward the left for cooler air.
Function Knob
This knob is next to the temperature knob.
OFF: This setting turns the system off.
MAX NC: This cools the air the fastest, by
recirculating the inside air. Move the temperature knob
all the way to the left.
A/C: This setting brings in outside air and cools it.
3-2
Page 155 of 414
Downloaded from www.Manualslib.com manuals search engine -bo
+@ BI-LEVEL: This setting brings in outside air
and blows
it out through the heater floor vents and the
instrument panel
vents. If you move the temperature
knob between hot and cold, cooler air will come
out of
the upper vents while warmer air comes out of the floor
vent. The air conditioning compressor may operate in
this setting to cool the air.
/J VENT The air comes out at the vents on your
instrument panel. The air conditioning compressor will
not run in this position. Adjust the temperature knob for
warmer or cooler air.
+' HEATER: Most of the air comes out near the
floor. The rest comes
out from the defroster vents under
the windshield and at the front side windows.
+, BLEND: With this setting, the heated outside air
comes out both the heater vents and defroster vents.
Adjust the temperature knob for warmer or cooler air.
The air conditioning compressor may operate in this
setting
to dehumidify the air.
rl*.
0
w.
DEFROST This setting operates the defroster.
Most
of the air comes out near the windshield, with
some going
to the floor vents and front side windows.
The air conditioning compressor may operate in this
setting to dehumidify the air.
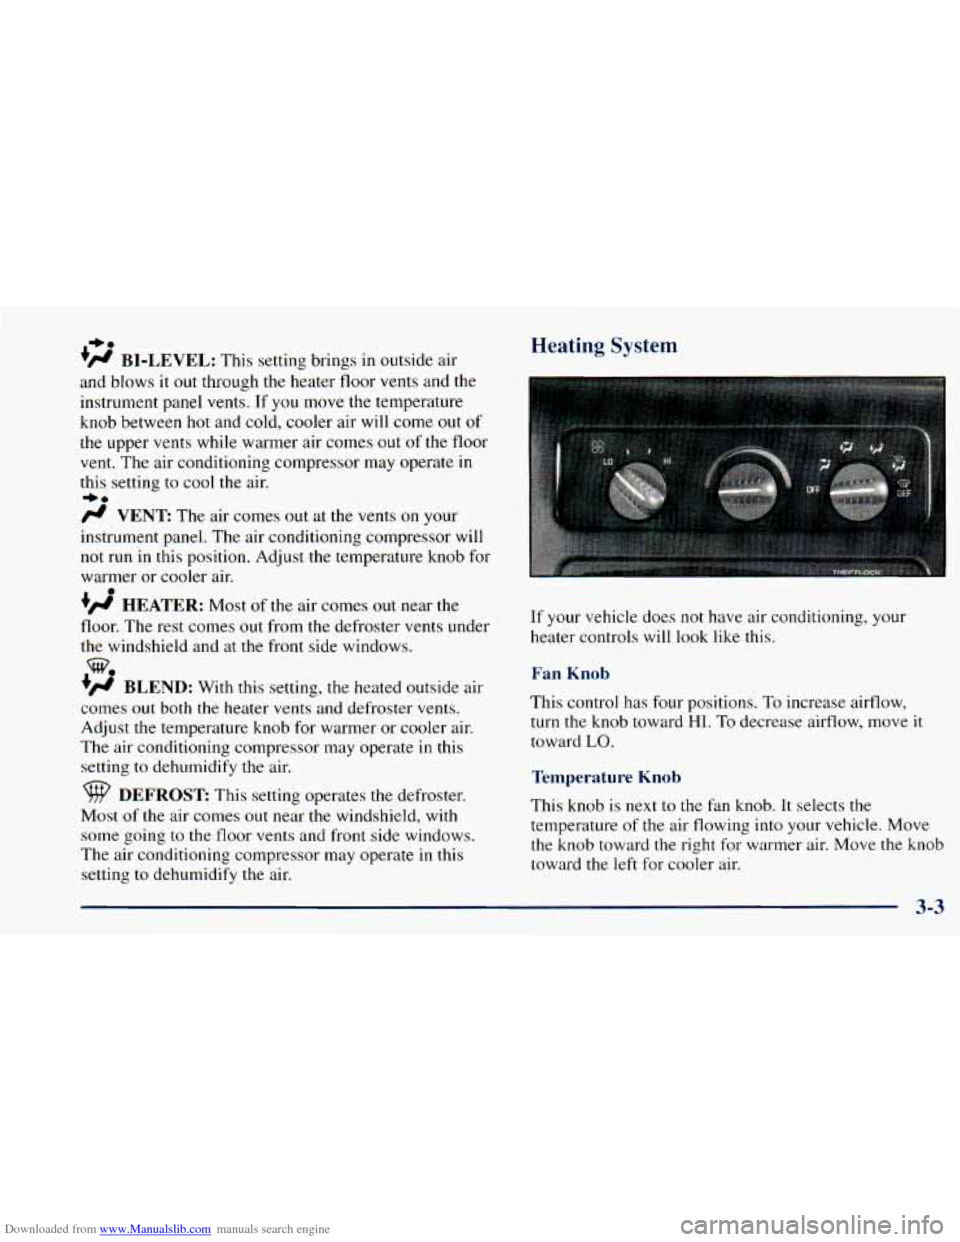
Heating System
If your vehicle does not have air conditioning, your
heater controls will look like this.
Fan Knob
This control has four positions. To increase airflow,
turn
the knob toward HI. To decrease airflow, move it
toward
LO.
Temperature Knob
This knob is next to the fan knob. It selects the
temperature of the air flowing into your vehicle. Move
the knob toward the right for warmer air. Move
the knob
toward
the left for cooler air.
3-3