1998 CADILLAC SEVILLE maintenance
[x] Cancel search: maintenancePage 38 of 378
Downloaded from www.Manualslib.com manuals search engine NOTICE:
If you damage the covering for the driver’s or the
right front passenger’s
air bag, or the air bag
covering on the driver’s and right front
passenger’s seatback, the bag may not work
properly. You may have to replace the air bag
module in the steering wheel, both the air bag
module and the instrument panel for the right
front passenger’s air bag, or both the air bag
module and seatback for the driver’s and right
front passenger’s side impact air bag.
Do not
open
or break the air bag coverings.
Servicing Your Air Bag-Equipped Vehicle
Air bags affect how your vehicle should be serviced.
There are parts
of the air bag systems in several places
around your vehicle. Your dealer and the Seville Service
Manual have information about servicing your vehicle
and the air bag systems.
To purchase a service manual,
see “Service and Owner Publications” in the Index.
For up to 10 seconds after the ignition key is
turned off and the battery is disconnected, an air
bag can still inflate during improper service. You
can be injured if you are
close to an air bag when
it inflates. Avoid yellow connectors. They are
probably part of the air bag systems. Be sure
to
follow proper service procedures, and make sure
the person performing work for you is qualified
to do
so.
The air bag systems do not need regular maintenance.
Rear Seat Passengers
It’s very important for rear seat passengers to buckle up!
Accident statistics show that unbelted people in the rear
seat are hurt more often in crashes than those who are
wearing safety belts.
Rear passengers who aren’t safety belted can be thrown
out
of the vehicle in a crash. And they can strike others
in the vehicle who are wearing safety belts.
1-27
Page 59 of 378
Downloaded from www.Manualslib.com manuals search engine Safety Belt Extender
If the vehicle’s safety belt will fasten around you, you
should use it.
But if a safety belt isn’t long enough to fasten, your
dealer will order you an extender. It’s free. When you go
in to order it, take the heaviest coat you will wear,
so the
extender will be long enough for you. The extender will
be just for you, and just for the seat in your vehicle that
you choose. Don’t let someone else
use it, and use it
only for the seat it is made to fit. To wear it, just attach it
to the regular safety belt.
Checking Your Restraint Systems
Now and then, make sure the safety belt reminder light
and
all your belts, buckles, latch plates, retractors and
anchorages are working properly.
Look for any other
loose or damaged safety belt system parts.
If you see
anything that might keep a safety belt system from
doing its job, have
it repaired.
Tom or frayed safety belts may not protect you in a
crash. They
can rip apart under impact forces. If a belt is
torn or frayed, get a new one right away.
Also look for any opened or broken air bag covers, and
have them repaired or replaced. (The air bag system
does not need regular maintenance.)
Replacing Restraint System Parts
After a Crash
If you’ve had a crash, do you need new belts?
After a very minor collision, nothing may be necessary.
But if the belts were stretched, as they would be if worn
during a more severe crash, then you need new belts.
If belts are cut or damaged, replace them. Collision
damage also may mean you will need to have safety belt
or seat parts repaired or replaced. New
parts and repairs
may be necessary even
if the belt wasn’t being used at
the time of the collision.
If an air bag inflates, you’ll need to replace air bag
system parts. See the part on the air bag system earlier in
this section.
If the frontal air bags inflate, you’ll also need to replace
the driver’s and right front passenger’s safety belt
buckle assembly. Be sure to do
so. Then the new buckle
assembly will be there to help protect you in a collision.
1-48
Page 143 of 378
Downloaded from www.Manualslib.com manuals search engine Once TIMER 0O:OO:OO is displayed, press the ON/OFF
button to start the timing feature. Press the ON/OFF
button again to stop it. If you will be starting and
stopping your vehicle, during a trip for instance, the
TIMER feature will automatically start timing where it
left off when you last stopped.
To reset it, press and hold
the INFO RESET button until the display reads TIMER
0O:OO:OO. Press the INFO button to exit from the
TIMER function.
ENGINE OIL LIFE (Reset): Press the INFO button to
display the ENGINE OIL LIFE, then press and hold
the
INFO RESET button until 100% ENGINE OIL LIFE is
displayed. (This only needs to be reset after you have
had the oil changed.)
Transmission Fluid Life Monitor: Under normal
conditions, the rate of deterioration
of the transmission
fluid is slow. See the Maintenance Schedule booklet for
proper fluid and change intervals. Press the INFO button
to display the TRANS FLUID LEFT, then press and
hold the INFO RESET button until
100% TRANS
FLUID LEFT is displayed. (This only needs to be reset after you have had the fluid changed.)
Driver Information Center Messages
These messages will appear if there is a problem sensed
in one of your vehicle’s systems. Vehicles that
are first
sold in Canada will have a number after each message.
This number helps to identify the message which is only
displayed in English.
BATTERY NOT CHARGING - 7: This message will
appear if the battery is not being charged. Have the
electrical system checked by your dealership at your
earliest convenience.
BATTERY SAVER ACTIVE - 27: This message is
displayed when the vehicle has detected that the battery
voltage is dropping beyond a reasonable point. The
battery saver system will start reducing certain features
of the vehicle that you may not be able to notice. At the
point that features are disabled, this message is displayed. It is used to convey that the vehicle is trying
to save the charge in the battery. Turn
off unnecessary
accessories to allow the battery to recharge.
ENGMET: Press this button to display information in
the English (miles) or metric (kilometers) system.
2-82
Page 144 of 378
Downloaded from www.Manualslib.com manuals search engine BATTERY VOLTAGE HIGH - 8: This message shows
that the electrical charging system is overcharging (more
than 16 volts). To avoid being stranded, have the electrical
system checked by your dealership.
You can reduce the
charging overload by using the accessories.
Turn on the
lamps and radio, set the climate control on
AUTO and the
fan speed on
HI, and turn the rear window defogger on.
You can monitor battery voltage on the DIC by pressing
the
INFiO button. The normal range is 11.5 to 15.5 volts
when the engine is running.
BATTERY VOLTAGE LOW - 6: This message will
appear when the electrical system is charging less than
9 volts or if the battery has been drained. If this message
appears immediately after starting, it
is possible that the
generator can still recharge the battery. The battery should recharge while driving but may take a few hours
to do
so. Consider using an auxiliary charger (be sure to
follow the manufacturer’s instructions) to boost the
battery after returning home or to a final destination. If
this message appears while driving or after starting your
vehicle and stays on, have
it checked immediately to
determine the cause of this problem.
To help the
generator recharge the battery quickly, you can reduce
the load on the electrical system by turning
off the
accessories.
You can monitor battery voltage on the DIC
by pressing the INFO button. The normal range is 11.5
to 15.5 volts.
CHANGE BRAKE PADS - 125: This message is used
to notify you that the brake pads may have worn down.
A sensor is connected to the brake pads and is triggered
when they wear to a certain point. Have the front and
rear brakes serviced by your dealer as soon as possible.
CHANGE TRANS FLUID - 47: This message will
appear when
it is time to replace the transaxle fluid. See
the Maintenance Schedule booklet for the proper fluid and change intervals.
CHECK BRAKE FLUID - 37: This message will
display if the ignition is in
ON to inform the driver that
the brake fluid level is low. Have the brake system
serviced by a technician as soon as possible. See “Brake
System Warning Light” in the Index.
CHECK COOLANT LEVEL - 2: This message will
appear when there is a low level of engine coolant. Have
the cooling system serviced by a technician as soon
as possible.
CHANGE ENGINE OIL - 82: This means that the life
of the engine oil has expired and it should be changed
within
200 miles. See “Engine Oil” and “Filter
Recommendations” in the Maintenance Schedule
booklet. After
an oil change, the Oil Life Indicator must
be reset. See “Oil Life Indicator” in the Index
on how to
reset
it.
2-83
Page 150 of 378
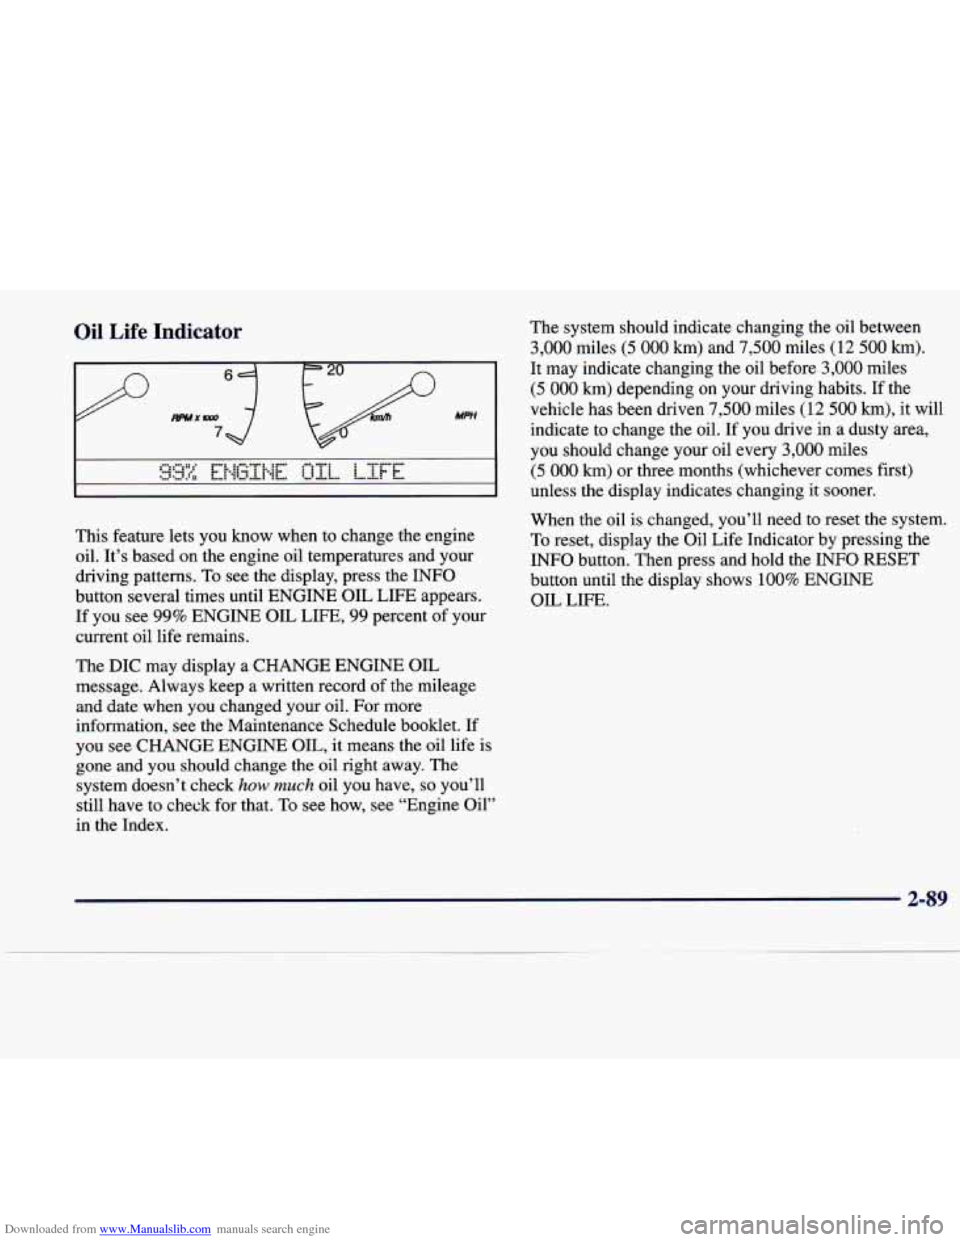
Downloaded from www.Manualslib.com manuals search engine Oil Life Indicator
This feature lets you know when to change the engine
oil. It's based on the engine oil temperatures and your
driving patterns. To see the display, press the INFO
button several times until ENGINE OIL LIFE appears.
If you see 99% ENGINE OIL LIFE, 99 percent of your
current oil life remains.
The DIC may display a CHANGE ENGINE OIL
message. Always keep a written record of the mileage
and date when
you changed your oil. For more
information, see the Maintenance Schedule booklet. If
you see CHANGE ENGINE OIL, it means the oil life
is
gone and you should change the oil right away. The
system doesn't check
how much oil you have, so you'll
still have to check for that.
To see how, see "Engine Oil"
in the Index. The
system should indicate changing the oil between
3,000 miles (5 000 km) and 7,500 miles (12 500 km).
It may indicate changing the oil before 3,000 miles
(5 000 km) depending on your driving habits. If the
vehicle has been driven
7,500 miles (12 500 km), it will
indicate to change the oil. If you drive
in a dusty area,
you should change your oil every
3,000 miles
(5 000 km) or three months (whichever comes first)
unless the display indicates changing it sooner.
When the oil is changed, you'll need to reset the system.
To reset, display the Oil Life Indicator by pressing the
INFO button. Then press and hold the INFO RESET
button until the display shows
100% ENGINE
OIL LIFE.
2-89
Page 160 of 378
Downloaded from www.Manualslib.com manuals search engine Ventilation Tips
0 Keep the hood and front air inlet free of ice, snow or
any other obstruction (such as leaves). The heater
and defroster will work far better, reducing the
chance of fogging the inside of the windows.
of objects. This helps circulate air throughout
your vehicle.
0 Keep the air path under the front seats clear
Passenger Compartment Air Filter
Passenger compartment air, both outside air and
recirculated air, is routed through
a passenger
compartment filter, which is part of
a three-piece filter
system. The filter removes certain contaminants from
the air, including pollen and dust particles. Reductions
in airflow, which
may occur more quickly in dusty
areas, indicate that the filter needs to be replaced early. The
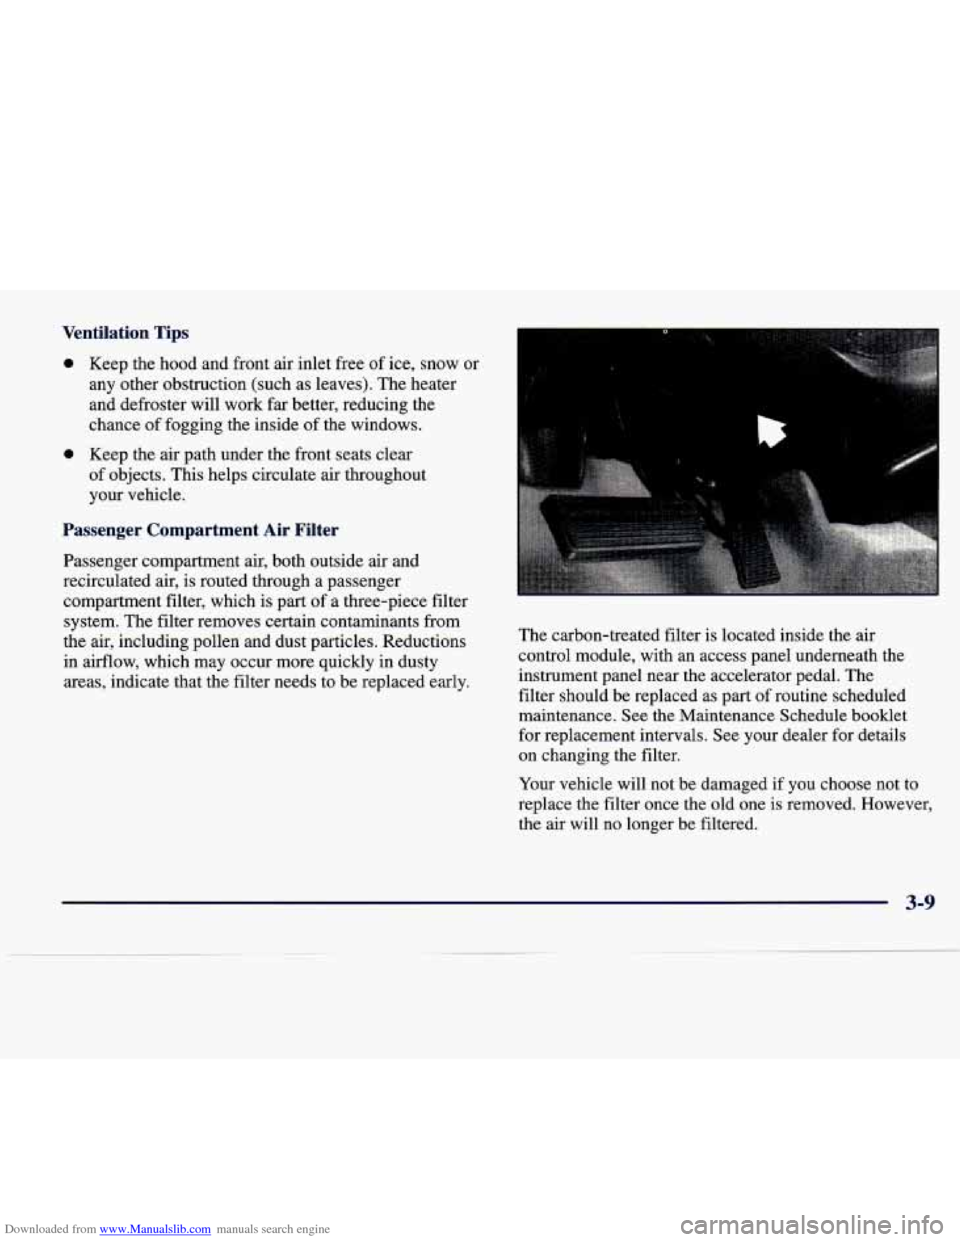
carbon-treated filter is located inside the air
control module, with an access panel underneath the
instrument panel near the accelerator pedal. The
filter should be replaced as part of routine scheduled
maintenance. See the Maintenance Schedule booklet
for replacement intervals. See your dealer for details
on changing the filter.
Your vehicle will not be damaged if
you choose not to
replace the filter once the old one is removed. However,
the air will no longer be filtered.
3-9
Page 235 of 378
Downloaded from www.Manualslib.com manuals search engine When You Are Ready to Leave After
Parking on a Hill
1. Apply your regular brakes and hold the pedal down
while you:
0 Start your engine;
0 Shift into a gear; and
0 Be sure the parking brake has released.
2. Let up on the brake pedal.
3. Drive slowly until the trailer is clear of the chocks.
4. Stop and have someone pick up and store the chocks.
Maintenance When Trailer Towing
Your vehicle will need service more often when you’re
pulling a trailer. See the Maintenance Schedule booklet
for more on this. Things that are especially important
in trailer operation are automatic transaxle fluid (don’t
overfill), engine oil, drive belt, cooling system and
brake adjustment.
If you’re trailering, it’s a good idea to
review this information before you start your trip.
Check periodically to see that all hitch nuts and bolts
are tight.
Engine Cooling When Trailer Towing
Your cooling system may temporarily overheat during
severe operating conditions. See “Engine Overheating’’
in the Index.
4-38
Page 276 of 378
Downloaded from www.Manualslib.com manuals search engine -a+
Section 6 Service and Appearance Care
Here you will find information about the care of your vehicle. This section begins with service and fuel information,
and then it shows how to check important fluid and lubricant levels. There is also technical information about your
vehicle, and a part devoted to its appearance care.
6-2
6-3
6-5
6- 8
6- 8
6-1 1
6- 16
6- 19
6-22
6-25
6-26
6-28
6-32
6-34
6-4 1 Service
Fuel
Filling Your Tank
Filling
a Portable Fuel Container
Checking Things Under the Hood
Engine Oil
Air Cleaner
Automatic Transaxle Fluid
Engine Coolant
Surge
Tank Pressure Cap
Windshield Washer Fluid
Brakes
Battery
Bulb Replacement
Windshield Wiper Blade Replacement
6-4 I
6-50
6-50
6-53
6-54
6-55
6-57
6-58
6-58
6-59
6-66
6-66
6-67
6-68
6-68
Tires
Appearance Care
Cleaning the Inside of Your Vehicle
Care of Safety Belts
Cleaning the Outside of Your Vehicle
Cleaning Tires
Appearance Care Materials Chart
Vehicle Identification Number (VIN)
Service Parts Identification Label
Electrical System
Replacement Bulbs Capacities and Specifications
Removing the Rear Seat Cushion
Air Conditioning Refrigerants
Normal Maintenance Replacement
Parts
6-1