1998 CADILLAC SEVILLE stop start
[x] Cancel search: stop startPage 118 of 378
Downloaded from www.Manualslib.com manuals search engine Programming the Transmitter
Do not use the universal transmitter with any garage
door opener that does not have the “stop and reverse” safety feature. This includes any garage door opener
model manufactured before April
1, 1982.
Be sure that people and objects
are clear of the garage
door you are programming.
Turn the ignition
off while programming the transmitter.
Follow these steps to program up to three channels:
1.
2.
3.
If you have previously programmed a transmitter
channel, proceed to Step
2. Otherwise, hold down
the two outside buttons on the universal transmitter
until the light on the transmitter begins to flash
rapidly (approximately
20 seconds). Then release the
buttons. This procedure initializes the memory and erases any previous settings for all three channels.
Decide which one of the three channels you want
to program.
Hold the end of the hand-held transmitter against the
front surface of the universal transmitter
so that you
can still see the amber light.
4. Using both hands, press the hand-held transmitter
button and the desired button on the universal
transmitter. Continue to press both buttons through Step
5.
5. Hold down both buttons until you see the light on
the universal transmitter flash slowly and then
rapidly. The rapid flashing, which could take up to
90 seconds, indicates that the universal transmitter
has been programmed. Release both buttons once the
light starts to flash rapidly.
If you have trouble programming the universal
transmitter, make sure that you have followed the
directions exactly as described and that the battery in the
hand-held transmitter is not dead.
If you still cannot
program it, rotate the hand-held transmitter end over end
and
try again. The universal transmitter may not work
with older garage door openers that do not meet current
Federal Consumer Safety Standards.
If you cannot
program the transmitter after repeated attempts, consult
your dealer.
Page 128 of 378
Downloaded from www.Manualslib.com manuals search engine It Brake System Warning :
Your vehicle’s hydraulic brake sy; m is divided into
two parts.
If one part isn’t working, the other part can
still work and stop you. For good braking, though, you
need both parts working well.
If the warning light comes on, there is a brake problem.
Have your brake system inspected right away.
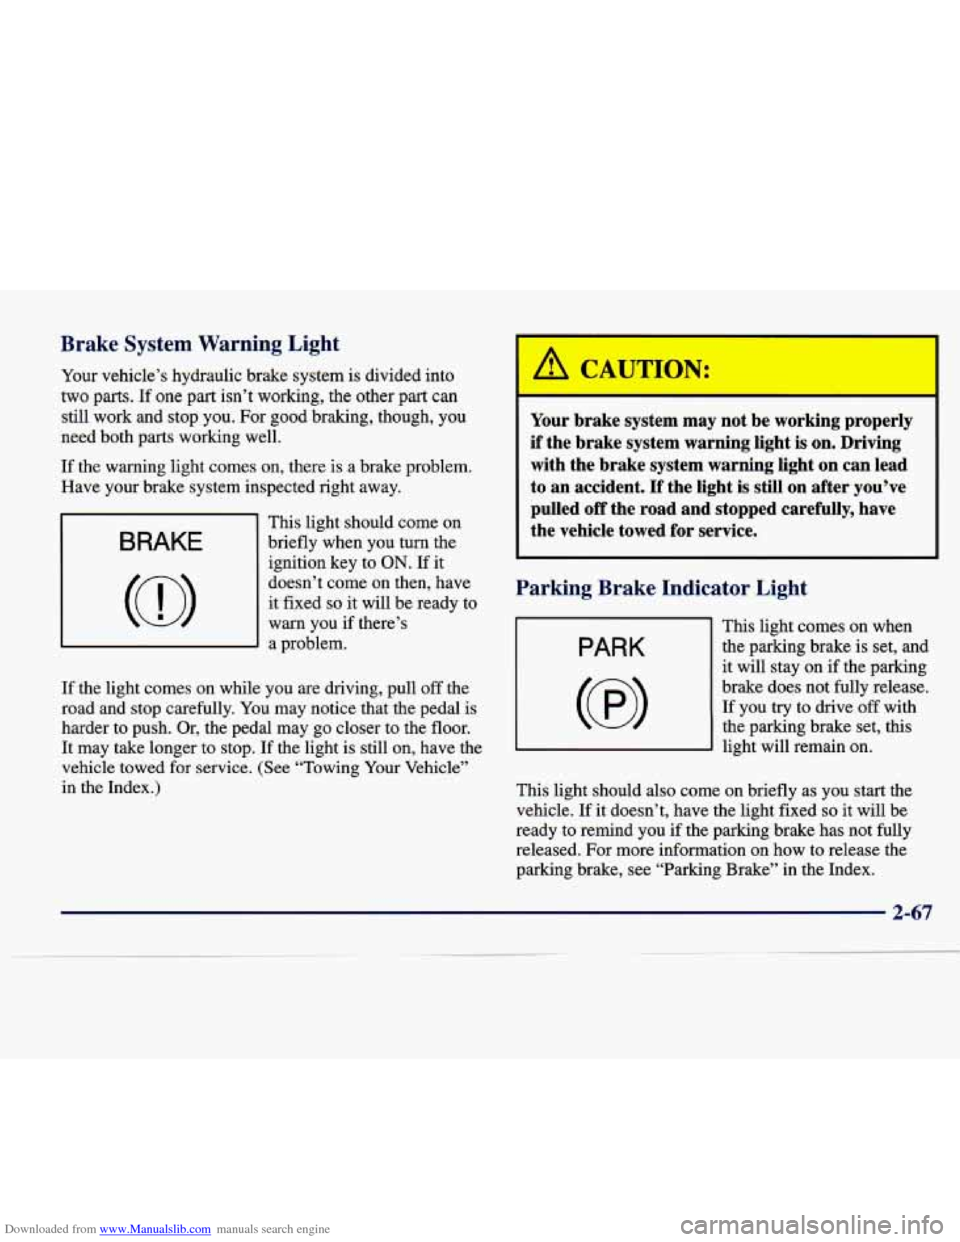
BRAKE
This light should come on
briefly when you turn the
ignition key to
ON. If it
doesn’t come on then, have
it fixed
so it will be ready to
warn you if there’s
a problem.
If the light comes on while
you are driving, pull off the
road and stop carefully.
You may notice that the pedal is
harder to push. Or, the pedal may
go closer to the floor.
It may take longer to stop. If the light is still on, have the
vehicle towed for service. (See “Towing Your Vehicle”
in the Index.)
,a CAUTION:
Your brake system may not be working properly
if the brake system warning light is on. Driving
with the brake system warning light on can lead
to
an accident. If the light is still on after you’ve
pulled
off the road and stopped carefully, have
the vehicle towed for service.
Parking Brake Indicator Light
PARK
(@I
This light comes on when the parking brake is set, and
it will stay on if the parking
brake does not fully release.
If you try to drive off with
the parking brake set, this
light will remain
on.
This light should also come on briefly as you start the
vehicle. If it doesn’t, have the light fixed
so it will be
ready to remind you
if the parking brake has not fully
released. For more information on how to release the
parking brake, see “Parking Brake” in the Index.
2-67
Page 129 of 378
Downloaded from www.Manualslib.com manuals search engine Anti-Lock Brake Syste~
-- -
arning Light
Traction Control System Warning Light
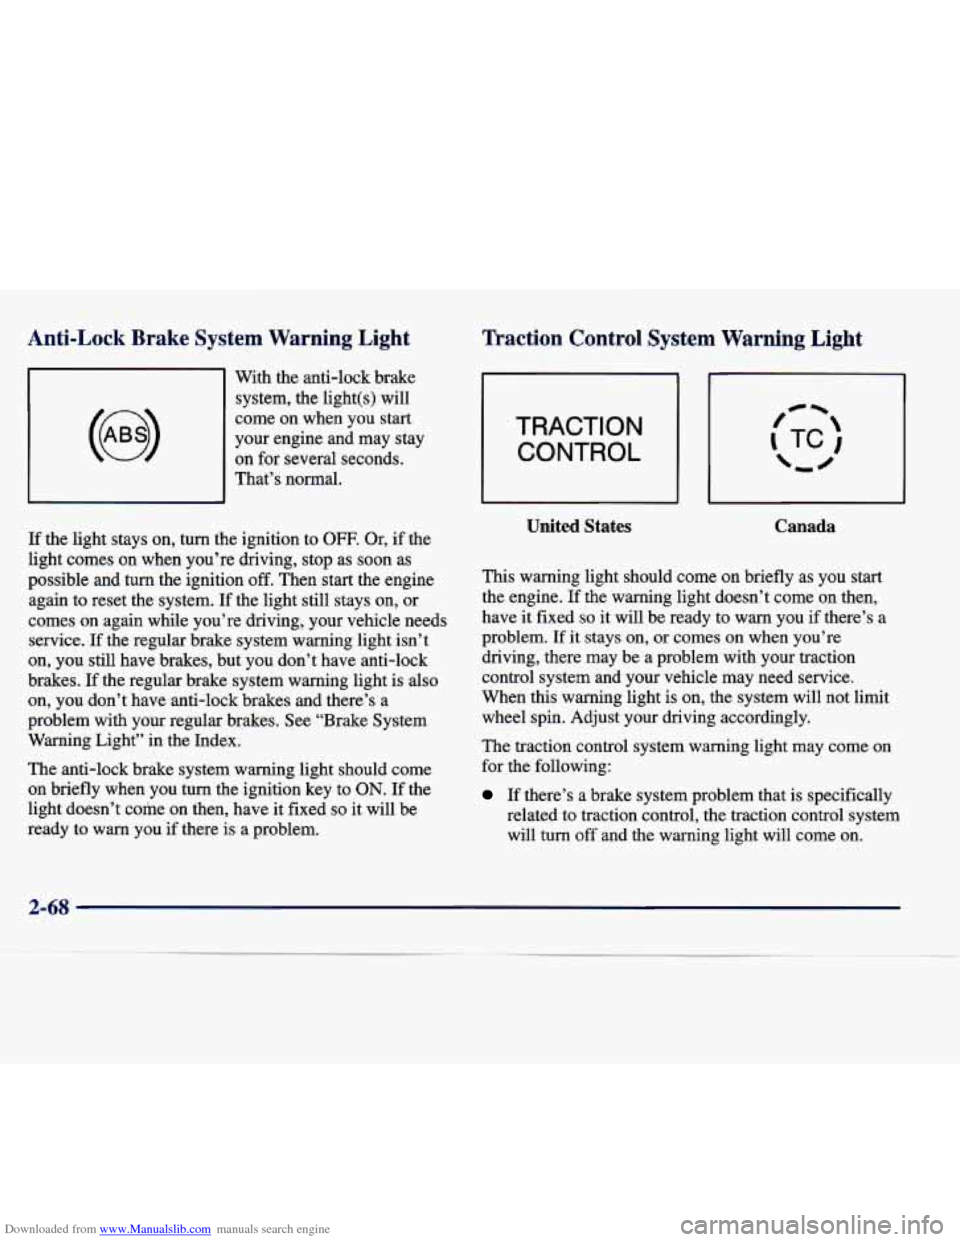
With the anti-lock brake
system, the light(s) will
come on when you start
your engine and may stay
on for several seconds.
That’s normal.
If the light stays on, turn the ignition to
OFF. Or, if the
light comes
on when you’re driving, stop as soon as
possible and turn the ignition
off. Then start the engine
again to reset the system. If the light still stays on, or
comes on again while you’re driving, your vehicle needs
service. If the regular brake system warning light isn’t
on, you still have brakes, but you don’t have anti-lock
brakes.
If the regular brake system warning light is also
on, you don’t have anti-lock brakes and there’s a
problem with
your regular brakes. See “Brake System
Warning Light” in the Index.
The anti-lock brake system warning light should come
on briefly when you turn the ignition key to
ON. If the
light doesn’t come on then, have it fixed
so it will be
ready to warn you if there is a problem.
TRACTION
CONTROL
United States Canada
This warning light should come on briefly as you start
the engine. If the warning light doesn’t come on then,
have it fixed
so it will be ready to warn you if there’s a
problem.
If it stays on, or comes on when you’re
driving, there may be a problem with your traction
control system and your vehicle may need service.
When this warning light is on, the system will not limit
wheel spin. Adjust your driving accordingly.
The traction control system warning light may come
on
for the following:
If there’s a brake system problem that is specifically
related to traction control, the traction control system
will turn off and the warning light will come on.
2-68
Page 130 of 378
Downloaded from www.Manualslib.com manuals search engine If the traction control system is affected by an
engine-related problem, the system will turn off and
the warning light will come on.
If the traction control system warning light comes on and stays on for an extended period of time when the
system is turned on, your vehicle needs service.
Engine Coolant Temperature
Warning Light
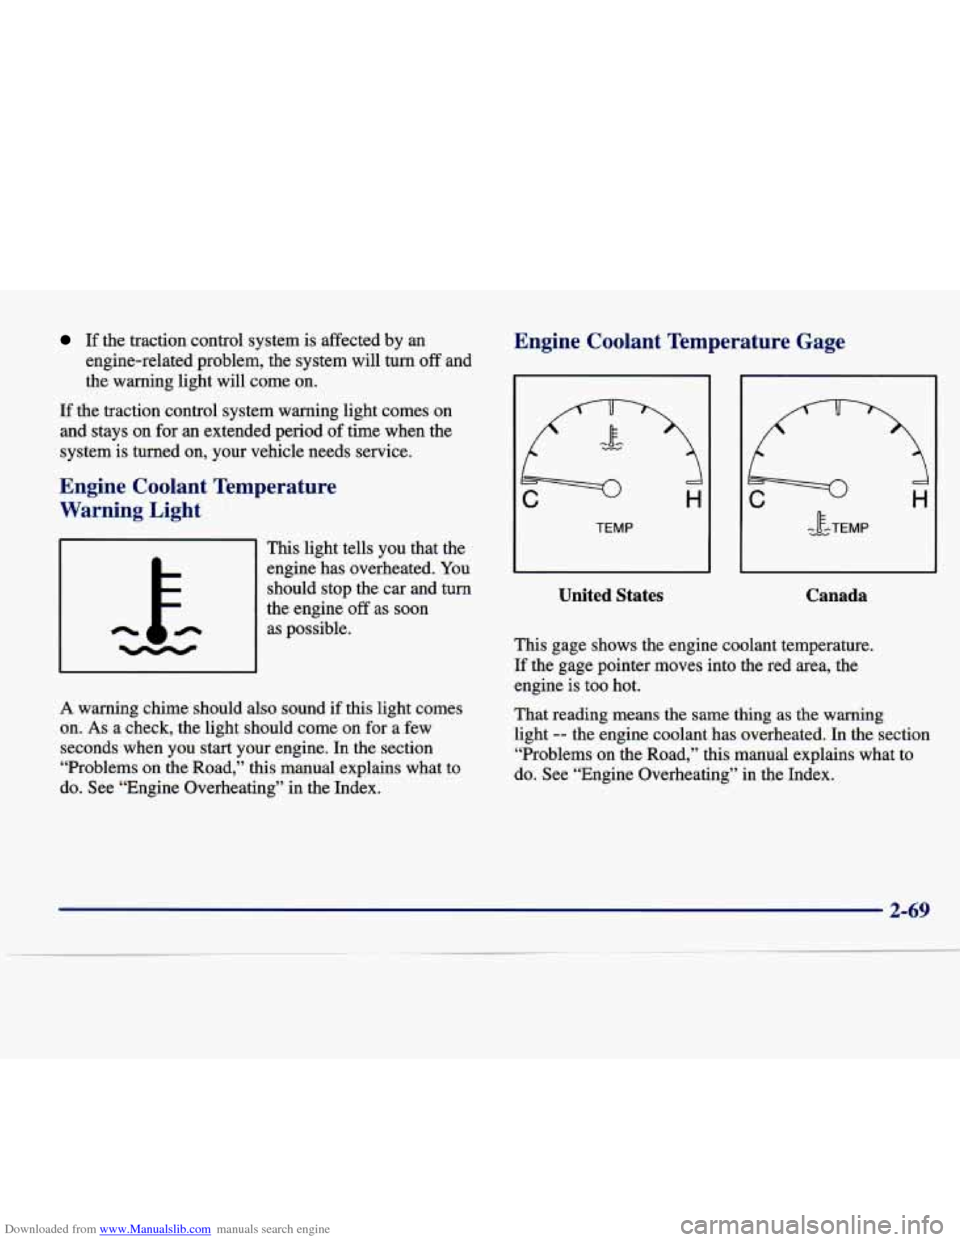
This light tells you that the
engine has overheated. You
should stop the car and turn
the engine off as soon
as possible.
A warning chime should also sound if this light comes
on.
As a check, the light should come on for a few
seconds when
you start your engine. In the section
“Problems on the Road,” this manual explains what to
do. See “Engine Overheating” in the Index.
Engine Coolant Temperature Gage
United States
- c.w IF -TEMP
Canada
This gage shows the engine coolant temperature.
If the gage pointer moves into the red area, the engine is too hot.
That reading means the same thing
as the warning
light
-- the engine coolant has overheated. In the section
“Problems on the Road,” this manual explains what to
do. See “Engine Overheating” in the Index.
2-69
Page 132 of 378
Downloaded from www.Manualslib.com manuals search engine If the Light Is Flashing
The following may prevent more serious damage to
your vehicle:
0 Reducing vehicle speed.
0 Avoiding hard accelerations.
0 Avoiding steep uphill grades.
If the Light Is On Steady
You may be able to correct the emission system
malfunction by considering the following:
Did you recently put fuel into your vehicle?
If
so, reinstall the fuel cap, making sure to fully install
the cap. The diagnostic system can determine
if the fuel
cap has been left
off or improperly installed. A loose or
missing fuel cap will allow fuel to evaporate into the
atmosphere. A few driving trips with the cap properly
installed should turn the light off.
Did you just drive through a deep puddle of water? If you are towing a trailer, reduce the amount of
cargo being hauled as soon as it is possible.
If the light stops flashing and remains on steady, see “If
the Light
Is On Steady” following.
If the light continues to flash, when it is safe to
do so,
stop the vehicle. Find a safe place to park your vehicle.
Turn the key
off, wait at least 10 seconds and restart the
engine.
If the light remains on steady, see “If the Light
Is On Steady” following. If the light is still flashing,
follow
the previous steps, and drive the vehicle to your
dealer or qualified service center for service. If
so, your electrical system may be wet.
The condition
will usually be corrected when the electrical system
dries out.
A few driving trips should turn the light off.
Are you low on fuel?
As your engine starts to run out
of fuel, your engine may
not run as efficiently as designed since small amounts of
air are sucked into the fuel line causing a misfire. The
system can detect this. Adding fuel should correct this
condition. Make sure to install the fuel cap properly. It
will take a few driving trips to turn the light off.
Have you recently changed brands of fuel?
Page 143 of 378
Downloaded from www.Manualslib.com manuals search engine Once TIMER 0O:OO:OO is displayed, press the ON/OFF
button to start the timing feature. Press the ON/OFF
button again to stop it. If you will be starting and
stopping your vehicle, during a trip for instance, the
TIMER feature will automatically start timing where it
left off when you last stopped.
To reset it, press and hold
the INFO RESET button until the display reads TIMER
0O:OO:OO. Press the INFO button to exit from the
TIMER function.
ENGINE OIL LIFE (Reset): Press the INFO button to
display the ENGINE OIL LIFE, then press and hold
the
INFO RESET button until 100% ENGINE OIL LIFE is
displayed. (This only needs to be reset after you have
had the oil changed.)
Transmission Fluid Life Monitor: Under normal
conditions, the rate of deterioration
of the transmission
fluid is slow. See the Maintenance Schedule booklet for
proper fluid and change intervals. Press the INFO button
to display the TRANS FLUID LEFT, then press and
hold the INFO RESET button until
100% TRANS
FLUID LEFT is displayed. (This only needs to be reset after you have had the fluid changed.)
Driver Information Center Messages
These messages will appear if there is a problem sensed
in one of your vehicle’s systems. Vehicles that
are first
sold in Canada will have a number after each message.
This number helps to identify the message which is only
displayed in English.
BATTERY NOT CHARGING - 7: This message will
appear if the battery is not being charged. Have the
electrical system checked by your dealership at your
earliest convenience.
BATTERY SAVER ACTIVE - 27: This message is
displayed when the vehicle has detected that the battery
voltage is dropping beyond a reasonable point. The
battery saver system will start reducing certain features
of the vehicle that you may not be able to notice. At the
point that features are disabled, this message is displayed. It is used to convey that the vehicle is trying
to save the charge in the battery. Turn
off unnecessary
accessories to allow the battery to recharge.
ENGMET: Press this button to display information in
the English (miles) or metric (kilometers) system.
2-82
Page 147 of 378
Downloaded from www.Manualslib.com manuals search engine RIGHT REAR DOOR A JAR - 143: The right rear
door is open or ajar when this message appears. The key
must be in the
ON position for this message to display.
A chime will also sound when the vehicle’s speed is
greater than
3 mph (4.8 km/h).
SERVICE “AC” SYSTEM - 14: This message appears
when the electronic sensors that control the air
conditioning and heating systems are no longer working.
Have the climate control system serviced if you notice a
drop in heating and air conditioning efficiency.
SERVICE AIR BAG - 83: There is a problem with the
Supplemental Inflatable Restraint (air bag) system when
this message appears. Let only a qualified technician
work on your vehicle. See your dealership for service
at once.
SERVICE CHARGING SYS - 102: This message will
display when a problem with the charging system has been
detected. Have your vehicle serviced at your dealership.
SERVICE ELECTRICAL SYS - 106: This message
will display
if an electrical problem has occurred within
the PCM or the ignition switch. Have your vehicle serviced by your dealership.
SERVICE FUEL SYSTEM - 101: The PCM has
detected a problem within the fuel system when this
message appears. See your dealership for service.
SERVICE IDLE CONTROL - 107: A problem with
the idle control has occurred when
this message displays.
Take your vehicle to your dealership for service.
SERVICE STABILITY SYS - 54 : If you ever see the
SERVICE STABILITY
SYS message, it means there
may be a problem with your stability enhancement
system. If you see this message, try to reset the system
(stop;
turn off the engine; then start the engine again). If
the SERVICE STABILITY
SYS message still comes on,
it means there is a problem. You should see your dealer
for service. Reduce your speed and drive accordingly.
A single chime will also sound when this message
is displayed.
SERVICE STEERING SYS - 127: This message is
displayed when a problem has been detected in the
Magnasteer
TM variable effort steering system. Service
is required.
SERVICE SUSPENSION SYS - 84: This message is
displayed to indicate that the suspension system is not
operating properly.
To correct this problem, have your
vehicle serviced
at your dealership.
2-86
Page 165 of 378
Downloaded from www.Manualslib.com manuals search engine FF: Press the right arrow to fast forward to another part
of the tape. The radio will play while the tape advances.
You
may use your station pushbuttons to tune to another
radio station while in
FF mode. Press the right arrow
again to return to playing speed.
TUNE-SEEK: When this button is pressed, it has two
positions. This button works the same, whether it is
pressed to the first or second position. Press this button to seek to the next or previous selection on the tape.
Your tape must have at least three seconds of silence
between each selection for TUNE-SEEK to work. The
sound will mute while seeking.
SCAN: Press this button to listen to selections for a few
seconds. The tape will go to a selection, stop for a few
seconds, then
go on to the next selection. Press this
button again to stop scanning.
SIDE: Press this button to change the side of the tape
that is playing.
6 EJECT: Press the upward triangle button to
remove a tape. The radio will play. Eject may be activated with the radio off and/or the ignition
off.
CLEAN TAPE: If this message appears on the display,
the cassette tape player needs to be cleaned. It will still
play tapes, but you should clean it as soon as possible to
prevent damage to the tapes and player. See “Care of
Your Cassette Tape Player” in the Index. After you clean
the player, press and hold the eject button for three
seconds to reset the CLEAN TAPE indicator.
Your cassette tape player automatically reduces
background noise from tapes encoded with Dolby
NR.
Dolby Noise Reduction is manufactured under a license
from Dolby Laboratories Licensing Corporation. Dolby
and the double-D symbol
are trademarks of Dolby
Laboratories Licensing Corporation.
Auto Cr02 allows the cassette tape player to adjust to
the type of cassette tape for clearer sound for Cr02
cassette tapes.
Playing a Compact Disc
Insert a disc partway into the slot, label side up. The
player will pull it in. If the ignition and the radio
are
on and the underlined compact disc symbol appears on
the display, the disc will begin playing. Compact discs
may be loaded with the radio
off but they will not start
playing until the radio is on. If you want to insert
a disc
when the ignition is off, first press the eject button.
3-1