1998 CADILLAC SEVILLE seats
[x] Cancel search: seatsPage 54 of 378
Downloaded from www.Manualslib.com manuals search engine 1.
2.
3.
Because your vehicle has a right front passenger air
bag, always
move the seat as far back as it will go
before securing a forward-facing child restraint. (See “Seats” in the Index.)
Put the restraint on the seat.
Pick up the latch plate, and run the lap and shoulder
portions of the vehicle’s safety belt through or
around the restraint. The child restraint instructions
will show
you how.
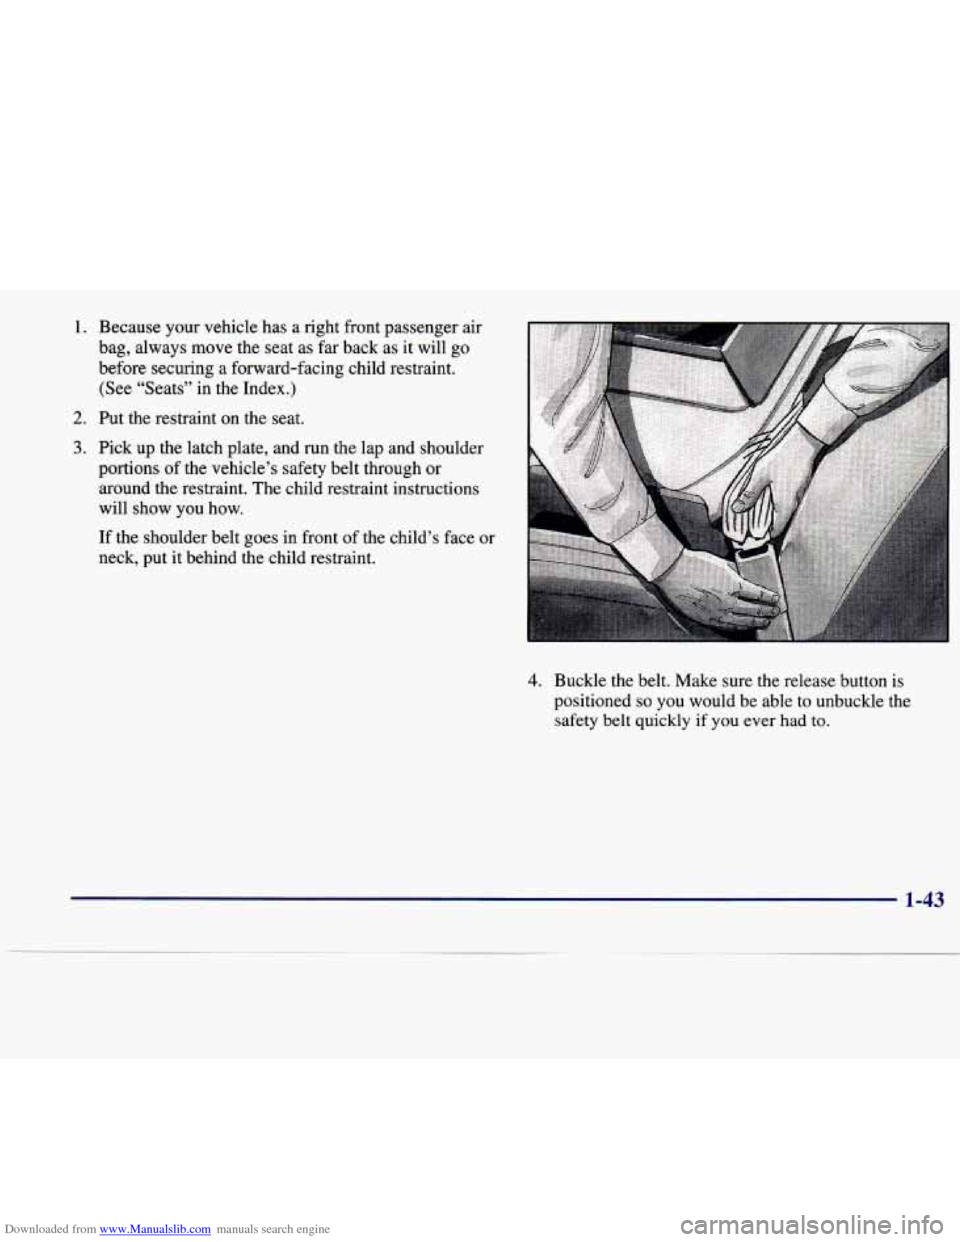
If the shoulder belt goes in front of the child’s face or
neck, put it behind the child restraint.
4. Buckle the belt. Make sure the release button is
positioned
so you would be able to unbuckle the
safety belt quickly
if you ever had to.
1-43
Page 69 of 378
Downloaded from www.Manualslib.com manuals search engine Operation
The numbers on the back of the RKE transmitter
correspond
to Driver 1 and Driver 2. See “Memory
Seat and Personalization” in the Index. Remote
confirmation is not operational if any door
is open.
& When you press this symbol to unlock the driver’s
door, the parking lamps on your vehicle will blink twice.
(You can program your vehicle
so the parking lamps will
not flash. For more information on other program options,
see “Remote Confirmation” in the Index.) Pressing it agai\
n
within five seconds will unlock
the other doors. Pressing
this button will also disarm the optional theft-deterrent
system and
turn on the interior lamps at night.
9 When you press this symbol to lock the doors, the
parking lamps will blink once and the horn will chirp once. (You can program your vehicle
so the parking lamps
will not flash andor the horn will not sound. For more
information on other program options, see “Remote
Confirmation” in the Index.)
This also arrns the optional
theft-deterrent system when the ignition is turned
off.
a Press this symbol to open the trunk.
Press this button to open the fuel door.
The
RKE transmitter can also be used to recall the
memory seats for up to two drivers. For more information,
see “Memory Seat and Mirrors”
in the Index.
Resynchronization
Pressing the transmitter buttons numerous times
(approximately
250 times) out of the vehicle’s operating
range may cause the transmitter not
to work. Replacing
the battery and pressing the transmitter buttons out
of
range will also cause the transmitter not to work. If only
the fuel door button works, the transmitter needs to be
resynchronized to the receiver.
Do this by pressing and
holding both the
LOCK and UNLOCK buttons on the
transmitter for about eight seconds. You must be within
range of the vehicle.
Once the transmitter has been resynchronized, the horn
will chirp and the exterior lamps will flash once. The
system should now operate properly. See your dealer for
service if your transmitter still doesn’t work properly.
Matching Transmitter(s) To Your Vehicle
Each remote keyless entry transmitter is coded to
prevent another transmitter from unlocking your vehicle.
If a transmitter
is lost or stolen, a replacement can be
purchased through your dealer. Once your dealer has coded the new transmitter, the lost transmitter will not
unlock your vehicle. Each vehicle can have only
up to
four transmitters matched to it.
All transmitters must be present when replacement or additional transmitters are being programmed.
2-8
Page 106 of 378
Downloaded from www.Manualslib.com manuals search engine Illuminated Entry
The illuminated entry system turns on the courtesy
lamps and the backlighting to the driver's door switches
and to the ignition key when a door is opened or if you
press the
RKE transmitter unlock button. The
illuminated entry system works with the light sensor and
it must be dark outside in order for the courtesy lamps or
backlighting to turn on. The courtesy lamps turn off
approximately
25 seconds after the last door is closed or
after the ignition key is placed in the
RUN position or if
the
RKE transmitter lock button is pressed.
Reading Lamps
The reading lamps are located in the roof. These lamps
and the interior courtesy lamps come on when any door
is opened and it is dark outside. The rear lamps come
on when a rear door
is opened. Press the button to turn
them on. Press it again to turn them off.
Parade Dimming
This feature prohibits the dimming of the instrument
panel lights during daylight while the parking lamps are
on. This feature works with the light sensor and is fully
automatic. When the light sensor reads darkness outside,
the instrument panel lights can be adjusted. Backlighting
to the instrument panel will also turn on. If
the reading lamps are left on, they automatically shut
off
10 minutes after the ignition has been turned off.
Battery Load Management
The battery load management feature is designed to
monitor the vehicle electrical load and determine when
the battery
is in a heavy discharge condition. During
times of high electrical loading, the engine may idle at a
higher
R€" setting than normal to make sure the battery
charges. High electrical loads may occur when several
of the following are on: headlamps, high beams, fog
lamps, rear window defogger, high blower fan, heated seats and engine cooling fans.
2-45
Page 107 of 378
Downloaded from www.Manualslib.com manuals search engine If the battery continues to discharge, even with the
engine idling at a higher
RPM setting, some electrical
loads will automatically
be reduced. When this occurs,
the
rear window defogger may take slightly longer to
clear the glass, the heated seats may not get as warm as
they usually do and the fan blower may cut back to a
lower speed. For more battery saving information, see “Battery Saver Active Message” in the Index.
Inadvertent Power Battery Saver
This feature is designed to protect your vehicle’s battery against drainage from the interior lamps, trunk lamp,
glove box lamp, cigarette lighters or the garage door
opener. When the ignition is turned
off, the power to
these features will automatically
turn off after
10 minutes. Power will be restored for an additional
10 minutes if any door is opened, the trunk is opened or
the courtesy lamp switch is turned on.
Mirrors
Electrochromic Daymight Rearview Mirror
I
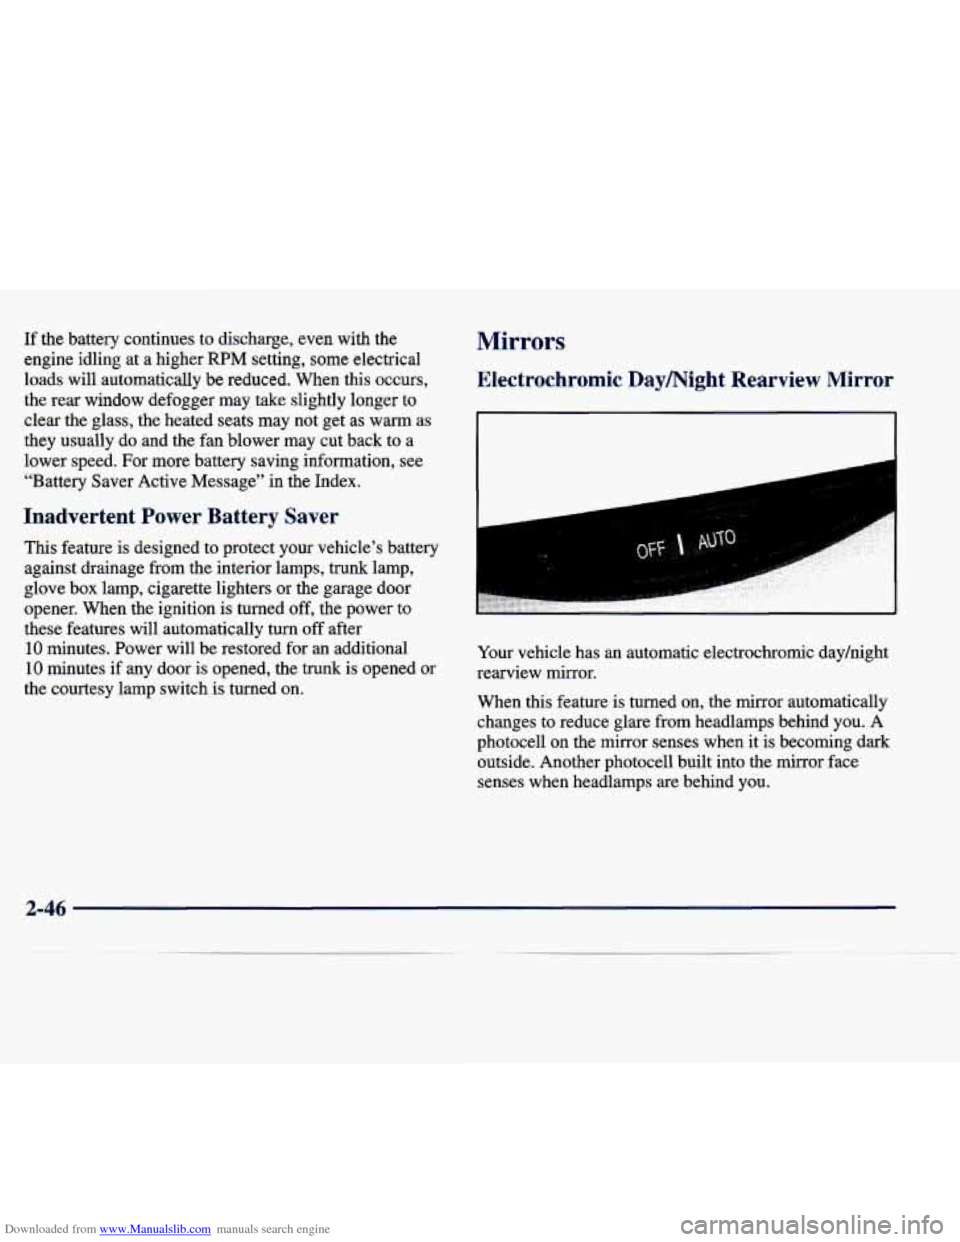
Your vehicle has an automatic electrochromic dayhight
rearview mirror.
When this feature is turned on, the mirror automatically
changes to reduce glare from headlamps behind you.
A
photocell on the mirror senses when it is becoming dark
outside. Another photocell built into the mirror face
senses when headlamps are behind you.
2-46
Page 159 of 378
Downloaded from www.Manualslib.com manuals search engine Ventilation System Rear Ventilation
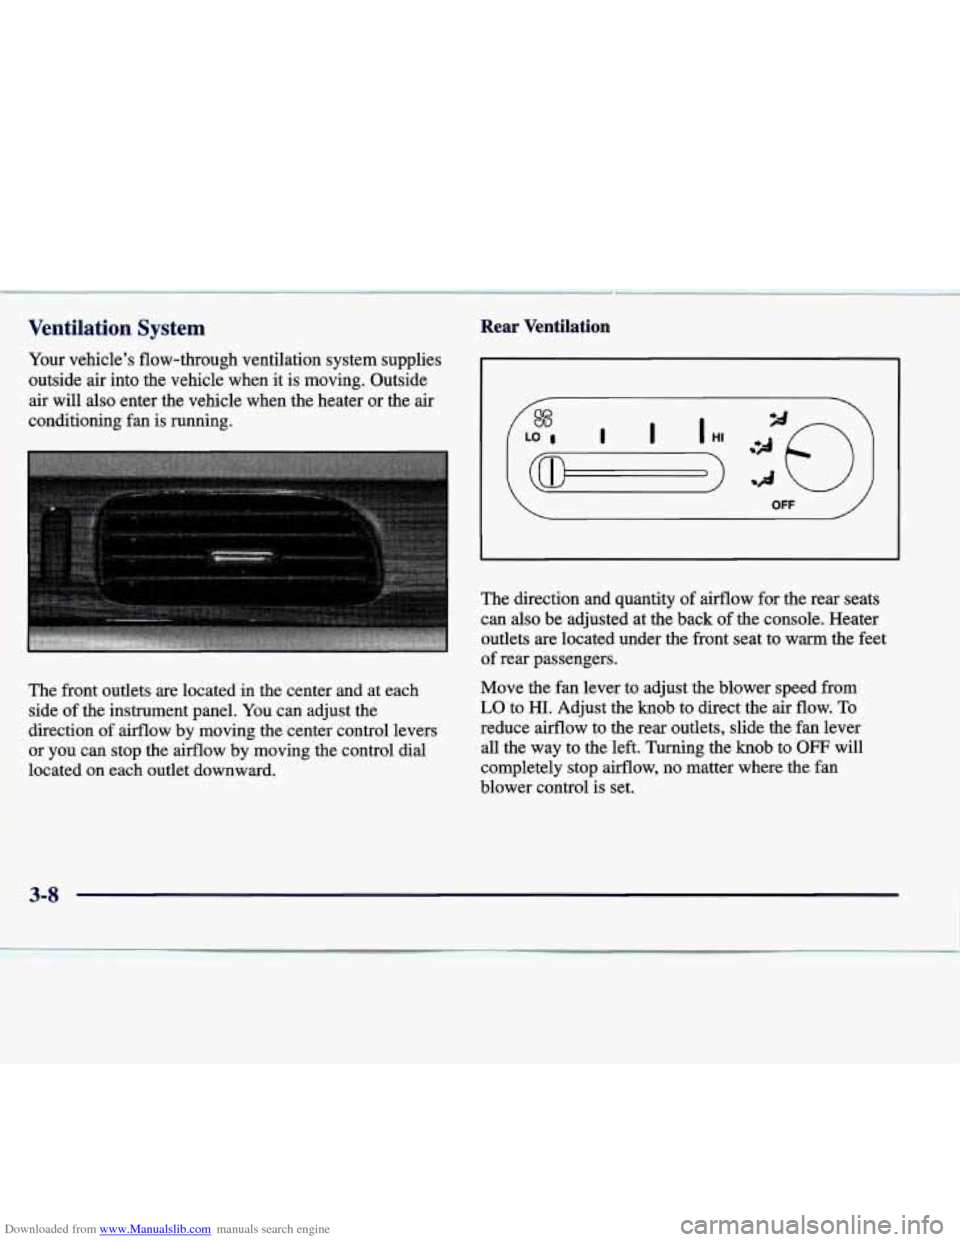
Your vehicle’s flow-through ventilation system supplies
outside air into the vehicle when it is moving. Outside
air will also enter the vehicle when the heater or the air
conditioning fan is running.
The front outlets are located in the center and at each
side of the instrument panel. You can adjust the
direction of airflow by moving the center control levers
or you can stop the airflow by moving the control
dial
located on each outlet downward.
OFF
The direction and quantity of airflow for the rear seats
can also be adjusted at the back of the console. Heater
outlets are located under the front seat to wm the feet
of rear passengers.
Move the fan lever to adjust the blower speed from
LO to HI. Adjust the knob to direct the air flow. To
reduce airflow to the rear outlets, slide the fan lever all the way to the left. Turning the
knob to OFF will
completely stop airflow, no matter where the fan
blower control is set.
3-8 ~
Page 160 of 378
Downloaded from www.Manualslib.com manuals search engine Ventilation Tips
0 Keep the hood and front air inlet free of ice, snow or
any other obstruction (such as leaves). The heater
and defroster will work far better, reducing the
chance of fogging the inside of the windows.
of objects. This helps circulate air throughout
your vehicle.
0 Keep the air path under the front seats clear
Passenger Compartment Air Filter
Passenger compartment air, both outside air and
recirculated air, is routed through
a passenger
compartment filter, which is part of
a three-piece filter
system. The filter removes certain contaminants from
the air, including pollen and dust particles. Reductions
in airflow, which
may occur more quickly in dusty
areas, indicate that the filter needs to be replaced early. The
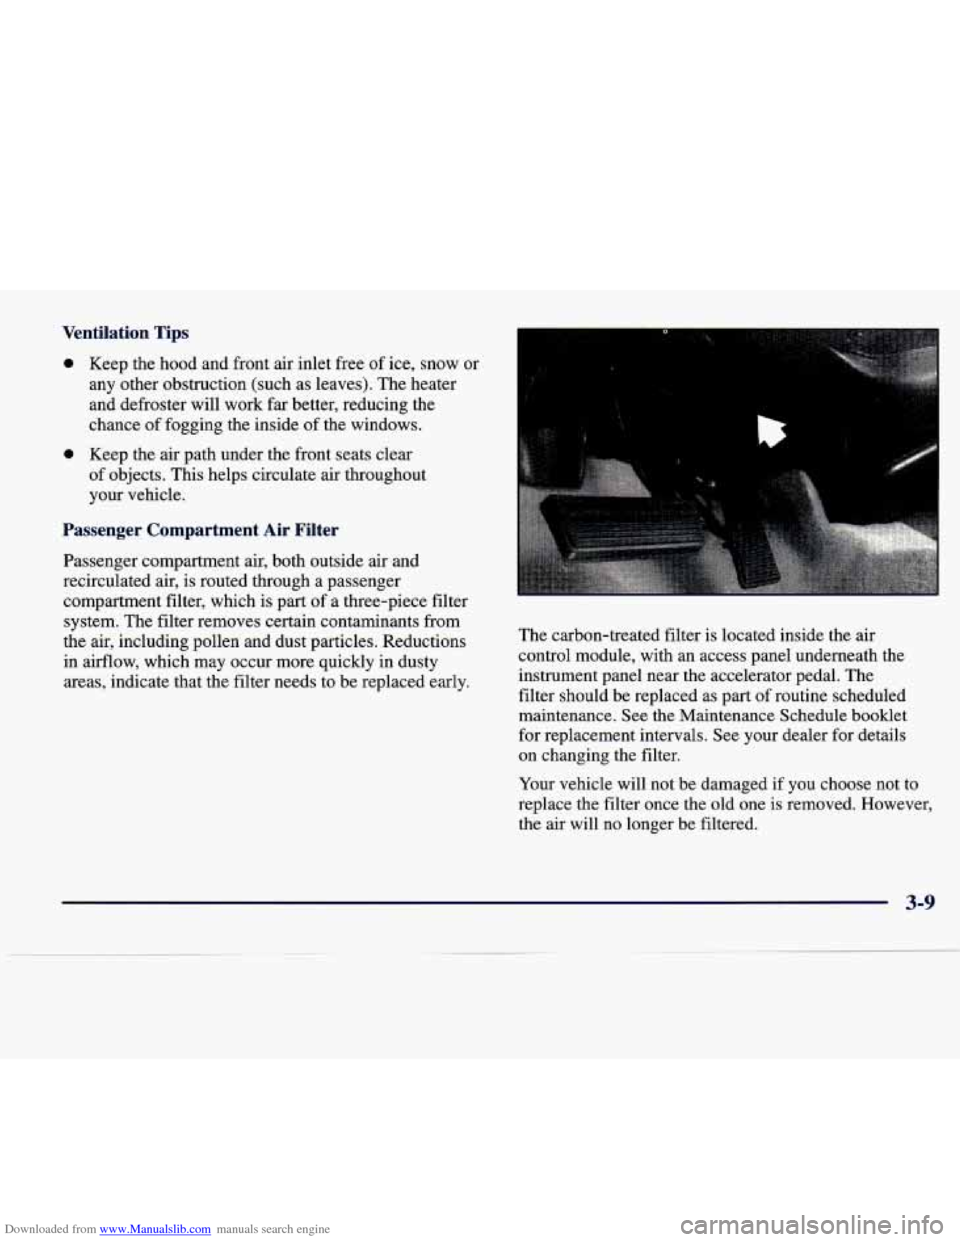
carbon-treated filter is located inside the air
control module, with an access panel underneath the
instrument panel near the accelerator pedal. The
filter should be replaced as part of routine scheduled
maintenance. See the Maintenance Schedule booklet
for replacement intervals. See your dealer for details
on changing the filter.
Your vehicle will not be damaged if
you choose not to
replace the filter once the old one is removed. However,
the air will no longer be filtered.
3-9
Page 228 of 378

Downloaded from www.Manualslib.com manuals search engine 1 A CAUTION:
Things you put inside your vehicle can strike
and injure people in a sudden stop or turn,
or
in a crash.
Put things in the trunk of your vehicle. In a
trunk, put them as
far forward as you can.
Try to spread the weight evenly.
inside the vehicle
so that some of them are
above the tops of the seats.
Don’t leave an unsecured child restraint in
your vehicle.
When you carry something inside the
vehicle, secure it whenever
you can.
Never stack heavier things, like suitcases,
Electronic Level Control
This feature keeps the rear of your vehicle level as
the load changes. It’s automatic
-- you don’t need to
adjust anything.
Towing a Trailer
A CAUTION:
If you don’t use the correct equipment and drive
properly, you can lose control when you pull a
trailer. For example, if the trailer is too heavy,
the brakes may not work well
-- or even at all.
You and your passengers could be seriously
injured. You may also damage your vehicle; the
resulting repairs would not be covered by your
warranty. Pull
a trailer only if you have followed
all the steps in this section. Ask your dealer for
advice and information about towing a trailer
with your vehicle.
Your vehicle can tow a trailer if it is equipped with the
proper trailer towing equipment.
To identify what the
vehicle trailering capacity
is for your vehicle, you
should read the information in “Weight of the Trailer”
that appears later in this section. But trailering is
different than just driving your vehicle
by itself.
4-31
~~
Page 340 of 378
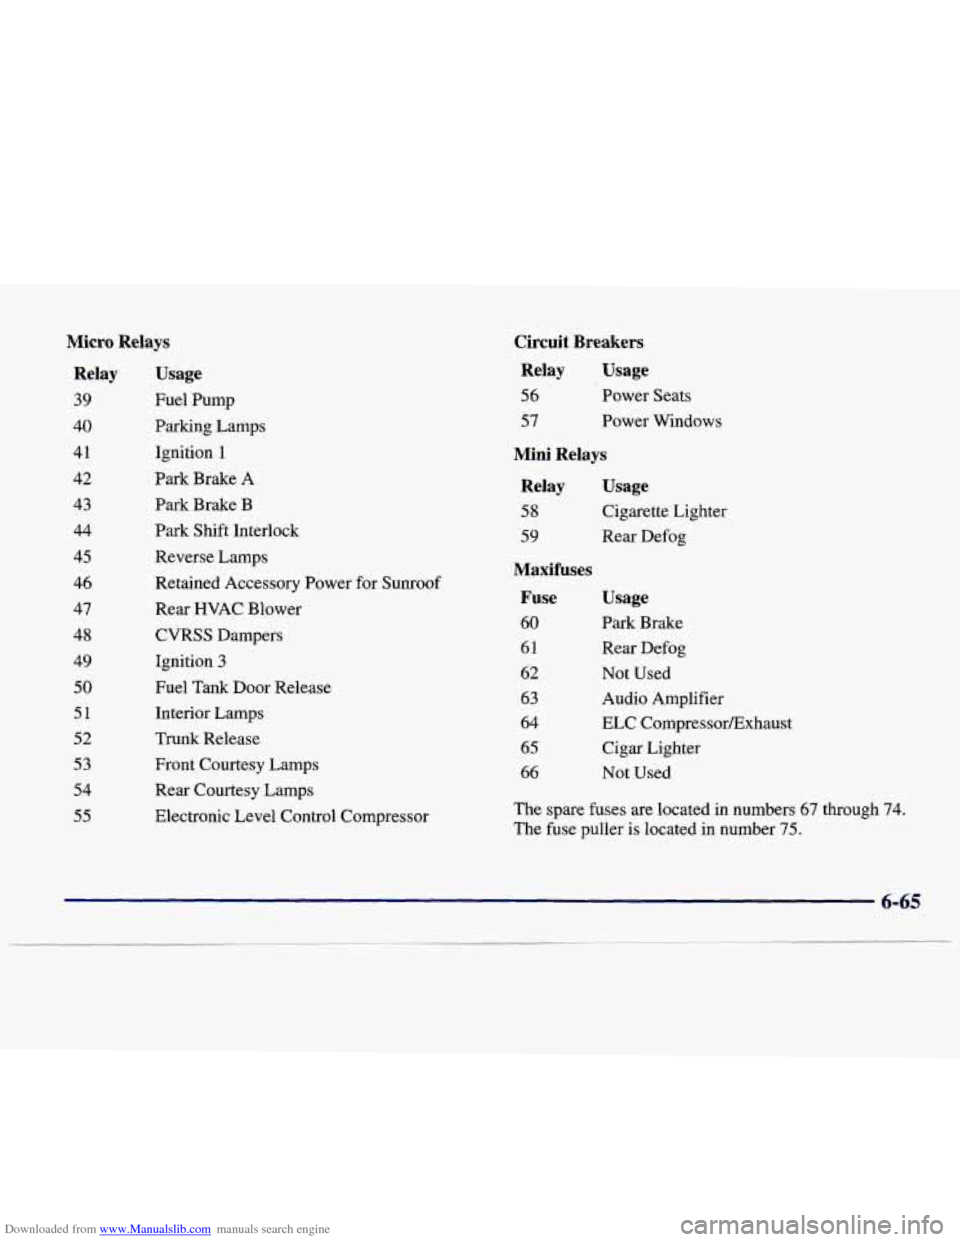
Downloaded from www.Manualslib.com manuals search engine Micro Relays Relay
39
40 41
42
43
44
45
46
47
48
49
50
51
52
53
54
55
Usage
Fuel Pump
Parking Lamps Ignition
1
Park Brake A
Park Brake B
Park Shift Interlock
Reverse Lamps
Retained Accessory Power for Sunroof
Rear HVAC Blower
CVRSS Dampers
Ignition
3
Fuel Tank Door Release
Interior Lamps
Trunk Release
Front Courtesy Lamps
Rear Courtesy Lamps
Electronic Level Control Compressor
Circuit Breakers
Relay Usage
56 Power Seats
57 Power Windows
Mini Relays
Relay Usage
58 Cigarette Lighter
59 Rear Defog
Maxifuses Fuse Usage
60 Park Brake
61 Rear Defog
62 Not Used
63 Audio Amplifier
64 ELC CompressorExhaust
65 Cigar Lighter
66 Not Used
The spare fuses are located in numbers
67 through 74.
The fuse puller is located in number 75.
6-65