1998 CADILLAC ELDORADO cruise control
[x] Cancel search: cruise controlPage 15 of 380
Downloaded from www.Manualslib.com manuals search engine For the 1948 model. Cadillac introduced the legendary
tail fin
which once more set the trend in automotive
styling
for nearly two decades. This was closely
followed with the two door hardtop Coupe DeVille and
the industry’s first modem overhead valve, high
compression
V8 engine on the 1949 model.
Engineering innovations. conveniences and styling
dominated
the ’50s and ‘60s. Cruise control, automatic
climate control.
tilt and telescoping steering wheels,
twilight sentinel and four door hard tops
all debuted in
these years. In 1957 the Eldorado Brougham featured advances
such as air suspension. memory seat,
automatic electric
door locks, transistor radio. a brushed
stainless steel roof and
low profile tires.
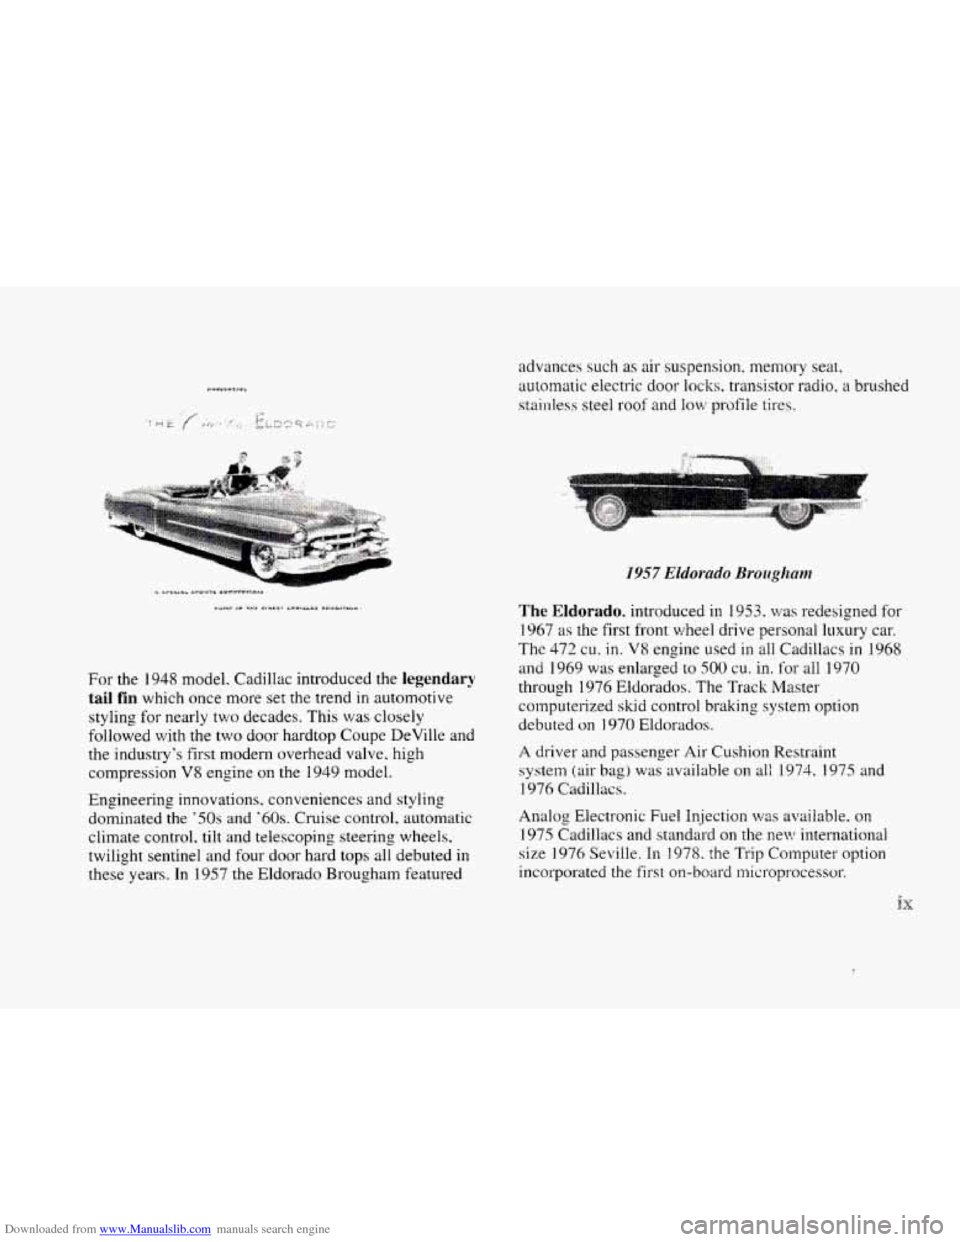
The Eldorado. introduced in 1953, wziS redesigned for
1967 as the first front wheel drive personal luxury car.
The
472 cu. in. V8.engine used in all Cadiilacs in 1968
and 1969 was enlarged to SO0 cu. in. for all 1970
through 1976 Eldorados. The
Track Master
computerized
skid control braking system option
debuted on
1970 Eldorados.
A driver and passenger Air Cushion Restraint
system (air bag) was available on
ali 1974. 1975 and
1976 Cadillacs.
Analog Electronic Fuel Injection
was available. on
1975 Cadillacs and standard on the new international
size 1976 Seville. In
1978. the Trip Computet. option
incorporated the first on-board microprocessor.
Page 106 of 380
Downloaded from www.Manualslib.com manuals search engine NOTICE:
Driving without washer fluid can be dangerous.
A bad mud splash can block your vision and you
could hit another vehicle or go off the road.
Check the washer fluid level often.
J
Cruise Control
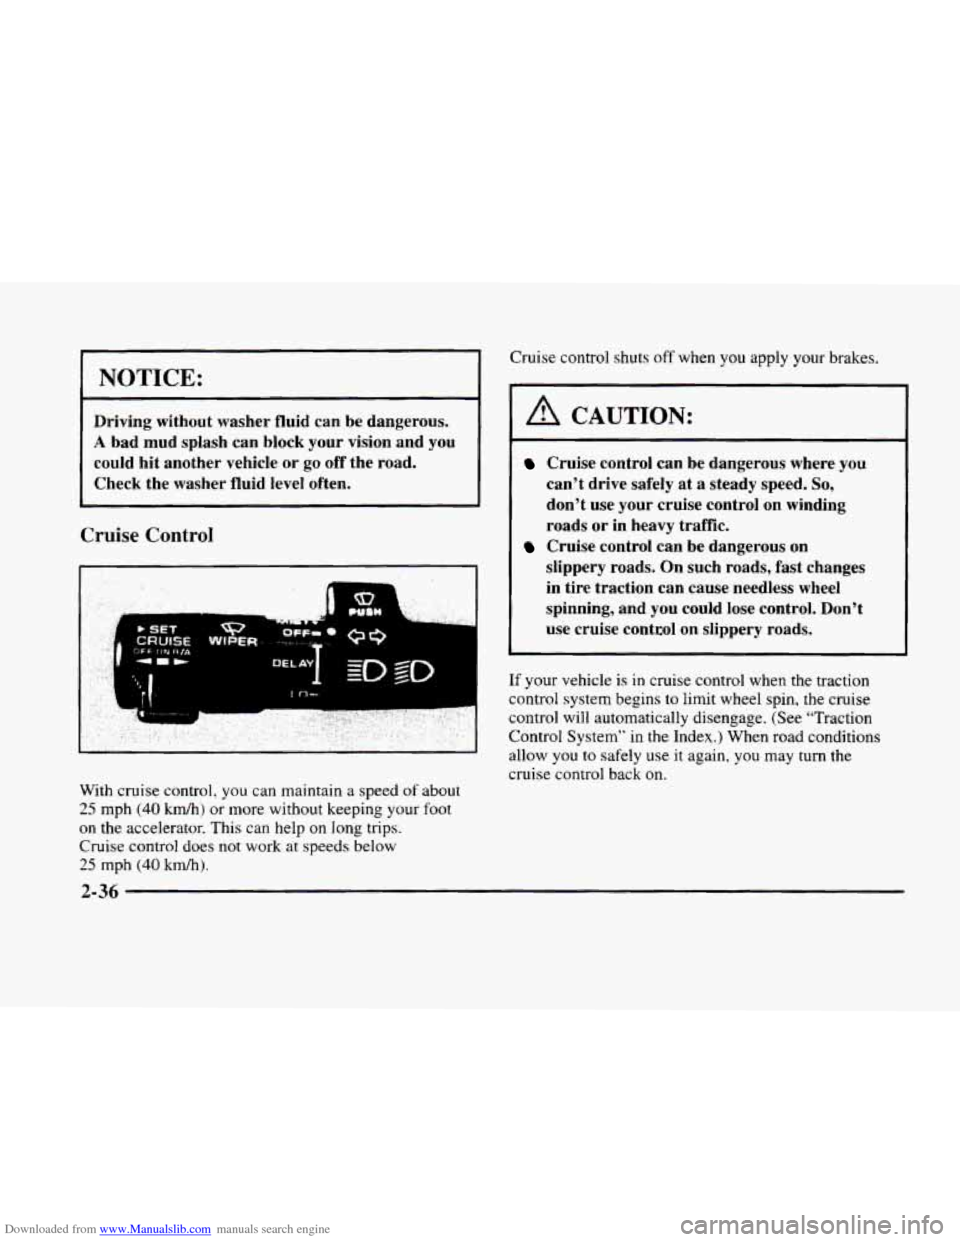
With cruise control, you can maintain a speed of about
25 mph (40 km/h) or more without keeping your foot
on the accelerator. This can help on long trips.
Cruise control does
not work at speeds below
25 mph (40 kd).
Cruise control shuts off when you apply your brakes.
A CAUTION:
Cruise control can be dangerous where you
can’t drive safely at
a steady speed. So,
don’t use your cruise control on winding
roads or in heavy traffic.
slippery roads. On such roads, fast changes
in tire traction can cause needless wheel
spinning, and you could
lose control. Don’t
use cruise control on slippery roads.
Cruise control can be dangerous on
If your vehicle is in cruise control when the traction
control system begins
to limit wheel spin, the cruise
control will automatically disengage. (See “Traction
Control System” in
the Index.) When road conditions
allow you
to safely use it again, you may turn the
cruise control back
on.
2-36
Page 107 of 380
Downloaded from www.Manualslib.com manuals search engine Setting Cruise Control
I A CAUTION:
If you leave your cruise control switch on when
you’re not using cruise, you might hit a button
and
go into cruise when you don’t want to. You
could be startled and even lose control. Keep the
cruise control switch
off until you want to use it.
1. Move the cruise control switch to ON.
2. Accelerate to the speed you want.
3. Press the SET CRUISE button at the end of the lever
and release
it. The CRUISE ENGAGED message
will display
on the Driver Information Center (DIC).
4. Remove your foot from the accelerator pedal.
Resuming a Set Speed
Setting the cruise control at a desired speed and then
applying
the brake will end the cruise function.
Once you’re going about
25 mph (40 Mh) or more,
you can move the cruise control switch from ON to RIA
(Resume/Accelerate) for about half a second
to
reset. This returns you to your desired preset speed.
Also note that the Driver Information Center (DIC)
will display the CRUISE ENGAGED message again.
Remember, if you hold the switch at R/A longer than
half
a second, the vehicle will accelerate until you
release the switch
or apply the brake. So unless you
want to
go faster, don’t hold the switch at WA.
Increasing Speed While Using Cruise Control
There are two ways to go to a higher speed:
Use the accelerator pedal to get to the higher speed.
Push the button at the end of the lever and then
release the button and the accelerator pedal. You’ll
now cruise at the higher speed.
Move the cruise switch from ON to R/A. Hold it
there until you reach a desired speed and then
release the switch. (To increase
your speed in
very small amounts, move the switch to WA.
Each time you
do this, your vehicle will go about
1 mph ( 1.6 km/h) faster.)
The accelerate feature
will only work after you have
set the cruise control speed by pushing the SET
CRUISE button.
2-37
Page 108 of 380
Downloaded from www.Manualslib.com manuals search engine Reducing Speed While Using Cruise Control
There are two ways to reduce your speed while using
cruise control:
Push in the button at the end of the lever until you
reach a desired lower speed, then release it. A
CRUISE ENGAGED message will then display in
the Driver Information Center
(DIC).
To slow down in very small amounts, push the
button for less than half a second. Each time
you
do this, you’ll go 1 mph (1.6 km/h) slower.
Passing Another Vehicle While Using Cruise Control
Use the accelerator pedal to increase your speed. When
you take your foot
off the pedal, your vehicle will slow
down
to the cruise control speed you set earlier.
Using Cruise Control on Hills
How well your cruise control will work on hills depends
upon your speed, load and the steepness
of the hills.
When going up steep hills, you may have to step
on the
accelerator pedal to maintain your speed. When going
downhill,
you may have to brake or shift to a lower gear
to keep your speed down. Of course, applying the brakes
or downshifting into FIRST
(1) takes you out of cruise
control. Many drivers find this
to be too much trouble
and don’t use cruise control on steep hills.
Ending Cruise Control
There are two ways to end cruise control:
Step lightly on the brake pedal.
Move the CRUISE switch to OFF.
Erasing Speed Memory
The cruise control set speed memory is erased when
you
turn off the cruise control or the ignition.
2-38
Page 207 of 380
Downloaded from www.Manualslib.com manuals search engine Remember: Anti-lock doesn’t change the time you need
to get your foot up to the brake pedal or always decrease
stopping distance. If you get too close to the vehicle in
front
of you, you won’t have time to apply your brakes
if that vehicle suddenly slows or stops. Always leave
enough room up ahead to stop, even though you have
anti-lock brakes.
Using Anti-Lock
Don’t pump the brakes. Just hold the brake pedal down
firmly and let anti-lock work for you. You may hear the
anti-lock pump or motor operate, and feel the brake
pedal pulsate, but this is normal. If
your vehicle
is in cruise control when the traction
control system begins
to limit wheel spin, the cruise
control will automatically disengage. When road
conditions allow you
to safely use it again, you may
reengage the cruise control. (See “Cruise Control” in
the Index.)
TRACTION
CONTROL
This warning light will
come
on to let you know if
there’s a problem with your
traction control system.
Traction Control System
Your vehicle has a traction control system that limits wheel
spin.
This is especially useful in slippery road conditions.
The system operates only
if it senses that one or both of
the front wheels are spinning or beginning to
lose traction.
When
this happens, the system works the front brakes and
reduces engine power to
limit wheel spin.
The TRACTION ENGAGED message will display on
the Driver Information Center when
the traction control
system
is limiting wheel spin. See ‘.Driver Infomation
Center Messages” in the Index. You may feel or hear the
system working, but this is normal. See
“Traction Control System Warning Light” in the
Index. When this warning light is
on. the system will not
limit wheel spin. Adjust
your driving accordingly.
The traction control system automatically comes on
whenever
you start your vehicle. To limit wheel spin,
especially
in slippery road conditions, you should
always leave the system on. But you can turn the
traction control system
off if you ever need to. (You
should turn the system off if your vehicle ever gets stuck
in sand, mud, ice or snow. See “Rocking Your Vehicle”
in the Index.)
4-9
Page 338 of 380

Downloaded from www.Manualslib.com manuals search engine Fuse
IGN 1”
BATT 1
BRAKES
Usage
Front and Rear Ignition- 1 Relay,
Oxygen Sensor
1 and 2 Fuse, Fuel
Fuse, Cruise Fuse,
DFU Relay, Front
and Rear Fog Lamp Relay, Control
Power Back-up Relay, Ignition-
1 Fuse,
Fuel Pump Relay
Starter Relay and Solenoid, ParldXev
Fuse, Park Relay, PCM Fuse, AC
Compressor Fuse and Relay,
Fan
Relays, Reverse Relay
ABS Brake Modulator
COOL
FNS Cooling Fan Relays 1 and 3
* Do not alter OBD I1 related fuses or circuit breakers.
Fuses and Circuit Breakers
The wiring circuits in your vehicle are protected from
short circuits by a combination
of fuses and circuit
breakers.
This greatly reduces the chance of fires
caused by electrical problems.
Look at the silver-colored band inside the fuse. If the
band is broken or melted, replace the fuse. Be sure you
replace a bad fuse with
a new one of the identical size
and rating.
If you ever have a problem on the road and don’t have
a spare fuse, you can “borrow” one that has the same
amperage. Pick some feature of your vehicle that
you can get along without
-- like the radio or
cigarette lighter -- and use its fuse, if it is the correct
amperage. Replace it as soon as you can.
There
are two fuse blocks in your vehicle: the engine
compartment fuse block and the rear compartment
fuse block.
6-58
Page 340 of 380

Downloaded from www.Manualslib.com manuals search engine Fuse
CIG LTR1
L HDLP
LO
R HDLP LO
L HDLP HI
R HDLP HI
FOG
HDLPS
HAZARD
Usage
Front and Rear Cigarette Lighters
(Full Console Only)
Left Low-Beam Headlamp
Right Low-Beam Headlamp
Left High-Beam Headlamp
Right High-Beam Headlamp
Front
Fog Lamp Relay, Right and
Left Front Fog Lamps
Headlamp Relay, High/Low-Beam
Control Relay, Right and Left
Low/High-Beam Fuses
Electronic Flasher Module,
Turn/Hazard Switch, Right and Left
Front
Turn Lamps, Right and Left
Rear
Turn Lamps, Right and Left
Repeater Lamps (Export), Cluster
Fuse
STOP
MIRROR
DRL
Usage
Stoplamp Switch, Centered
High-Mounted Stoplamp (CHMSL),
Turn Hazard Switch, ABS
Controller, Stepper Motor Cruise
Control, Right and Left Rear
Stoplamps (Export)
Inadvertent Power Relay, Left
Outside Rearview
Mirror Switch,
ALDL, Memory Mirror Module
Dimmer Switch, Cluster
Daytime Running Lamp (DRL)
Relay, Left and Right Low Beam in
DHL Mode, DRL Switch
IGN 0 (ENG)* Powertrain Control Module (PCM)
ABS
IGN- 1
Anti-Lock Brake System
(ABS)/Traction Control System
Rear Ignition- 1 Relay, Front Fog
Lamp Relay, Rear
Fog Lamp Relay
(Export), Controlled Power Power
Relay,
DRL Relay
6-60
Page 341 of 380

Downloaded from www.Manualslib.com manuals search engine Fuse
WIPERS A/C COMP
PCM
(BAT)*
PARWREV
ECS*
PCM (IGN)*
Usage
Accessory Relay, Wiper Switch
AC Compressor Relay, Cooling Fan
Relays
I, 2.3, Compressor Clutch
PCM
TCC and Exterior Travel Brake
Switch, Reverse Relay, Right and
Left Back-up Lamps,
Electrochromic Mirror
(in Header).
Park Relay, Brake Transaxle- Shift Interlock (BTSI) Switch,
BTSI, PZM
Transaxle Shift Solenoids, Mass
Aifflow, Canister Purge, PCM,
Linear Exhaust Gas Recirculation
(EGR), Front Ignition-
1 Relay,
Torque Converter
Powertrain Control
Module (PCM)
Fuse
DIS *
CRUISE
INJ*
INJ*
Usage
Electronic Ignition Control Module
Stepper Motor Cruise Control,
Power Steering Pressure Switch,
Low Refrigerant Pressure Cutoff
Switch, Park
Relay
Injectors 1,4. 6, 7
Injectors 2. 3. 5, 8
FUEL PUMP* PCM, Fuel Pump Relay, Fuel Pump
OXY SEN1 * Oxygen Sensor Front, CAT Front
Oxygen Sensor
OXY SEN2* *Oxygen Sensor Rear.
Catalytic Converter (CAT)
Rear Oxygen Sensor
* Do not alter OBD I1 related fuses or circuit breakers.
6-61