1998 CADILLAC ELDORADO instrument panel
[x] Cancel search: instrument panelPage 102 of 380
Downloaded from www.Manualslib.com manuals search engine Tilt Wheel
... .,
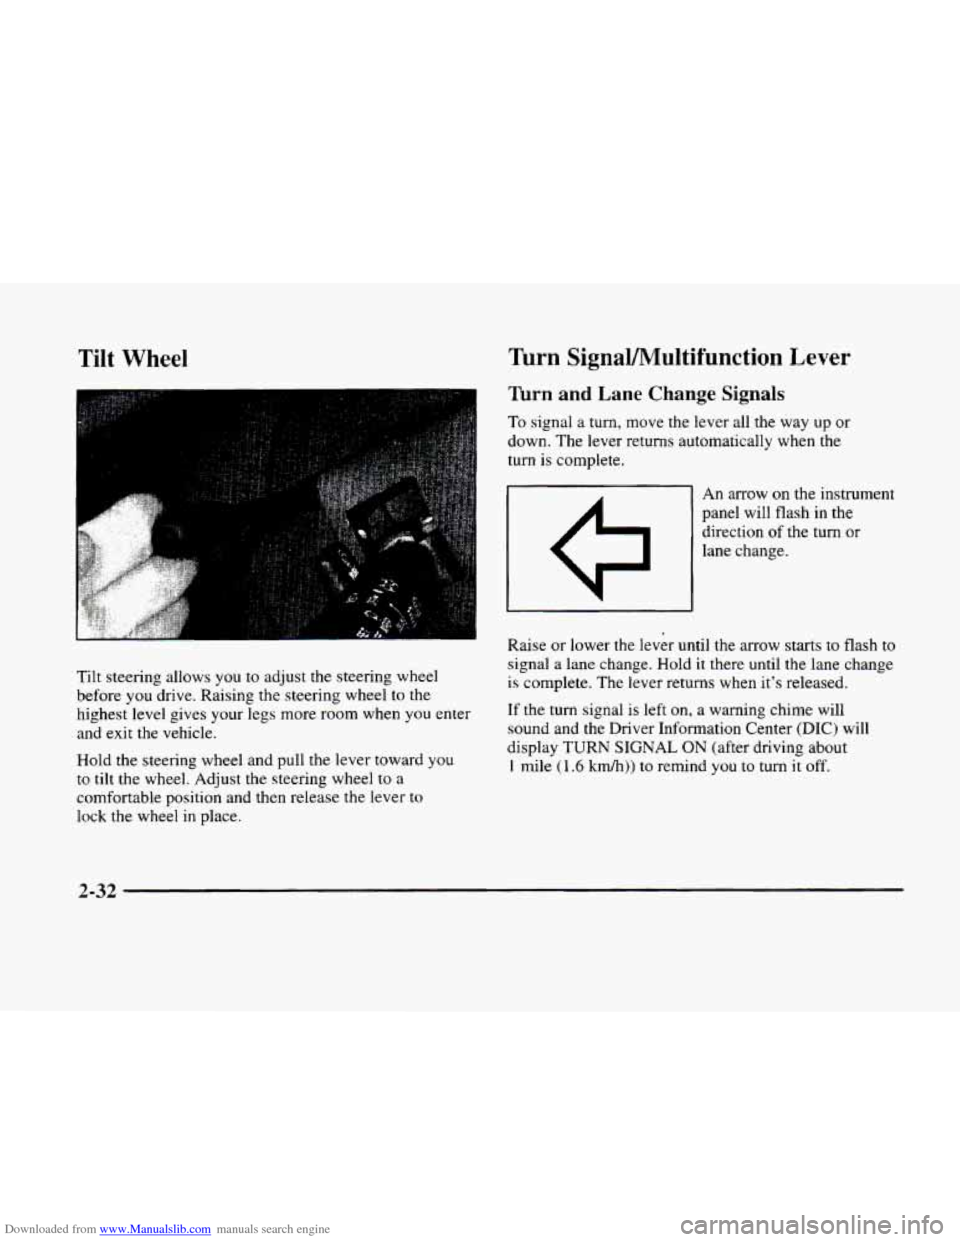
Tilt steering allows you to adjust the steering wheel
before
you drive. Raising the steering wheel to the
highest level gives your legs more room when you enter
and exit the vehicle.
Hold the steering wheel and pull
the lever toward you
to tilt the wheel. Adjust the steering wheel to a
comfortable position and then release the lever to
lock the wheel in place.
Turn SignaVMultifunction Lever
Turn and Lane Change Signals
To signal a turn, move the lever all the way up or
down, The lever returns automatically when the
turn is complete.
I 1
c7
An arrow on the instrument
panel will flash
in the
direction
of the turn or
lane change.
Raise
or lower the lever until the arrow starts to flash to
signal a lane change. Hold it there until the lane change
is complete. The lever returns when it's released.
If the turn signal is left on, a warning chime will
sound and the Driver Information Center
(DIC) will
display
TURN SIGNAL ON (after driving about
1 mile (1.6 km/h)) to remind you to turn it off.
2-32
Page 103 of 380

Downloaded from www.Manualslib.com manuals search engine Arrows that flash rapidly when signaling for a turn or
lane change may be caused by a burned-out signal bulb.
Other drivers won’t see
the turn signal.
Replace burned-out bulbs
to help avoid possible
accidents. Check the fuse
(see “Fuses and Circuit
Breakers”
in the Index) and for burned-out bulbs if
the arrow fails to work when signaling a turn.
Headlamp High/Low Beam Changer
Pull the turn signal lever
all the way toward
you and
then release it
to change the
headlamps from low beam
to high or from high beam
to low.
This light
on the instrument panel will be on, indicating
high beam usage.
Flash-To-Pass
This lets you use the high-beam headlamps to signal
the driver in front
of you that you want to pass.
Pull the
turn signal lever toward you to use. When
you do:
0
0
0
If the headlamps are either off or in the Daytime
Running Lamps
(DRL) mode, the high-beam
headlamps will turn
on. They’ll stay on as long
as you hold the lever there. Release the lever to
turn them off.
If the headlamps are
on low beam, they will shift to
high beam and stay there. Pull the lever toward you
to return to low beam.
If the headlamps are
on high beam, they will switch
to low beam.
To return to high beam. pull the lever
toward you.
2-33
Page 109 of 380
Downloaded from www.Manualslib.com manuals search engine Exterior Lamps
0
0
0
0
0
0
0
0
0
Headlamps
Taillamps Parking Lamps
Sidemarker Lamps
License Plate Lamp
Underhood Lamp
Fog Lamps
Instrument Panel Lights
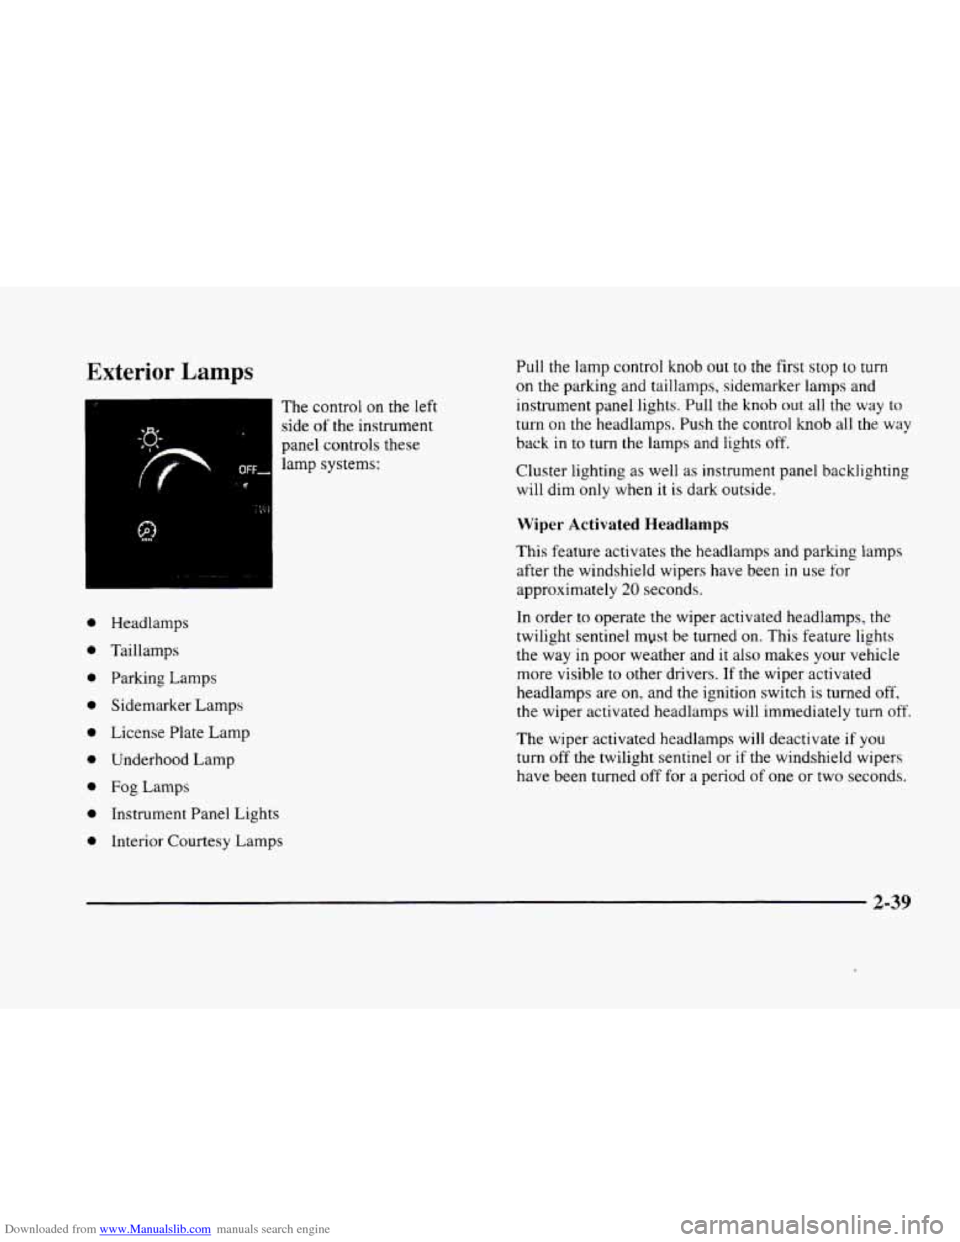
Interior Courtesy Lamps The
control on the left
side
of the instrument
panel controls these
lamp systems: Pull the
lamp control
knob out to the first stop to turn
on the parking and taillamps, sidemarker lamps and
instrument panel lights. Pull the knob
out all the way to
turn
on the headlamps. Push the control knob all the way
back in to
turn the lamps and lights off.
Cluster lighting as well as instrument panel backlighting
will dim
only when it is dark outside.
Wiper Activated Headlamps
This feature activates the headlamps and parlung lamps
after the windshield wipers have been
in use for
approximately
20 seconds.
In order
to operate the wiper activated headlamps, the
twilight sentinel myst be turned
on. This feature lights
the way in poor weather and it
also makes your vehicle
more visible to other drivers.
If the wiper activated
headlamps are
on, and the ignition switch is turned off.
the wiper activated headlamps will immediately turn off.
The wiper activated headlamps will deactivate if you
turn off the twilight sentinel or if the windshield wipers
have been turned off for a period
of one or two seconds.
2-39
Page 110 of 380
Downloaded from www.Manualslib.com manuals search engine Lamps On Reminder
You will hear a warning chime if you open either door
while leaving the lamps on, if the manual headlamp
control is activated. An exception to this is when you’re
using twilight sentinel.
Daytime Running Lamps
Daytime Running Lamps (DRL) can make it easier
for others to see the front
of your vehicle during the
day. DRL can be helpful in many different driving
conditions, but they can be especially helpful in the
short periods after dawn and before sunset.
The
DRL system will make the high-beam headlamps
come
on at reduced brightness when:
0 the ignition is on,
the headlamp switch is off and
the transaxle is not in PARK (P).
When DRL are on, only your high-beam headlamps (at
reduced brightness) will be on. No other exterior lamps
such as the parking lamps, taillamps, etc. will be
on
when the DRL are being used. Your instrument panel
won’t be lit up either. When
the twilight sentinel switch is on and it’s dark
enough outside, the high-beam headlamps
(at reduced
intensity) will
turn off and normal low-beam headlamp
operation will occur. When the twilight sentinel switch
is on and it’s bright enough outside, the regular lamps
will go
off, and the high-beam headlamps at reduced
brightness will take over for the DRL.
If it’s
dark enough outside and the twilight sentinel
control is off,
a HEADLAMPS SUGGESTED message
will display on the Driver Information Center (DIC).
This message informs the driver that turning on the
exterior lamps
is recommended even though the DRL
are still illuminated (it’s become dark enough outside
to require the headlamps and/or other exterior lamps).
Turning on the twilight sentinel, the headlamp switch
or
the fog lamp switch will remove the HEADLAMPS
SUGGESTED message.
To idle your vehicle with the DRL off, turn off the
twilight sentinel switch and shift the transaxle into
PARK (P). Placing your vehicle in PARK
(P) disables
the DRL. The
DRL will stay off until you shift out
of PARK (PI.
As with any vehicle, you should turn on the regular
headlamp system when
you need it.
2-40
Page 112 of 380
Downloaded from www.Manualslib.com manuals search engine If it’s dark enough outside and the twilight sentinel
control
is off, a HEADLAMPS SUGGESTED message
will display
on the Driver Information Center (DIC).
This message informs the driver that turning on the
exterior lamps is recommended (it’s become dark
enough outside to require the headlamps and/or other
exterior lamps). Turning
on the twilight sentinel, the
headlamp switch or the fog lamp switch will remove
the HEADLAMPS SUGGESTED message.
Light Sensor
Exterior Lighting Battery Saver
If the manual parking lamp control has been left on, the
exterior lamps will turn
off approximately 10 minutes
after the ignition is turned
to LOCK or ACCESSORY.
This protects draining the battery in case you have
accidently left the headlamps or parking lamps on.
If
you need to purposely leave the lamps on for
more than
10 minutes with the ignition in LOCK or
ACCESSORY, turn the manual control knob
off and
then back on.
To delay the lamps from turning off, see
“Twilight Sentinel” earlier in this section.
,‘ ,: ,,.,I. !,;‘ ’.. ._,;, .
.. . ., , >. .’ ..: Interior Lamps ’ , ,: ?, ’, :. .”; :,$):,$ , , <. ,. :: ,I .~
Instrument Panel Brightness Control
Cluster lighting as well as instrument panel lighting
automatically dims when it becomes dark outside and
your lights are on. When it’s dark, the brightness
control can be manually adjusted. Cluster lighting and
instrument panel lighting automatically brighten when
it becomes light outside.
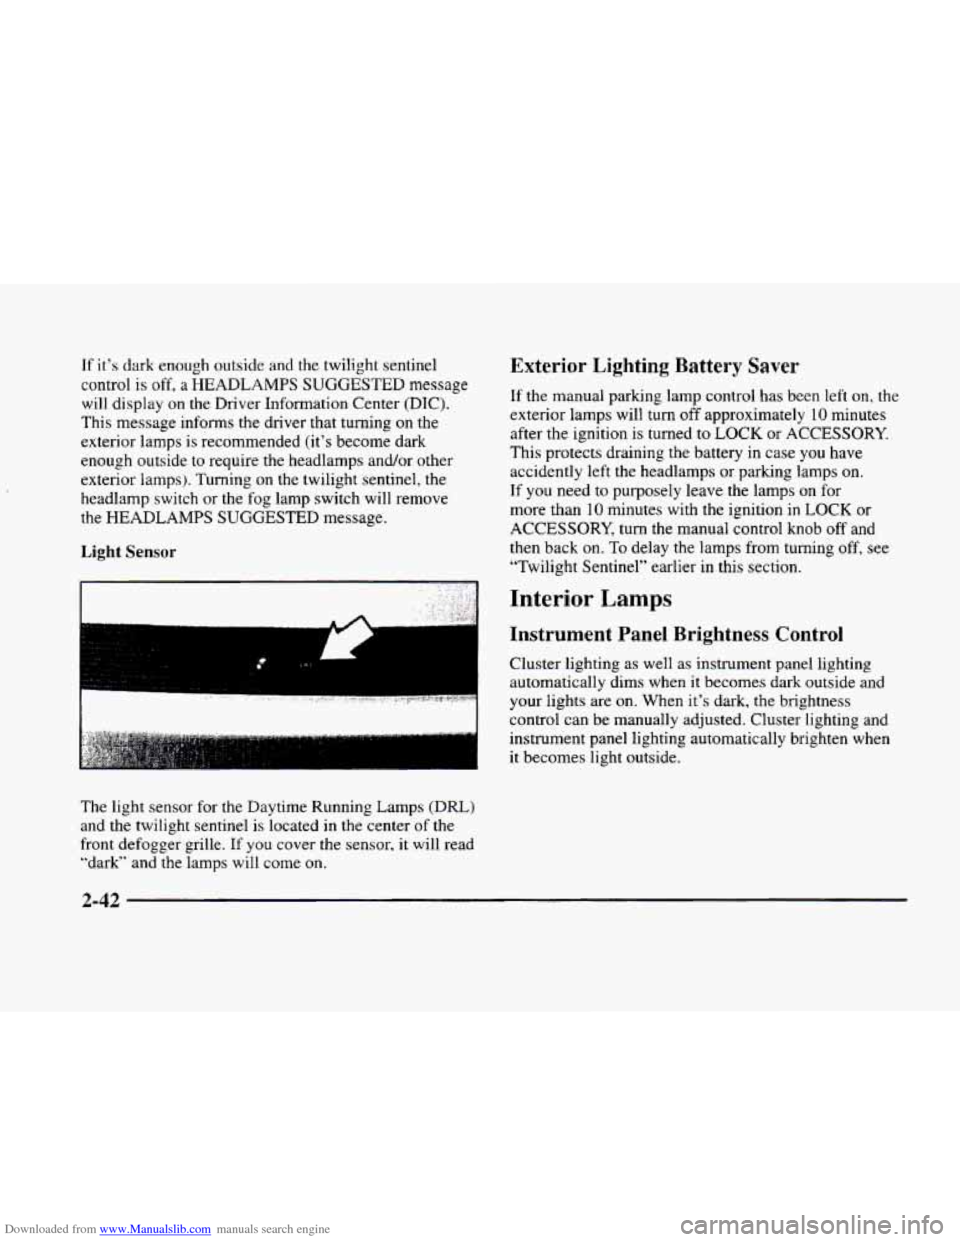
The light sensor
for the Daytime Running Lamps (DRL)
and the twilight sentinel is located in the center of the
front defogger grille.
If you cover the sensor, it will read
“dark” and the lamps will come
on.
Page 113 of 380
Downloaded from www.Manualslib.com manuals search engine Illuminated Entry
The illuminated entry system turns on the courtesy
lamps and the backlighting to the door switches and to
the lamp control knob when a door is opened or
if you
press a remote keyless entry transmitter button. Since
the illuminated
entry system has a photocell, this means
that it must be dark outside in order for the courtesy
lamps or backlighting
to turn on. The courtesy lamps
turn off approximately
20 seconds after the last door is
closed
or after the ignition key is placed in the ignition.
Parade Dimming
This feature prohibits backlighting and the dimming
of the instrument panel lights during daylight while the
headlamps are
on. This feature operates with the light
sensor for the twilight sentinel and is fully automatic.
When
the light sensor reads darkness outside, the
instrument panel lights can be adjusted. Backlighting
to the instrument panel will also turn on.
Reading Lamps
The reading lamps are located in the roof. These lamps
and the interior courtesy lamps automatically come on
when either door
is opened and it is dark outside. For
manual operation, press the button
to turn them on.
Press it again to turn them off. If
the reading lamps are left
on. rney automatically shut
off IO minutes after the ignition has been turned off.
Inadvertent Power Battery Saver
This feature is designed to protect your vehicle’s battery
against drainage from the interior lamps, trunk lamp,
glove box lamp, cigarette lighters or the garage door
opener. When
the ignition is turned off, the power
to these features will automatically turn off after
10 minutes (three minutes
if a new car has I5 miles
(24 km) or less). Power will be restored for an additional
10 minutes if either door is opened, the trunk is opened
or the courtesy lamp switch is turned on.
Storage Mode Personalization
This feature is for long term use and must be
programmed through the Driver Information Center
(DIC) while the ignition is in RUN. Storage mode
personalization protects the battery by placing your
vehicle in a storage mode
so that the radio, amplifiers,
instrument cluster and remote keyless entry will
not drain the battery over a long period of time.
For programming information, see “Programmable,
Memory and Personalization Features” later
in
this section.
2-43
Page 126 of 380
Downloaded from www.Manualslib.com manuals search engine Instrument Panel
/
I
J
2-56
Page 127 of 380
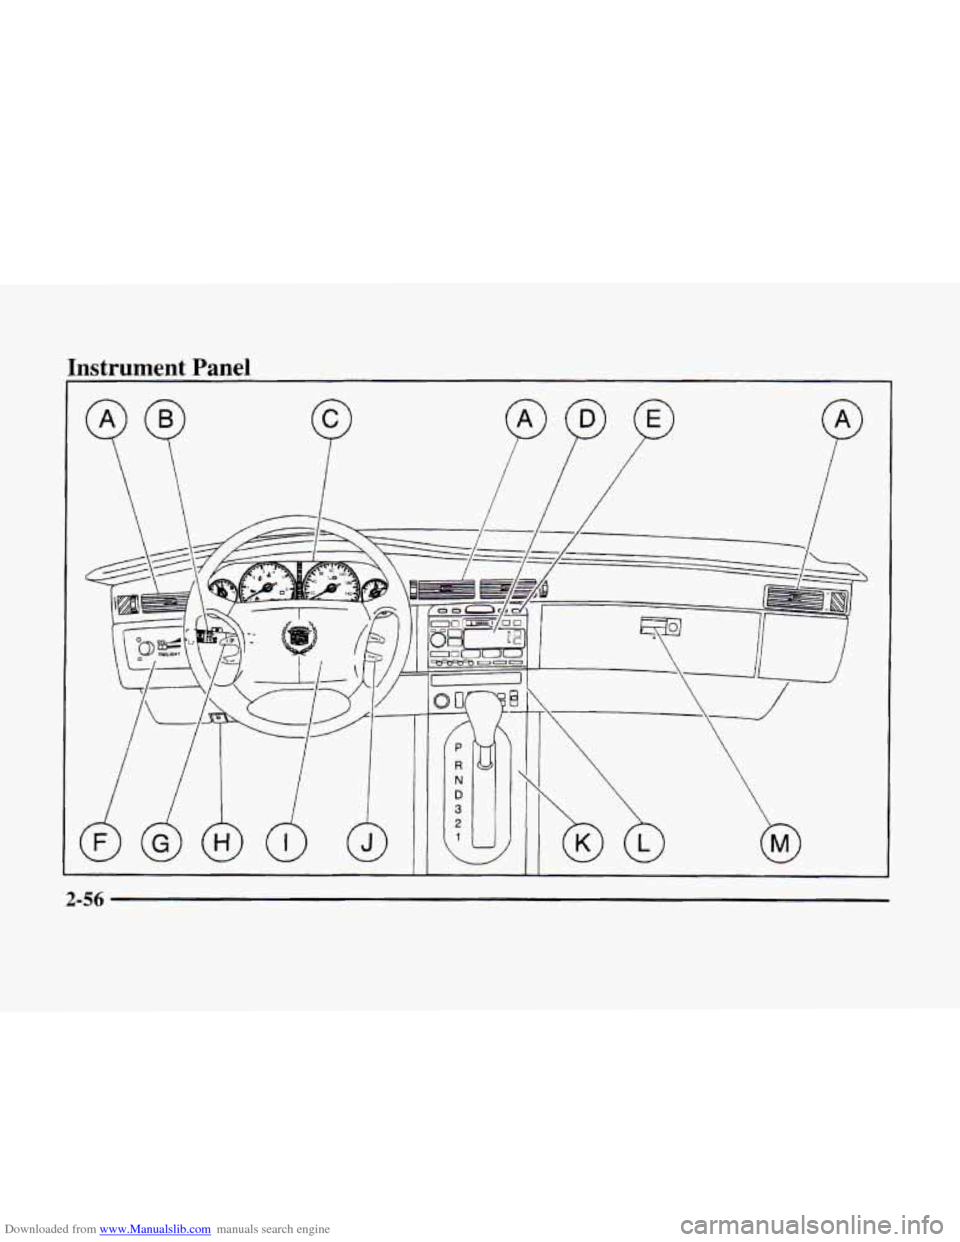
Downloaded from www.Manualslib.com manuals search engine The instrument panel IS designed to let you know at a glance how your vehicle is running. You’ll know how fast
you’re going, how much fuel you’re using
and many of the other things you’ll need to know to drive safely and
economically. The main components
of the instrument panel are:
A. Air Outlets H. Hood Release
B. Turn SignaVMultifunction Lever
C. Cluster
D. Radio (Audio System)
E. Driver Information Center Control Buttons
F. Lamp Controls
G. HVAC Steering Wheel Controls (or Cellular
Telephone Controls,
If Equipped)
I. Horn
J. Audio Steering Wheel Controls
K. Shift Lever
L. Climate Control Panel
M. Glove Box
2-57