1998 CADILLAC DEVILLE dead battery
[x] Cancel search: dead batteryPage 131 of 386

Downloaded from www.Manualslib.com manuals search engine 3.
4.
5.
Hold the end of the hand-held transmitter against the
front surface of the universal transmitter
so that you
can still see the amber light.
Using both hands, press the hand-held transmitter button and the desired button on the universal
transmitter. Continue to. press both buttons through
Step
5.
Hold down both buttons until you see the amber light
on the universal transmitter flash slowly and then
rapidly. The rapid flashing, which could take up to
90 seconds, indicates that the universal transmitter
has been programmed. Release both buttons once the
light starts to flash rapidly.
If you have trouble programming the universal
transmitter, make sure that you have followed the
directions exactly as described and that the battery in the
hand-held transmitter is not dead.
If you still cannot
program it, rotate the hand-held transmitter end over end
and
try again. The universal transmitter may not work
with older garage door openers that do not meet current
Federal Consumer Safety Standards. If you cannot
program the transmitter after repeated attempts, consult
your dealer.
Be sure to keep the original hand-held transmitter
in case
you need to erase and reprogram the universal transmitter. on
Note to Canadian Owners: During programming, the
hand-held transmitter may stop transmitting after one or
two seconds. If
you are programming from one of these
transmitters, you should press and re-press the button
the hand-held transmitter every two seconds without
ever releasing the button on the universal transmitter.
Release both buttons
when the amber light on the
universal transmitter begins to flash rapidly.
Operating the Transmitter
Press and hold the appropriate button on the universal
transmitter. The amber light comes on while the signal is
being transmitted.
Note that the universal transmitter is disabled when the
valet button inside the glove
box is activated. For more
information, see “Valet Lockout Button” earlier
in
this section.
Also note that if the hand-held transmitter appears to
program the universal transmitter but does not open
your garage door, and if the garage door opener was
manufactured after
1995, the garage door opener may
have a “rolling code” system.
A rolling code system
changes the code
of the garage door opener every time
you open
or close the garage door.
To determine if you have this system, press the button
on the universal transmitter that you have programmed
2-60
Page 255 of 386

Downloaded from www.Manualslib.com manuals search engine 6. Check that the jumper cables don’t have loose or
missing insulation..
If they do, you could get a shock.
The vehicles could also be damaged.
Before you connect the cables, here are some basic
things you should
know. Positive (+) will go to
positive
(+) and negative (-) will go to an unpainted
metal engine part or a body metal surface.
Don’t
connect positive (+) to negative (-) or you will get
a
short that, would damage the battery and maybe
other parts, too. Also, don’t connect negative
(-)
to negative (-).
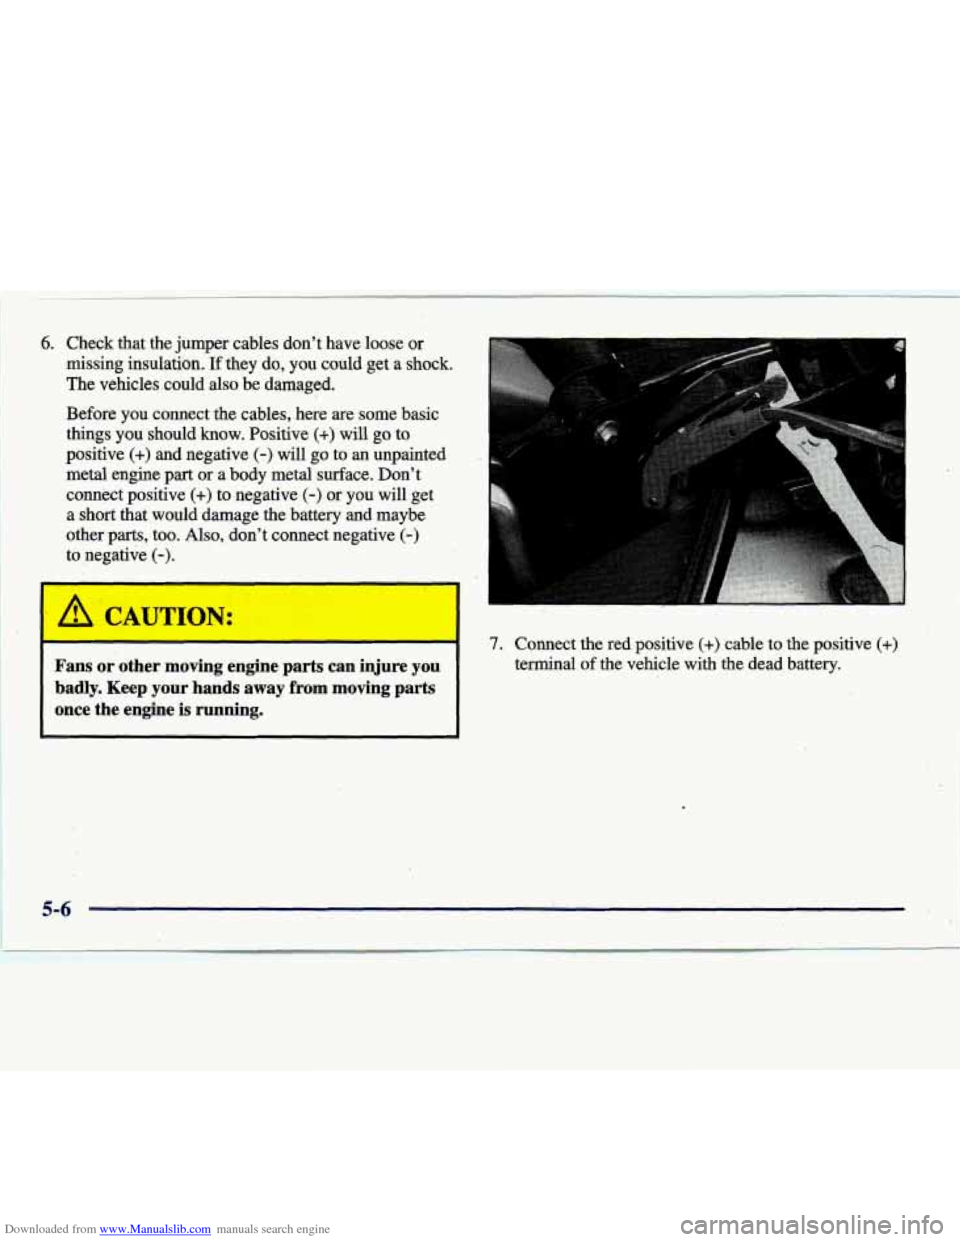
4% CAUTION: 1’ - 7. Connect the red. positive (+) cable to the positive (+)
Fans or other moving engine parts can injure you terminal of the vehicle with the dead battery.
badly. Keep your hands away from moving parts
once the engine
is running.
5-6
Page 256 of 386

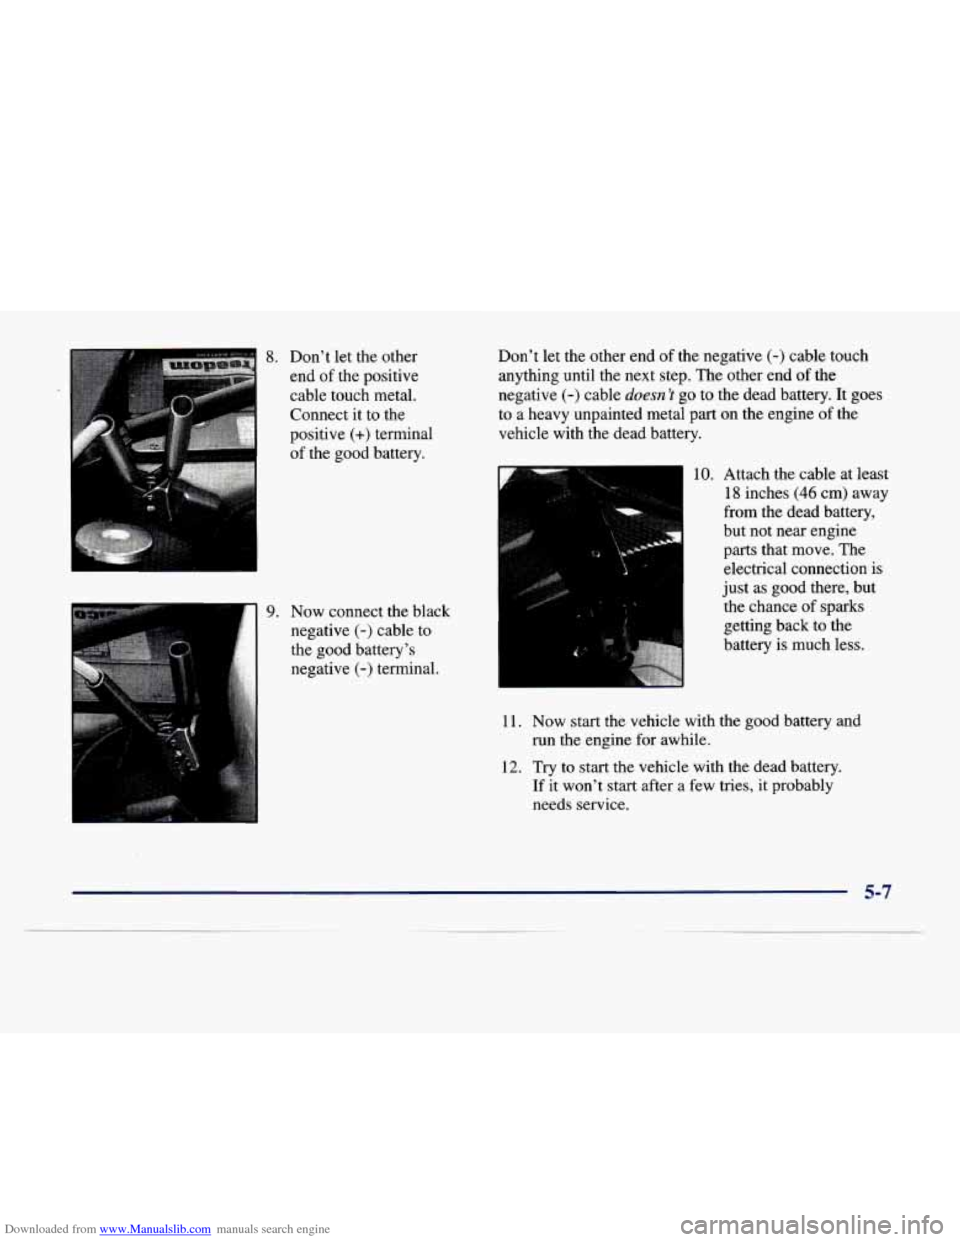
Downloaded from www.Manualslib.com manuals search engine 8. Don't let the other
end
of the positive
cable touch metal.
Connect it to the
positive
(+) terminal Don't
let the other end
of the negative (-) cable touch
anything until the next step. The other end
of the
negative
(-) cable doesn 'I go to the dead battery. It goes
to a heavy unpainted metal part on the engine
of the
vehicle with the dead battery.
of the good battery.
9. Now connect the black
negative
(-) cable to
the good battery's
negative
(-) terminal.
10. Attach the cable at least
~ 18 inches (46 cm) away
from the dead battery,
but not near engine parts that move. The
electrical connection is
just as good there, but
the chance of sparks
getting back to the
battery is much less.
11. Now start the vehicle with the good battery and
12. Try to start the vehicle with the dead battery.
run the engine for awhile.
If it won't start after a few tries, it probably
needs service.
5-7
Page 257 of 386

Downloaded from www.Manualslib.com manuals search engine 13. Remove the cables in reverse order to prevent
electrical shorting. Take care that they don’t touch
each other
or any other metal.
/-c+I
A. Heavy Metal Engine Part
B. Good Battery
C. Dead Battery
Towing Your Vehicle
Try to have a GM dealer or a professional towing
service tow your vehicle. See “Roadside Service” in
the Index.
If your vehicle has been changed or modified since it
was factory-new by adding aftermarket items like fog
lamps, aero skirting or special tires and wheels, these
instructions may not be correct.
Before you
do anything, turn on the hazard
warning flashers.
When you call, tell the towing service:
That your vehicle has front-wheel drive.
The make, model and year of your vehicle.
Whether you can still move the shift lever.
If there was an accident, what was damaged.
When the towing service arrives, let the tow operator
know that this manual contains towing instructions and
illustrations. The onerator may want to see them.
5-8
Page 375 of 386

Downloaded from www.Manualslib.com manuals search engine Damage. Finish ............................... 6-55
Damage. Sheet Metal
............................ 6-54
Daytime Running Lamps
......................... 2-43
Dead Battery
................................... 5-3
Defects. Reporting Safety
................... 7-12. 7-13
Defensive Driving
............................... 4-2
Defogger. Rear Window
......................... 3- 12
Defogging
.................................... 3- 12
Defrosting
.................................... 3- 12
DIC
.......................................... 2-79
Digital Cluster Climate Control Panel
................ 3-2
Digital Control Buttons
.......................... 2-79
Dolby B Noise Reduction
................... 3- 17. 3-21
Central Unlocking System
....................... 2-5
MapPocket
................................. 2-54
OpenMessage
............................... 2-84
Driver Door Open Message
....................... 2-84
Driver Information Center
......................... 2-79
Driver Information Center Messages
................ 2-82
Driver Position
................................. 1 - 11
Driver’s Outside Auto-Dimming Rearview Mirror
..... 2-52
Driving Dimensions. Vehicle
............................. 6-66
Door Locks
....................................... 2-4
City
........................................ 4-20
Defensive
.................................... 4-2
Drunken
..................................... 4- 3
Freeway
.................................... 4-21
InaBlizzard
................................. 4-27 In Foreign Countries
........................... 6-5
IntheRain
.................................. 4-17
Night
...................................... 4-15
On Curves
.................................. 4-10
On Grades While Towing a Trailer
............... 4-37
On Hill and Mountain Roads
.................... 4-23
OnSnowandIce
............................. 4-26
Throughwater
............................... 4-19
WetRoads
.................................. 4-17
Winter
...................................... 4-25
With a Trailer
................................ 4-36
DRL
.......................................... 2-43
Drunken Driving
................................ 4-3
Dual Temperature Control
..................... 3-3, 3-6
ECC ......................................... 3-2
Electrical Equipment, Adding
........... 2-21,3-39, 6-57
Electrical System ............................... 6-57
Electrochromic Daymight Rearview Mirror
..... 2-48, 2-49
Electronic Climate Control
........................ 3-2
Electronic Level Control
......................... 4-31
Electronic Solar Sensor
............................ 3-9
Engine
....................................... 6-10
Compartment Fuse Block
....................... 6-61
Coolant
................................ 6-22, 6-24
Coolant Heater
............................... 2-21
Coolant Hot-Idle Engine Message
................ 2-84
Coolant Temperature Gage
..................... 2-73
Coolant Temperature Warning Light
.............. 2-72
Exhaust
................................ 2-32, 4-28