1998 BUICK PARK AVENUE low beam
[x] Cancel search: low beamPage 101 of 426
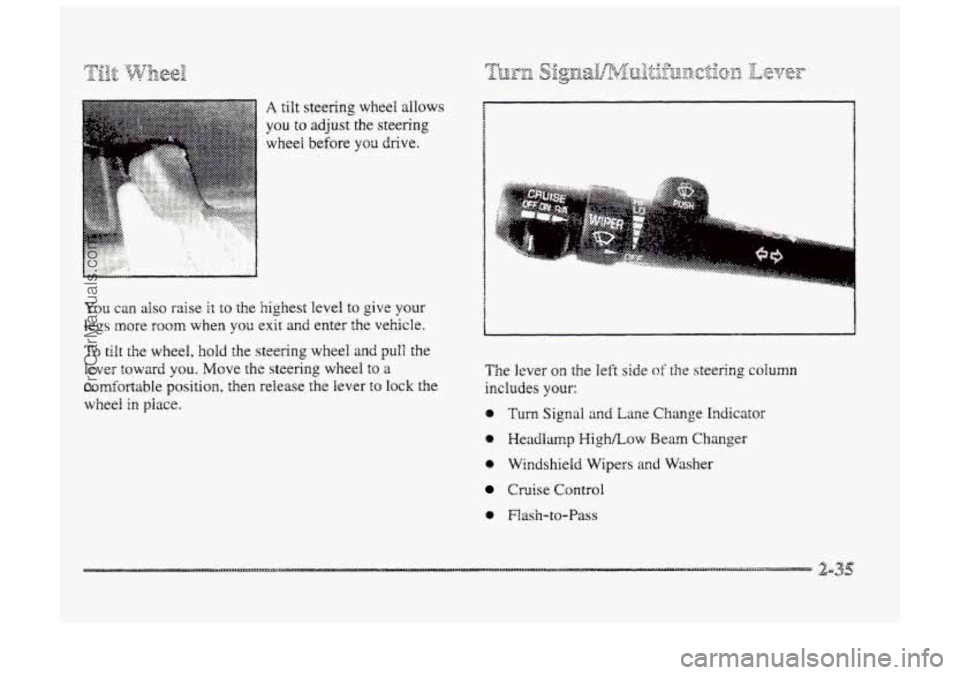
A tilt steering wheel allows
you to adjust the steering
wheel before
you drive.
You can also raise it to the highest level to give your
legs more room when you exit and enter the vehicle.
To tilt the wheel, hold the steering wheel and pull the
lever
toward you. Move the steering wheel to a
comfortable position, then release the Iever to lock the
wheel
in piace.
a
. . . . . . . . . . . . .,.>:<<.:
The lever on the left side of the steering column
includes YOGI-:
e Turn Signal and Lane Change Indicator
Headlamp PIighLow Beam Changer
0 Windshield Wipers and Washer
Cruise Control
Flash-to-Pass
ProCarManuals.com
Page 103 of 426
E a bulb is burned out, replace it to help avoid itr~
accident. If the mows don’t go on at all when you
signal a turn, check the €use (see “‘Fuses md Circuit
Breakers” in the Index) and f~r burned-out bulbs.
If you have a trailer towing option with added wiring for
the trailer lamps, the signal indicator will flash even if a
turn signal bulb is burned aut. Check the front and rea
turn signal lamps regularly to make sure they are
workirzg. Note: You do not need to add a
different Basher.
If your turn signal is left on ~CZ more than 3/4 of a mile
(1.2 h), a chime will sound ai each flash of the turn
signal. To turn df the chime, move the turn signal lever
to the dTposition.
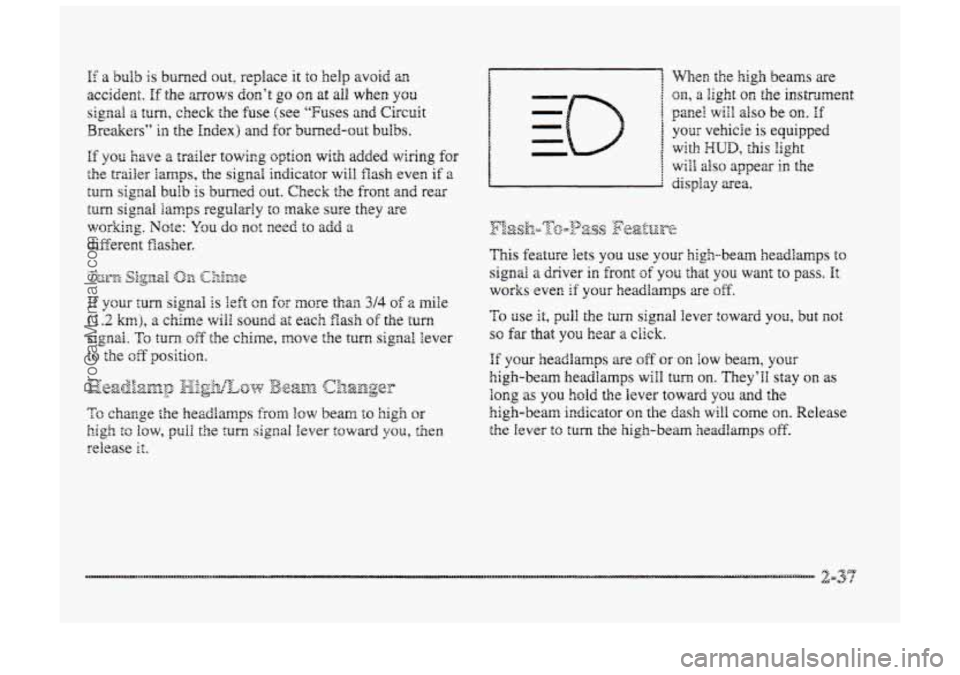
When the high beams are
on, a light the instrdment
panel wiil ~SQ be on. if
This feztuse lets you use your high-beam headlamps to
signal a driver in front of you that you want to pass. It
works even if your headamps xe 3ff.
To use it, pull the turn signal lever toward you, but not
so far that you hear a click.
If your headlamps are off or on low beam, your
high-beam headlamps will turn on. They’ll stay QPI as
long as you hold the Iever toward you and the
high-beam indicator on the dash will come on. Release
the Iever to turn the high-beam headlamps off.
ProCarManuals.com
Page 112 of 426

Whew it’s dark enough outside, your high-$em
headlamps will change
to low-beam headlamps at full
brightness. The other lamps that turn with your
headlamps will also turn on. When it’s bright enough
outside, the regular
Imps will turn off, and your
high-beam headlamps change
to the reduced brightness
Qf DWL.
To turn off all exterior lighting at night when YOU are
parked,
tlrm off the headlamps and move the twilight
sentinel
~ontd to the left into the detent in the slider
control. When released, the control
will return to the
Twilight Sentinel minimum delay position and the fights
will turn off.
As with any vehicle, YOU should turn on the regular
headlamp system
when YOU need it.
To operate this feature, slide
the control
to any position
to vary the lamp timeout.
If you move the control a11 the way to MAX, your lamps
will remain on for three minutes after you turn off your
engine. If you move the control almost all the way in the
other direction, so it’s just on, the Imps will go off
quickly when you turn off your engine. You cm set this
delay time
from only a few seconds to thee lminutes.
YQU~ twilight sentinel and daytime running lamps work
with
the Bight sensor on top of the instrument panel.
Don’t cover it
up- If you do it will read “dark” and the
headlamps
will come on.
ProCarManuals.com
Page 142 of 426

There is an air bag readiness light on the instrument
panel, which shows AIR
BAG. The system checks the
air bag’s electrical system for rna’rfunctions. The light
tells you
if there is an electrical problem. The system
check includes the air
bag sensors, the air bag modules,
the
wiring and the crash sensing and diagnostic module.
For more infomation on the air bag system, see “Air
Bag” in the Index.
This light will come on
when y~u start your engine,
and it will flash for a few
seconds.
Then the Eight
should go out. This means
the system is ready.
I€ the air bag readiness light stays on after you start the
engine or comes QIT when you are driving, your air bag
system may
not work p~operly. Have your vehicle
serviced right away.
The air bag readiness light should flash for a few
seconds when you
turn the ignition key to RUN. If the
light doesn’t come
on then, have it fixed so it will be
ready
to wm you if there is a problem.
VOLT
“‘en you turn the hey to
RUN, this light will come
on briefly, to show the
battery charging systeE
is
working.
When the light goes off and stays off, the charging
system
is working.
Hf the light stays on, a chime will sound indicating you
need service, and you should take your vehicle to the
dealer at once. To save your battery until yo3 get there,
turn off a%B accessories and turn off glow climate
control system.
When a luge number of electrical accessories me
operating ir, the vehicle and the engine is left at an idle
for aa extended period, the engine may idle at a higher
RPM than noma1 to ensure the battery does not mn
down. This may occur when several of the following are
on: parking lamps, high-beam headlamps, rear window
defogger, heated seats and engine cooling fans, etc. It
may take longer for the rear window defogger to dear
the glass, and the heated seats may not feel as warn
as normal.
ProCarManuals.com
Page 150 of 426
&~(-&jJ?-% _. _- &SD&$V 7- 0 7: \@+@--JQ) @ &-J~pp@.&) y-
_Y A dk A a
see things you need to see when it's dark outsside.
Be
sure to keep the HUD image dim and placed
EQW in YOUF field of view.
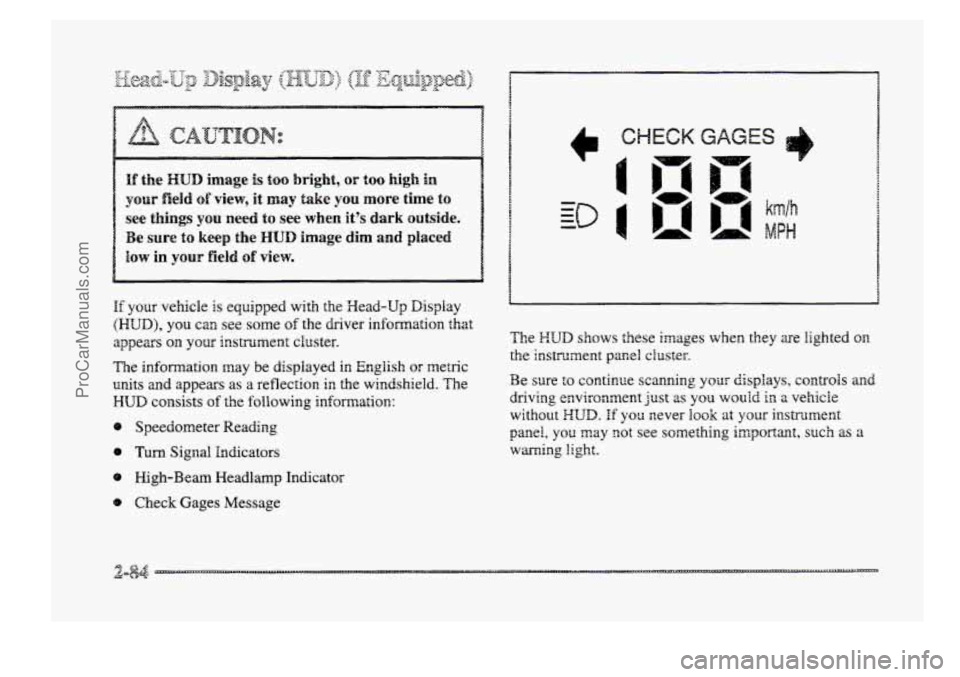
If your vehicle is equipped with the Wead-Up Display
(HUD), you can see some of the driver infomation that
appears
your irrstrumerat cluster.
The
infomation may be displayed in English or metric
units and appears as a reflection ir, the windshield. The
HLJD consists of the following information:
8 Speedometer Reading
0 Turn Signal Indicators
8 High-Beam Meadlamp Indicator
@ Check Gages Message The
Z-:UD shows these images when they are
lighted on
tke instrument pamS cluster.
Be sure to continue scanning your displays, controls and
driving environment
Just as you wouid in a vehicle
without XUD. If you sever hook at your instrt.merit
panel, you may got see something imgoI-aana, such as a
warning light.
ProCarManuals.com
Page 341 of 426

7
37
38
m
40
42
Position Circuitry
1 Not Used
2 RFA, SBM, IPC, LCM
3 Turn Signal, Hazard Switch
4 Re Oxygen Sensor, Post Oxygen Sensor
Ignition Module
Rt Hi Beam
Not Used
Lt Hi Beam
Not Used
Rt Low Beam
Lt Low Beam
ProCarManuals.com
Page 345 of 426
4. Check to make sure the safety belts are properly
routed
and that no p~rtion of any safety belt is
trapped under the seat. Also make sure the seat
cushion is secured.
A safety belt that isn’t properly routed through
the
seat cushion or is twisted won’t provide the
protection needed
in a crash. If the sa€ety beit
hasn’t been routed through the seat cushion at
all, it won’t be there to work for the next
passenger. The person sitting
in that position
couId be badly injured. After reinstalling the seat
cushion, always check to be sure that the safety
belts are properly routed and
are not twisted.
I.
2.
3.
Buckle the center passenger position safety beE:, then
route the safety belts though
the proper slots in the
seat csshion. Don’t let the safety belts get twisted.
Slide the rear
of the cushion up and under the
seatback so the rear locating guides hook into the
wire loops
on the back frame.
With the seat cushion lowered, push rearward
and
then press down on the seat cushion until the spring
locks on both ends engage.
EXTERIOR BBJIAB
Headlamp
High-Beam ........................... 9005
Zow-Beam ........................... 9006
ParWTum, Front ......................... 3057
Back-up ............................... 3057
Tai1Rtu-n ............................... 3057
TaiVStQp ............................... 3857
For service information on other bulbs, contact your
dealer’s service department.
ProCarManuals.com
Page 407 of 426
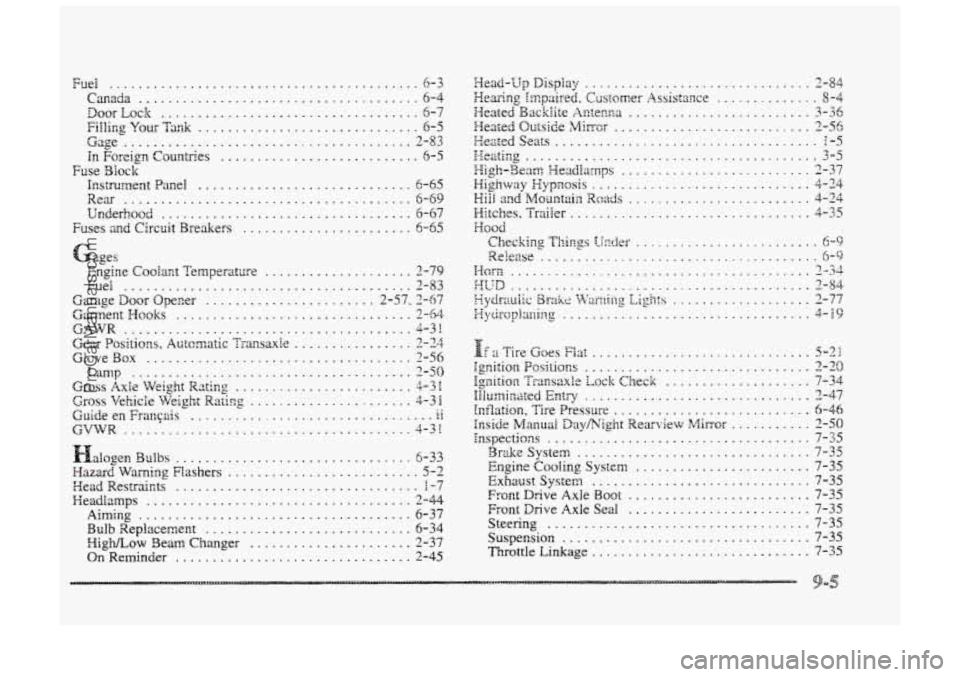
Fuel .......................................... 6-3
Canada ...................................... 6- 4
DoorLock ................................... 6- 7
Filling YQLK Tank .............................. 6-5
Gage ....................................... 2-83
In Foreign Countries ........................... 6-5
Instmrnent Panell ............................. 6-65
Rea-
....................................... 6-69
Uderhooc! ..................................6 -67
Fuses and Circuit Breakers ....................... 6-55
Gages
Fuse
31ock
Engine CooZarrt Temperature .................... 2-79
Fuel ....................................... 2-83
GamentWodts ................................ 2-64
GAWR ....................................... 4-3:
Gex lositions, Atrtcmatic Transaxle ................ 2 - ,
Lamp ...................................... 2-50
Gross Axle Weigh: Rsting ........................ 4-3 I
Cross Irehide
V?eight Ratir, g ...................... "3 I
Guide en Frangais 11
Garage Door Opecer ....................... 2-57.3-67
.. .................................
GVWR ....................................... 4-31
Halogen Bulbs ................................ 6-33
&zaz Warning Fhshers .......................... 5-2
Head Restraim ................................. 1-7
Meadlamps
.................................... 2-44
Bulb Replacement ............................ 6-34
HigNLow Beam Changer ...................... 2-37
OnRerninder
................................ 2-45
Aiming ..................................... 6-37
Head-up Display ............................... 2-84
Hewing Impaired . Customer Assistance .............. 8-4
Heated Backlite Actenna ......................... 3-36
Hexed OLiesicie LMP, ITOT ........................... 2-56
HeatedSeacs 1-5
.. eaeir;g ........................................ 3-5 7& I *1gh-8errm . Headlamps 2-37
Migh\.Yay Hypnosis .............................. 4-24
Eiil md Mouaataia Rwds ......................... 4-24
Hitches . TraiEer ................................. 4-35
Mood
Checking Thi~~p iinier ......................... 6-9
ReIease ...................................... 6-9
Worn ......................................... 2-34
3UD ......................................... m 1-84
Mydra~tik B~kl: '&Tsj-;lib:g Lights ................... 2-77
Wycirc;plariinlg .................................. 4-B9
.................................... T- .
..........................
If ;I Tire ~oes Fiat .............................. 5-21
Igrrition P~sitio~s ............................... 2-29
Ignition Transaxle Lock Check .................... 7-34
hilurninzted Entry ............................... 2-47
Tnflaticsn. Tire &-essure ........................... 6-46
Inside Manuai DayNght Rearview 1h4in-m ........... 2-50
inspections .................................... 7-35
Bruk Systen; ................................ 7-35
Exhaust System .............................. 7-35
Front Drive Axle Boot ......................... 7-35
Front D~ive Axle Seal ......................... 7-35
Suspension .................................. 7-35
Throttle Linkage .............................. 7-35
Engine Cooling system ........................ 7-35
Steering .................................... 7-35
ProCarManuals.com