1998 BMW 740I Blower
[x] Cancel search: BlowerPage 104 of 211
103n
RepairsIndexOverview Controls Car care Technology Data
Automatic climate controlAutomatic recirculated-air control
(AUC)
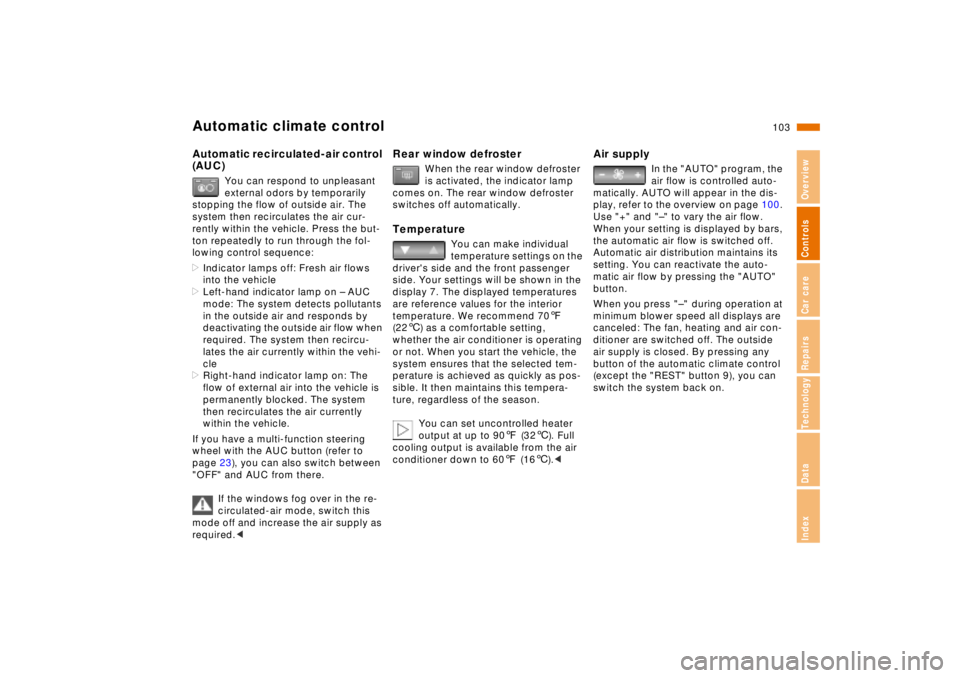
You can respond to unpleasant
external odors by temporarily
stopping the flow of outside air. The
system then recirculates the air cur-
rently within the vehicle. Press the but-
ton repeatedly to run through the fol-
lowing control sequence:
>Indicator lamps off: Fresh air flows
into the vehicle
>Left-hand indicator lamp on – AUC
mode: The system detects pollutants
in the outside air and responds by
deactivating the outside air flow when
required. The system then recircu-
lates the air currently within the vehi-
cle
>Right-hand indicator lamp on: The
flow of external air into the vehicle is
permanently blocked. The system
then recirculates the air currently
within the vehicle.
If you have a multi-function steering
wheel with the AUC button (refer to
page 23), you can also switch between
"OFF" and AUC from there.
If the windows fog over in the re-
circulated-air mode, switch this
mode off and increase the air supply as
required.<
Rear window defroster
When the rear window defroster
is activated, the indicator lamp
comes on. The rear window defroster
switches off automatically.
Temperature
You can make individual
temperature settings on the
driver's side and the front passenger
side. Your settings will be shown in the
display 7. The displayed temperatures
are reference values for the interior
temperature. We recommend 707
(226) as a comfortable setting,
whether the air conditioner is operating
or not. When you start the vehicle, the
system ensures that the selected tem-
perature is achieved as quickly as pos-
sible. It then maintains this tempera-
ture, regardless of the season.
You can set uncontrolled heater
output at up to 907 (326). Full
cooling output is available from the air
conditioner down to 607 (166).<
Air supply
In the "AUTO" program, the
air flow is controlled auto-
matically. AUTO will appear in the dis-
play, refer to the overview on page 100.
Use "+" and "–" to vary the air flow.
When your setting is displayed by bars,
the automatic air flow is switched off.
Automatic air distribution maintains its
setting. You can reactivate the auto-
matic air flow by pressing the "AUTO"
button.
When you press "– " during operation at
minimum blower speed all displays are
canceled: The fan, heating and air con-
ditioner are switched off. The outside
air supply is closed. By pressing any
button of the automatic climate control
(except the "REST" button 9), you can
switch the system back on.
Page 106 of 211
105n
RepairsIndexOverview Controls Car care Technology Data
Automatic climate control Rear passenger-area air conditioning
*
Microfilter, activated-charcoal
filterThe microfilter removes dust and pollen
from the incoming air. The activated-
charcoal filter provides additional pro-
tection by filtering gaseous pollutants
from the outside air. Your BMW center
replaces the filter assemblies as a stan-
dard part of your scheduled mainte-
nance. A substantial reduction in air
flow indicates that the filter needs to be
replaced early.
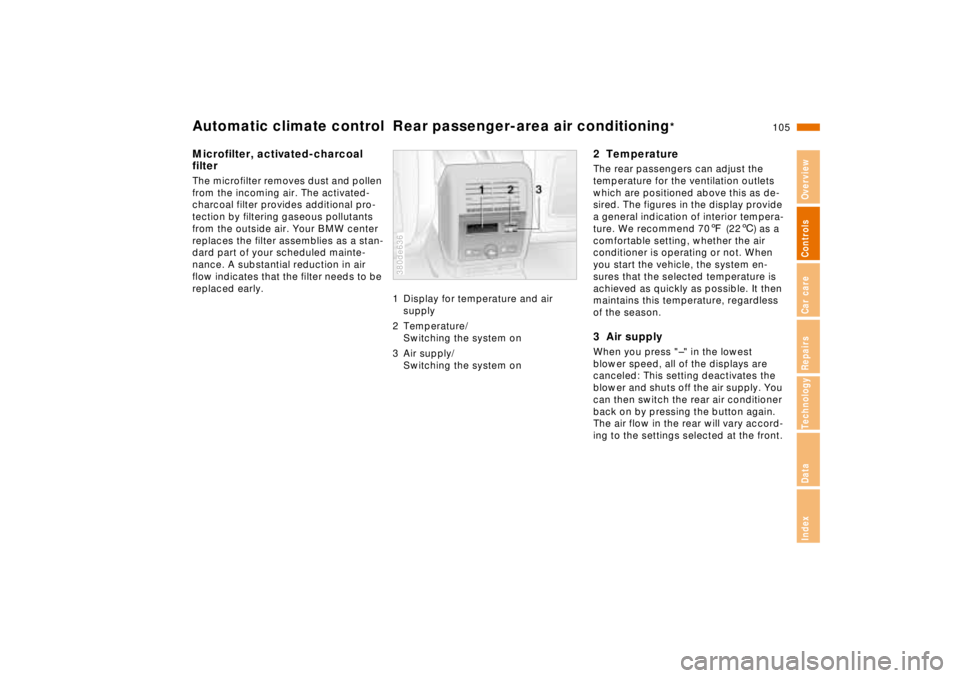
1 Display for temperature and air
supply
2 Temperature/
Switching the system on
3 Air supply/
Switching the system on
380de636
2 TemperatureThe rear passengers can adjust the
temperature for the ventilation outlets
which are positioned above this as de-
sired. The figures in the display provide
a general indication of interior tempera-
ture. We recommend 707 (226) as a
comfortable setting, whether the air
conditioner is operating or not. When
you start the vehicle, the system en-
sures that the selected temperature is
achieved as quickly as possible. It then
maintains this temperature, regardless
of the season.3 Air supplyWhen you press "–" in the lowest
blower speed, all of the displays are
canceled: This setting deactivates the
blower and shuts off the air supply. You
can then switch the rear air conditioner
back on by pressing the button again.
The air flow in the rear will vary accord-
ing to the settings selected at the front.
Page 108 of 211
107n
RepairsIndexOverview Controls Car care Technology Data
Roller sun blind
*
Independent ventilation system
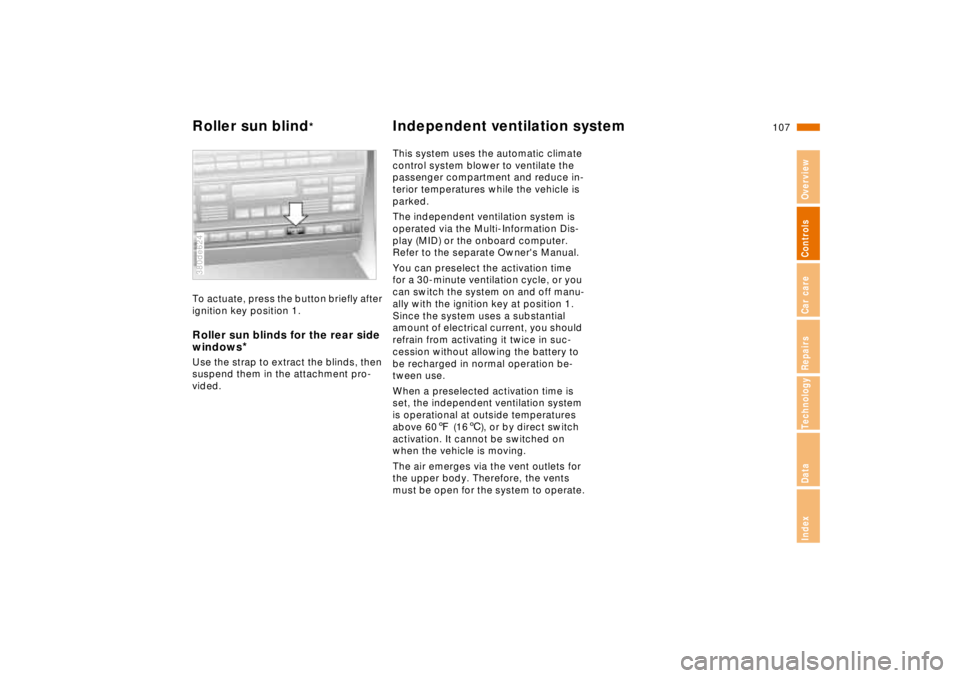
To actuate, press the button briefly after
ignition key position 1.Roller sun blinds for the rear side
windows
*
Use the strap to extract the blinds, then
suspend them in the attachment pro-
vided.380de624
This system uses the automatic climate
control system blower to ventilate the
passenger compartment and reduce in-
terior temperatures while the vehicle is
parked.
The independent ventilation system is
operated via the Multi-Information Dis-
play (MID) or the onboard computer.
Refer to the separate Owner's Manual.
You can preselect the activation time
for a 30-minute ventilation cycle, or you
can switch the system on and off manu-
ally with the ignition key at position 1.
Since the system uses a substantial
amount of electrical current, you should
refrain from activating it twice in suc-
cession without allowing the battery to
be recharged in normal operation be-
tween use.
When a preselected activation time is
set, the independent ventilation system
is operational at outside temperatures
above 607 (166), or by direct switch
activation. It cannot be switched on
when the vehicle is moving.
The air emerges via the vent outlets for
the upper body. Therefore, the vents
must be open for the system to operate.
Page 181 of 211
180n
Jump-starting Towing the vehicle6 If the battery of the support vehicle is
weak, start its engine and let it run
7 Start the engine on the vehicle need-
ing the jump-start, and allow it to run
as usual. If the first start attempt is
not successful, wait a few minutes
before another attempt in order to
allow the discharged battery to re-
charge
8 Before disconnecting the jumper ca-
bles from your BMW, turn on the rear
window defroster and set the blower
to the highest speed; allow the en-
gine to run approx. 10 seconds. This
will prevent a voltage surge from the
voltage regulator to the electrical ac-
cessories
9 Then disconnect the jumper cables in
reverse sequence.
Have the battery recharged if neces-
sary.
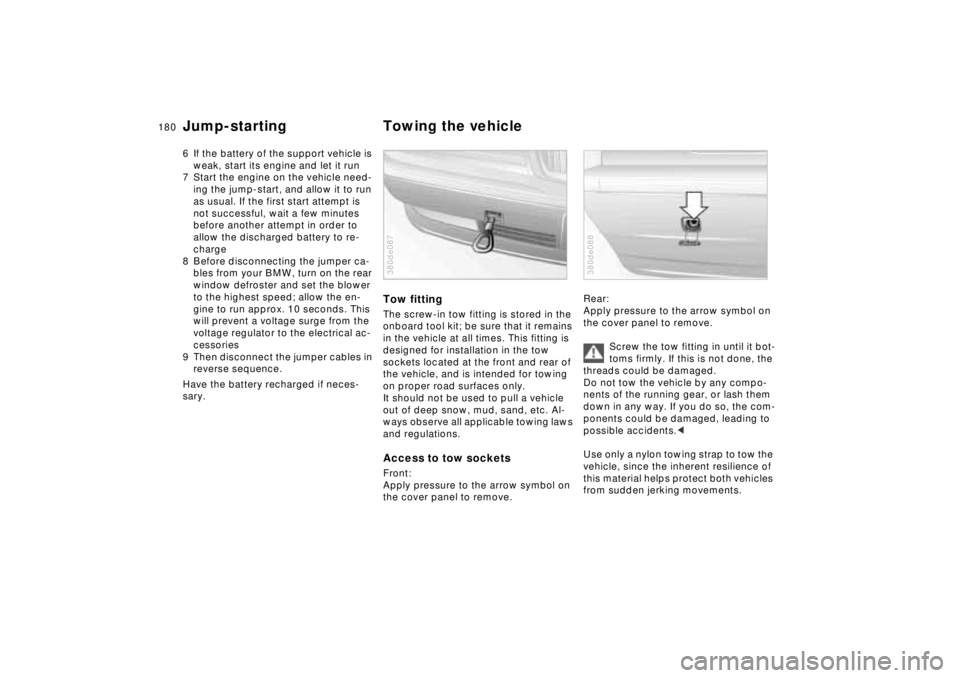
Tow fittingThe screw-in tow fitting is stored in the
onboard tool kit; be sure that it remains
in the vehicle at all times. This fitting is
designed for installation in the tow
sockets located at the front and rear of
the vehicle, and is intended for towing
on proper road surfaces only.
It should not be used to pull a vehicle
out of deep snow, mud, sand, etc. Al-
ways observe all applicable towing laws
and regulations.Access to tow socketsFront:
Apply pressure to the arrow symbol on
the cover panel to remove.380de087
Rear:
Apply pressure to the arrow symbol on
the cover panel to remove.
Screw the tow fitting in until it bot-
toms firmly. If this is not done, the
threads could be damaged.
Do not tow the vehicle by any compo-
nents of the running gear, or lash them
down in any way. If you do so, the com-
ponents could be damaged, leading to
possible accidents.<
Use only a nylon towing strap to tow the
vehicle, since the inherent resilience of
this material helps protect both vehicles
from sudden jerking movements.380de088
Page 203 of 211
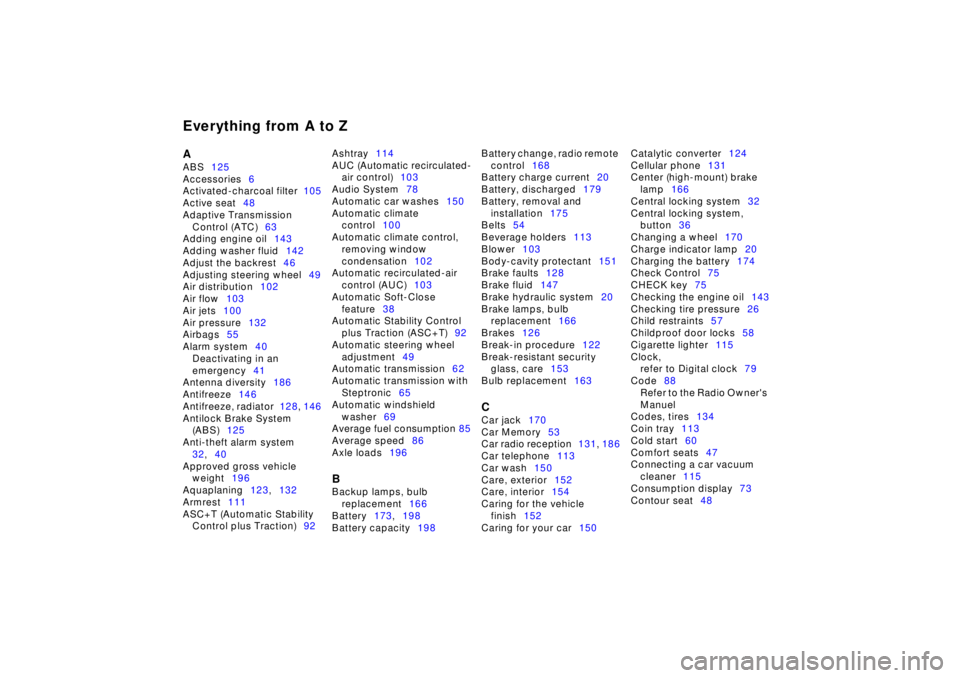
Everything from A to ZAABS125
Accessories6
Activated-charcoal filter105
Active seat48
Adaptive Transmission
Control (ATC)63
Adding engine oil143
Adding washer fluid142
Adjust the backrest46
Adjusting steering wheel49
Air distribution102
Air flow103
Air jets100
Air pressure132
Airbags55
Alarm system40
Deactivating in an
emergency41
Antenna diversity186
Antifreeze146
Antifreeze, radiator128, 146
Antilock Brake System
(ABS)125
Anti-theft alarm system
32,40
Approved gross vehicle
weight196
Aquaplaning123,132
Armrest111
ASC+T (Automatic Stability
Control plus Traction)92Ashtray114
AUC (Automatic recirculated-
air control)103
Audio System78
Automatic car washes150
Automatic climate
control100
Automatic climate control,
removing window
condensation102
Automatic recirculated-air
control (AUC)103
Automatic Soft-Close
feature38
Automatic Stability Control
plus Traction (ASC+T)92
Automatic steering wheel
adjustment49
Automatic transmission62
Automatic transmission with
Steptronic65
Automatic windshield
washer69
Average fuel consumption 85
Average speed86
Axle loads196
BBackup lamps, bulb
replacement166
Battery173,198
Battery capacity198Battery change, radio remote
control168
Battery charge current20
Battery, discharged179
Battery, removal and
installation175
Belts54
Beverage holders113
Blower103
Body-cavity protectant151
Brake faults128
Brake fluid147
Brake hydraulic system20
Brake lamps, bulb
replacement166
Brakes126
Break-in procedure122
Break-resistant security
glass, care153
Bulb replacement163
CCar jack170
Car Memory53
Car radio reception131, 186
Car telephone113
Car wash150
Care, exterior152
Care, interior154
Caring for the vehicle
finish152
Caring for your car150Catalytic converter124
Cellular phone131
Center (high-mount) brake
lamp166
Central locking system32
Central locking system,
button36
Changing a wheel170
Charge indicator lamp20
Charging the battery174
Check Control75
CHECK key75
Checking the engine oil143
Checking tire pressure26
Child restraints57
Childproof door locks58
Cigarette lighter115
Clock,
refer to Digital clock79
Code88
Refer to the Radio Owner's
Manuel
Codes, tires134
Coin tray113
Cold start60
Comfort seats47
Connecting a car vacuum
cleaner115
Consumption display73
Contour seat48