1998 BMW 740I ESP
[x] Cancel search: ESPPage 7 of 211
6n
For your own safety
Use unleaded gasoline only. Fuels
containing up to 10% ethanol or
other oxygenates with up to 2.8% oxy-
gen by weight (i.e., 15% MTBE or
3% methanol plus an equivalent
amount of co-solvent) will not void the
applicable warranties with respect to
defects in materials or workmanship.
Field experience has indicated signifi-
cant differences in fuel quality (i.e., vol-
atility, composition, additives, etc.)
among gasolines offered for sale in the
United States and Canada. The use of
poor-quality fuels may result in drive-
ability, starting and stalling problems,
especially under certain environmental
conditions, such as high ambient tem-
perature and high altitude.
Should you encounter driveability prob-
lems that you suspect could be related
to the fuel you are using, we recom-
mend that you respond by switching to
a recognized high-quality brand.
Failure to comply with these recom-
mendations may result in unscheduled
maintenance.
Follow the relevant safety rules when
you are handling gasoline.
<
Important safety information!
For your own safety, use genuine
parts and accessories approved by
BMW.
When you purchase accessories tested
and approved by BMW and Original
BMW Parts, you simultaneously acquire
the assurance that they have been thor-
oughly tested by BMW to ensure opti-
mum performance when installed on
your vehicle.
BMW warrants these parts to be free
from defects in material and workman-
ship.
BMW will not accept any liability for
damage resulting from installation of
parts and accessories not approved by
BMW.
BMW cannot test every product from
other manufacturers to verify if it can be
used on a BMW safely and without risk
to either the vehicle, its operation, or its
occupants.
Original BMW Parts, BMW Accessories
and other products approved by BMW,
together with professional advice on
using these items, are available from all
BMW centers.
Installation and operation of non-BMW
approved accessories such as alarms,
radios, amplifiers, radar detectors,
wheels, suspension components, brake
dust shields, telephones (including op-
eration of any portable cellular phone
from within the vehicle without using an
externally-mounted antenna) or trans-
ceiver equipment (C.B., walkie-talkie,
ham radio, for instance) may cause ex-
tensive damage to the vehicle, compro-
mise its safety, interfere with the vehi-
cle's electrical system, or affect the
validity of the BMW Limited Warranty.
See your authorized BMW center for
additional information.
<
Maintenance, replacement, or re-
pair of the emission control de-
vices and systems may be performed
by any automotive repair establishment
or individual using any certified automo-
tive part.
<
Page 21 of 211

20n
Indicator and warning lamps
Technology that monitors itself
Many of the systems of your BMW mon-
itor themselves automatically, both dur-
ing engine starts and while you are driv-
ing. Indicator and warning lamps that
are identified by "
l
" are tested for
proper functioning whenever the igni-
tion key is turned. They each light up
once for different periods of time.
If a fault should occur in one of these
systems, the corresponding lamp does
not go out after the engine is started or
it lights up while the vehicle is moving.
You will see how to react to this below.
Red: Stop immediately
Battery charge current
l
The battery is no longer being
charged. There is a malfunction
of the alternator ribbed V-belt or in the
charging circuit of the alternator. Please
contact the nearest BMW center.
If the V-belt is defective, do not
continue driving. The engine could
be damaged due to overheating. If the
ribbed V-belt is defective, increased
steering effort is also required.
<
Engine oil pressure
l
Comes on while the engine is
running and the "Stop! ENGINE
OILPRESS" message appears in the
Check Control:
Stop vehicle and switch off engine im-
mediately. Check level of oil in engine,
top up as required. If oil level is correct:
Please contact the nearest BMW cen-
ter.
Do not continue driving. The en-
gine could be damaged because
of inadequate lubrication.
<
Brake hydraulic system
l
The brake fluid level is too low.
Before driving further, be sure to
read the notes on pages 128 and 147.
Also comes on with the message
"Check brake pads" in the Check Con-
trol.
Brake hydraulic system warning
lamp for Canadian models.
Page 24 of 211

23n
RepairsIndexOverview Controls Car care Technology Data
Multifunction steering wheel (MFL)
The controls integrated in the multi-
function steering wheel are provided so
that you can operate a number of ac-
cessories quickly and without being
distracted from traffic conditions. You
may operate:
>
Some of the functions of the radio,
the CD and cassette modes
>
The recirculated-air mode of the air
conditioner or
>The steering wheel heating
>The cruise control and
>Selected cellular phone functions.
In order to operate a system via
the MFL, the corresponding sys-
tem controls must be switched on.<
The illustration shows the maximum
possible number of controls, corre-
sponding to a full range of optional
equipment. Refer to the individual ac-
cessory manuals for more detailed de-
scriptions.
1 Cellular phone: Receive an incoming
call, initiate dialing and end a call.
Pressing and holding the key for a
longer period activates or deactivates
the voice input
*
2 Radio/Telephone: Selection
3 Radio/Telephone: Search backward
or station keys or scroll in the phone
book.
Fast forward and reverse for CD and
cassette modes
4 Radio/Telephone: Volume
5 Radio/Telephone: Search forward or
station keys or scroll in the phone
book.
Fast forward and reverse for CD and
cassette modes390de110
6 Horn: The entire surface
7 Cruise control: Activate stored
setting (resume)
8 Cruise control: Store and acceler-
ate (+); decelerate and store (–)
9 Cruise control: Activate/Interrupt/
Deactivate
10 Recirculated-air mode and AUC or
steering wheel heating: Switch on
and off
Page 41 of 211
40n
Alarm systemThe vehicle alarm system responds:
>When a door, the hood or the lug-
gage compartment lid is opened
>To movement inside the vehicle (inte-
rior motion sensor)
>To variations in the vehicle tilt sensor
such as occur during attempts to
steal the wheels or tow the vehicle
>To interruption of battery voltage.
The system responds to unauthorized
vehicle entry and attempted theft by si-
multaneously activating the following:
>Sounding an acoustical alarm for
30 seconds
>The hazard warning flashers are acti-
vated for approx. five minutes
>The high beams flash on and off in
the same rhythm.
To arm and disarm the alarm
systemWhen the vehicle is locked or unlocked
by using a key or with the remote con-
trol, the alarm system is also simulta-
neously armed or disarmed.
The interior motion sensor is activated
approx. 30 seconds after you have fin-
ished locking the car.
The system indicates that it has been
correctly armed by switching on the
hazard flashers for a single cycle and by
emitting an acoustical signal.
When the system is active, you can still
gain access to the luggage compart-
ment by pressing button 3 on the re-
mote control transmitter. When the lid is
closed, it is armed once again.
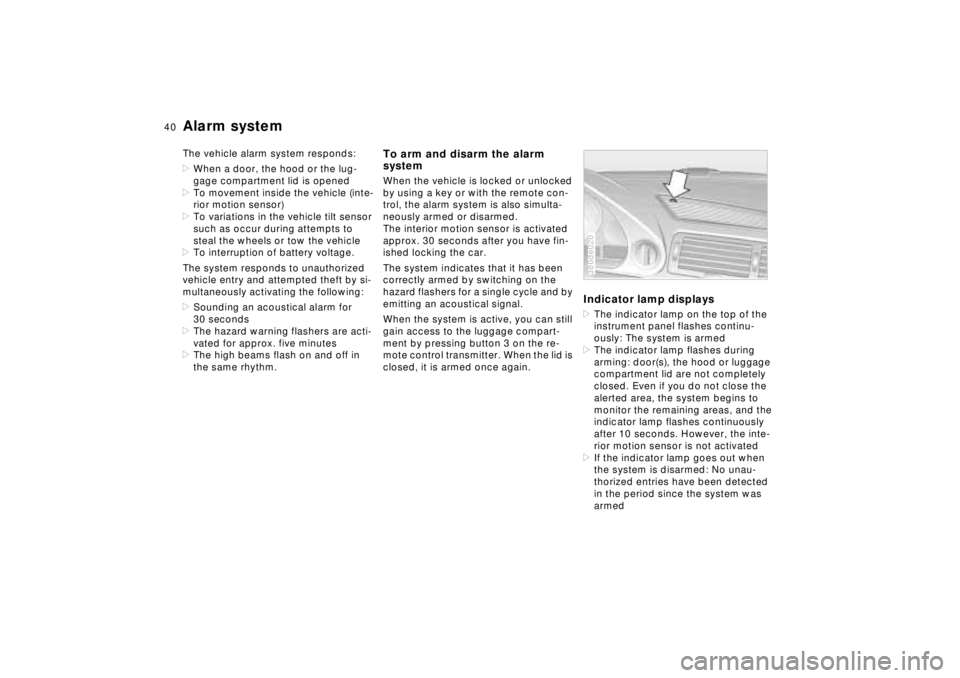
Indicator lamp displays>The indicator lamp on the top of the
instrument panel flashes continu-
ously: The system is armed
>The indicator lamp flashes during
arming: door(s), the hood or luggage
compartment lid are not completely
closed. Even if you do not close the
alerted area, the system begins to
monitor the remaining areas, and the
indicator lamp flashes continuously
after 10 seconds. However, the inte-
rior motion sensor is not activated
>If the indicator lamp goes out when
the system is disarmed: No unau-
thorized entries have been detected
in the period since the system was
armed380de020
Page 43 of 211
42n
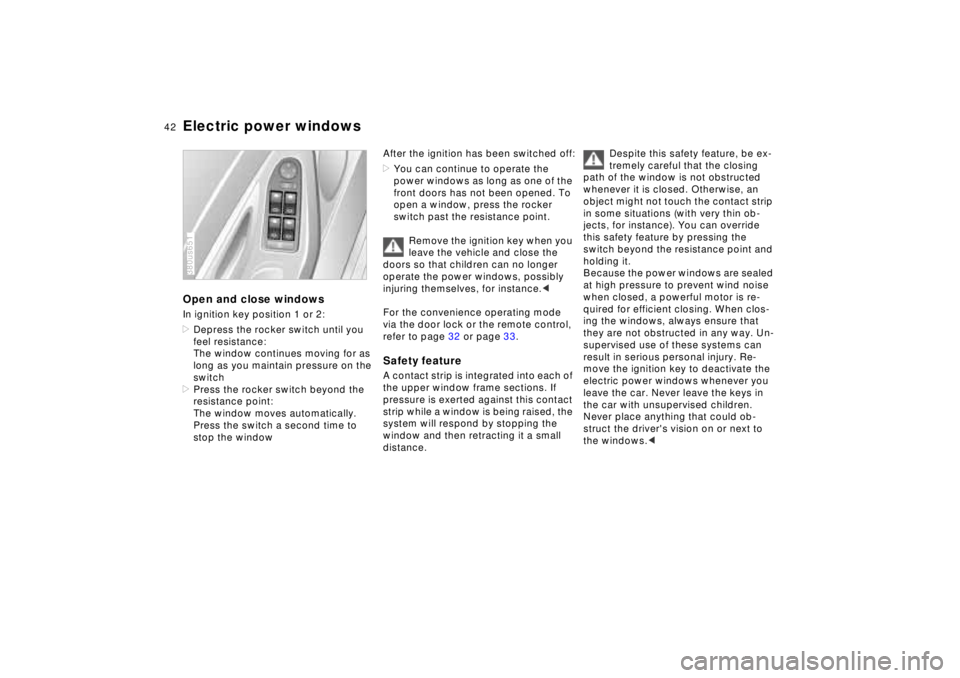
Electric power windowsOpen and close windowsIn ignition key position 1 or 2:
>Depress the rocker switch until you
feel resistance:
The window continues moving for as
long as you maintain pressure on the
switch
>Press the rocker switch beyond the
resistance point:
The window moves automatically.
Press the switch a second time to
stop the window380us651
After the ignition has been switched off:
>You can continue to operate the
power windows as long as one of the
front doors has not been opened. To
open a window, press the rocker
switch past the resistance point.
Remove the ignition key when you
leave the vehicle and close the
doors so that children can no longer
operate the power windows, possibly
injuring themselves, for instance.<
For the convenience operating mode
via the door lock or the remote control,
refer to page 32 or page 33.Safety featureA contact strip is integrated into each of
the upper window frame sections. If
pressure is exerted against this contact
strip while a window is being raised, the
system will respond by stopping the
window and then retracting it a small
distance.
Despite this safety feature, be ex-
tremely careful that the closing
path of the window is not obstructed
whenever it is closed. Otherwise, an
object might not touch the contact strip
in some situations (with very thin ob-
jects, for instance). You can override
this safety feature by pressing the
switch beyond the resistance point and
holding it.
Because the power windows are sealed
at high pressure to prevent wind noise
when closed, a powerful motor is re-
quired for efficient closing. When clos-
ing the windows, always ensure that
they are not obstructed in any way. Un-
supervised use of these systems can
result in serious personal injury. Re-
move the ignition key to deactivate the
electric power windows whenever you
leave the car. Never leave the keys in
the car with unsupervised children.
Never place anything that could ob-
struct the driver's vision on or next to
the windows.<
Page 45 of 211
44n
Sliding/Tilt sunroof
To prevent injuries, exercise care
when closing the sliding/tilt sun-
roof and keep it in your field of vision
until it is shut.
Before leaving the car, switch off the
electric sunroof mechanism by taking
out the ignition key. Do not leave
children unattended in the vehicle with
access to vehicle keys. Use of the key
can result in starting of the engine and
operation of vehicle systems such as
power sunroof, etc. Unsupervised use
of these systems can result in serious
personal injury.<
To avoid pressure or drafts in the pas-
senger compartment when the sunroof
is open or lifted, keep the air vents in
the dashboard open and increase
the air supply if necessary. Refer to
pages 100, 104.
For the convenience operating mode
via the door lock or the radio remote
control, refer to page 32 or page 33.
Safety featureIf the sliding/tilt sunroof encounters re-
sistance at a point roughly past the
middle of its travel when it is closing,
the closing cycle is interrupted and the
sunroof will open again slightly.
Despite this safety feature, be ex-
tremely careful that the closing
path of the sunroof is not obstructed
whenever it is closed. Otherwise, trig-
gering the closing-force limitation may
not be ensured in some situations (with
very thin objects, for instance). You can
override this safety feature by pressing
the switch beyond the resistance point
and holding it.<
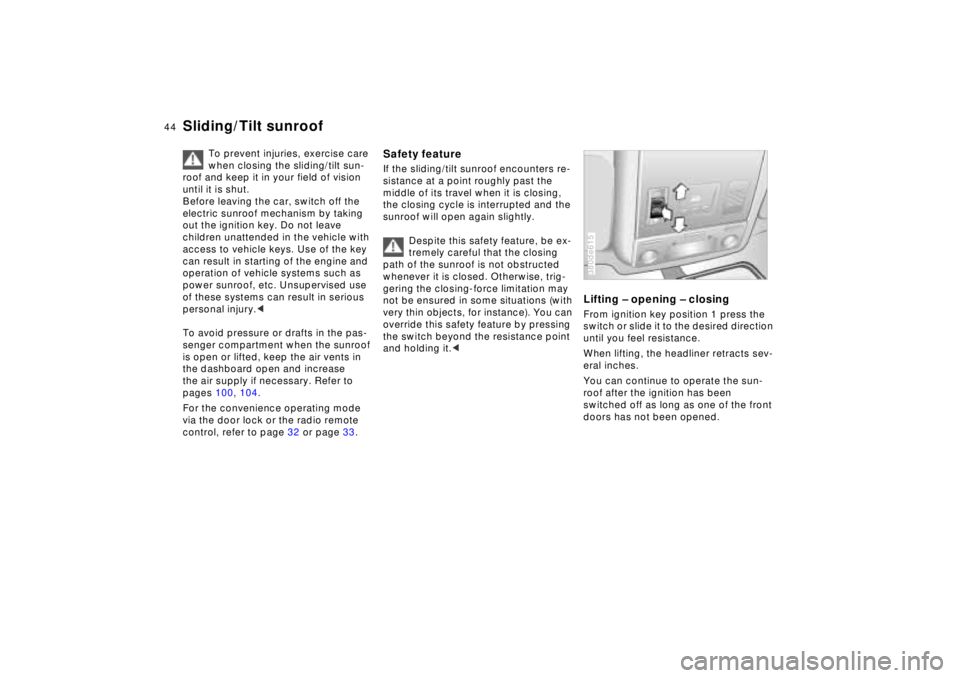
Lifting – opening – closingFrom ignition key position 1 press the
switch or slide it to the desired direction
until you feel resistance.
When lifting, the headliner retracts sev-
eral inches.
You can continue to operate the sun-
roof after the ignition has been
switched off as long as one of the front
doors has not been opened.380de615
Page 47 of 211
46n
Seat adjustment Electric power seatsFor maximum safety when adjusting the
seat position, please observe the fol-
lowing:
Never try to adjust your seat while
operating the vehicle. The seat
could respond with unexpected move-
ment, and the ensuing loss of vehicle
control could lead to an accident.
Wear the safety belt firmly against your
body at all times. In the event of a fron-
tal impact, a loose lap belt could slide
over your hips, leading to abdominal in-
jury. In addition, the safety belt's re-
straint effectiveness is reduced if the
belt is worn loosely.
Never ride with the backrest reclined to
an extreme horizontal angle (especially
important for front passengers to re-
member). Keep the backrest relatively
upright to minimize the risk of "sliding
under" the safety belt and sustaining in-
jury in an accident.
Do not slide the seats to the rear when
the vehicle is at an extreme angle (on
garage ramps or steep slopes, for in-
stance), to prevent the shoulder strap's
automatic height adjustment mecha-
nism from disengaging.<
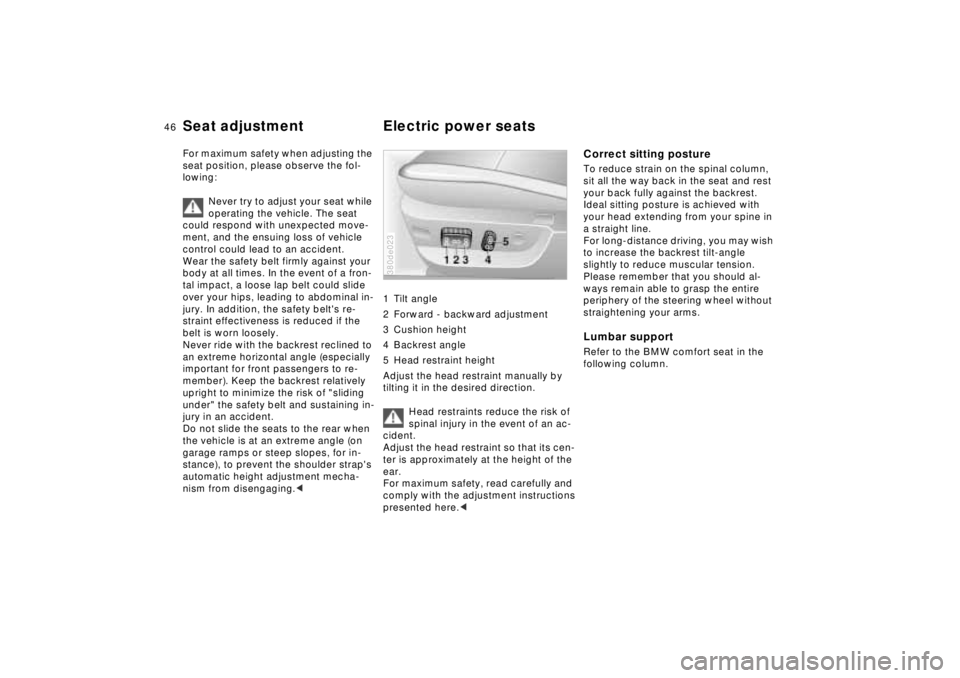
1 Tilt angle
2 Forward - backward adjustment
3 Cushion height
4 Backrest angle
5 Head restraint height
Adjust the head restraint manually by
tilting it in the desired direction.
Head restraints reduce the risk of
spinal injury in the event of an ac-
cident.
Adjust the head restraint so that its cen-
ter is approximately at the height of the
ear.
For maximum safety, read carefully and
comply with the adjustment instructions
presented here.< 380de023
Correct sitting postureTo reduce strain on the spinal column,
sit all the way back in the seat and rest
your back fully against the backrest.
Ideal sitting posture is achieved with
your head extending from your spine in
a straight line.
For long-distance driving, you may wish
to increase the backrest tilt-angle
slightly to reduce muscular tension.
Please remember that you should al-
ways remain able to grasp the entire
periphery of the steering wheel without
straightening your arms.Lumbar supportRefer to the BMW comfort seat in the
following column.
Page 51 of 211
50n
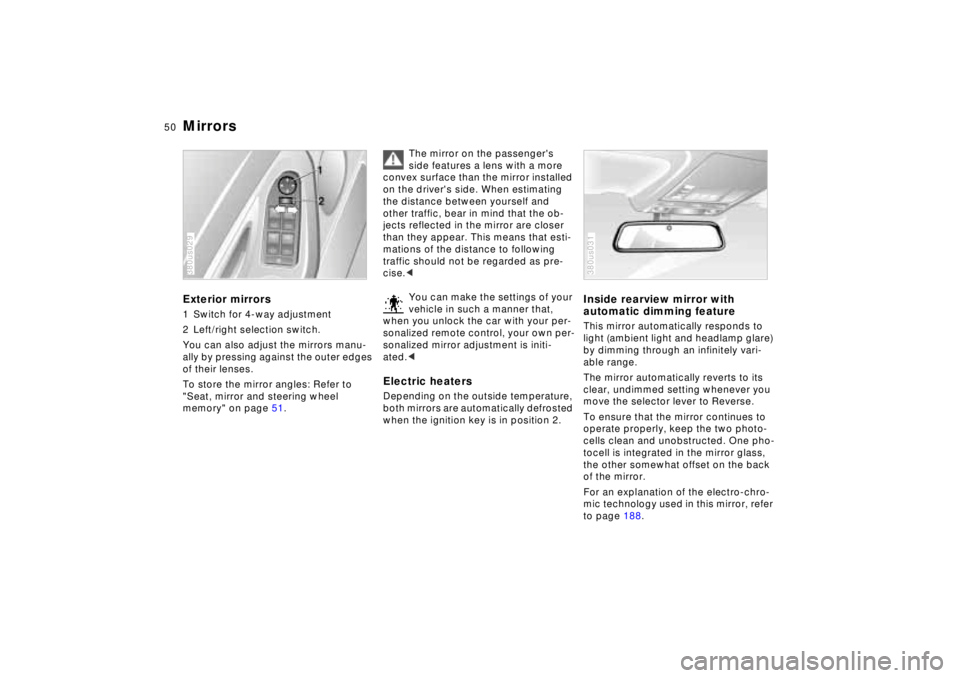
MirrorsExterior mirrors1 Switch for 4-way adjustment
2 Left/right selection switch.
You can also adjust the mirrors manu-
ally by pressing against the outer edges
of their lenses.
To store the mirror angles: Refer to
"Seat, mirror and steering wheel
memory" on page 51.380us029
The mirror on the passenger's
side features a lens with a more
convex surface than the mirror installed
on the driver's side. When estimating
the distance between yourself and
other traffic, bear in mind that the ob-
jects reflected in the mirror are closer
than they appear. This means that esti-
mations of the distance to following
traffic should not be regarded as pre-
cise.<
You can make the settings of your
vehicle in such a manner that,
when you unlock the car with your per-
sonalized remote control, your own per-
sonalized mirror adjustment is initi-
ated.<
Electric heatersDepending on the outside temperature,
both mirrors are automatically defrosted
when the ignition key is in position 2.
Inside rearview mirror with
automatic dimming featureThis mirror automatically responds to
light (ambient light and headlamp glare)
by dimming through an infinitely vari-
able range.
The mirror automatically reverts to its
clear, undimmed setting whenever you
move the selector lever to Reverse.
To ensure that the mirror continues to
operate properly, keep the two photo-
cells clean and unobstructed. One pho-
tocell is integrated in the mirror glass,
the other somewhat offset on the back
of the mirror.
For an explanation of the electro-chro-
mic technology used in this mirror, refer
to page 188.380us031