Page 57 of 211
56n
Airbags
For your safety, comply with the
following instructions for the air-
bags. If you do not, the airbags may not
be able to provide their maximum pro-
tection. All passengers in the vehicle
should be aware of and comply with
this information:
The airbags are supplemental restraint
devices designed to provide extra pro-
tection; they are not a substitute for
safety belts. Wear your safety belt at all
times. The airbags will not be triggered
in the event of a minor accident, a vehi-
cle roll-over, or collisions from the rear.
In these situations, the safety belts pro-
vide optimal protection.
Adjust your seat to a position that pro-
vides maximum distance between you
and the steering wheel, the instrument
panel and the door while still allowing
comfortable and safe access to all vehi-
cle controls.
Hold the steering wheel at the rim
(hands at the "9 o'clock and 3 o'clock"
positions) in order to avoid injuries to
the hands or arms if the airbag is trig-
gered.
Never allow any objects to obstruct the
area between the airbag and the driver/
passenger.
Do not use the cover panel above the
passenger-side airbag as a storage
area.
Do not apply tape or stickers or other
material over the padded steering
wheel hub, the instrument panel, the
side trim panels of the front or rear
doors and the roof pillars or the sides of
the headliner, or modify them in any
other way.
Do not install a rear-facing child-re-
straint device on the front passenger
seat.
If your vehicle is equipped with side air-
bags in the rear, be sure that child seats
are installed correctly and with the
greatest possible distance from the
door. Do not allow children to lean out
of the child's seat in the direction of the
door. Otherwise, serious injuries could
occur if the airbag is triggered.<
Even when all these guidelines are fol-
lowed, there is still a small residual risk
of injuries to the face, hands and arms
occurring in isolated instances. The ig-
nition and inflation noise may provoke a
mild temporary hearing loss in extremely
sensitive individuals.
Airbag warning information is also pro-
vided on the sun visors.
For additional information concerning the
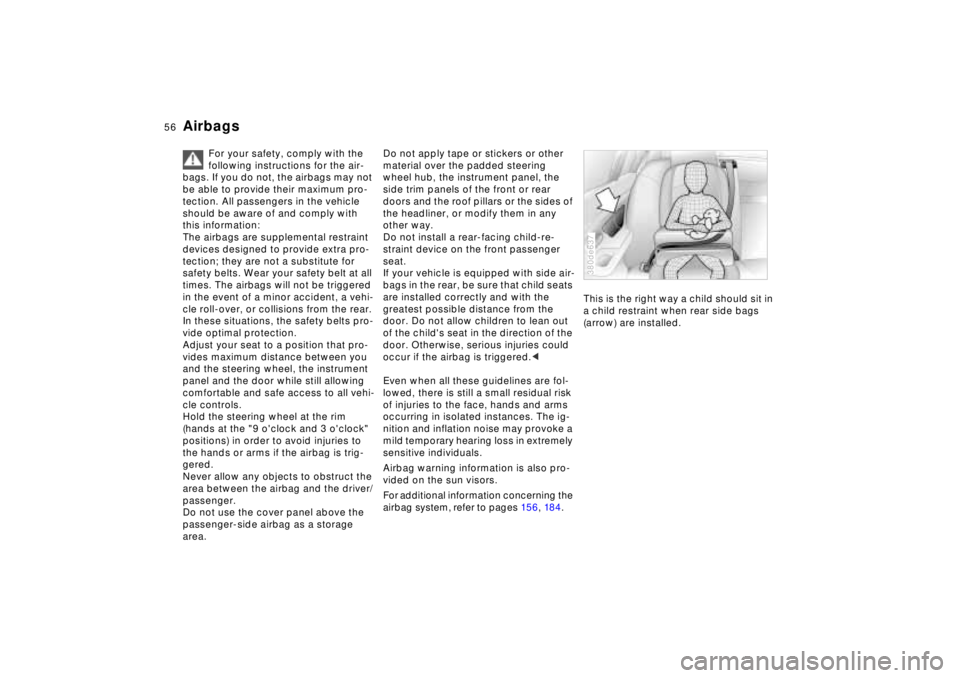
airbag system, refer to pages 15 6, 18 4.This is the right way a child should sit in
a child restraint when rear side bags
(arrow) are installed.
380de637
Page 58 of 211
57n
RepairsIndexOverview Controls Car care Technology Data
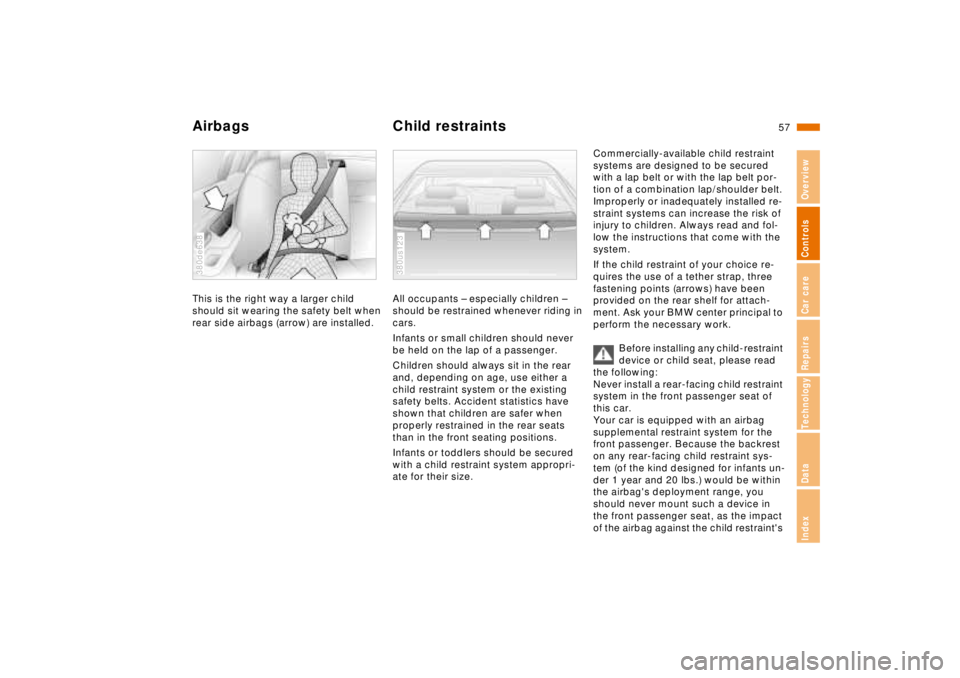
Airbags Child restraintsThis is the right way a larger child
should sit wearing the safety belt when
rear side airbags (arrow) are installed.380de638
All occupants – especially children –
should be restrained whenever riding in
cars.
Infants or small children should never
be held on the lap of a passenger.
Children should always sit in the rear
and, depending on age, use either a
child restraint system or the existing
safety belts. Accident statistics have
shown that children are safer when
properly restrained in the rear seats
than in the front seating positions.
Infants or toddlers should be secured
with a child restraint system appropri-
ate for their size.380us123
Commercially-available child restraint
systems are designed to be secured
with a lap belt or with the lap belt por-
tion of a combination lap/shoulder belt.
Improperly or inadequately installed re-
straint systems can increase the risk of
injury to children. Always read and fol-
low the instructions that come with the
system.
If the child restraint of your choice re-
quires the use of a tether strap, three
fastening points (arrows) have been
provided on the rear shelf for attach-
ment. Ask your BMW center principal to
perform the necessary work.
Before installing any child-restraint
device or child seat, please read
the following:
Never install a rear-facing child restraint
system in the front passenger seat of
this car.
Your car is equipped with an airbag
supplemental restraint system for the
front passenger. Because the backrest
on any rear-facing child restraint sys-
tem (of the kind designed for infants un-
der 1 year and 20 lbs.) would be within
the airbag's deployment range, you
should never mount such a device in
the front passenger seat, as the impact
of the airbag against the child restraint's
Page 59 of 211
58n
Child restraints Child restraint installation Child-safety locksbackrest could lead to serious or fatal
injuries.
If it is necessary for a child (not an in-
fant) to ride in the front seat, certain
precautions should be taken. First,
move the passenger seat as far away
from the dashboard as possible. This
important precaution is intended to
maximize the distance between the air-
bag and the child. Older children should
be tightly secured with the safety belt.
Younger children should be secured in
an appropriate forward-facing child re-
straint system that has first been prop-
erly secured with a safety belt. Never
install a rear-facing child restraint sys-
tem in the front passenger seat.
We strongly urge you to carefully read
and observe the instructions for instal-
lation and use provided by the child re-
straint's manufacturer whenever you
use such a device.
Be sure that all occupants (of all ages)
remain properly and securely restrained
at all times.<
All rear seating positions in your
vehicle meet the recommendations
of SAE J1819, an industry recom-
mended practice for securing child
restraint systems in motor vehicles.To allow you to use the safety belts to
secure child-restraint systems, the belts
at all rear positions feature a special
locking mode.
A label with operating instructions is at-
tached to the belt next to the latch plate
(except the middle belt in the rear).
Lock the safety beltExtract the entire length of the belt from
the inertia reel mechanism. Allow the
belt to retract somewhat and engage
the buckle. Then tighten the belt around
the child restraint. The belt is now
locked. Comply with the instructions
provided by the manufacturer of the
child restraint.Unlock the safety beltRelease the safety belt, remove the
child's seat and retract the safety belt to
its end position on the belt retractor.365us146
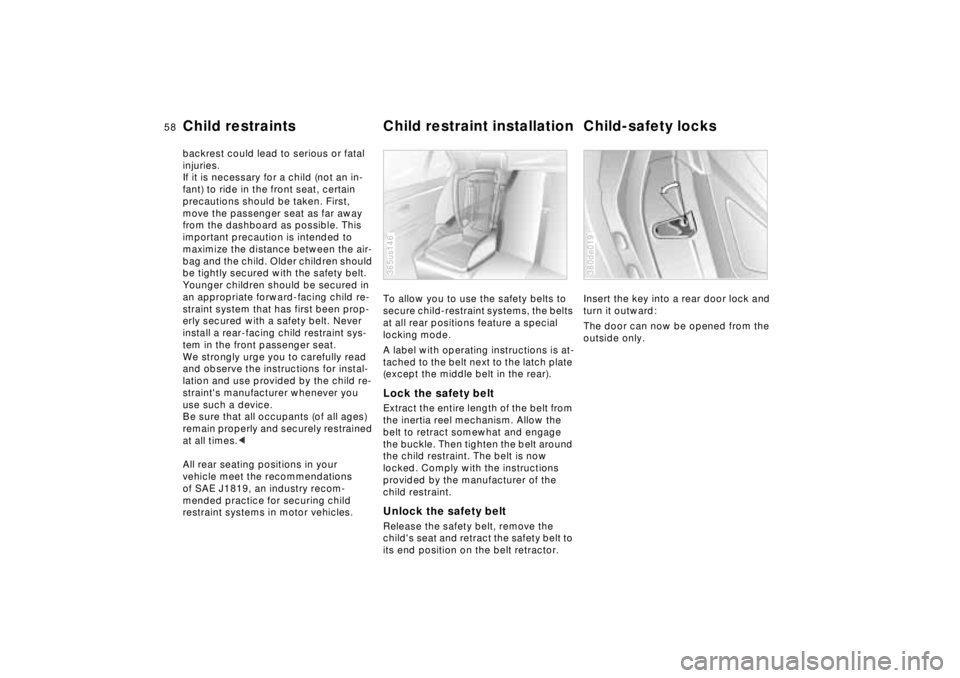
Insert the key into a rear door lock and
turn it outward:
The door can now be opened from the
outside only.380de019
Page 60 of 211
59n
RepairsIndexOverview Controls Car care Technology Data
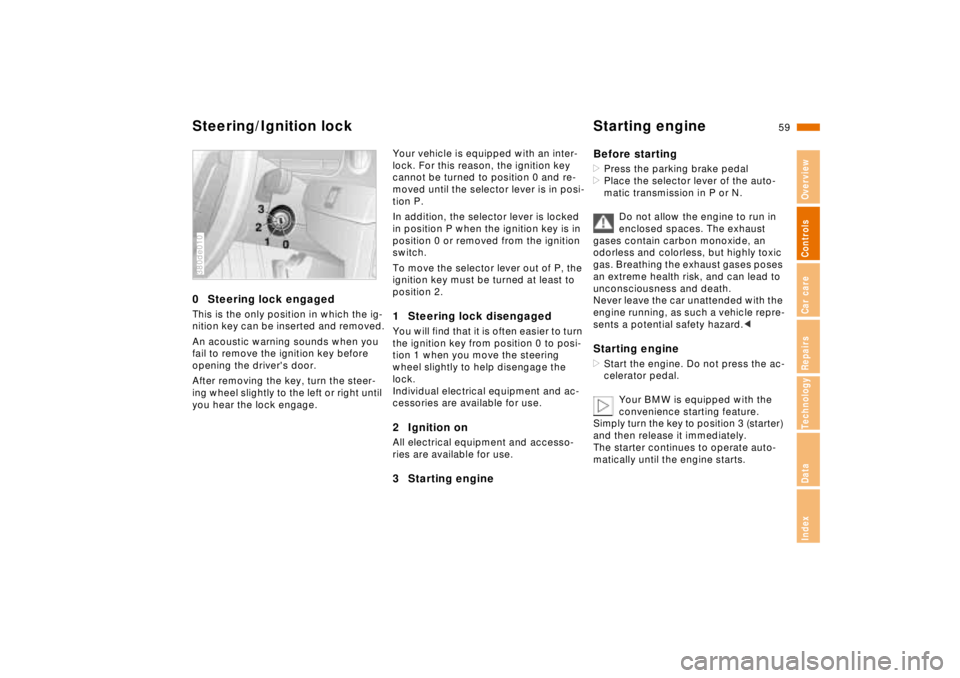
Steering/Ignition lock Starting engine0 Steering lock engagedThis is the only position in which the ig-
nition key can be inserted and removed.
An acoustic warning sounds when you
fail to remove the ignition key before
opening the driver's door.
After removing the key, turn the steer-
ing wheel slightly to the left or right until
you hear the lock engage.380de010
Your vehicle is equipped with an inter-
lock. For this reason, the ignition key
cannot be turned to position 0 and re-
moved until the selector lever is in posi-
tion P.
In addition, the selector lever is locked
in position P when the ignition key is in
position 0 or removed from the ignition
switch.
To move the selector lever out of P, the
ignition key must be turned at least to
position 2.1 Steering lock disengagedYou will find that it is often easier to turn
the ignition key from position 0 to posi-
tion 1 when you move the steering
wheel slightly to help disengage the
lock.
Individual electrical equipment and ac-
cessories are available for use.2 Ignition onAll electrical equipment and accesso-
ries are available for use.3 Starting engineBefore starting
>Press the parking brake pedal
>Place the selector lever of the auto-
matic transmission in P or N.
Do not allow the engine to run in
enclosed spaces. The exhaust
gases contain carbon monoxide, an
odorless and colorless, but highly toxic
gas. Breathing the exhaust gases poses
an extreme health risk, and can lead to
unconsciousness and death.
Never leave the car unattended with the
engine running, as such a vehicle repre-
sents a potential safety hazard.< Starting engine>Start the engine. Do not press the ac-
celerator pedal.
Your BMW is equipped with the
convenience starting feature.
Simply turn the key to position 3 (starter)
and then release it immediately.
The starter continues to operate auto-
matically until the engine starts.
Page 61 of 211

60n
Starting engine Switching off engineIf the battery's voltage is not adequate,
the automatic starting procedure is not
initiated, or it is interrupted. Should this
condition arise, it remains possible to
jump-start the engine (refer to page 17 9).
Do not allow the engine to warm up by
leaving it running while the vehicle re-
mains stationary. Instead, begin driving
immediately at a moderate engine
speed.<
Should the engine fail to start on the
first attempt (if it is very hot or cold, for
instance):
>Press the accelerator pedal halfway
down while engaging the starter.
BMW 740i/L:
Cold starts at extremely low tempera-
tures, from approx. +57 (–156)
and at elevations above 3300 feet
(1000 meters):
>Press the accelerator pedal halfway
down while engaging the starter.Engine idle speed is controlled by the
engine computer system. Increased
speeds at start-up are normal and
should decrease as the engine warms
up. If engine speed does not decrease,
service is required.
To prevent the battery from discharg-
ing, always switch off any electrical de-
vices not in use, as well as the ignition
when the vehicle is not being driven.Turn the ignition key to position 1 or 0.
The vehicle must be stationary
and the selector lever in "Park"
before you can remove the ignition key.
Always remove the ignition key and en-
gage the steering lock before leaving
the vehicle.<
Page 62 of 211
61n
RepairsIndexOverview Controls Car care Technology Data
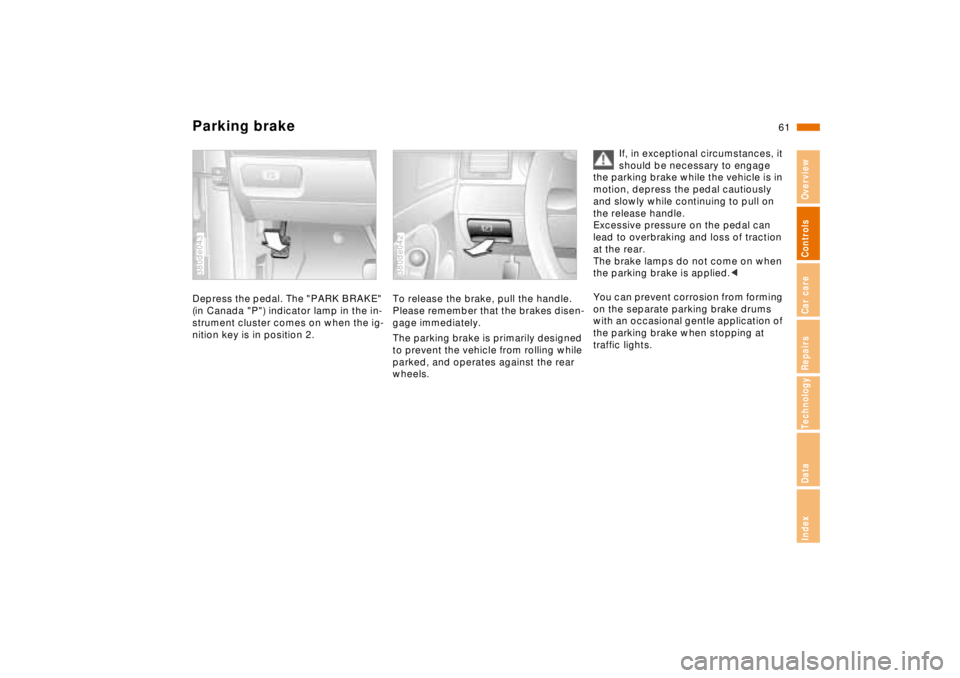
Parking brakeDepress the pedal. The "PARK BRAKE"
(in Canada "P") indicator lamp in the in-
strument cluster comes on when the ig-
nition key is in position 2.380de043
To release the brake, pull the handle.
Please remember that the brakes disen-
gage immediately.
The parking brake is primarily designed
to prevent the vehicle from rolling while
parked, and operates against the rear
wheels.380de042
If, in exceptional circumstances, it
should be necessary to engage
the parking brake while the vehicle is in
motion, depress the pedal cautiously
and slowly while continuing to pull on
the release handle.
Excessive pressure on the pedal can
lead to overbraking and loss of traction
at the rear.
The brake lamps do not come on when
the parking brake is applied.<
You can prevent corrosion from forming
on the separate parking brake drums
with an occasional gentle application of
the parking brake when stopping at
traffic lights.
Page 63 of 211
62n
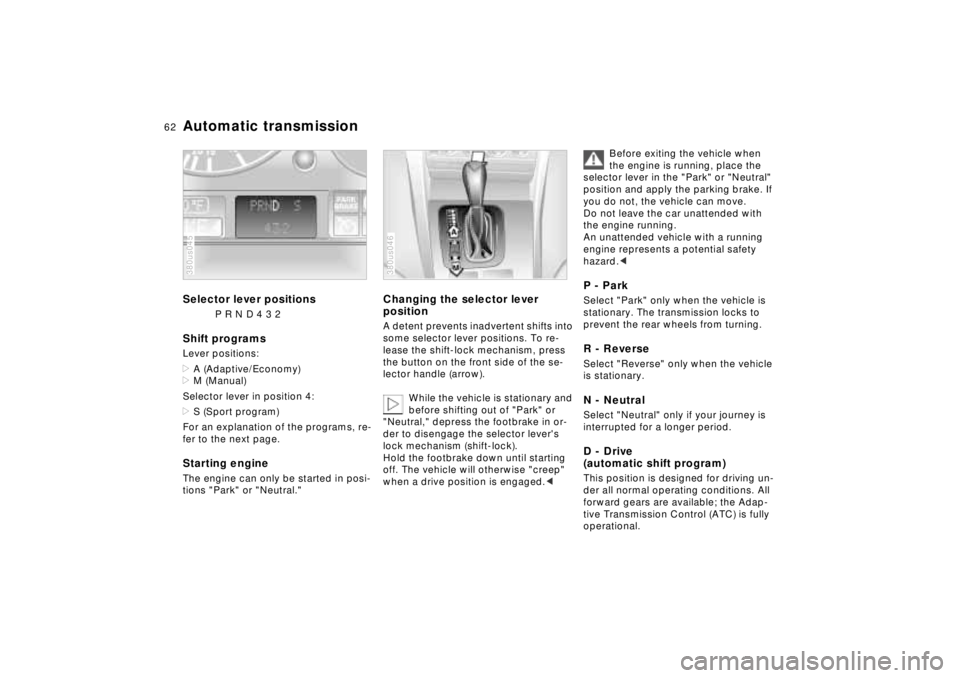
Automatic transmissionSelector lever positions
P R N D 4 3 2
Shift programsLever positions:
>A (Adaptive/Economy)
>M (Manual)
Selector lever in position 4:
>S (Sport program)
For an explanation of the programs, re-
fer to the next page.Starting engineThe engine can only be started in posi-
tions "Park" or "Neutral."380us045
Changing the selector lever
positionA detent prevents inadvertent shifts into
some selector lever positions. To re-
lease the shift-lock mechanism, press
the button on the front side of the se-
lector handle (arrow).
While the vehicle is stationary and
before shifting out of "Park" or
"Neutral," depress the footbrake in or-
der to disengage the selector lever's
lock mechanism (shift-lock).
Hold the footbrake down until starting
off. The vehicle will otherwise "creep"
when a drive position is engaged.< 380us046
Before exiting the vehicle when
the engine is running, place the
selector lever in the "Park" or "Neutral"
position and apply the parking brake. If
you do not, the vehicle can move.
Do not leave the car unattended with
the engine running.
An unattended vehicle with a running
engine represents a potential safety
hazard.<
P - ParkSelect "Park" only when the vehicle is
stationary. The transmission locks to
prevent the rear wheels from turning.R - ReverseSelect "Reverse" only when the vehicle
is stationary.N - NeutralSelect "Neutral" only if your journey is
interrupted for a longer period.D - Drive
(automatic shift program)This position is designed for driving un-
der all normal operating conditions. All
forward gears are available; the Adap-
tive Transmission Control (ATC) is fully
operational.
Page 64 of 211

63n
RepairsIndexOverview Controls Car care Technology Data
Automatic transmission4 - Sport programThis position is recommended if your
driving style is performance-oriented.3 and 2 - Shift limiterSelect this range when you wish to limit
gear changes (on steep uphill or down-
hill slopes, for instance). The transmis-
sion upshifts only as far as the selected
gear."Kickdown"
(automatic downshift) In the "Kickdown" mode, you achieve
maximum performance.
Press the accelerator pedal past the in-
creased resistance point at the full-
throttle position.Shift programsThe automatic transmission of your
BMW is equipped with the Adaptive
Transmission Control (ATC) as standard
equipment.When you select program A, the ATC
system automatically adapts to individ-
ual driving styles and road conditions to
provide optimal performance with the
selector lever at position D.
Because of this, the remaining selector
lever positions for forward driving are
only required in extreme situations such
as those listed in the description of po-
sition 2.
A - Adaptive programThis is the initial position that the trans-
mission selects at every start. In the po-
sitions for forward driving, the ATC
(Adaptive Transmission Control) auto-
matically selects the optimal gear from
different shift programs. To achieve
this, the system constantly adapts to
driver characteristics (such as a moder-
ate or performance-oriented driving
style), road condition factors (slick
roads or extreme slopes, for instance)
as well as the current driving situation
(winding roads or mountain travel, for
instance).
For details concerning ATC, please re-
fer to the chapter titled "Advanced
Technology" on page 184.
M – Manual programThis program is for driving in one gear
(4th gear when D has been selected).
The transmission then remains in the
selected gear both when underway and
when starting off. For instance, when
you make a steep ascent with the se-
lector lever in position 2, the transmis-
sion does not make undesired upshifts.
The same principle applies during oper-
ation on ice-covered roads: By placing
the selector lever in position 3 you can
move off gradually, and the transmis-
sion will also suppress subsequent
shifts into higher gears.Selector lever positionsPositions 4, 3 and 2 have the function of
enhanced control over shifting – control
which is desired and intentionally se-
lected.
The ATC also functions in these selec-
tor lever positions – of course with limi-
tations for gear selection imposed by
the lever position.
 1
1 2
2 3
3 4
4 5
5 6
6 7
7 8
8 9
9 10
10 11
11 12
12 13
13 14
14 15
15 16
16 17
17 18
18 19
19 20
20 21
21 22
22 23
23 24
24 25
25 26
26 27
27 28
28 29
29 30
30 31
31 32
32 33
33 34
34 35
35 36
36 37
37 38
38 39
39 40
40 41
41 42
42 43
43 44
44 45
45 46
46 47
47 48
48 49
49 50
50 51
51 52
52 53
53 54
54 55
55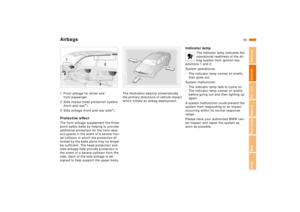 56
56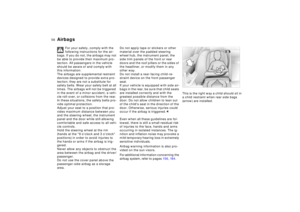 57
57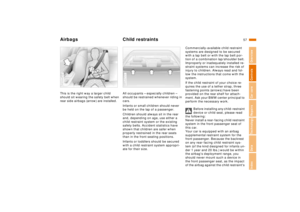 58
58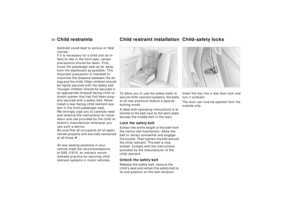 59
59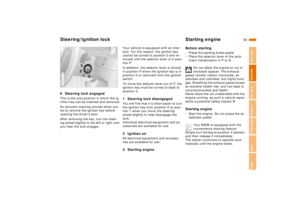 60
60 61
61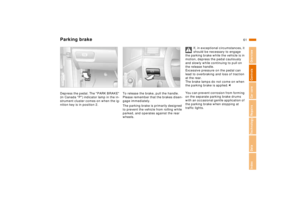 62
62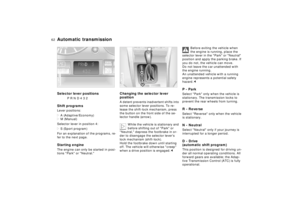 63
63 64
64 65
65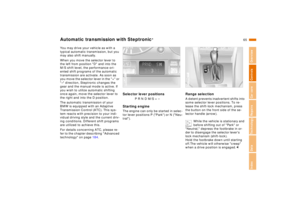 66
66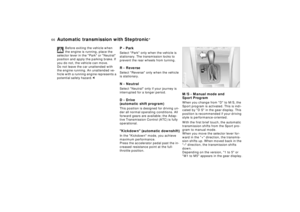 67
67 68
68 69
69 70
70 71
71 72
72 73
73 74
74 75
75 76
76 77
77 78
78 79
79 80
80 81
81 82
82 83
83 84
84 85
85 86
86 87
87 88
88 89
89 90
90 91
91 92
92 93
93 94
94 95
95 96
96 97
97 98
98 99
99 100
100 101
101 102
102 103
103 104
104 105
105 106
106 107
107 108
108 109
109 110
110 111
111 112
112 113
113 114
114 115
115 116
116 117
117 118
118 119
119 120
120 121
121 122
122 123
123 124
124 125
125 126
126 127
127 128
128 129
129 130
130 131
131 132
132 133
133 134
134 135
135 136
136 137
137 138
138 139
139 140
140 141
141 142
142 143
143 144
144 145
145 146
146 147
147 148
148 149
149 150
150 151
151 152
152 153
153 154
154 155
155 156
156 157
157 158
158 159
159 160
160 161
161 162
162 163
163 164
164 165
165 166
166 167
167 168
168 169
169 170
170 171
171 172
172 173
173 174
174 175
175 176
176 177
177 178
178 179
179 180
180 181
181 182
182 183
183 184
184 185
185 186
186 187
187 188
188 189
189 190
190 191
191 192
192 193
193 194
194 195
195 196
196 197
197 198
198 199
199 200
200 201
201 202
202 203
203 204
204 205
205 206
206 207
207 208
208 209
209 210
210


