1998 BMW 740I wheel
[x] Cancel search: wheelPage 57 of 211
56n
Airbags
For your safety, comply with the
following instructions for the air-
bags. If you do not, the airbags may not
be able to provide their maximum pro-
tection. All passengers in the vehicle
should be aware of and comply with
this information:
The airbags are supplemental restraint
devices designed to provide extra pro-
tection; they are not a substitute for
safety belts. Wear your safety belt at all
times. The airbags will not be triggered
in the event of a minor accident, a vehi-
cle roll-over, or collisions from the rear.
In these situations, the safety belts pro-
vide optimal protection.
Adjust your seat to a position that pro-
vides maximum distance between you
and the steering wheel, the instrument
panel and the door while still allowing
comfortable and safe access to all vehi-
cle controls.
Hold the steering wheel at the rim
(hands at the "9 o'clock and 3 o'clock"
positions) in order to avoid injuries to
the hands or arms if the airbag is trig-
gered.
Never allow any objects to obstruct the
area between the airbag and the driver/
passenger.
Do not use the cover panel above the
passenger-side airbag as a storage
area.
Do not apply tape or stickers or other
material over the padded steering
wheel hub, the instrument panel, the
side trim panels of the front or rear
doors and the roof pillars or the sides of
the headliner, or modify them in any
other way.
Do not install a rear-facing child-re-
straint device on the front passenger
seat.
If your vehicle is equipped with side air-
bags in the rear, be sure that child seats
are installed correctly and with the
greatest possible distance from the
door. Do not allow children to lean out
of the child's seat in the direction of the
door. Otherwise, serious injuries could
occur if the airbag is triggered.<
Even when all these guidelines are fol-
lowed, there is still a small residual risk
of injuries to the face, hands and arms
occurring in isolated instances. The ig-
nition and inflation noise may provoke a
mild temporary hearing loss in extremely
sensitive individuals.
Airbag warning information is also pro-
vided on the sun visors.
For additional information concerning the
airbag system, refer to pages 15 6, 18 4.This is the right way a child should sit in
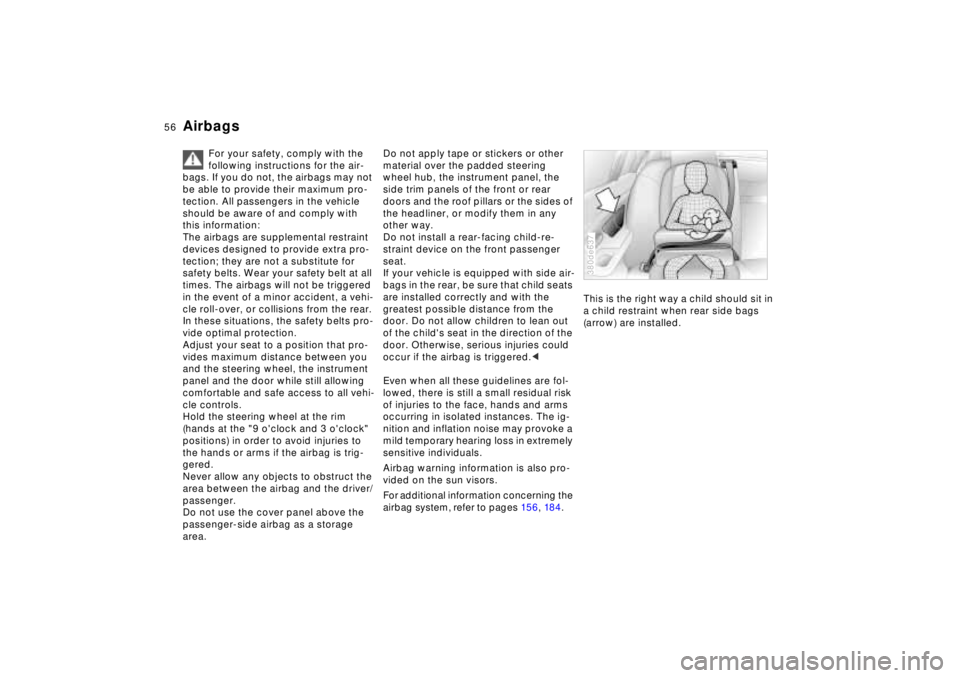
a child restraint when rear side bags
(arrow) are installed.
380de637
Page 60 of 211
59n
RepairsIndexOverview Controls Car care Technology Data
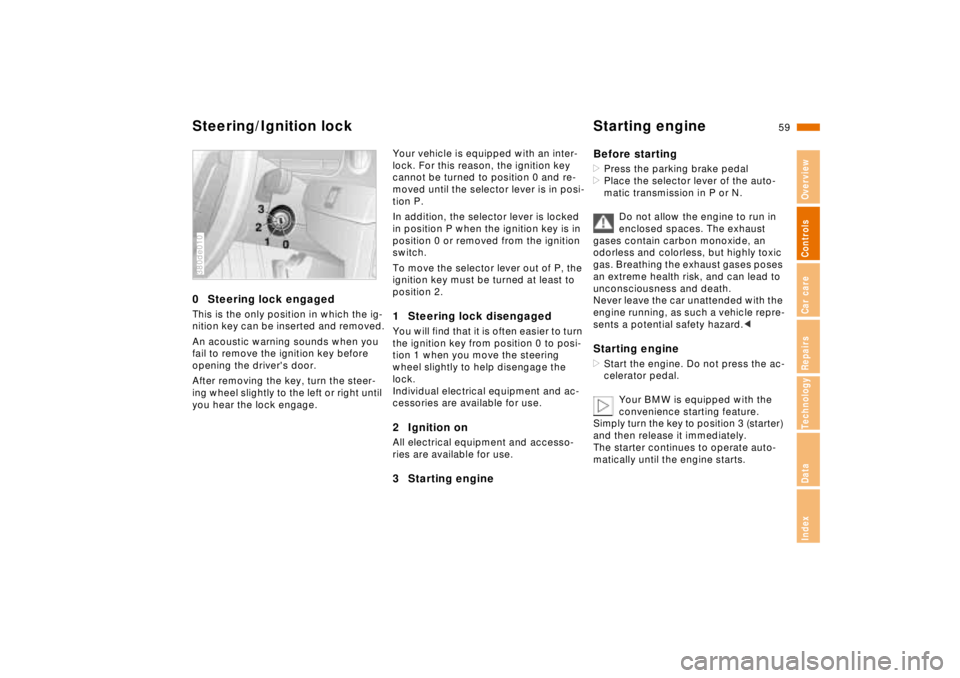
Steering/Ignition lock Starting engine0 Steering lock engagedThis is the only position in which the ig-
nition key can be inserted and removed.
An acoustic warning sounds when you
fail to remove the ignition key before
opening the driver's door.
After removing the key, turn the steer-
ing wheel slightly to the left or right until
you hear the lock engage.380de010
Your vehicle is equipped with an inter-
lock. For this reason, the ignition key
cannot be turned to position 0 and re-
moved until the selector lever is in posi-
tion P.
In addition, the selector lever is locked
in position P when the ignition key is in
position 0 or removed from the ignition
switch.
To move the selector lever out of P, the
ignition key must be turned at least to
position 2.1 Steering lock disengagedYou will find that it is often easier to turn
the ignition key from position 0 to posi-
tion 1 when you move the steering
wheel slightly to help disengage the
lock.
Individual electrical equipment and ac-
cessories are available for use.2 Ignition onAll electrical equipment and accesso-
ries are available for use.3 Starting engineBefore starting
>Press the parking brake pedal
>Place the selector lever of the auto-
matic transmission in P or N.
Do not allow the engine to run in
enclosed spaces. The exhaust
gases contain carbon monoxide, an
odorless and colorless, but highly toxic
gas. Breathing the exhaust gases poses
an extreme health risk, and can lead to
unconsciousness and death.
Never leave the car unattended with the
engine running, as such a vehicle repre-
sents a potential safety hazard.< Starting engine>Start the engine. Do not press the ac-
celerator pedal.
Your BMW is equipped with the
convenience starting feature.
Simply turn the key to position 3 (starter)
and then release it immediately.
The starter continues to operate auto-
matically until the engine starts.
Page 62 of 211
61n
RepairsIndexOverview Controls Car care Technology Data
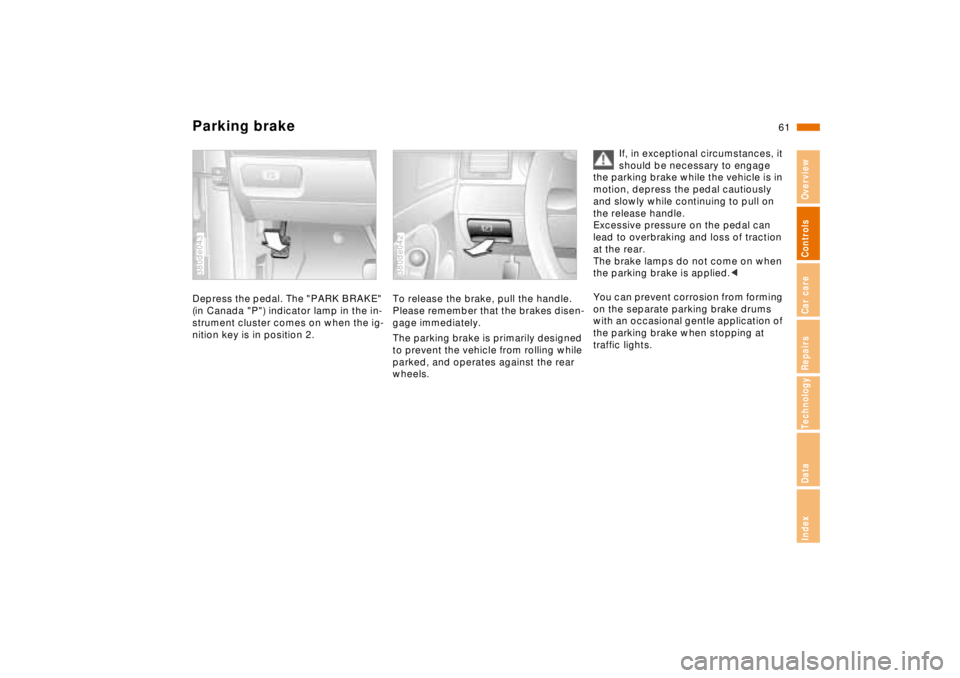
Parking brakeDepress the pedal. The "PARK BRAKE"
(in Canada "P") indicator lamp in the in-
strument cluster comes on when the ig-
nition key is in position 2.380de043
To release the brake, pull the handle.
Please remember that the brakes disen-
gage immediately.
The parking brake is primarily designed
to prevent the vehicle from rolling while
parked, and operates against the rear
wheels.380de042
If, in exceptional circumstances, it
should be necessary to engage
the parking brake while the vehicle is in
motion, depress the pedal cautiously
and slowly while continuing to pull on
the release handle.
Excessive pressure on the pedal can
lead to overbraking and loss of traction
at the rear.
The brake lamps do not come on when
the parking brake is applied.<
You can prevent corrosion from forming
on the separate parking brake drums
with an occasional gentle application of
the parking brake when stopping at
traffic lights.
Page 63 of 211
62n
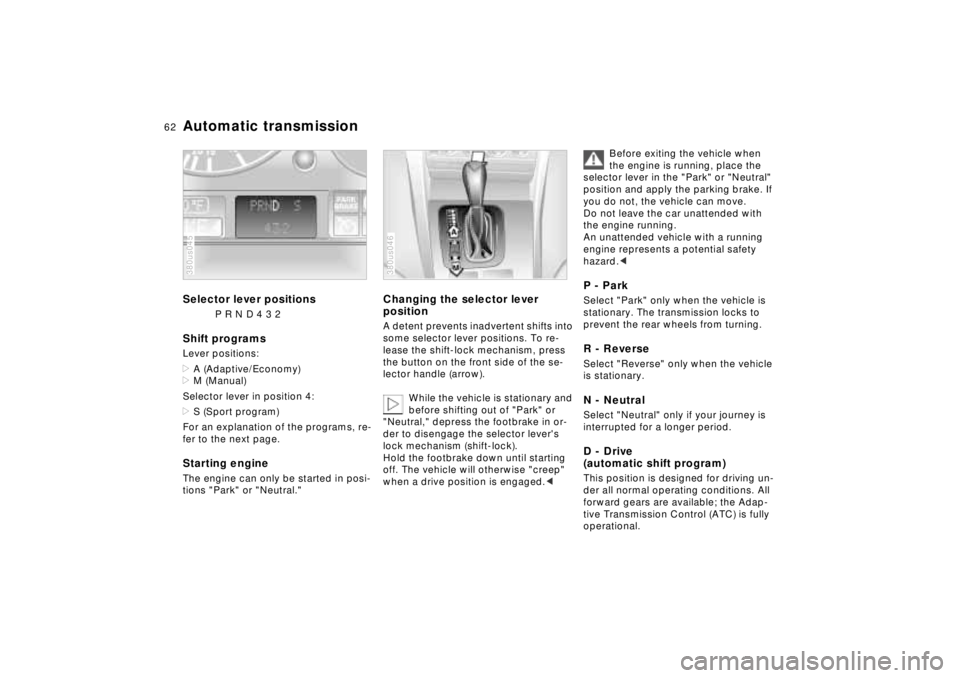
Automatic transmissionSelector lever positions
P R N D 4 3 2
Shift programsLever positions:
>A (Adaptive/Economy)
>M (Manual)
Selector lever in position 4:
>S (Sport program)
For an explanation of the programs, re-
fer to the next page.Starting engineThe engine can only be started in posi-
tions "Park" or "Neutral."380us045
Changing the selector lever
positionA detent prevents inadvertent shifts into
some selector lever positions. To re-
lease the shift-lock mechanism, press
the button on the front side of the se-
lector handle (arrow).
While the vehicle is stationary and
before shifting out of "Park" or
"Neutral," depress the footbrake in or-
der to disengage the selector lever's
lock mechanism (shift-lock).
Hold the footbrake down until starting
off. The vehicle will otherwise "creep"
when a drive position is engaged.< 380us046
Before exiting the vehicle when
the engine is running, place the
selector lever in the "Park" or "Neutral"
position and apply the parking brake. If
you do not, the vehicle can move.
Do not leave the car unattended with
the engine running.
An unattended vehicle with a running
engine represents a potential safety
hazard.<
P - ParkSelect "Park" only when the vehicle is
stationary. The transmission locks to
prevent the rear wheels from turning.R - ReverseSelect "Reverse" only when the vehicle
is stationary.N - NeutralSelect "Neutral" only if your journey is
interrupted for a longer period.D - Drive
(automatic shift program)This position is designed for driving un-
der all normal operating conditions. All
forward gears are available; the Adap-
tive Transmission Control (ATC) is fully
operational.
Page 67 of 211
66n
Automatic transmission with Steptronic
*
Before exiting the vehicle when
the engine is running, place the
selector lever in the "Park" or "Neutral"
position and apply the parking brake. If
you do not, the vehicle can move.
Do not leave the car unattended with
the engine running. An unattended ve-
hicle with a running engine represents a
potential safety hazard.<
P - ParkSelect "Park" only when the vehicle is
stationary. The transmission locks to
prevent the rear wheels from turning.R - ReverseSelect "Reverse" only when the vehicle
is stationary.N - NeutralSelect "Neutral" only if your journey is
interrupted for a longer period.D - Drive
(automatic shift program)This position is designed for driving un-
der all normal operating conditions. All
forward gears are available; the Adap-
tive Transmission Control (ATC) is fully
operational."Kickdown" (automatic downshift)In the "Kickdown" mode, you achieve
maximum performance.
Press the accelerator pedal past the in-
creased resistance point at the full-
throttle position.
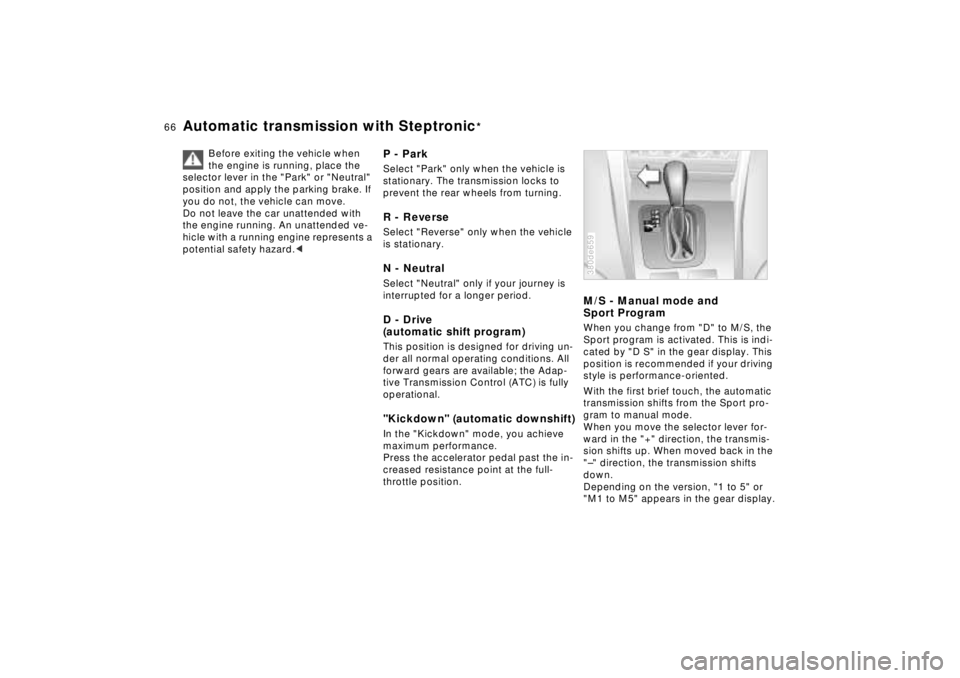
M/S - Manual mode and
Sport ProgramWhen you change from "D" to M/S, the
Sport program is activated. This is indi-
cated by "D S" in the gear display. This
position is recommended if your driving
style is performance-oriented.
With the first brief touch, the automatic
transmission shifts from the Sport pro-
gram to manual mode.
When you move the selector lever for-
ward in the "+" direction, the transmis-
sion shifts up. When moved back in the
"–" direction, the transmission shifts
down.
Depending on the version, "1 to 5" or
"M1 to M5" appears in the gear display.380de659
Page 95 of 211
94n
Tire Pressure Control (RDC)
*
The conceptRDC monitors the tire pressures at all
four wheels, even when the vehicle is
moving. The system provides an alert
whenever the inflation pressure drops
significantly below the specified pres-
sure in one or more tires.
In order for the RDC to "learn" the cor-
rect tire inflation pressure, check the in-
flation pressure in all tires. Refer to the
table of "Tire inflation pressures" on
page 26 and make corrections if neces-
sary. Then activate the system.
The Check Control will inform you if the
tire pressure is not correct.
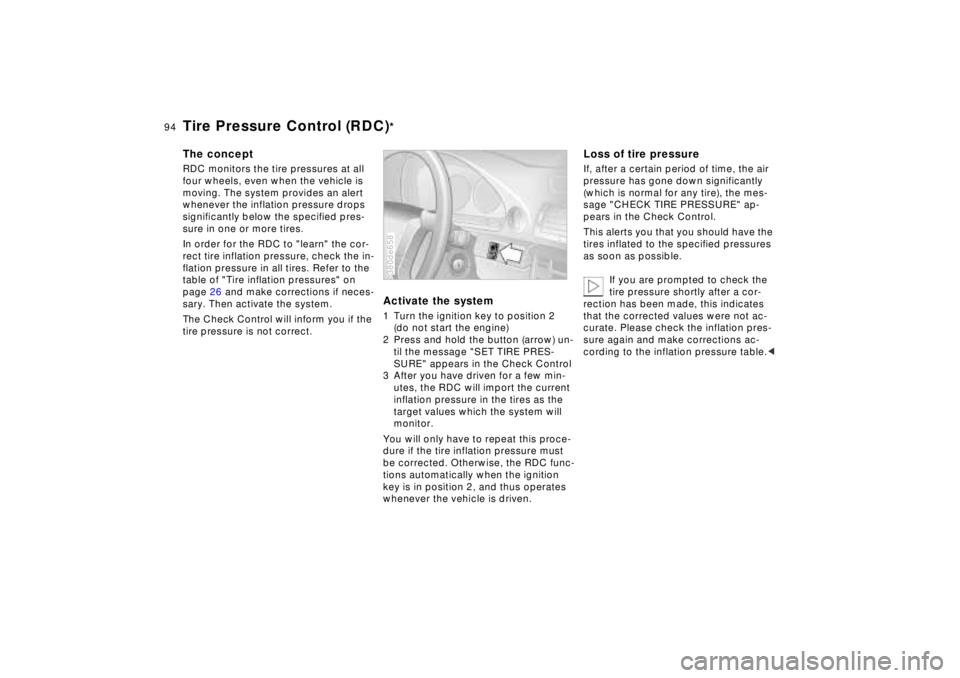
Activate the system1 Turn the ignition key to position 2
(do not start the engine)
2 Press and hold the button (arrow) un-
til the message "SET TIRE PRES-
SURE" appears in the Check Control
3 After you have driven for a few min-
utes, the RDC will import the current
inflation pressure in the tires as the
target values which the system will
monitor.
You will only have to repeat this proce-
dure if the tire inflation pressure must
be corrected. Otherwise, the RDC func-
tions automatically when the ignition
key is in position 2, and thus operates
whenever the vehicle is driven.380de658
Loss of tire pressureIf, after a certain period of time, the air
pressure has gone down significantly
(which is normal for any tire), the mes-
sage "CHECK TIRE PRESSURE" ap-
pears in the Check Control.
This alerts you that you should have the
tires inflated to the specified pressures
as soon as possible.
If you are prompted to check the
tire pressure shortly after a cor-
rection has been made, this indicates
that the corrected values were not ac-
curate. Please check the inflation pres-
sure again and make corrections ac-
cording to the inflation pressure table.<
Page 96 of 211
95n
RepairsIndexOverview Controls Car care Technology Data
Tire Pressure Control (RDC)
*
Flat tireIf there is a tire failure with a loss of air
pressure, the message "TIRE DEFECT"
appears in the Check Control. In addi-
tion, a gong sounds.
If this occurs, reduce vehicle speed im-
mediately and stop the vehicle. Avoid
hard brake applications. Do not over-
steer. Replace the wheel and flat tire.
The spare tire which is available in
your vehicle as standard equip-
ment is equipped with the electronics
required for RDC and, following activa-
tion of the system, is also monitored af-
ter it is mounted.<
The RDC cannot alert you to se-
vere and sudden tire damage
caused by external factors.<
Have the tires changed by your
authorized BMW center.
Your authorized BMW center has been
trained to work with the RDC system
and is equipped with the necessary
special tools to do so.<
System interferenceUnder certain local conditions, the RDC
may malfunction for brief periods be-
cause of interference from outside sys-
tems or electronic devices which have
the same radio frequency.
During the period of the malfunction,
the message "TIRE CONTROL INAC-
TIVE" appears in the Check Control.
You will also see the same message
>in the event of a system fault
>if a wheel is mounted without the
RDC electronics
>if, in addition to the spare tire, addi-
tional wheels with RDC electronics
are on board.
Please contact your authorized BMW
center for additional information.
Page 104 of 211
103n
RepairsIndexOverview Controls Car care Technology Data
Automatic climate controlAutomatic recirculated-air control
(AUC)
You can respond to unpleasant
external odors by temporarily
stopping the flow of outside air. The
system then recirculates the air cur-
rently within the vehicle. Press the but-
ton repeatedly to run through the fol-
lowing control sequence:
>Indicator lamps off: Fresh air flows
into the vehicle
>Left-hand indicator lamp on – AUC
mode: The system detects pollutants
in the outside air and responds by
deactivating the outside air flow when
required. The system then recircu-
lates the air currently within the vehi-
cle
>Right-hand indicator lamp on: The
flow of external air into the vehicle is
permanently blocked. The system
then recirculates the air currently
within the vehicle.
If you have a multi-function steering
wheel with the AUC button (refer to
page 23), you can also switch between
"OFF" and AUC from there.
If the windows fog over in the re-
circulated-air mode, switch this
mode off and increase the air supply as
required.<
Rear window defroster
When the rear window defroster
is activated, the indicator lamp
comes on. The rear window defroster
switches off automatically.
Temperature
You can make individual
temperature settings on the
driver's side and the front passenger
side. Your settings will be shown in the
display 7. The displayed temperatures
are reference values for the interior
temperature. We recommend 707
(226) as a comfortable setting,
whether the air conditioner is operating
or not. When you start the vehicle, the
system ensures that the selected tem-
perature is achieved as quickly as pos-
sible. It then maintains this tempera-
ture, regardless of the season.
You can set uncontrolled heater
output at up to 907 (326). Full
cooling output is available from the air
conditioner down to 607 (166).<
Air supply
In the "AUTO" program, the
air flow is controlled auto-
matically. AUTO will appear in the dis-
play, refer to the overview on page 100.
Use "+" and "–" to vary the air flow.
When your setting is displayed by bars,
the automatic air flow is switched off.
Automatic air distribution maintains its
setting. You can reactivate the auto-
matic air flow by pressing the "AUTO"
button.
When you press "– " during operation at
minimum blower speed all displays are
canceled: The fan, heating and air con-
ditioner are switched off. The outside
air supply is closed. By pressing any
button of the automatic climate control
(except the "REST" button 9), you can
switch the system back on.