Page 9 of 25
INTERIOR BODY LININGS
Head lining
71
REFITTING
13250S
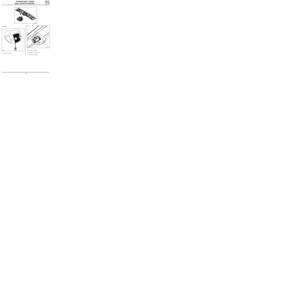
First protect the seats and then apply adhesive to the section(s) of
head lining as shown below:
- 6 beads, 4 mm dia.
- 2 beads, 4 mm dia.
At least two persons are required to carry out this operation.
NOTE: For bonding the headlining use a single-pot PU adhesive
(windscreen adhesive type).
71-6
Page 10 of 25
INTERIOR BODY LININGS
Carpet
71
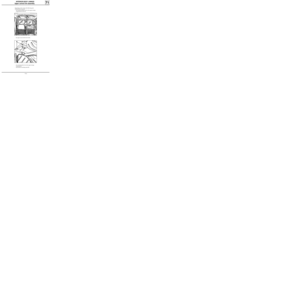
Remove the centre console to fit the carpet at the front and take out the seats to fit it at the back.
Unclip the retaining pins.
PRB7107
71-7
Page 11 of 25
SIDE OPENING ELEMENTS TRIM
Front door trim
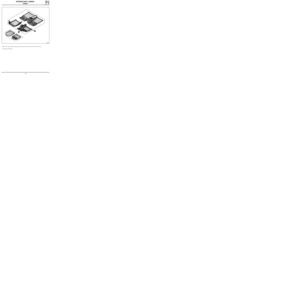
Unclip the trim and separate the trim from the
adhesive as it is removed.
When the trim has been removed or replaced,
apply preformed sealing mastic (Part No. 77 01
423 330) when the trim is refitted.
72
PRB7201
13114R
REMOVING
Remove:
- the window winder handle,
- the pull handle for closing the door,
- the inside opening handle,
- the door storage compartment.
72-1
Page 12 of 25
SIDE OPENING ELEMENTS TRIM
Side door trim
Remove the handle.
Unclip the trim.
Unclip the opening handle.
72
13102R
PRB7202
REMOVING
72-2
Page 13 of 25
NON-SIDE OPENING ELEMENTS TRIM
Lining for rear door or tailgate
Remove the handle.
Unclip the lining.
73
PRB7301
REMOVING
13103R
73-1
Page 14 of 25
REAR PARCEL SHELF
Rear side shelves
Remove the mountings.
Disconnect the speaker connector.
74
PRB7401
74-1
Page 15 of 25
FRONT SEAT FRAMES AND RUNNERS
Complete front seat and runners
Runners
75
REMOVING
PRB7501
13160R
Put the vehicle on a lift.
Remove the mountings under the body.
Disconnect the electric wiring harness.Please see the air bag manual for information on
the precautions which need to be taken when re-
moving runner covers on vehicles equipped with
pretensioners.
Remove the mountings.
13178
75-1
Page 16 of 25
REAR SEAT FRAMES AND RUNNERS
Complete rear bench seat
Tilt the lever.
Release the seat.
76
REMOVING
PRB7601
13251R
76-1


 of
head lining as shown below:
- 6 beads, 4 mm dia.
- 2 beads, 4 mm dia.
At leas")


