Page 53 of 105
STEERING ASSEMBLY
Axial ball joint
36
Put the vehicle on a two post lift.
REMOVAL
Disconnect the track rod end using tool T.Av. 476.
Slacken the bolt on the parallelism adjustment
sleeve and slacken the track rod end while
holding the axial ball joint using an open wrench.
Make a mark or count the number of turns of
thread taken up so the parallelism can be pre-
adjusted on refitting.
Remove the plastic retaining clip for the gaiter
and remove the gaiter.
SPECIAL TOOLING REQUIRED
Wheel bolts 9
Track rod end nut 3.7
Bolt on parallelism adjustment sleeve 1.7
Axial ball joint 5
Dir. 1305-01 Tool for removing - refitting
axial ball joint
Dir. 1306 Tool for retaining SMI unit rack
T.Av. 476 Ball joint extractor
TIGHTENING TORQUES (in daN.m)Turn the wheels so the rack teeth are freed on the
valve side.
Fit tool Dir. 1306.
In this position, release the axial ball joint using
tool Dir. 1305-01.
97469R1
36-1
Page 55 of 105

STEERING ASSEMBLY
Manual steering rack
36
Put the vehicle on a two post lift.
REMOVAL
Remove the front wheels.
Cut the rubber gaiter retaining clip and push the
gaiter back towards the bulkhead.
Disconnect the ball joints using tool T.Av. 476.
Remove:
- the universal joint eccentric bolt,
- the steering rack mounting bolts on the sub-
frame.
Remove the steering rack.
SPECIAL TOOLING REQUIRED
Wheel bolts 9
Track rod end nut 3.7
Steering rack mounting bolts 5.5
Universal joint eccentric bolt 2.5
T.Av. 476 Ball joint extractor
TIGHTENING TORQUES (in daN.m)REFITTING
Refitting is the reverse of removal. Observe the
recommended tightening torques.
If a new steering rack is being fitted, fit the track
rod ends in the position noted on removal.
To do this, slacken the bolt on the parallelism
adjustment sleeve and slacken the track rod end
while holding the axial ball joint using an open
wrench.
Make a mark or count the number of turns of
thread taken up so the parallelism can be pre-
adjusted on refitting.
Check the parallelism.
NOTE : the markings on the track rod ends MUST
BE OBSERVED
(one mark on right hand joint, two
marks on left hand joint).
36-3
Page 57 of 105

STEERING ASSEMBLY
Power assisted steering rack
36
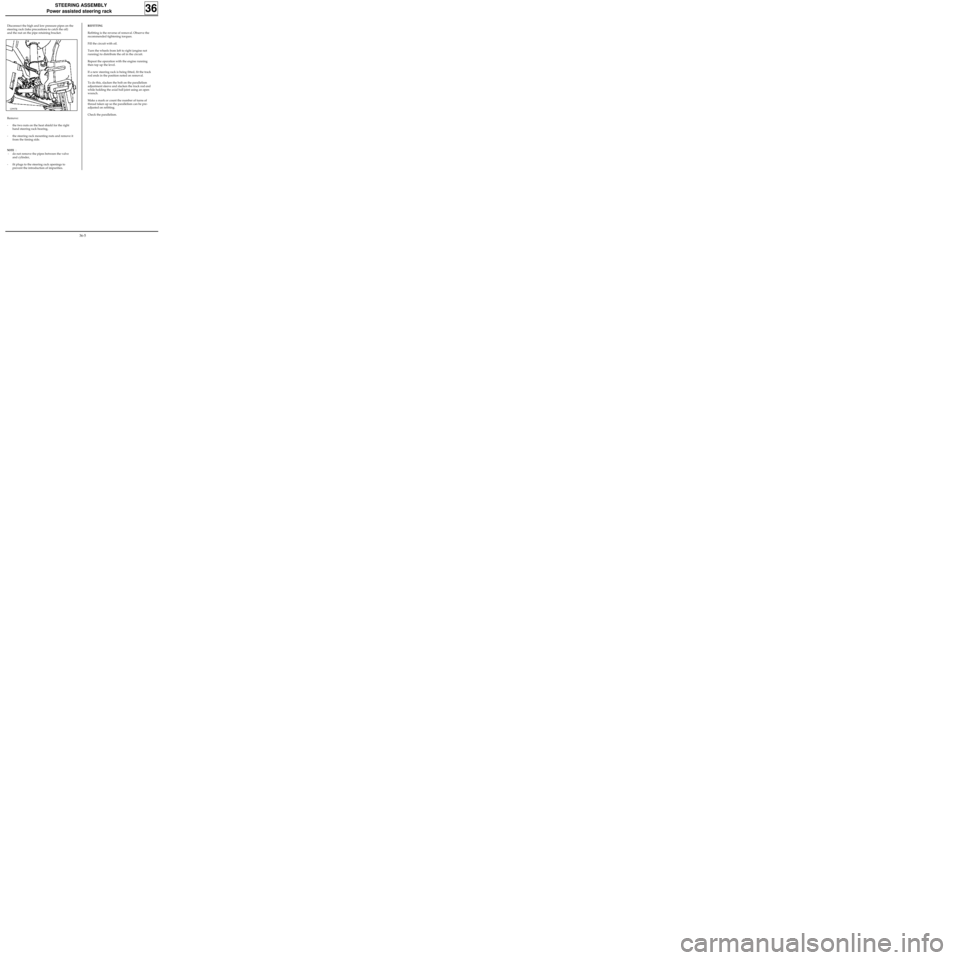
Disconnect the high and low pressure pipes on the
steering rack (take precautions to catch the oil)
and the nut on the pipe retaining bracket.
Remove:
- the two nuts on the heat shield for the right
hand steering rack bearing,
- the steering rack mounting nuts and remove it
from the timing side.
NOTE :
- do not remove the pipes between the valve
and cylinder,
- fit plugs to the steering rack openings to
prevent the introduction of impurities.
12997R
REFITTING
Refitting is the reverse of removal. Observe the
recommended tightening torques.
Fill the circuit with oil.
Turn the wheels from left to right (engine not
running) to distribute the oil in the circuit.
Repeat the operation with the engine running
then top up the level.
If a new steering rack is being fitted, fit the track
rod ends in the position noted on removal.
To do this, slacken the bolt on the parallelism
adjustment sleeve and slacken the track rod end
while holding the axial ball joint using an open
wrench.
Make a mark or count the number of turns of
thread taken up so the parallelism can be pre-
adjusted on refitting.
Check the parallelism.
36-5