Page 240 of 405
The following steps will tell you how to use the jack and
change a tire.
Removing the Spare Tire and Tools
The equipment you’ll need
is in the trunk. Pull the
carpeting from the
floor of
the trunk.
Turn the center
retainer bolt on
the spare
tire cover counterclockwise
to remove it.
Lift and remove the cover. See “Compact Spare Tire”
later in this section for more information about
the
compact spare.
Remove the spare tire from the trunk.
5-27
ProCarManuals.com
Page 241 of 405
The box that stores the
jack
and wheel wrench is
located on the passenger
side trunk wall.
Open the
box and then twist
the wing bolt one-quarter
turn counterclockwise.
Remove the
jack and wheel wrench.
5-28
ProCarManuals.com
Page 247 of 405

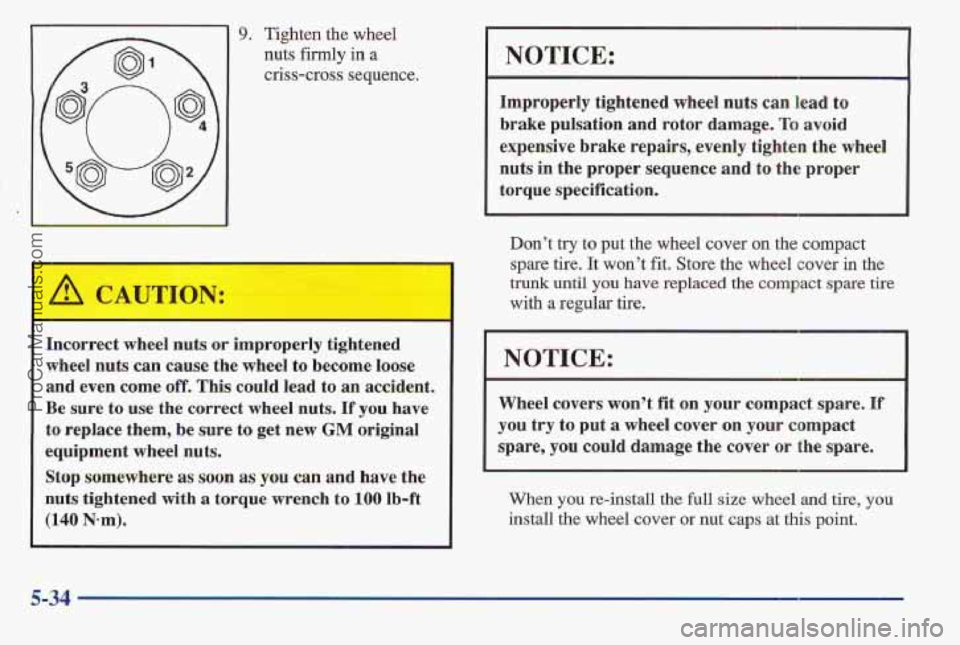
9. Tighten the wheel
nuts firmly in a
criss-cross sequence.
Incorrect wheel nuts or improperly tightened
wheel nuts can cause the wheel
to become loose
and even
come off. This could lead to an accident.
Be sure
to use the correct wheel nuts. If you have
to replace them, be sure to get new
GM original
equipment wheel nuts.
Stop somewhere
as soon as you can and have the
nuts tightened with
a torque wrench to 100 Ib-ft
(140 N-m).
NOTICE:
~~~
Improperly tightened wheel nuts can lead to
brake pulsation and rotor damage. To avoid
expensive brake repairs, evenly tighten the wheel
nuts in the proper sequence and to the proper
torque specification.
Don’t try to put the wheel cover
on the compact
spare tire. It won’t fit. Store the wheel cover in the
trunk until you have replaced the compact spare tire
with a regular tire.
Wheel covers won’t fit
on your compact spare. If
you try to put a wheel cover on your compact
spare, you could damage the cover or the spare.
When
you re-install the full size wheel and tire, you
install the wheel cover or nut caps at this point.
5-34
ProCarManuals.com
Page 249 of 405
Storing the Flat Tire and Tools
L
Storing a jack, a tire or other equipment in the
passenger compartment of the vehicle could
,cause injury. In a sudden stop or collision, loose
equipment could strike somleone. Store all these
in the proper place.
I
After you’ve put the compact spare tire on your vehicle,
you’ll need to store the flat tire in your trunk. Use the
following procedure to secure the flat tire in the trunk.
Store the flat tire as far forward in the trunk as possible.
Store the jack and wheel wrench in their box in the trunk
on the passenger’s side.
5-36
ProCarManuals.com
Page 250 of 405
Storing the Spare Tire and Tools
I A CAUTION:
I-.
Storing a jack, a tire or other equipment in the
passenger compartment
of the vehicle could
cause injury. In a sudden
stop or collision, loose
equipment could strike someone. Store all these
in the proper place.
The compact spare is for temporary use only. Replace
the compact spare tire with
a full-size tire as soon as you
can. See “Compact Spare Tire” later in this section. See
the storing instructions label to replace your compact
spare into your trunk properly.
5
4
3
1 2
1. Jack
2. Wheel Wrench
3. Wing Bolt
4. Tire
5. Cover
6. Bolt
5-37
ProCarManuals.com
Page 261 of 405

When you pur the cap back on, turn it to the right
(clockwise) until
you hear a clicking sound. Make sure
Fuel Door Manual Release (Option)
you fully &stall the cap. The diagnostic system can
determine if the fuel
cap has been left off or improperly
installed. This would allow fuel to evaporate into
the
atmosphere. See “Malfunction Indicator Lamp” in
the Index.
type.
Your dealer can get one for you. If you get
the wrong
type, it may not fit properly. This may
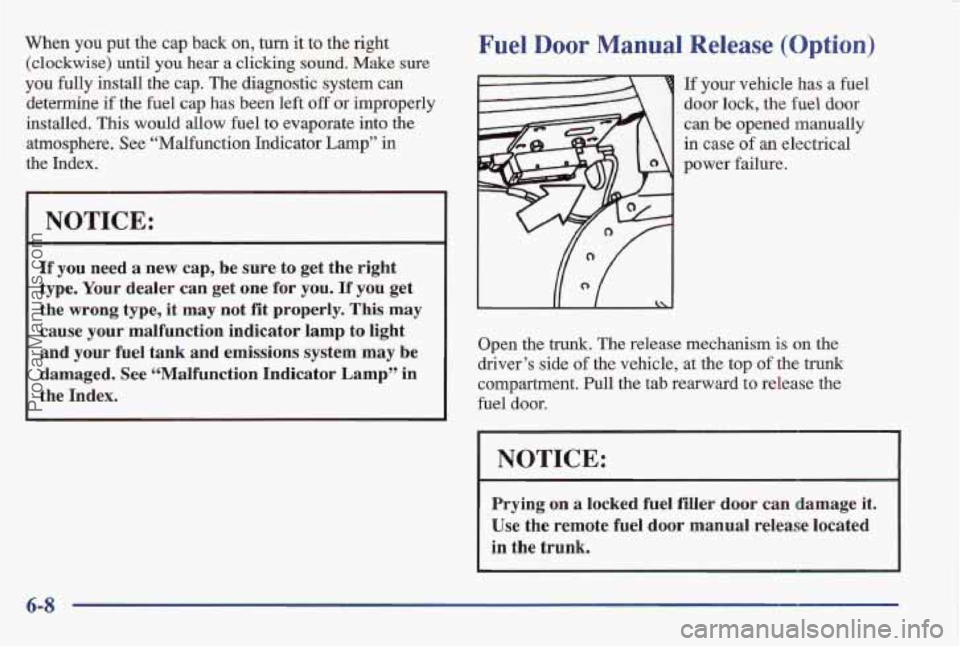
If your vehicle has a fuel
door lock, the
fuel door
can be opened manually
in case of an electrical
power failure.
cause your malfunction indicator lamp to light
and your fuel tank and emissions system may be
damaged. See ‘(Malfunction Indicator Lamp” in
the Index. Open
the trunk. The release mechanism is on the
driver’s side
of the vehicle, at the top of the trunk
compartment. Pull the tab rearward to release the
fuel door.
Prying on
a locked fuel filler door can damage it.
Use the remote fuel door manual release located
in the trunk.
ProCarManuals.com
Page 290 of 405
Rear Quarter Tail/Stop/lhrn
Signal/Sidemarker Lamps
For bulb type, see “Replacement Bulbs” in the Index.
1. Remove the plastic nut holding the carpeting in place.
2. Pull the carpeting away from the rear corner of the trunk.
3. nrn the bulb socket assembly counterclockwise to
remove it from the lamp assembly.
Turn the bulb one-quarter turn counterclockwise to
remove
it from the socket.
6-37
ProCarManuals.com
Page 291 of 405
Trunk M’ounted Taillamps and
Back-up Lamps
For bulb type, see “Replacement Bulbs” in the Index.
4. Replace the bulb and reverse the steps to install the
new
bulb assembly.
1. Push in on the center of the plastic push pin with a
pen. The push pin should eject.
6-38
ProCarManuals.com