1997 PONTIAC BONNEVILLE ECO mode
[x] Cancel search: ECO modePage 60 of 405
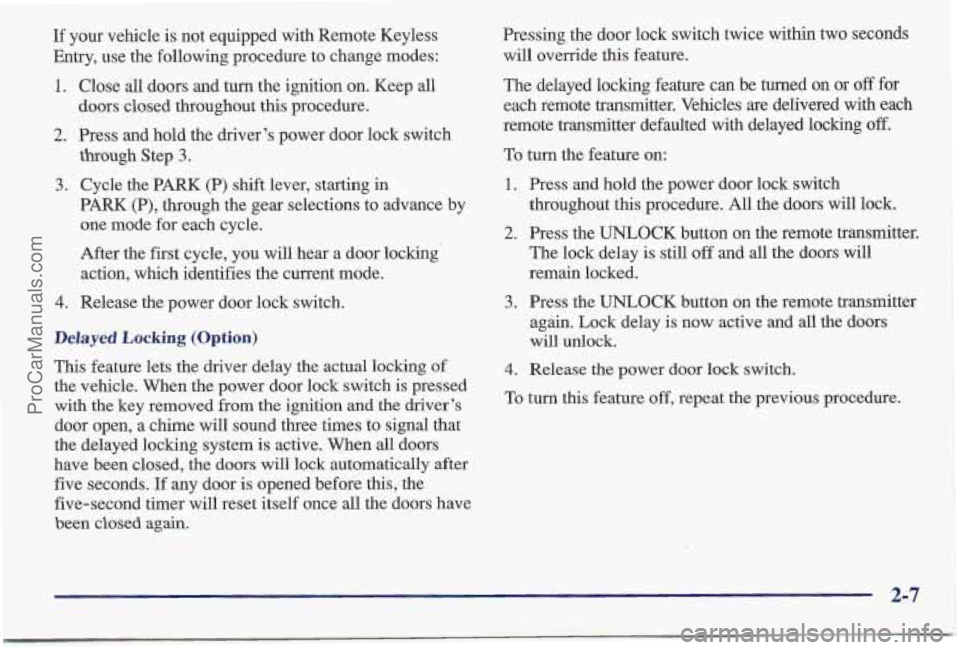
If your vehicle is not equipped with Remote Keyless
Entry, use the following procedure to change modes:
1. Close all doors and turn the ignition on. Keep all
2. Press and hold the driver’s power door lock switch
3. Cycle the PARK (P) shift lever, starting in
doors closed throughout
this procedure.
though Step
3.
PARK (P), through the gear selections to advance by
one mode
for each cycle.
After the
first cycle, you will hear a door locking
action, which identifies the current mode.
4. Release the power door lock switch.
Delayed Locking (Option)
This feature lets the driver delay the actual locking of
the vehicle. When the power door lock switch is pressed
with
the key removed from the ignition and the driver’s
door open, a chime will sound three times to signal that
the delayed locking system is active. When all doors
have been closed, the doors will lock automatically after
five seconds. If any door is opened before this, the
five-second timer will reset itself once all the doors have
been closed again.
Pressing the door lock switch twice within two seconds
will override this feature.
The delayed locking feature can
be turned on or off for
each remote transmitter. Vehicles
are delivered with each
remote transmitter defaulted with delayed locking
off.
To turn the feature on:
1. Press and hold the power door lock switch
throughout this procedure. All the doors will lock.
2. Press the UNLOCK button on the remote transmitter.
The lock delay is still
off and all the doors will
remain locked.
3. Press the UNLOCK button on the remote transmitter
again. Lock delay
is now active and all the doors
will unlock.
4. Release the power door lock switch.
To turn this feature off, repeat the previous procedure.
ProCarManuals.com
Page 61 of 405
If your vehicle is not equipped with Remote Keyless
Entry, the delayed locking feature can be turned on or
off by using the following procedure:
1. With the ignition on, press and hold the driver’s
power door lock switch. All
doors will lock.
2. Cycle the headlamp switch four times. On the
third cycle, the doors will unlock to confirm that
the feature has been turned
on. Your doors will
remain locked if delayed locking is now in the
non-active mode.
3. To change modes, cycle the headlamp switch once
4. Release the power door lock switch.
This procedure must
be completed within 10 seconds of
pressing the power door lock switch. To turn the feature
off, repeat the previous procedure.
more.
A locking action will
confirm the new mode.
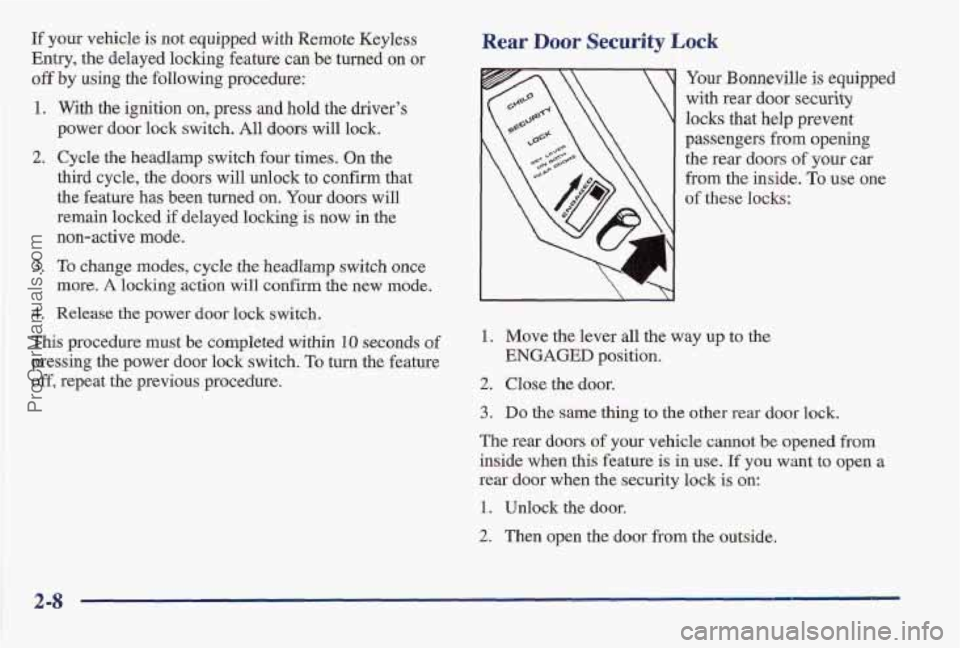
Rear Door Security Lock
i
Your Bonneville is equipped
with rear door
security
locks that help prevent
passengers from opening
the rear doors
of your car
from the inside. To use one
of these locks:
1. Move the lever all the way up to the
2. Close the door.
ENGAGED position.
3. Do the same thing to the other rear door lock.
The rear doors of your vehicle cannot
be opened from
inside when this feature is in use, If you want to open
a
rear door when the security lock is on:
1. Unlock the door.
2. Then open the door from the outside.
2-8
ProCarManuals.com
Page 64 of 405
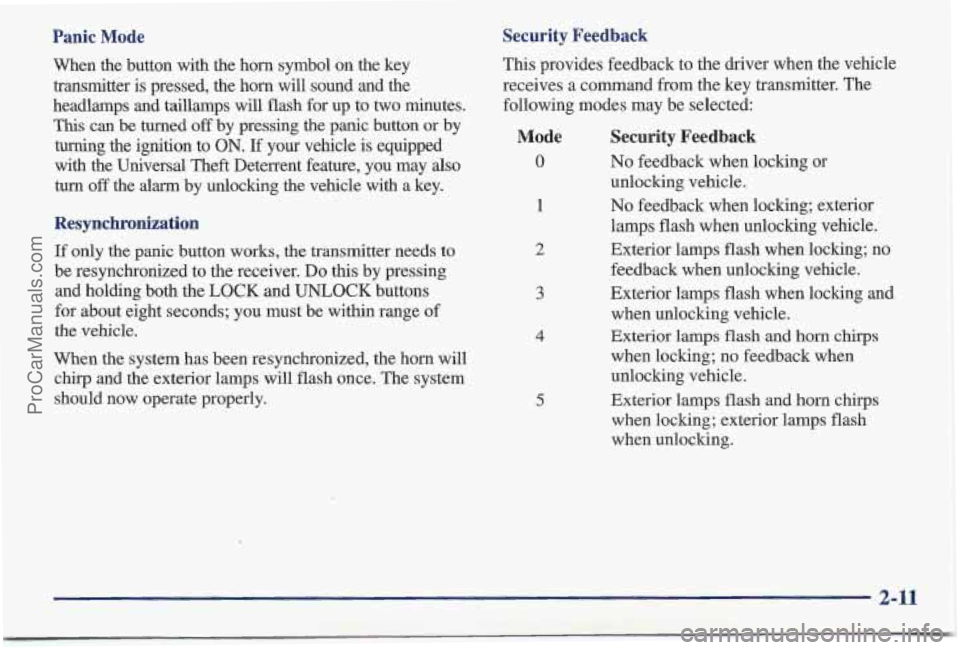
Panic Mode Security Feedback
This
provides feedback to the driver when the vehicle
receives a command from the key transmitter. The
following modes may be selected:
When the button with the horn symbol
on the key
transmitter is pressed, the horn will sound and the
headlamps and taillamps will flash for up to two minutes.
This can be turned off by pressing the panic button or by
turning
the ignition to ON. If your vehicle is equipped
with the Universal Theft Deterrent feature, you may also
turn off the alarm by unlocking the vehicle with a key.
Resynchronization
If only the panic button works, the transmitter needs to
be resynchronized to the receiver. Do this by pressing
and holding both the
LOCK and UNLOCK buttons
for about eight seconds; you must be within range of
the vehicle.
When the system has been resynchronized, the horn will
chirp and the exterior lamps will flash once. The system
should now operate properly.
Mode
0
1
2
3
4
5
Security Feedback
No feedback when locking or
unlocking vehicle.
No feedback when locking; exterior
lamps flash when unlocking vehicle.
Exterior lamps flash when locking; no
feedback when unlocking vehicle.
Exterior
lamps flash when locking and
when unlocking vehicle.
Exterior lamps
flash and horn chirps
when locking; no feedback when
unlocking vehicle.
Exterior lamps flash and horn chirps
when locking; exterior lamps flash
when unlocking.
2-11
ProCarManuals.com
Page 65 of 405
Vehicles are delivered programmed in Mode 5. To
change to another m'ode:
Personalization Features
The following list of features that are available on your
1.
2.
3.
4.
Press and hold the driver's power door lock switch
Bonneville can be programmed to the driver's
located on the door panel. preference for each of the key transmitters.
Press the opened trunk button
on the transmitter.
The transmitter will remain
in its current mode.
Press the opened trunk button again. Each time the
opened trunk button is pressed, the transmitter will
advance to the next mode.
Release the power door lock switch.
a
0
Automatic Door Locks: This feature programs your
door locks to automatically lock or unlock when
shifting
in and out of PARK (P).
Security Feedback: This feature provides feedback
to the driver when the vehicle receives
a command
from the key transmitter.
Delayed
Locking: This feature lets the driver delay
the actual locking
of the vehicle. When all doors
have been closed, the doors will lock automatically
after five seconds.
For more detailed information and programming instructions, refer
to the Index for each individual
feature listed above.
242
ProCarManuals.com
Page 81 of 405
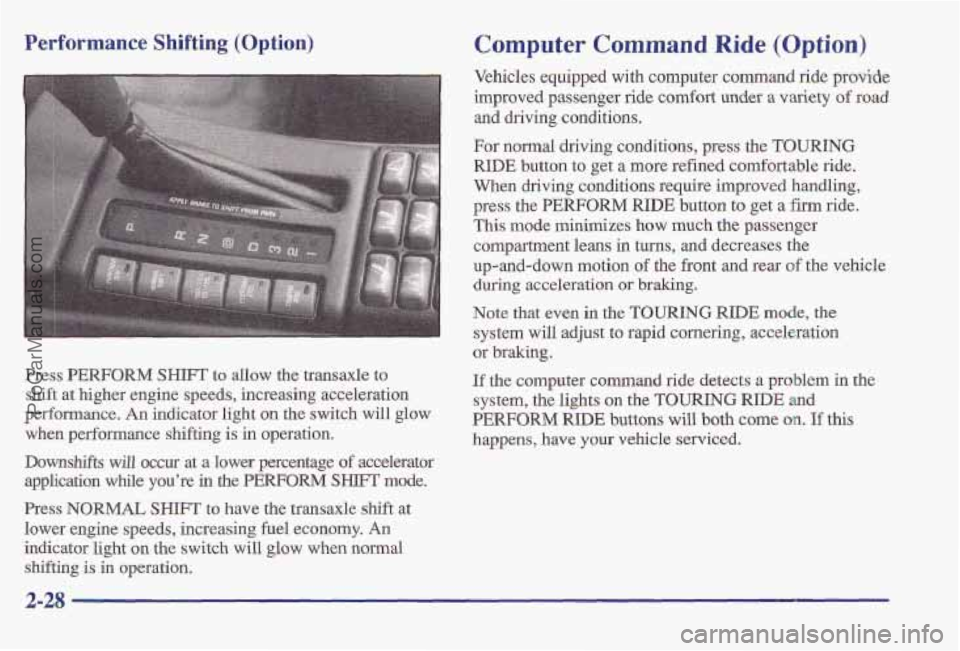
Performance Shifting (Option) Computer Command Ride (Option)
Vehicles equipped with computer command ride provide
improved passenger ride comfort under a variety of road
and driving conditions.
For normal driving conditions, press the
TOURING
RIDE button to get a more refined comfortable ride.
When driving conditions require improved handling,
press the
PERFORM RIDE button to get a firm ride.
This mode minimizes how much the passenger
compartment leans in turns, and decreases the
up-and-down motion
of the front and rear of the vehicle
during acceleration
or braking.
Press
PERFORM SHIFT to allow the transaxle to
shift at higher engine speeds, increasing acceleration
performance.
An indicator light on the switch will glow
when performance shifting is in operation.
Downshifts will occur at a lower percentage of accelerator
application while you're
in the PERFORM SHIFT' mode,
Press NORMAL
SHIFT to have the transaxle shift at
lower engine speeds, increasing fuel economy. An
indicator light
on the switch will glow when normal
shifting
is in operation. Note
that even
in the TOURING RIDE mode, the
system will adjust to rapid cornering, acceleration
or
braking.
If the computer command ride detects a problem in the
system, the lights
on the TOURING RIDE and
PERFORM RIDE buttons will both come on. If this
happens, have
your vehicle serviced.
2-28
ProCarManuals.com
Page 93 of 405
Windshield Washer Cruise Control
At the top of the turn signal/multifunction lever, there’s
a paddle with the word PUSH on it. To spray washer
fluid on the windshield, push the paddle for less than a
second. The wipers
will clear the window and either
stop or return to your preset speed. For more washer
cycles, push
and hold the paddle.
Some models have
a WASHER FLUID warning that
indicates if the fluid level in the windshield washer
reservoir is low.
See “Low Washer Fluid Warning Light”
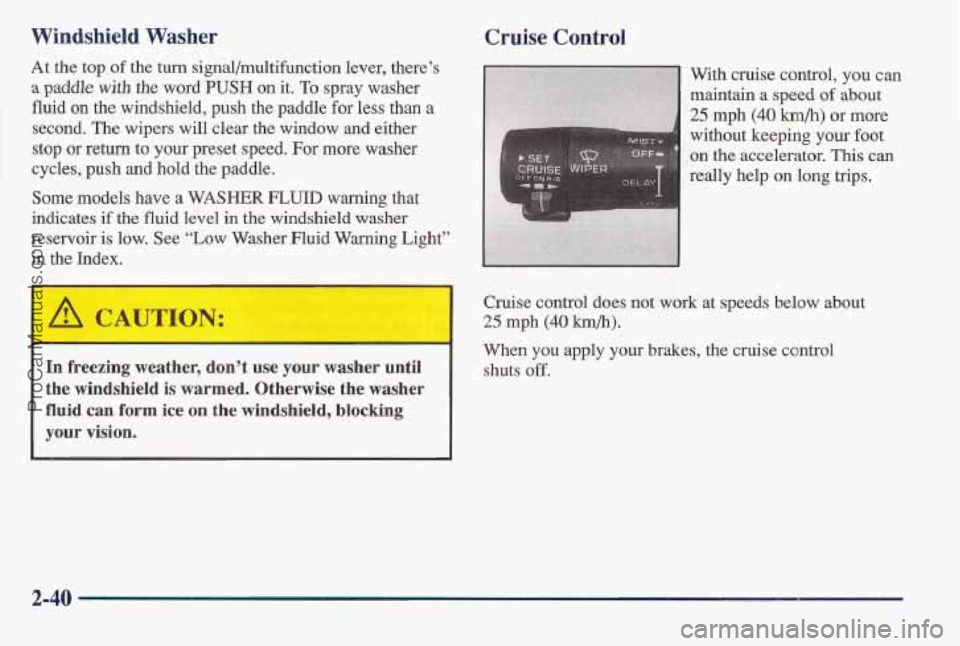
in the Index. With cruise control,
you can
maintain a speed
of about
25 mph (40 km/h) or more
without keeping your foot
~ on the accelerator. This can
really help on long trips.
4 Cruise control do’es not work at speeds below about
I
25 mph (40 km/h).
When you apply your brakes, the cruise control
In freezing weather, don’t use your washer until shuts off.
the windshi’eld is warmed, Otherwise the washer
fluid cam €orm ice on the windshield, blocking
your vision.
2-40 ~
ProCarManuals.com
Page 102 of 405
Electrochromic DaylNight Rearview Mirror (Option)
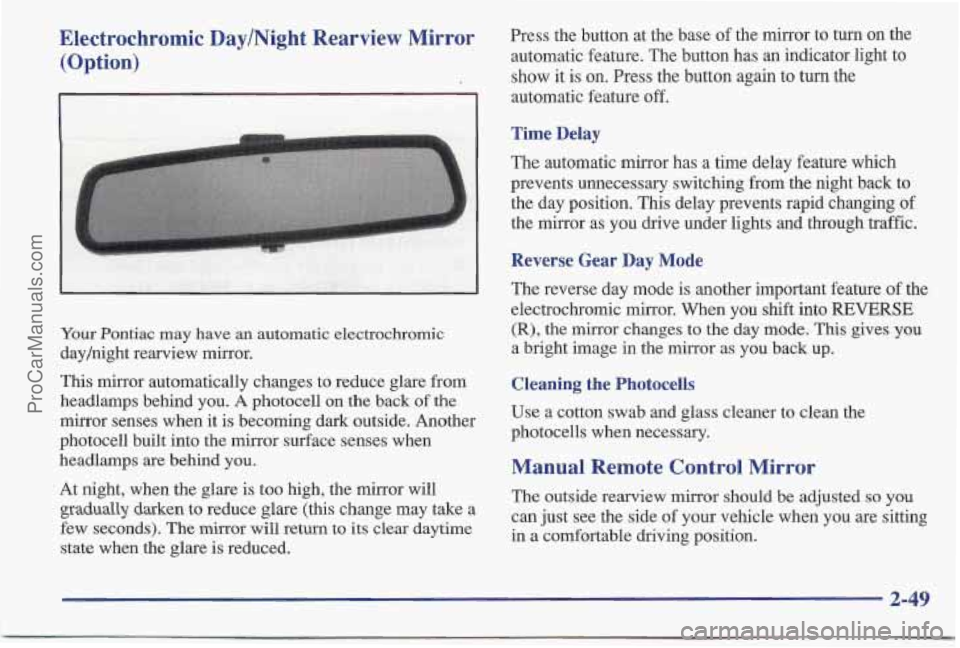
Your Pontiac may have an automatic electrochromic
dayjnight rearview mirror.
This mirror automatically changes
to reduce glare from
headlamps behind you. A photocell on the back of the
mirror senses when it is becoming dark outside. Another
photocell built into the mirror surface senses when
headlamps are behind you.
At night, when the glare is too high, the mirror will
gradually darken to reduce glare (this change may take a
few seconds). The mirror
will return to its clear daytime
state when the glare is reduced. Press the button at the base
of the mirror to turn on the
automatic feature. The button has an indicator light to
show it is on. Press the button
again to turn the
automatic feature
off.
Time Delay
The automatic mirror has a time delay feature which
prevents unnecessary switching from the night back to
the day position. This delay prevents rapid changing of
the mirror as you drive under lights and through traffic.
Reverse Gear Day Mode
The reverse day mode is another important feature of the
electrochromic mirror. When you shift into
REVERSE
(R), the mirror changes to the day mode. This gives you
a bright image in the mirror as you back
up.
Cleaning the Photocells
Use a cotton swab and glass cleaner to clean the
photocells when necessary.
Manual Remote Control Mirror
The outside rearview mirror should be adjusted so you
can just see the side of your vehicle when you
are sitting
in
a comfortable driving position.
2-49
ProCarManuals.com
Page 109 of 405
Air Inflator System (Option)
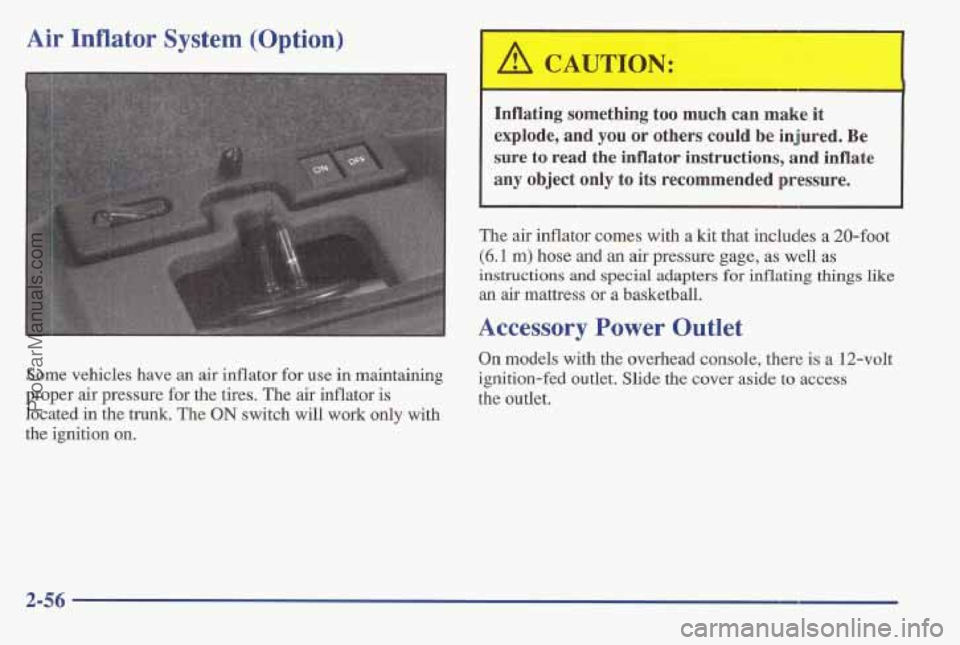
Some vehicles have an air inflator for use in maintaining
proper air pressure for the tires. The air inflator is
located in the
trunk. The ON switch will work only with
the ignition on.
k!, CAUTION:
Inflating something too much can make it
explode, and
you or others could be injured. Be
sure to read the inflator instructions, and inflate
any object only to its recommended pressure.
I I
The air inflator comes with a kit that includes a 20-foot
(6.1 m) hose and an air pressure gage, as well as
instructions and special adapters for inflating things like
an air mattress or a basketball.
Accessory Power Outlet
On models with the overhead console, there is a 12-volt
ignition-fed outlet. Slide the cover
aside to access
the outlet.
2-56
ProCarManuals.com