1997 NISSAN QUEST brakes
[x] Cancel search: brakesPage 15 of 247
the ``Do-it-yourself operations'' section.
2. If the brake fluid level is correct, have the
warning system checked by your NIS-
SAN dealer.
WARNING
cYour brake system may not be work-
ing properly if the warning light is
on. Driving could be dangerous. If
you judge it to be safe, drive care-
fully to the nearest service station
for repairs. Otherwise, have your ve-
hicle towed.
cPressing the brake pedal with the
engine stopped and/or low brake
fluid level may increase your stop-
ping distance and braking will re-
quire greater pedal effort as well as
pedal travel.
cIf the brake fluid level is below the
minimum mark on the brake fluid
reservoir, do not drive until the brake
system has been checked at a NIS-
SAN dealer.
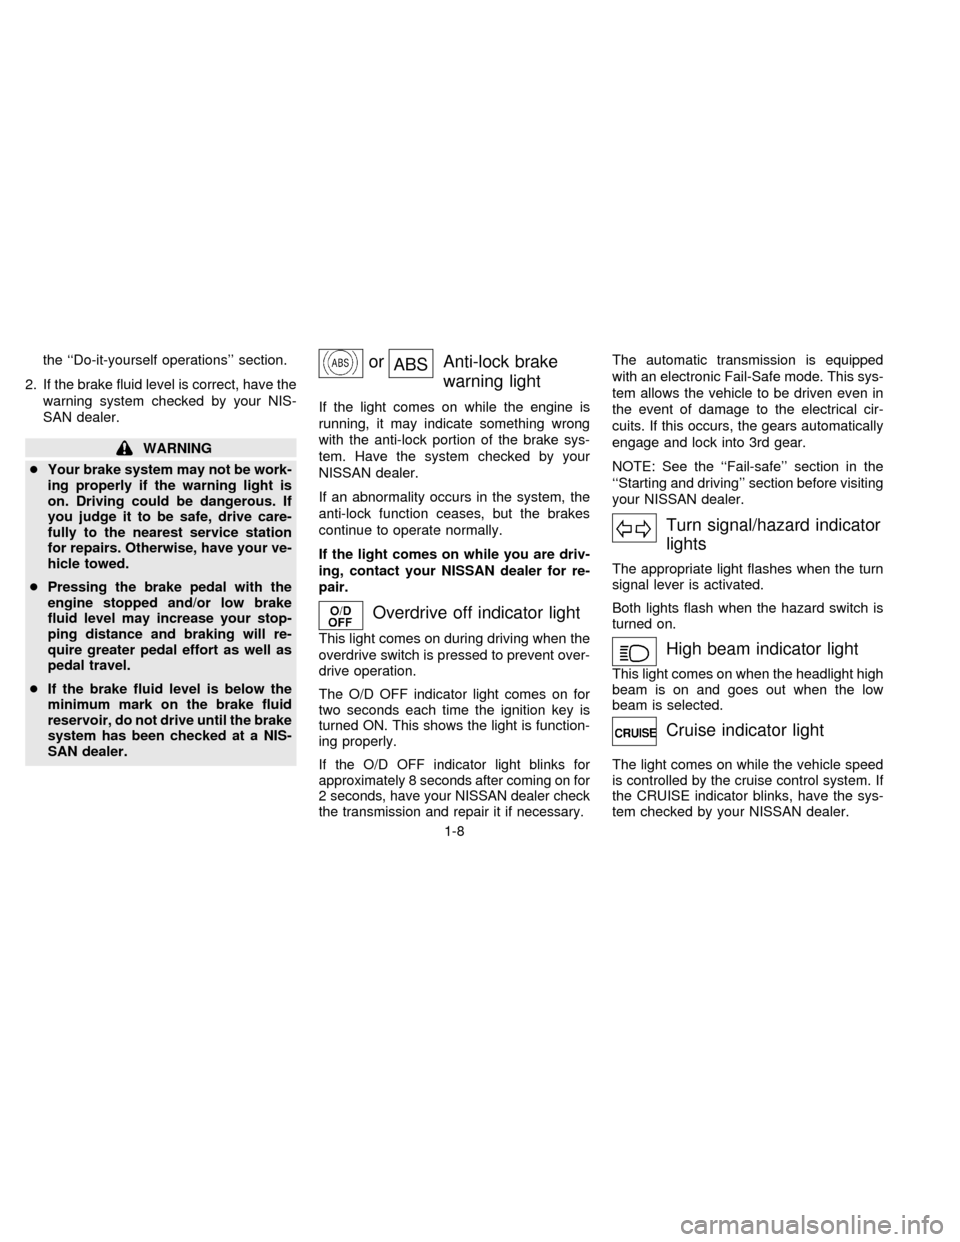
orABSAnti-lock brake
warning light
If the light comes on while the engine is
running, it may indicate something wrong
with the anti-lock portion of the brake sys-
tem. Have the system checked by your
NISSAN dealer.
If an abnormality occurs in the system, the
anti-lock function ceases, but the brakes
continue to operate normally.
If the light comes on while you are driv-
ing, contact your NISSAN dealer for re-
pair.
Overdrive off indicator light
This light comes on during driving when the
overdrive switch is pressed to prevent over-
drive operation.
The O/D OFF indicator light comes on for
two seconds each time the ignition key is
turned ON. This shows the light is function-
ing properly.
If the O/D OFF indicator light blinks for
approximately 8 seconds after coming on for
2 seconds, have your NISSAN dealer check
the transmission and repair it if necessary.
The automatic transmission is equipped
with an electronic Fail-Safe mode. This sys-
tem allows the vehicle to be driven even in
the event of damage to the electrical cir-
cuits. If this occurs, the gears automatically
engage and lock into 3rd gear.
NOTE: See the ``Fail-safe'' section in the
``Starting and driving'' section before visiting
your NISSAN dealer.
Turn signal/hazard indicator
lights
The appropriate light flashes when the turn
signal lever is activated.
Both lights flash when the hazard switch is
turned on.
High beam indicator light
This light comes on when the headlight high
beam is on and goes out when the low
beam is selected.
Cruise indicator light
The light comes on while the vehicle speed
is controlled by the cruise control system. If
the CRUISE indicator blinks, have the sys-
tem checked by your NISSAN dealer.
1-8
ZX
Page 16 of 247
Key reminder chime
The chime sounds if the driver's or passen-
ger's door is opened while the key is left in
the ignition switch. Remove the key and
take it with you when leaving the vehicle.
Light reminder chime
A chime sounds when the driver's or pas-
senger's door is opened if the headlight
control switch is turned on (ignition switch is
turned OFF).
Turn the headlight control switch to OFF
when you leave the vehicle.
Brake pad wear warning
The disc brake pads have audible wear
warnings. When a brake pad requires re-
placement, it makes a high pitched scraping
sound when the vehicle is in motion whether
or not the brake pedal is depressed. Have
the brakes checked as soon as possible if
the warning sound is heard.
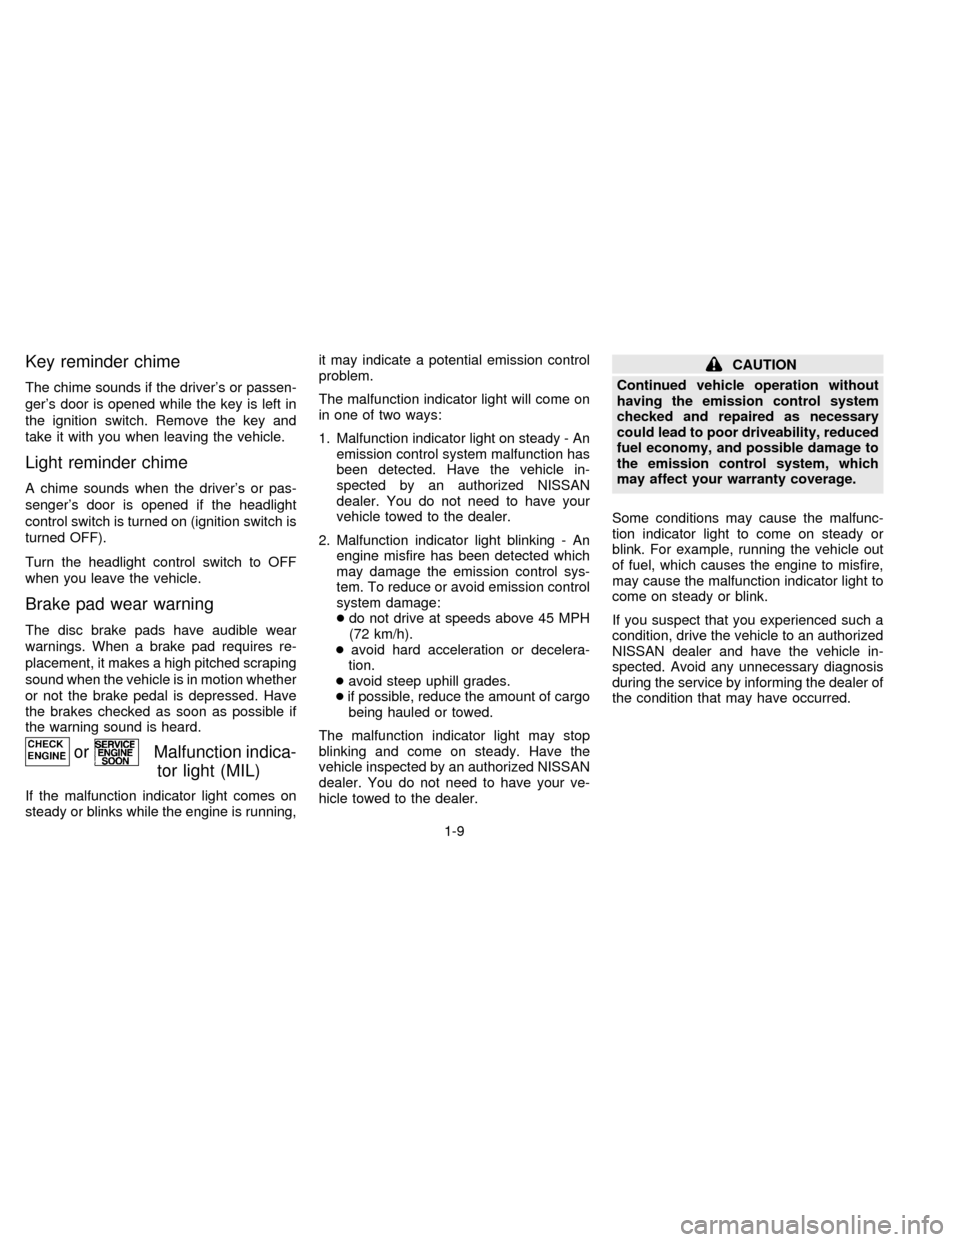
orMalfunction indica-
tor light (MIL)
If the malfunction indicator light comes on
steady or blinks while the engine is running,it may indicate a potential emission control
problem.
The malfunction indicator light will come on
in one of two ways:
1. Malfunction indicator light on steady - An
emission control system malfunction has
been detected. Have the vehicle in-
spected by an authorized NISSAN
dealer. You do not need to have your
vehicle towed to the dealer.
2. Malfunction indicator light blinking - An
engine misfire has been detected which
may damage the emission control sys-
tem. To reduce or avoid emission control
system damage:
cdo not drive at speeds above 45 MPH
(72 km/h).
cavoid hard acceleration or decelera-
tion.
cavoid steep uphill grades.
cif possible, reduce the amount of cargo
being hauled or towed.
The malfunction indicator light may stop
blinking and come on steady. Have the
vehicle inspected by an authorized NISSAN
dealer. You do not need to have your ve-
hicle towed to the dealer.
CAUTION
Continued vehicle operation without
having the emission control system
checked and repaired as necessary
could lead to poor driveability, reduced
fuel economy, and possible damage to
the emission control system, which
may affect your warranty coverage.
Some conditions may cause the malfunc-
tion indicator light to come on steady or
blink. For example, running the vehicle out
of fuel, which causes the engine to misfire,
may cause the malfunction indicator light to
come on steady or blink.
If you suspect that you experienced such a
condition, drive the vehicle to an authorized
NISSAN dealer and have the vehicle in-
spected. Avoid any unnecessary diagnosis
during the service by informing the dealer of
the condition that may have occurred.
1-9
ZX
Page 145 of 247
CAUTION
When stopping the vehicle on an uphill
grade, do not hold the vehicle by de-
pressing the accelerator pedal. The
foot brakes should be used for this
purpose.
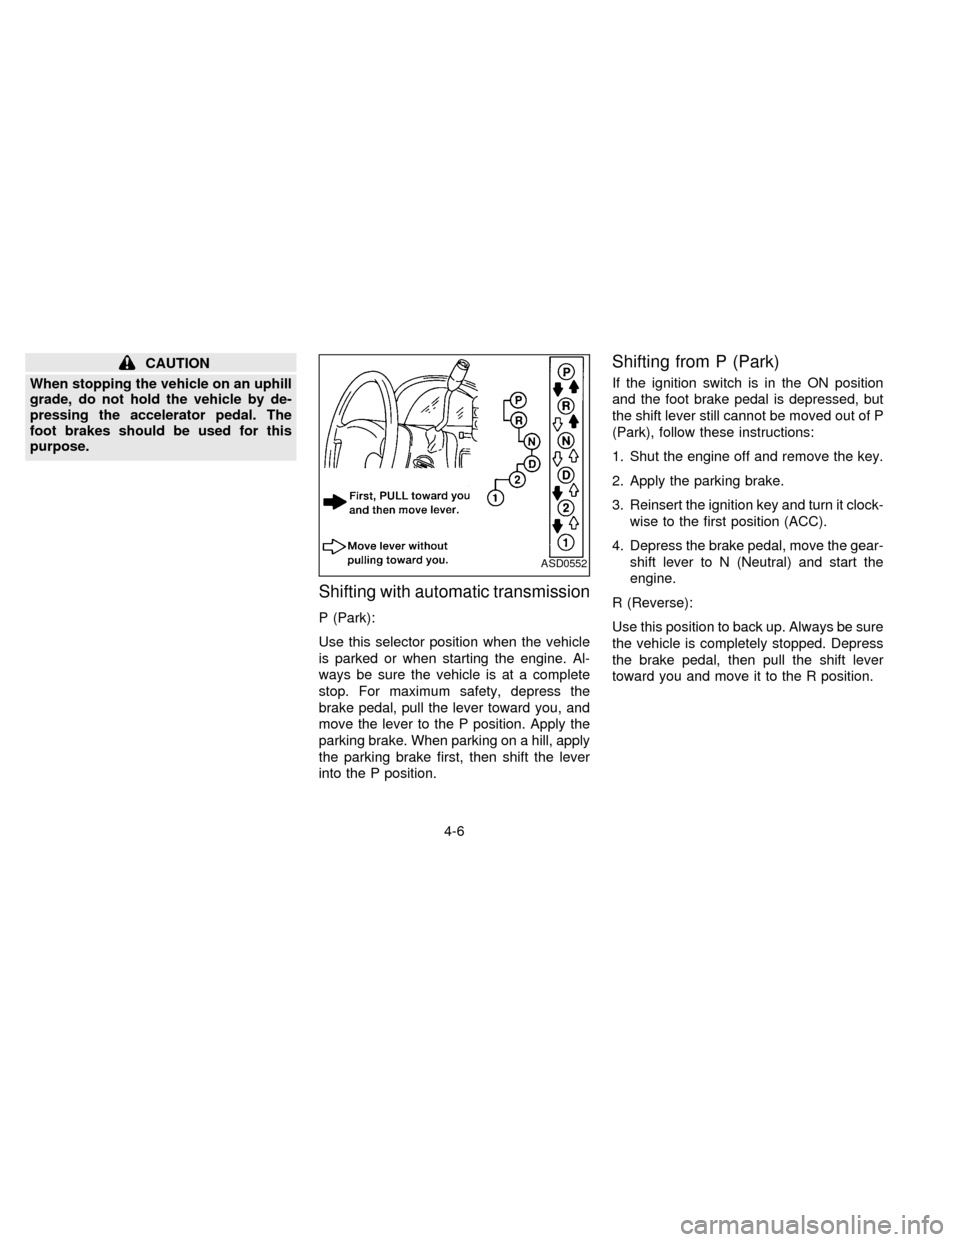
Shifting with automatic transmission
P (Park):
Use this selector position when the vehicle
is parked or when starting the engine. Al-
ways be sure the vehicle is at a complete
stop. For maximum safety, depress the
brake pedal, pull the lever toward you, and
move the lever to the P position. Apply the
parking brake. When parking on a hill, apply
the parking brake first, then shift the lever
into the P position.
Shifting from P (Park)
If the ignition switch is in the ON position
and the foot brake pedal is depressed, but
the shift lever still cannot be moved out of P
(Park), follow these instructions:
1. Shut the engine off and remove the key.
2. Apply the parking brake.
3. Reinsert the ignition key and turn it clock-
wise to the first position (ACC).
4. Depress the brake pedal, move the gear-
shift lever to N (Neutral) and start the
engine.
R (Reverse):
Use this position to back up. Always be sure
the vehicle is completely stopped. Depress
the brake pedal, then pull the shift lever
toward you and move it to the R position.
ASD0552
4-6
ZX
Page 153 of 247
The power assisted steering is designed to
use a hydraulic pump, driven by the engine,
to aid steering.
If the engine stops or the drive belt breaks,
you still have control of the vehicle. How-
ever, much greater steering effort is
needed, especially in sharp turns or at low
speeds.The brake system has two separate hydrau-
lic circuits. If one circuit develops a problem
you will still have braking at two wheels.
Vacuum assisted brake
The brake booster aids braking by using
engine vacuum. If the engine stops, you can
stop the vehicle by depressing the brake
pedal. However, greater foot pressure on
the brake pedal is required to stop the
vehicle, and the stopping distance is longer.
Wet brakes
When the vehicle is washed or driven
through water, the brakes may get wet. As a
result, your braking distance is longer and
the vehicle may pull to one side during
braking.
To dry brakes, drive the vehicle at a safe
speed while lightly pressing the brake pedal
to heat up the brakes. Do this until the
brakes return to normal. Avoid driving the
vehicle at high speeds until the brakes
function correctly.
Using the brakes
Avoid resting your foot on the brake pedal
while driving. This overheats the brakes,
wears out the brake linings and pads fasterand reduces gas mileage.
To help save the brakes and to prevent the
brakes from overheating, reduce speed and
downshift to a lower gear before going down
a slope or long grade. Overheated brakes
may reduce braking performance and could
result in loss of vehicle control.
WARNING
While driving on a slippery surface, be
careful when braking, accelerating or
downshifting. Abrupt braking actions
or sudden acceleration could cause the
wheels to skid and result in an acci-
dent.
POWER STEERING SYSTEM BRAKE SYSTEM
4-14
ZX
Page 154 of 247
The anti-lock brake system controls the
brakes at each wheel so the wheels do not
lock when braking abruptly or when braking
on slippery surfaces. The system detects the
rotation speed at each wheel and varies the
brake fluid pressure to prevent each wheel
from locking and sliding. By preventing wheel
lockup, the system helps the driver maintain
steering control and helps to minimize swerv-
ing and spinning on slippery surfaces.
Using the system
Depress the brake pedal and hold it down.
WARNING
Do not pump the brake pedal. Doing so
may result in increased stopping dis-
tances.
Normal operation
The anti-lock brake system does not operate
at speeds below 3 to 6 MPH (5 to 10 km/h) to
completely stop the vehicle. (The speeds vary
according to road conditions.) When the anti-
lock system senses one or more wheels are
close to locking up, the actuator (under the
hood) rapidly applies and releases hydraulic
pressure (like pumping the brakes veryquickly). While the actuator is working, you
may feel a pulsation in the brake pedal and
hear a noise or vibration from the actuator
under the hood. This is normal and indicates
the anti-lock system is working properly. How-
ever, the pulsation may indicate road condi-
tions are hazardous and extra care is required
while driving.
Self-test feature
The anti-lock brake system consists of elec-
tronic sensors, electric pumps, and hydraulic
solenoids controlled by a computer. The com-
puter has a built-in diagnostic feature that
tests the system each time you start the
engine and move the vehicle at a low speed in
forward or reverse. When the self-test occurs,
you may hear a ``clunk'' noise and/or feel a
pulsation in the brake pedal. This is normal
and is not an indication of any malfunction. If
the computer senses any malfunction, it
switches the anti-lock brake system OFF and
turns on the ABS brake warning light in the
dashboard. The brake system then operates
normally, but without anti-lock assistance.
If the light comes on during the self-test, or
while driving, take your vehicle to your NIS-
SAN dealer for repair at your earliest conve-
nience.
WARNING
The anti-lock brake system is a sophis-
ticated device, but it cannot prevent
accidents resulting from careless or
dangerous driving techniques. It can
help maintain vehicle control during
braking on slippery surfaces, but re-
member that the stopping distance on
slippery surfaces will be longer than on
normal surfaces, even with the anti-
lock system. Stopping distances may
also be longer on rough, gravel or
snow covered roads, or if you are using
tire chains. Always maintain a safe dis-
tance from the vehicle in front of you.
Ultimately, the responsibility for safety
of self and others rests in the hands of
the driver.
Tire type and condition of tires may
also affect braking effectiveness.
cWhen replacing tires, install the
specified size of tires on all 4 wheels.
ANTI-LOCK BRAKE SYSTEM
(ABS) (if so equipped)
4-15
ZX
Page 193 of 247
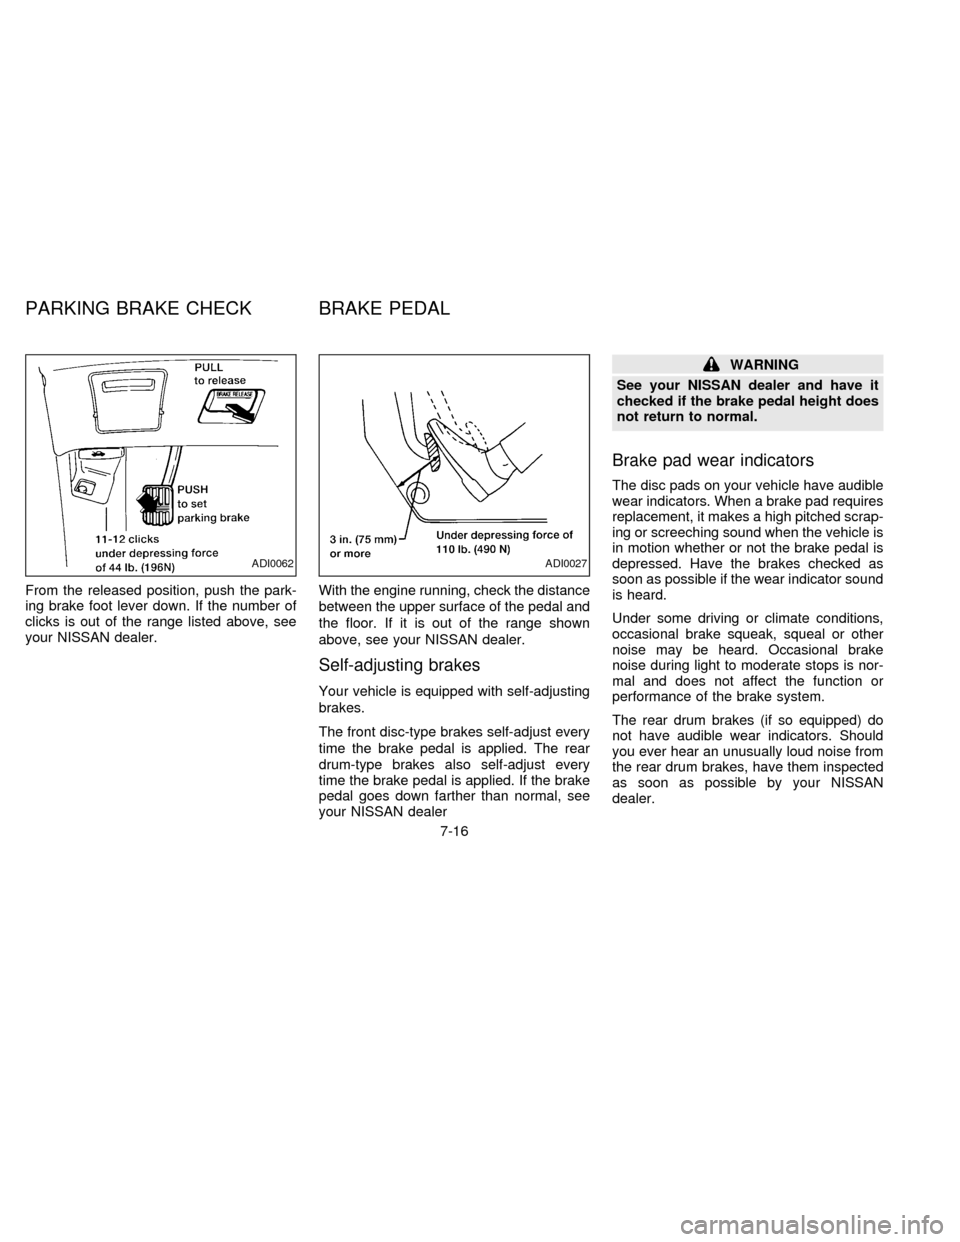
From the released position, push the park-
ing brake foot lever down. If the number of
clicks is out of the range listed above, see
your NISSAN dealer.With the engine running, check the distance
between the upper surface of the pedal and
the floor. If it is out of the range shown
above, see your NISSAN dealer.
Self-adjusting brakes
Your vehicle is equipped with self-adjusting
brakes.
The front disc-type brakes self-adjust every
time the brake pedal is applied. The rear
drum-type brakes also self-adjust every
time the brake pedal is applied. If the brake
pedal goes down farther than normal, see
your NISSAN dealer
WARNING
See your NISSAN dealer and have it
checked if the brake pedal height does
not return to normal.
Brake pad wear indicators
The disc pads on your vehicle have audible
wear indicators. When a brake pad requires
replacement, it makes a high pitched scrap-
ing or screeching sound when the vehicle is
in motion whether or not the brake pedal is
depressed. Have the brakes checked as
soon as possible if the wear indicator sound
is heard.
Under some driving or climate conditions,
occasional brake squeak, squeal or other
noise may be heard. Occasional brake
noise during light to moderate stops is nor-
mal and does not affect the function or
performance of the brake system.
The rear drum brakes (if so equipped) do
not have audible wear indicators. Should
you ever hear an unusually loud noise from
the rear drum brakes, have them inspected
as soon as possible by your NISSAN
dealer.
ADI0062ADI0027
PARKING BRAKE CHECK BRAKE PEDAL
7-16
ZX
Page 194 of 247
Proper brake inspection intervals should
be followed.For more information regard-
ing brake inspections, see the appropriate
maintenance schedule information in the
``Maintenance schedule'' section of this
manual.Check the brake booster function as fol-
lows:
1. With the engine off, press and release
the brake pedal several times. When
brake pedal movement (distance of
travel) remains the same from one pedal
application to the next, continue on to the
next step.
2. While depressing the brake pedal, start
the engine. The pedal height should drop
a little.
3. With the brake pedal depressed, turn the
engine off. Keep the pedal depressed for
about 30 seconds; the pedal height
should not change.
4. Run the engine for one minute without
depressing the brake pedal, then turn it
off. Depress the brake pedal several
times. The pedal travel distance will de-
crease gradually with each depression
as the vacuum is released from the
booster.
If the brakes do not operate properly, see
your NISSAN dealer.
Engine compartment
(headlight fuses)
CAUTION
Never use a fuse of a higher amperage
rating than that specified on the fuse
box cover. This could damage the elec-
trical system or cause a fire.
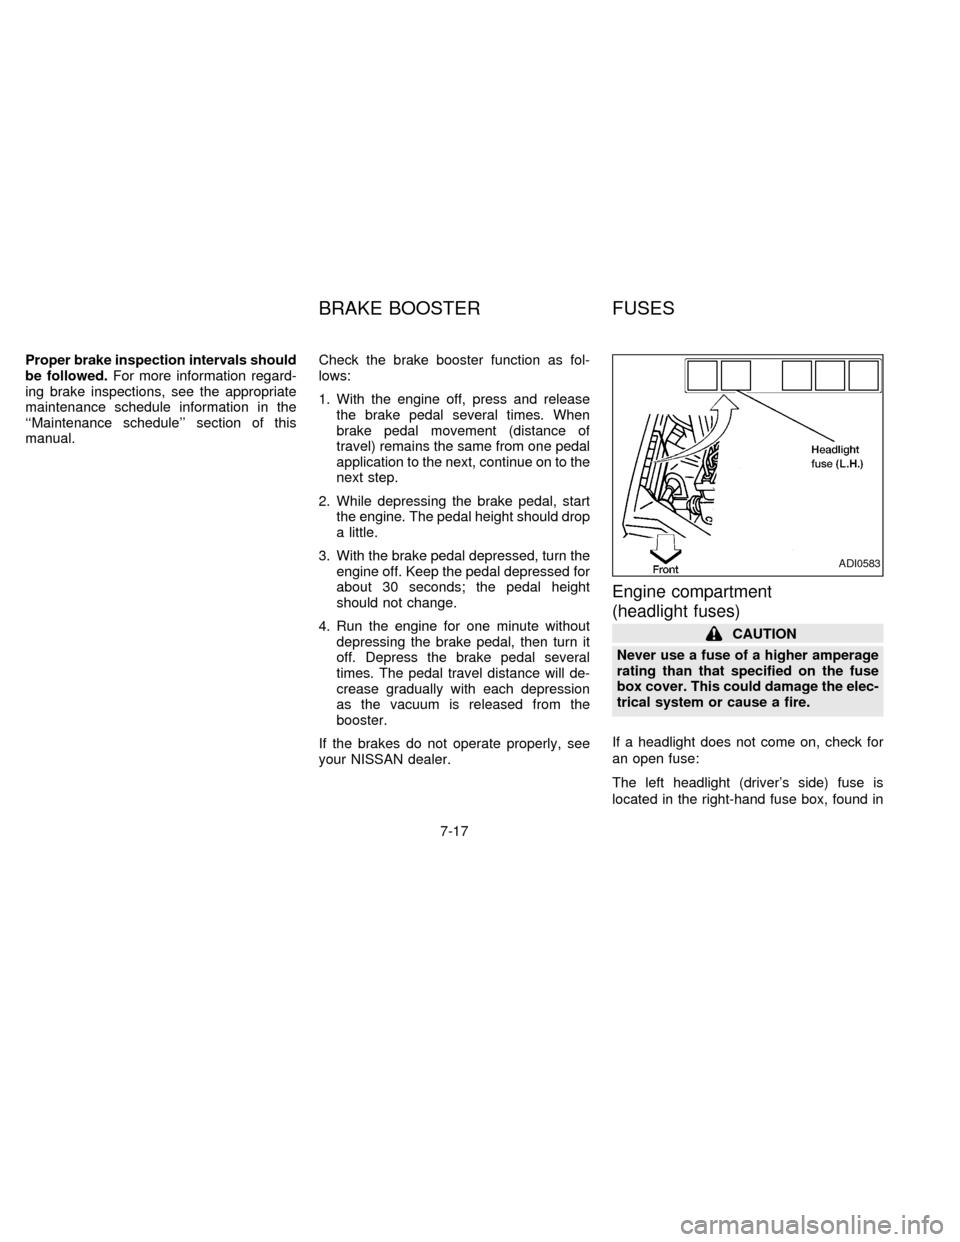
If a headlight does not come on, check for
an open fuse:
The left headlight (driver's side) fuse is
located in the right-hand fuse box, found in
ADI0583
BRAKE BOOSTER FUSES
7-17
ZX
Page 210 of 247

make sure no nuts are missing, and check
for any loose nuts. Tighten if necessary.
Tire rotation*Ð Tires should be rotated
every 7,500 miles (12,000 km).
Wheel alignment and balanceÐIfthe
vehicle should pull to either side while driv-
ing on a straight and level road, or if you
detect uneven or abnormal tire wear, there
may be a need for wheel alignment.
If the steering wheel or seat vibrates at
normal highway speeds, wheel balancing
may be needed.
Windshield wiper blades*Ð Check for
cracks or wear if they do not wipe properly.
Doors and engine hoodÐ Check that all
doors and the engine hood operate prop-
erly. Also ensure that all latches lock se-
curely. Lubricate hinges, latches, rollers and
links if necessary. Make sure the secondary
latch keeps the hood from opening when
the primary latch is released.
When driving in areas using road salt or
other corrosive materials, check lubrication
frequently.INSIDE THE VEHICLE
The maintenance items listed here should
be checked on a regular basis, such as
when performing periodic maintenance,
cleaning the vehicle, etc.
Lights*Ð Make sure the headlights, stop
lights, tail lights, turn signal lights, and other
lights are all operating properly and installed
securely. Also check headlight aim.
Warning lights and buzzers/chimesÐ
Make sure all warning lights and
buzzers/chimes are operating properly.
Windshield wiper and washer*Ð Check
that the wipers and washer operate properly
and that the wipers do not streak.
Windshield defrosterÐ Check that the air
comes out of the defroster outlets properly
and in sufficient quantity when operating the
heater or air conditioner.
Steering wheelÐ Check for changes in
the steering conditions, such as excessive
freeplay, hard steering or strange noises.
SeatsÐ Check seat position controls such
as seat adjusters, seatback recliner, etc. to
ensure they operate smoothly and all
latches lock securely in every position.Check that the head restraints move up and
down smoothly and the locks hold securely
in all latched positions. Check that the seat
leg latches lock securely in every anchor
position for the folding down rear seat and
detachable rear seat (if so equipped).
Seat beltsÐ Check that all parts of the seat
belt system (e.g. buckles, anchors, adjust-
ers and retractors) operate properly and
smoothly, and are installed securely. Check
the belt webbing for cuts, fraying, wear or
damage.
Accelerator pedalÐ Check the pedal for
smooth operation and make sure the pedal
does not catch or require uneven effort.
Keep the floor mats away from the pedal.
BrakesÐ Check that the brakes do not pull
the vehicle to one side when applied.
Brake pedal*Ð Check the pedal for
smooth operation and make sure it has the
proper distance under it when depressed
fully. Check the brake booster function. Be
certain to keep floor mats away from the
pedal.
Parking brake*Ð Check that the pedal is
adjusted to specification and confirm that
your vehicle is held securely on a fairly
8-3
ZX