1997 NISSAN QUEST check engine light
[x] Cancel search: check engine lightPage 13 of 247
Checking bulbs
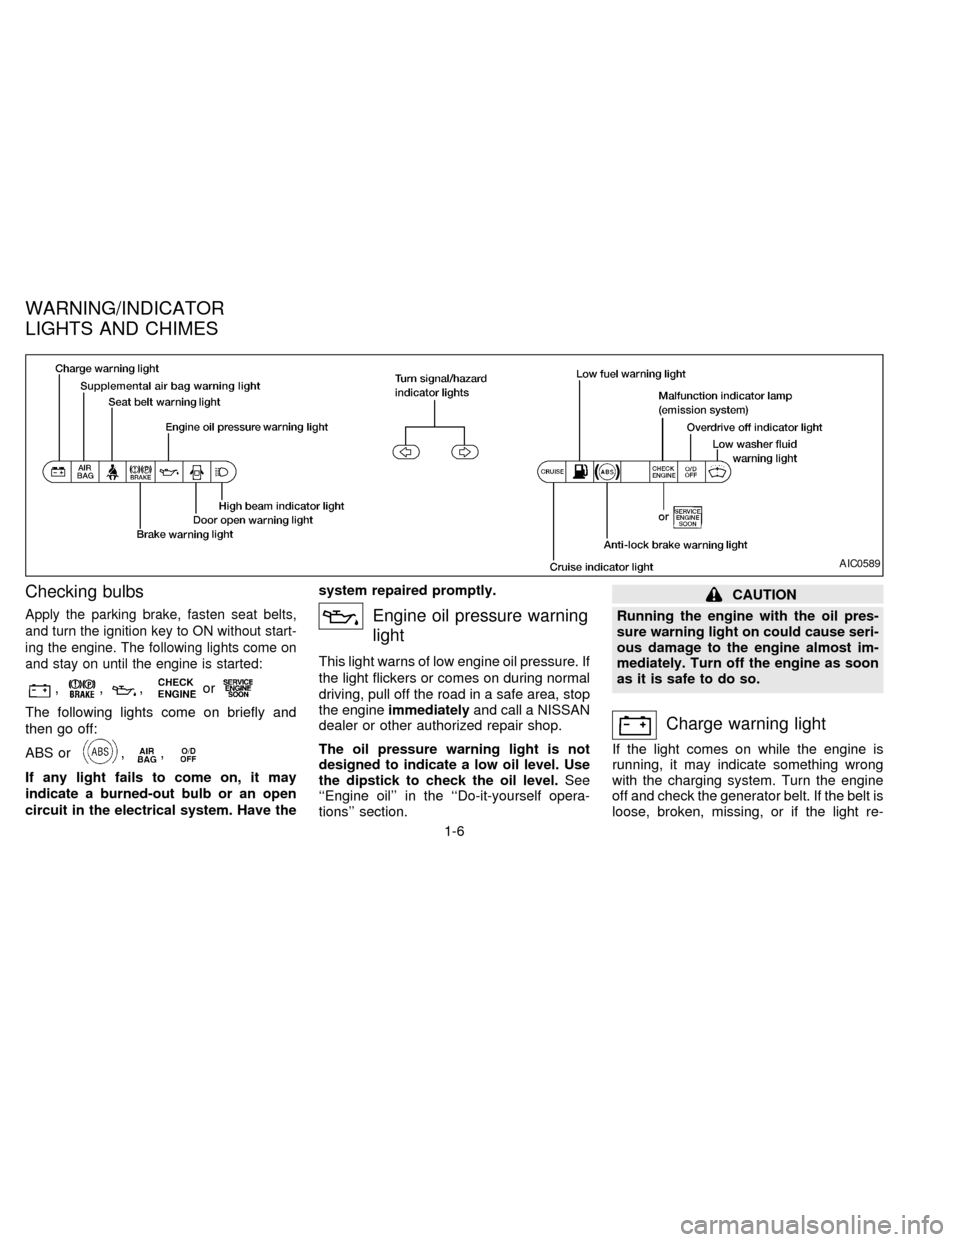
Apply the parking brake, fasten seat belts,
and turn the ignition key to ON without start-
ing the engine. The following lights come on
and stay on until the engine is started:
,,,or
The following lights come on briefly and
then go off:
ABS or
,,
If any light fails to come on, it may
indicate a burned-out bulb or an open
circuit in the electrical system. Have thesystem repaired promptly.
Engine oil pressure warning
light
This light warns of low engine oil pressure. If
the light flickers or comes on during normal
driving, pull off the road in a safe area, stop
the engineimmediatelyand call a NISSAN
dealer or other authorized repair shop.
The oil pressure warning light is not
designed to indicate a low oil level. Use
the dipstick to check the oil level.See
``Engine oil'' in the ``Do-it-yourself opera-
tions'' section.
CAUTION
Running the engine with the oil pres-
sure warning light on could cause seri-
ous damage to the engine almost im-
mediately. Turn off the engine as soon
as it is safe to do so.
Charge warning light
If the light comes on while the engine is
running, it may indicate something wrong
with the charging system. Turn the engine
off and check the generator belt. If the belt is
loose, broken, missing, or if the light re-
AIC0589
WARNING/INDICATOR
LIGHTS AND CHIMES
1-6
ZX
Page 14 of 247
mains on, see your NISSAN dealer imme-
diately.
CAUTION
Do not continue driving if the belt is
loose, broken or missing.
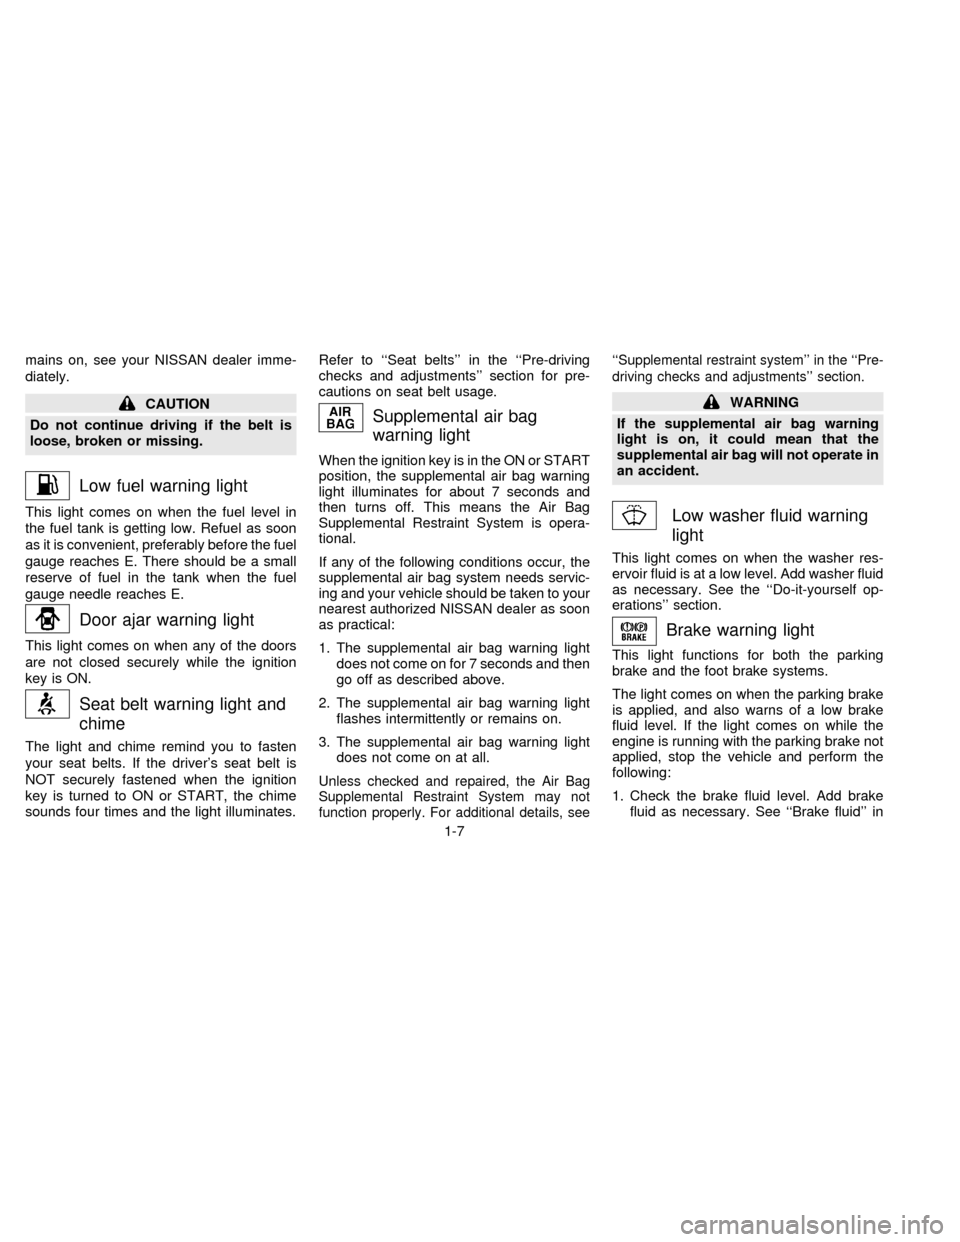
Low fuel warning light
This light comes on when the fuel level in
the fuel tank is getting low. Refuel as soon
as it is convenient, preferably before the fuel
gauge reaches E. There should be a small
reserve of fuel in the tank when the fuel
gauge needle reaches E.
Door ajar warning light
This light comes on when any of the doors
are not closed securely while the ignition
key is ON.
Seat belt warning light and
chime
The light and chime remind you to fasten
your seat belts. If the driver's seat belt is
NOT securely fastened when the ignition
key is turned to ON or START, the chime
sounds four times and the light illuminates.Refer to ``Seat belts'' in the ``Pre-driving
checks and adjustments'' section for pre-
cautions on seat belt usage.
Supplemental air bag
warning light
When the ignition key is in the ON or START
position, the supplemental air bag warning
light illuminates for about 7 seconds and
then turns off. This means the Air Bag
Supplemental Restraint System is opera-
tional.
If any of the following conditions occur, the
supplemental air bag system needs servic-
ing and your vehicle should be taken to your
nearest authorized NISSAN dealer as soon
as practical:
1. The supplemental air bag warning light
does not come on for 7 seconds and then
go off as described above.
2. The supplemental air bag warning light
flashes intermittently or remains on.
3. The supplemental air bag warning light
does not come on at all.
Unless checked and repaired, the Air Bag
Supplemental Restraint System may not
function properly. For additional details, see``Supplemental restraint system'' in the ``Pre-
driving checks and adjustments'' section.
WARNING
If the supplemental air bag warning
light is on, it could mean that the
supplemental air bag will not operate in
an accident.
Low washer fluid warning
light
This light comes on when the washer res-
ervoir fluid is at a low level. Add washer fluid
as necessary. See the ``Do-it-yourself op-
erations'' section.
Brake warning light
This light functions for both the parking
brake and the foot brake systems.
The light comes on when the parking brake
is applied, and also warns of a low brake
fluid level. If the light comes on while the
engine is running with the parking brake not
applied, stop the vehicle and perform the
following:
1. Check the brake fluid level. Add brake
fluid as necessary. See ``Brake fluid'' in
1-7
ZX
Page 15 of 247
the ``Do-it-yourself operations'' section.
2. If the brake fluid level is correct, have the
warning system checked by your NIS-
SAN dealer.
WARNING
cYour brake system may not be work-
ing properly if the warning light is
on. Driving could be dangerous. If
you judge it to be safe, drive care-
fully to the nearest service station
for repairs. Otherwise, have your ve-
hicle towed.
cPressing the brake pedal with the
engine stopped and/or low brake
fluid level may increase your stop-
ping distance and braking will re-
quire greater pedal effort as well as
pedal travel.
cIf the brake fluid level is below the
minimum mark on the brake fluid
reservoir, do not drive until the brake
system has been checked at a NIS-
SAN dealer.
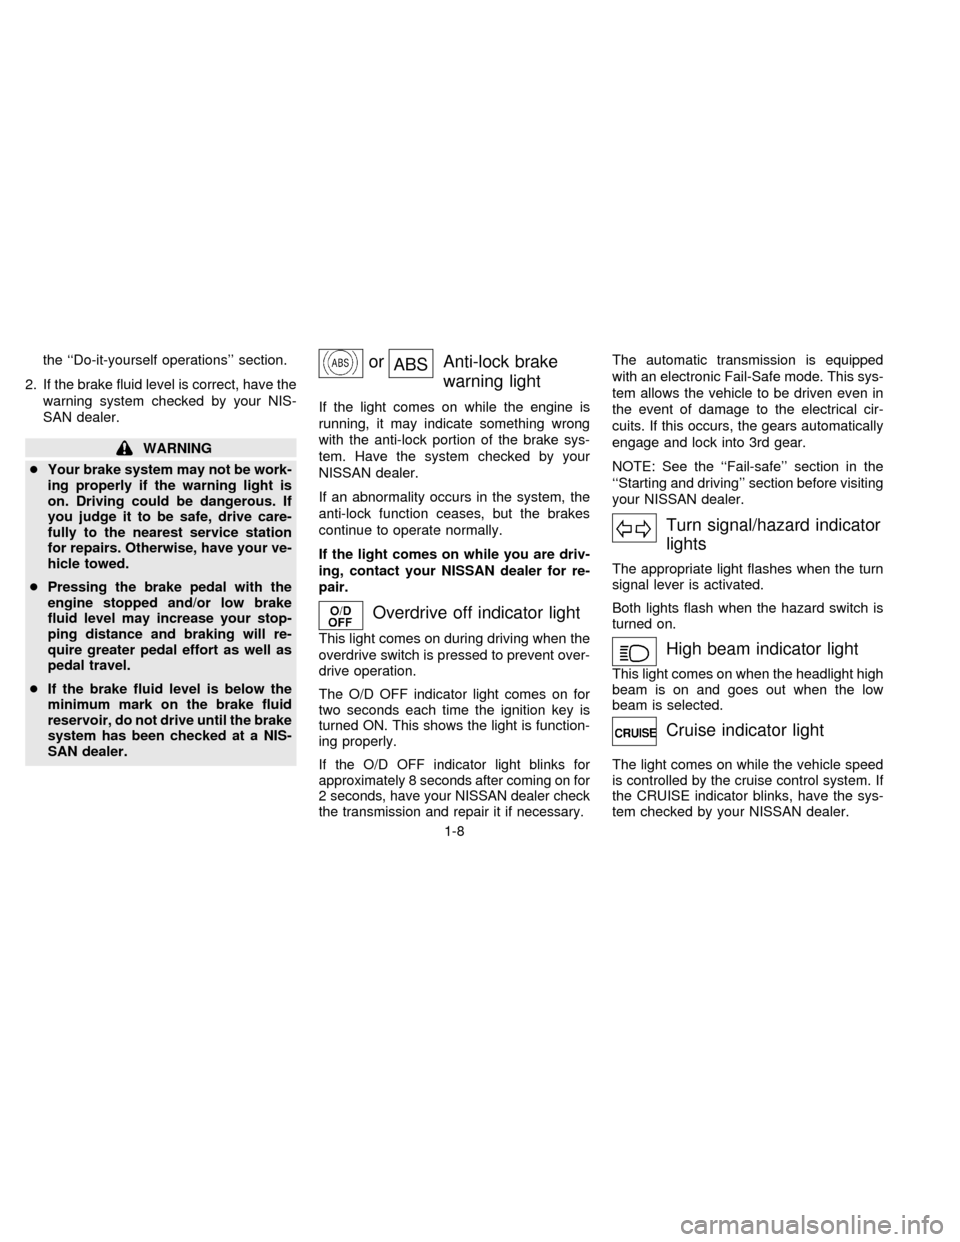
orABSAnti-lock brake
warning light
If the light comes on while the engine is
running, it may indicate something wrong
with the anti-lock portion of the brake sys-
tem. Have the system checked by your
NISSAN dealer.
If an abnormality occurs in the system, the
anti-lock function ceases, but the brakes
continue to operate normally.
If the light comes on while you are driv-
ing, contact your NISSAN dealer for re-
pair.
Overdrive off indicator light
This light comes on during driving when the
overdrive switch is pressed to prevent over-
drive operation.
The O/D OFF indicator light comes on for
two seconds each time the ignition key is
turned ON. This shows the light is function-
ing properly.
If the O/D OFF indicator light blinks for
approximately 8 seconds after coming on for
2 seconds, have your NISSAN dealer check
the transmission and repair it if necessary.
The automatic transmission is equipped
with an electronic Fail-Safe mode. This sys-
tem allows the vehicle to be driven even in
the event of damage to the electrical cir-
cuits. If this occurs, the gears automatically
engage and lock into 3rd gear.
NOTE: See the ``Fail-safe'' section in the
``Starting and driving'' section before visiting
your NISSAN dealer.
Turn signal/hazard indicator
lights
The appropriate light flashes when the turn
signal lever is activated.
Both lights flash when the hazard switch is
turned on.
High beam indicator light
This light comes on when the headlight high
beam is on and goes out when the low
beam is selected.
Cruise indicator light
The light comes on while the vehicle speed
is controlled by the cruise control system. If
the CRUISE indicator blinks, have the sys-
tem checked by your NISSAN dealer.
1-8
ZX
Page 16 of 247
Key reminder chime
The chime sounds if the driver's or passen-
ger's door is opened while the key is left in
the ignition switch. Remove the key and
take it with you when leaving the vehicle.
Light reminder chime
A chime sounds when the driver's or pas-
senger's door is opened if the headlight
control switch is turned on (ignition switch is
turned OFF).
Turn the headlight control switch to OFF
when you leave the vehicle.
Brake pad wear warning
The disc brake pads have audible wear
warnings. When a brake pad requires re-
placement, it makes a high pitched scraping
sound when the vehicle is in motion whether
or not the brake pedal is depressed. Have
the brakes checked as soon as possible if
the warning sound is heard.
orMalfunction indica-
tor light (MIL)
If the malfunction indicator light comes on
steady or blinks while the engine is running,it may indicate a potential emission control
problem.
The malfunction indicator light will come on
in one of two ways:
1. Malfunction indicator light on steady - An
emission control system malfunction has
been detected. Have the vehicle in-
spected by an authorized NISSAN
dealer. You do not need to have your
vehicle towed to the dealer.
2. Malfunction indicator light blinking - An
engine misfire has been detected which
may damage the emission control sys-
tem. To reduce or avoid emission control
system damage:
cdo not drive at speeds above 45 MPH
(72 km/h).
cavoid hard acceleration or decelera-
tion.
cavoid steep uphill grades.
cif possible, reduce the amount of cargo
being hauled or towed.
The malfunction indicator light may stop
blinking and come on steady. Have the
vehicle inspected by an authorized NISSAN
dealer. You do not need to have your ve-
hicle towed to the dealer.
CAUTION
Continued vehicle operation without
having the emission control system
checked and repaired as necessary
could lead to poor driveability, reduced
fuel economy, and possible damage to
the emission control system, which
may affect your warranty coverage.
Some conditions may cause the malfunc-
tion indicator light to come on steady or
blink. For example, running the vehicle out
of fuel, which causes the engine to misfire,
may cause the malfunction indicator light to
come on steady or blink.
If you suspect that you experienced such a
condition, drive the vehicle to an authorized
NISSAN dealer and have the vehicle in-
spected. Avoid any unnecessary diagnosis
during the service by informing the dealer of
the condition that may have occurred.
1-9
ZX
Page 144 of 247
cMake sure the area around the vehicle is
clear.
cMaintenance items listed here should be
checked periodically (for example, each
time you check engine oil).
cCheck that all windows and lights are
clean.
cVisually inspect tires for their appearance
and condition. Also check tires for proper
inflation.
cLock all doors.
cPosition seat and adjust head restraints.
cAdjust inside and outside mirrors.
cFasten seat belts and ask all passengers
to do likewise.
cCheck the operation of warning lights
when key is turned to the ON position.The automatic transmission in your vehicle
is electronically controlled by a microcom-
puter to produce maximum power and
smooth operation.
Shown on the following pages are the rec-
ommended operating procedures for this
transmission. Follow these procedures for
maximum vehicle performance and driving
enjoyment.
Starting the vehicle
cAfter starting the engine, fully depress the
foot brake pedal before shifting the selec-
tor lever to the R, N, D, 2 or 1 position. Be
sure the vehicle is fully stopped before
attempting to shift the selector lever.
This automatic transmission is designed
so the foot brake pedal MUST be de-
pressed before shifting from P to any drive
position while the ignition switch is ON.
The shift lever cannot be moved out of P
and into any of the other gear positions if
the ignition key is turned to ACC, LOCK,
or if the key is removed from the switch.
When the battery charge is low, the shift
lever can be moved if the ignition switch
is in the ACC position.1. Keep the foot brake pedal depressed and
shift into a driving gear.
2. Release the parking brake and foot
brake, then gradually start the vehicle in
motion.
WARNING
cDo not depress the accelerator pedal
while shifting from P or N to: R, D,
2 or 1. Always depress the brake
pedal until shifting is completed.
Failure to do so could cause you to
lose control and have an accident.
cCold engine idle speed is high, so
use caution when shifting into a for-
ward or reverse gear before the en-
gine has warmed up.
cNever shift to P or R while the ve-
hicle is moving. This could cause an
accident.
cOn slippery roads, do not downshift.
This may cause a loss of control.
BEFORE STARTING THE
ENGINEDRIVING WITH AN
AUTOMATIC TRANSMISSION
4-5
ZX
Page 146 of 247

N (Neutral):
Neither forward nor reverse gear is en-
gaged. The engine can be started in this
position. You may shift to N and restart a
stalled engine while the vehicle is moving.
D (Drive):
Use this position for all normal forward
driving.
2 (Second gear):
Use for hill climbing or engine braking on
downhill grades.
Do not downshift into 2 at speeds over 63
MPH (100 km/h). Do not exceed 63 MPH
(100 km/h) in 2.
1 (Low gear):
Use 1 when climbing steep hills slowly or
driving slowly through deep snow, sand or
mud, or for maximum engine braking on
steep downhill grades.
Do not exceed 38 MPH (60 km/h) in 1.
Do not shift into 1 at speeds over 38 MPH
(60 km/h).Accelerator downshift
Ð In D position Ð
For rapid passing or hill climbing, fully depress
the accelerator pedal to the floor. This shifts the
transmission down into third gear, second gear
or first gear, depending on the vehicle speed.
Fail-safe
When the Fail-safe operation occurs, the
next time the key is turned to the ON
position, the O/D OFF light blinks for ap-
proximately 8 seconds after coming on for 2
seconds. While the vehicle can be driven
under these circumstances, please note
that the gears in the automatic transmission
will be locked in 3rd gear.
NOTE: If the vehicle is driven under extreme
conditions, such as excessive wheel spinning
and subsequent hard braking, the Fail-safe
system may be activated. This will occur even
if all electrical circuits are functioning prop-
erly. In this case, turn the ignition key OFF
and wait for 3 seconds. Then turn the key
back to the ON position. The vehicle should
return to its normal operating condition. If it
does not return to its normal operating condi-
tion, have your NISSAN dealer check the
transmission and repair, if necessary.
OVERDRIVE SWITCH
Each time your vehicle is started, the trans-
mission is automatically ``reset'' to overdrive
ON.
ON: For normal driving the overdrive
switch is engaged. The transmission
is upshifted into overdrive as the
vehicle speed increases.
The overdrive does not engage until the
engine has warmed up.
OFF: For driving up and down long slopes
where engine ``braking'' would be
advantageous, push the overdrive
switch. The O/D OFF light illumi-
ASD0561
4-7
ZX
Page 178 of 247

7Do-it-yourself operations
Maintenance precautions .......................................7-2
Engine compartment check locations ....................7-3
Engine cooling system ...........................................7-4
Checking engine coolant level ...............................7-4
Changing engine coolant .......................................7-5
Engine oil ...............................................................7-5
Checking engine oil level .......................................7-5
Changing engine oil ...............................................7-6
Changing engine oil filter .......................................7-7
Automatic transmission fluid (ATF) ........................7-8
Temperature conditions for checking ATF .............7-8
Power steering fluid................................................7-9
Brake fluid ............................................................7-10
Window washer fluid ............................................7-10
Battery ..................................................................7-11
Jump starting ........................................................7-12Drive belts ............................................................7-12
Spark plug replacement .......................................7-12
Air cleaner housing filter ......................................7-13
Wiper blades ........................................................7-14
Parking brake check.............................................7-16
Brake pedal ..........................................................7-16
Brake booster .......................................................7-17
Fuses ....................................................................7-17
Fusible links..........................................................7-18
Light bulbs ............................................................7-19
Headlights ............................................................7-19
Bulb replacement .................................................7-21
Wheels and tires ..................................................7-25
Types of tires........................................................7-26
Tire chains ............................................................7-26
ZX
Page 184 of 247
Drain plug tightening torque:
22 to 29 ft-lb
(29 to 39 Nzm)
Do not use excessive force.
7. Refill the engine with a recommended oil
and install the cap securely. See the
``Technical and consumer information''
section for refill capacity.
8. Start the engine. Check for leakage
around the drain plug. Correct as re-
quired.
9. Turn the engine off and wait several
minutes. Check the oil level with the
dipstick. Add engine oil if necessary.
CHANGING ENGINE OIL FILTER
1. Park the vehicle on a level surface and
apply the parking brake.
2. Turn the engine off.
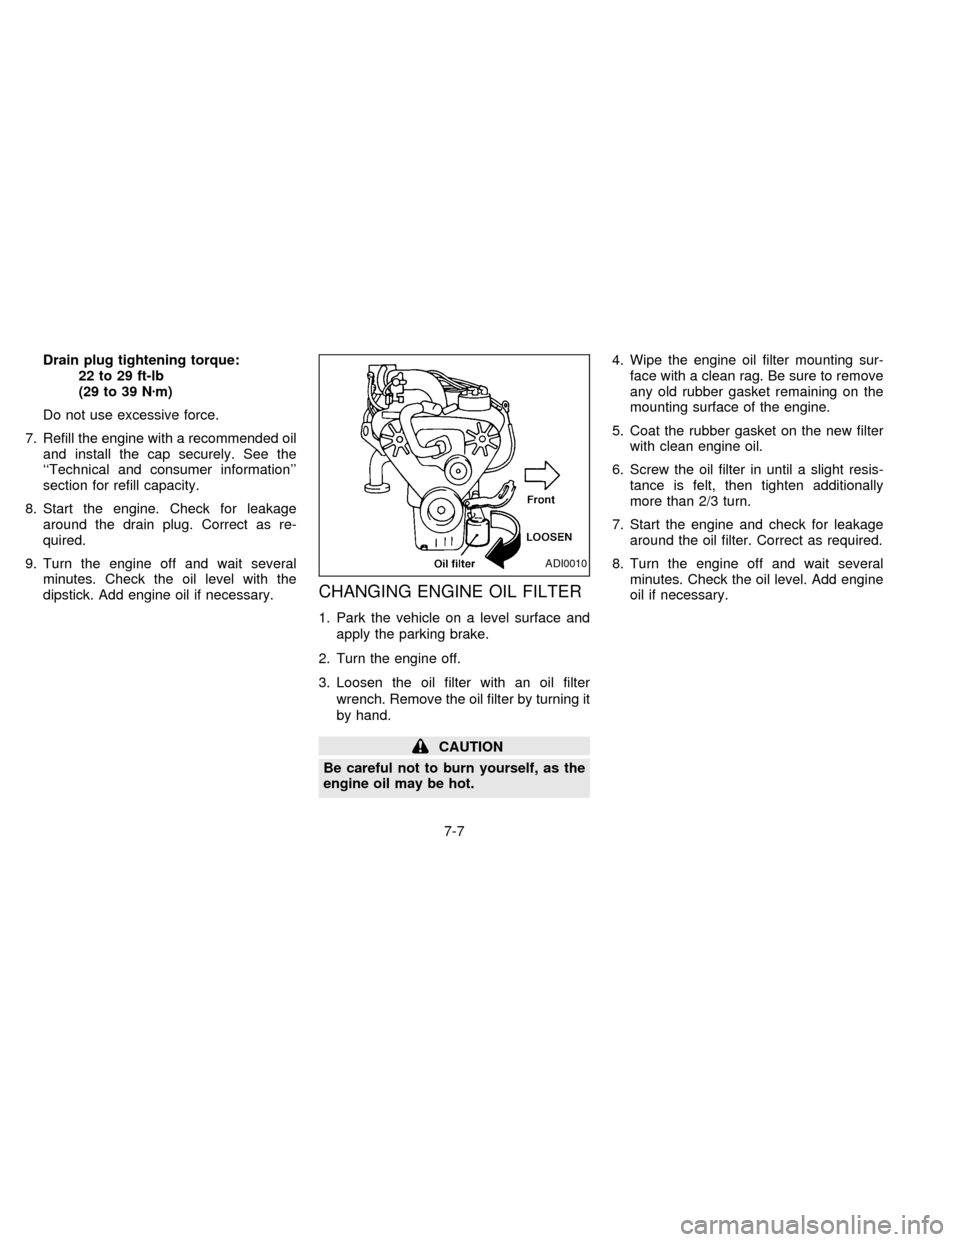
3. Loosen the oil filter with an oil filter
wrench. Remove the oil filter by turning it
by hand.
CAUTION
Be careful not to burn yourself, as the
engine oil may be hot.4. Wipe the engine oil filter mounting sur-
face with a clean rag. Be sure to remove
any old rubber gasket remaining on the
mounting surface of the engine.
5. Coat the rubber gasket on the new filter
with clean engine oil.
6. Screw the oil filter in until a slight resis-
tance is felt, then tighten additionally
more than 2/3 turn.
7. Start the engine and check for leakage
around the oil filter. Correct as required.
8. Turn the engine off and wait several
minutes. Check the oil level. Add engine
oil if necessary.
ADI0010
7-7
ZX