1997 MERCEDES-BENZ ML430 not starting
[x] Cancel search: not startingPage 690 of 4133
223
Malfunction and indicator lamps
Te ch n ica l
data
Instruments
and controls Operation Driving
Instrument
cluster display Practical hints Car care Index
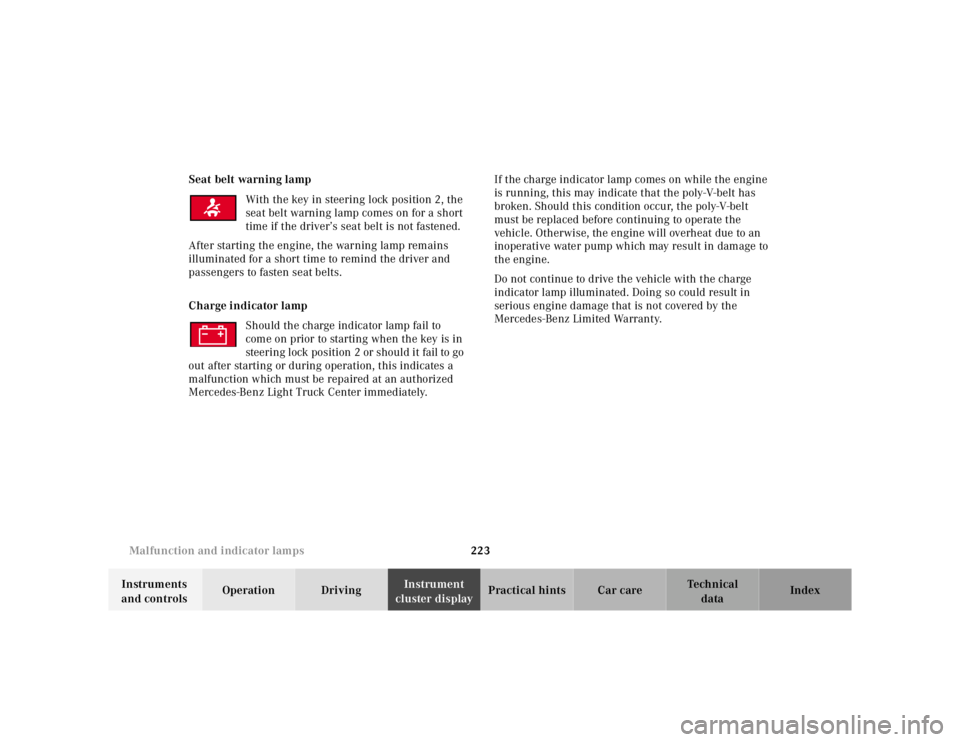
Seat belt warning lamp
With the key in steering lock position 2, the
seat belt warning lamp comes on for a short
time if the driver’s seat belt is not fastened.
After starting the engine, the warning lamp remains
illuminated for a short time to remind the driver and
passengers to fasten seat belts.
Charge indicator lamp Should the charge indicator lamp fail to
come on prior to starting when the key is in
steering lock position 2 or should it fail to go
out after starting or during operation, this indicates a
malfunction which must be repaired at an authorized
Mercedes-Benz Light Truck Center immediately. If the charge indicator lamp comes on while the engine
is running, this may indicate that the poly-V-belt has
broken. Should this condition occur, the poly-V-belt
must be replaced before continuing to operate the
vehicle. Otherwise, the engine will overheat due to an
inoperative water pump which may result in damage to
the engine.
Do not continue to drive the vehicle with the charge
indicator lamp illuminated. Doing so could result in
serious engine damage that is not covered by the
Mercedes-Benz Limited Warranty.
Page 691 of 4133
224
Malfunction and indicator lamps
Te ch n ica l
data
Instruments
and controls Operation Driving
Instrument
cluster display Practical hints Car care Index
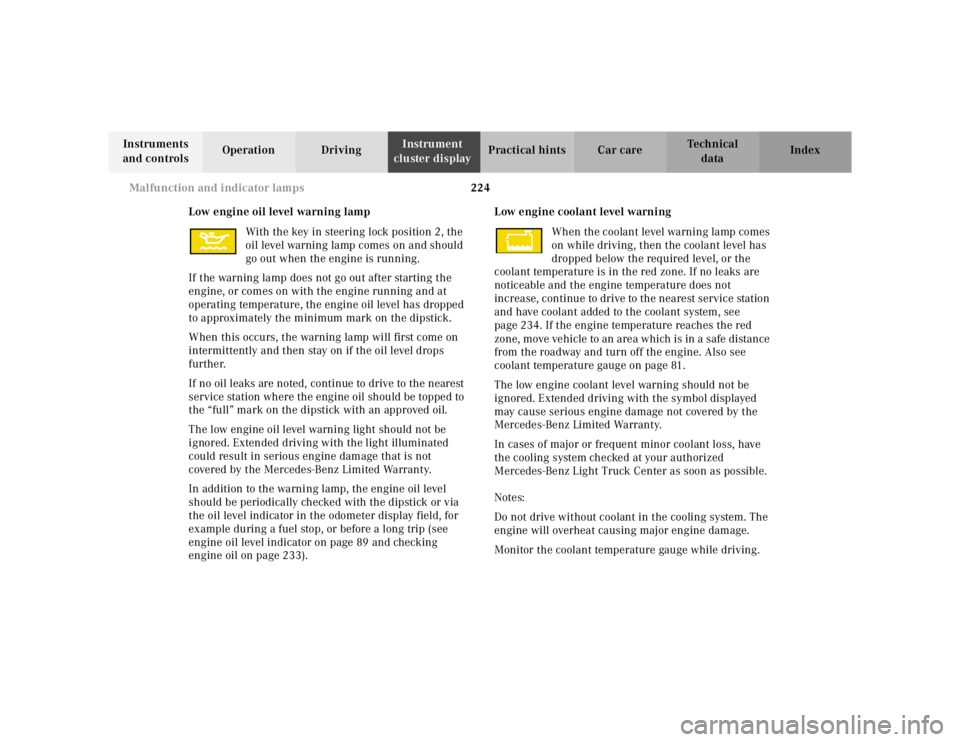
Low engine oil level warning lamp With the key in steering lock position 2, the
oil level warning lamp comes on and should
go out when the engine is running.
If the warning lamp does not go out after starting the
engine, or comes on with the engine running and at
operating temperature, the engine oil level has dropped
to approximately the minimum mark on the dipstick.
When this occurs, the warning lamp will first come on
intermittently and then stay on if the oil level drops
further.
If no oil leaks are noted, continue to drive to the nearest
service station where the engine oil should be topped to
the “full” mark on the dipstick with an approved oil.
The low engine oil level warning light should not be
ignored. Extended driving with the light illuminated
could result in serious engine damage that is not
covered by the Mercedes-Benz Limited Warranty.
In addition to the warning lamp, the engine oil level
should be periodically checked with the dipstick or via
the oil level indicator in the odometer display field, for
example during a fuel stop, or before a long trip (see
engine oil level indicator on page 89 and checking
engine oil on page 233). Low engine coolant level warning
When the coolant level warning lamp comes
on while driving, then the coolant level has
dropped below the required level, or the
coolant temperature is in the red zone. If no leaks are
noticeable and the engine temperature does not
increase, continue to drive to the nearest service station
and have coolant added to the coolant system, see
page 234. If the engine temperature reaches the red
zone, move vehicle to an area which is in a safe distance
from the roadway and turn off the engine. Also see
coolant temperature gauge on page 81.
The low engine coolant level warning should not be
ignored. Extended driving with the symbol displayed
may cause serious engine damage not covered by the
Mercedes-Benz Limited Warranty.
In cases of major or frequent minor coolant loss, have
the cooling system checked at your authorized
Mercedes-Benz Light Truck Center as soon as possible.
Notes:
Do not drive without coolant in the cooling system. The
engine will overheat causing major engine damage.
Monitor the coolant temperature gauge while driving.
Page 699 of 4133
232
Engine compartment
Te ch n ica l
data
Instruments
and controls Operation Driving
Instrument
cluster display Practical hints
Car care Index
Wa r n i n g !
To help prevent personal injury, stay clear of
moving parts when the hood is open and the engine
is running. Be sure the hood is properly closed
before driving. When closing hood, use extreme
caution not to catch hands or fingers.The radiator fan may continue to run for
approximately 30 seconds or even restart after the
engine has been turned off. Stay clear from fan
blades.
The engine is equipped with a transistorized
ignition system. Because of the high voltage it is
dangerous to touch any components (ignition coils,
spark plug sockets, diagnostic socket) of the
ignition system
• with the engine running,
• while starting the engine,
• if ignition is “on” and the engine is turned manually.If you see flames, steam or smoke coming from the
engine compartment, or if the coolant temperature
gauge indicates that the engine is overheated, do
not open the hood. Move away from vehicle and do
not open the hood until the engine has cooled. If
necessary, call a fire department.
Page 720 of 4133
253
Jump starting
Te ch n ica l
data
Instruments
and controls Operation Driving
Instrument
cluster display Practical hints
Car care Index
Jump starting
Important!
A discharged battery can freeze at approximately +14 °F
(–10 °C). In that case, it must be thawed out before
jumper cables are used. Attempting to jump start a
frozen battery can result in it exploding, causing
personal injury.
Jumper cable specifications:
• Minimum cable cross-section of 25 mm
2 or
approximately 2 AWG
• Maximum length of 11.5 ft. (3.5 m).
If the battery is discharged, the engine should be started
with jumper cables and the (12 V) battery of another
vehicle.
Only use 12 V battery to jump start your vehicle. Jump
starting with more powerful battery could damage the
vehicle’s electrical systems, which will not be covered
by the Mercedes-Benz Limited Warranty.
The battery is located in the engine compartment.
Wa r n i n g !
Failure to follow these directions will cause
damage to the electronic components, and can lead
to a battery explosion and severe injury or death.Never lean over batteries while connecting or jump
starting, you might get injured.Battery fluid contains sulfuric acid. Do not allow
this fluid to come in contact with eyes, skin or
clothing. In case it does, immediately flush affected
area with water, and seek medical help if
necessary.A battery will also produce hydrogen gas, which is
flammable and very explosive. Keep flames or
sparks away from battery, avoid improper
connection of jumper cables, smoking etc..Read all instructions before proceeding.
Page 721 of 4133

254
Jump starting
Te ch n ica l
data
Instruments
and controls Operation Driving
Instrument
cluster display Practical hints
Car care Index
Proceed as follows: 1. Position the vehicle with the charged battery so that the jumper cables will reach, but never let the
vehicles touch. Make sure the jumper cables do not
have loose or missing insulation.
2. On both vehicles: • Turn off engine and all lights and accessories,
except hazard warning flashers or work lights.
• Apply parking brake and shift selector lever to
position “P”.
Important!
3. Clamp one end of the first jumper cable to the positive (+) under hood terminal of the discharged
battery and the other end to the positive (+) terminal
of the charged battery. Make sure the cable clamps
do not touch any other metal parts.
4. Clamp one end of the second jumper cable to the grounded negative (–) terminal of the charged
battery and the final connection to the negative (–)
terminal of the discharged battery. Important!
5. Start engine of the vehicle with the charged battery and run at high idle. Make sure the cables are not
on or near pulleys, fans, or other parts that move
when the engine is started. Allow the discharged
battery to charge for a few minutes. Start engine of
the disabled vehicle in the usual manner.
6. After the engine has started, remove jumper cables by exactly reversing the above installation
sequence, starting with the last connection made
first. When removing each clamp, make sure that it
does not touch any other metal while the other end
is still attached.
Notes:
If engine does not run after several unsuccessful
starting attempts, have it checked at the nearest
authorized Mercedes-Benz Light Truck Center.
Excessive unburned fuel may damage the catalytic
converter.
Page 772 of 4133
305
Index
Te ch n ica l
data
Instruments
and controls Operation Driving
Instrument
cluster display Practical hints Car care
Index
Headlamp cleaning system ............................................ 94
Headlights ......................................................................... 90
Heated seats ..................................................................... 44
Hood ................................................................................. 231
Hooks ............................................................................... 133
IIdentification labels .......................................................285
Illuminated vanity mirrors ............................................113
Indicator lamps in the instrument cluster ................... 78
Infant and child restraint system Installation ................................................................... 67
Infant and child restraint systems ................................ 65
Inflating the space-saver tire .......................................249
Information call See Tele Aid ............................................................... 148
Instrument cluster ........................................................... 76
Activating display ....................................................... 80
Display illumination ................................................... 80
Indicator lamps ........................................................... 78
Malfunction and indicator lamps ........................... 218
Instrument lamps ............................................................ 80 Instruments and controls ............................................... 18
Interior General notes ............................................................. 114
Interior lighting .............................................................. 110
JJump starting ................................................................. 253KKeys, vehicle .....................................................................24LLamps, exterior .............................................................. 260 Adjusting headlamp aim ......................................... 268
Auxiliary fog lamp ............................................. 92, 264
Fog lamps .....................................................................93
Headlamp assembly ......................................... 261, 262
Headlamps .................................90, 261, 262, 268, 280
High mounted stop lamp ......................................... 267
License plate lamps ................................................. 267
Low and high beam ............................................90, 263
Page 807 of 4133

Contents
Introduction.......................................... 9
Product information ................................ 9
Operator’s Manual ............................... 10
Service and warranty information .. 10
Important notice for California
retail buyers and lessees
of Mercedes-Benz automobiles ...... 11
Maintenance .................................. 12
Roadside Assistance ...................... 12
Change of address or ownership.... 13
Operating your vehicle outside
the USA or Canada......................... 13
Where to find it .................................... 15
Symbols ............................................... 16
Operating safety .................................. 17
Proper use of the vehicle ............... 17
Problems with your vehicle .................. 18
Reporting safety defects...................... 19
Reporting safety defects ................ 19
At a glance.......................................... 21
Cockpit ................................................. 22
Instrument cluster ................................ 24
Center console ..................................... 27
Upper part ...................................... 27
Lower part ...................................... 28
Overhead control panel ........................ 29Getting started................................... 31
Unlocking ............................................. 32
Remote control with folding key ..... 32
Adjusting .............................................. 34
Seats............................................... 34
Steering wheel ................................ 39
Mirrors ............................................ 40Driving .................................................. 42
Fastening the seat belts ................. 42
Starting the engine ......................... 46
Switching on headlamps ................. 48
Turn signals .................................... 49
Windshield wipers ........................... 49
Rear window wiper ......................... 51
Problems while driving.................... 51
Parking and locking .............................. 53
Parking brake ................................. 53
Switching off headlamps................. 54
Turning off engine ........................... 54
Page 837 of 4133
33 Getting started
Unlocking
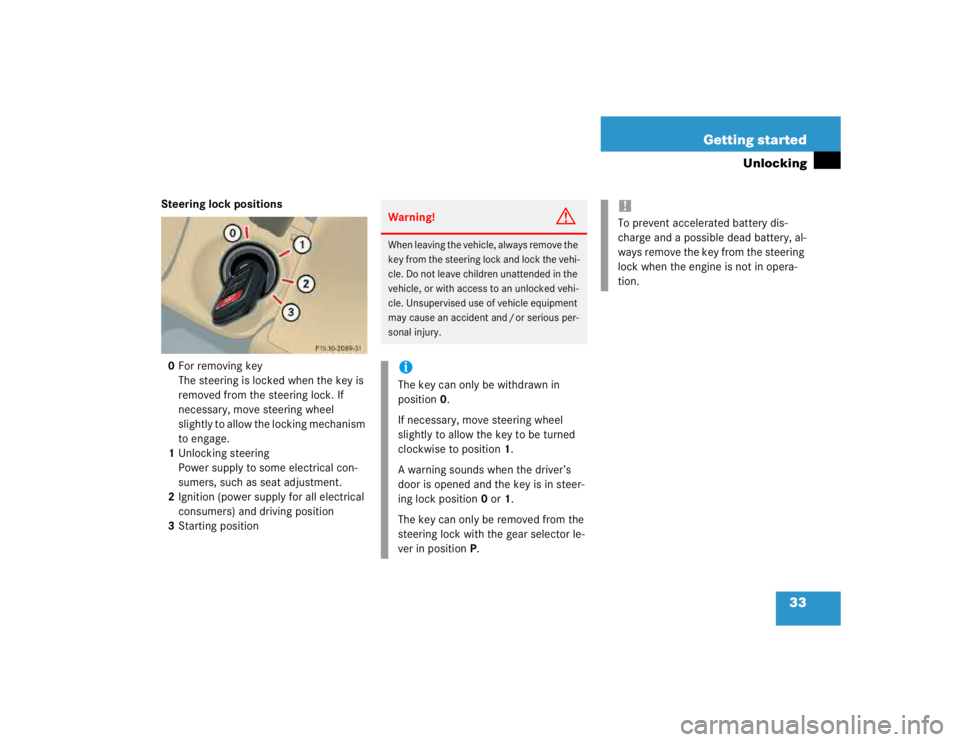
Steering lock positions
0For removing key
The steering is locked when the key is
removed from the steering lock. If
necessary, move steering wheel
slightly to allow the locking mechanism
to engage.
1Unlocking steering
Power supply to some electrical con-
sumers, such as seat adjustment.
2Ignition (power supply for all electrical
consumers) and driving position
3Starting position
Warning!
G
When leaving the vehicle, always remove the
key from the steering lock and lock the vehi-
cle. Do not leave children unattended in the
vehicle, or with access to an unlocked vehi-
cle. Unsupervised use of vehicle equipment
may cause an accident and / or serious per-
sonal injury.iThe key can only be withdrawn in
position0.
If necessary, move steering wheel
slightly to allow the key to be turned
clockwise to position1.
A warning sounds when the driver’s
door is opened and the key is in steer-
ing lock position0 or1.
The key can only be removed from the
steering lock with the gear selector le-
ver in positionP.
!To prevent accelerated battery dis-
charge and a possible dead battery, al-
ways remove the key from the steering
lock when the engine is not in opera-
tion.