1997 MERCEDES-BENZ ML430 not starting
[x] Cancel search: not startingPage 537 of 4133
70
Adjustable steering wheel
Te ch n ica l
data
Instruments
and controls Operation
Driving Instrument
cluster display Practical hints Car care Index
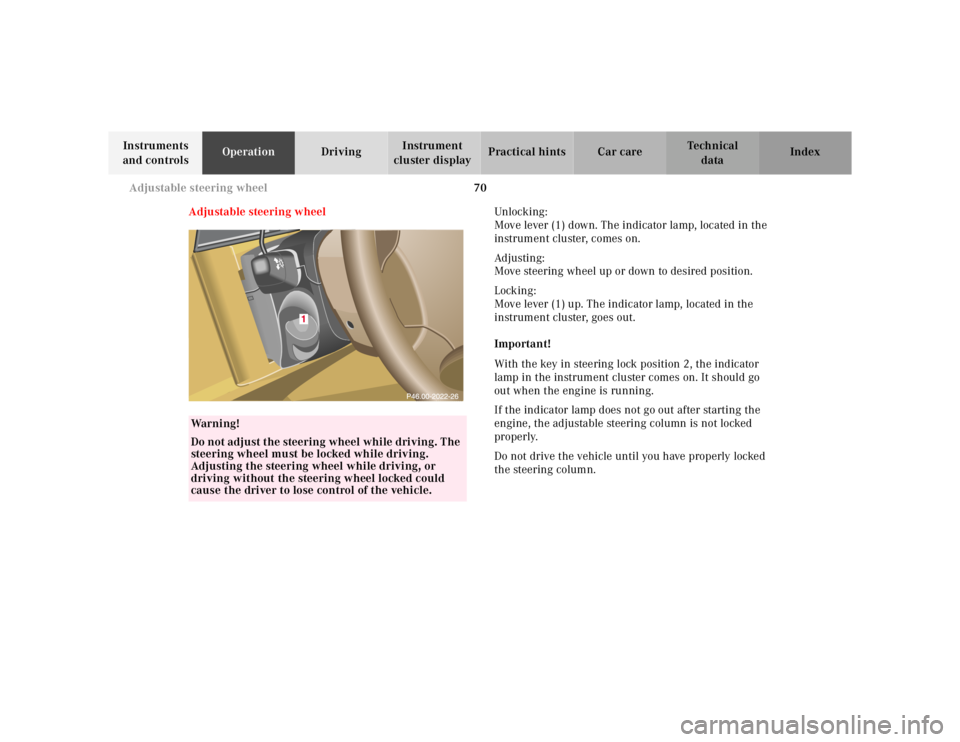
Adjustable steering wheel Unlocking :
Move lever (1) down. The indicator lamp, located in the
instrument cluster, comes on.
Ad justing:
Move steering wheel up or down to desired position.
Locking:
Move lever (1) up. The indicator lamp, located in the
instrument cluster, goes out.
Important!
With the key in steering lock position 2, the indicator
lamp in the instrument cluster comes on. It should go
out when the engine is running.
If the indicator lamp does not go out after starting the
engine, the adjustable steering column is not locked
properly.
Do not drive the vehicle until you have properly locked
the steering column.
Wa r n i n g !
Do not adjust the steering wheel while driving. The
steering wheel must be locked while driving.
Adjusting the steering wheel while driving, or
driving without the steering wheel locked could
cause the driver to lose control of the vehicle.
Page 629 of 4133
162
Steering lock
Te ch n ica l
data
Instruments
and controls Operation
Driving Instrument
cluster display Practical hints Car care Index
Steering lock
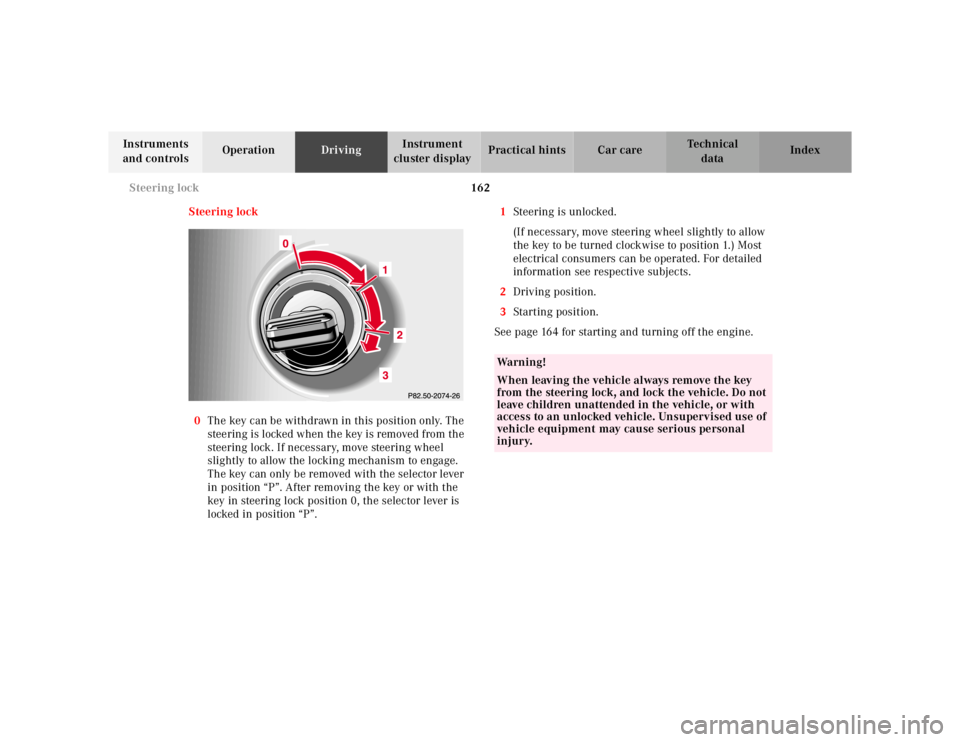
0 The key can be withdrawn in this position only. The
steering is locked when the key is removed from the
steering lock. If necessary, move steering wheel
slightly to allow the locking mechanism to engage.
The key can only be removed with the selector lever
in position “P”. After removing the key or with the
key in steering lock position 0, the selector lever is
locked in position “P”. 1
Steering is unlocked.
(If necessary, move steering wheel slightly to allow
the key to be turned clockwise to position 1.) Most
electrical consumers can be operated. For detailed
information see respective subjects.
2 Driving position.
3 Starting position.
See page 164 for starting and turning off the engine.
Wa r n i n g !
When leaving the vehicle always remove the key
from the steering lock, and lock the vehicle. Do not
leave children unattended in the vehicle, or with
access to an unlocked vehicle. Unsupervised use of
vehicle equipment may cause serious personal
injury.
Page 631 of 4133
164
Starting and turning off the engine
Te ch n ica l
data
Instruments
and controls Operation
Driving Instrument
cluster display Practical hints Car care Index
Starting and turning off the engine
Before starting
Ensure that parking brake is engaged and that selector
lever is in position “P” or “N”. Turn key in steering lock
to position 2. The charge indicator lamp should come on.
Starting
Do not depress accelerator.
Briefly turn key in steering lock clockwise to the stop
and release. The starter will engage until the engine is
running.
If engine will not run, and the starting procedure stops,
turn key completely to the left and repeat starting the
engine.
After several unsuccessful attempts, have the system
checked at the nearest authorized Mercedes-Benz Light
Truck Center.
A starting procedure can be interrupted by turning the
key to steering lock position 0. Important!
Due to the installed starter non-repeat feature, the key
must be turned completely to the left before attempting
to start the engine again.
In areas where temperatures frequently drop below -4 °F
(-20 °C) we recommend that an engine block heater be
installed. Your authorized Mercedes-Benz Light Truck
Center will advise you on this subject.
Note:
In case the engine cannot be started and the
messages Á and î are shown in the odometer
display field, the system is not operational. Contact an
authorized Mercedes-Benz Light Truck Center or call
1-800-FOR-MERCedes (in the USA), or 1-800-387-0100
(in Canada).
Turning off
Turn the key in the steering lock to position 0 to stop the
engine.
The key can only be removed with the selector lever in
position “P”.
Page 643 of 4133
176
Driving instructions
Te ch n ica l
data
Instruments
and controls Operation
Driving Instrument
cluster display Practical hints Car care Index
Caution!
When driving down long and steep grades, relieve the
load on the brakes by shifting into a lower gear to use
the engine’s braking power. This helps prevent
overheating of the brakes and reduces brake pad wear.
After hard braking, it is advisable to drive on for some
time, rather than immediately parking, so the air stream
will cool down the brakes faster.
Driving off
Apply the service brakes to test them briefly after
driving off. Perform this procedure only when the road
is clear of other traffic.
Warm up the engine smoothly. Do not place full load on
the engine until the operating temperature has been
reached.
When starting off on a slippery surface, do not allow one
drive wheel to spin for an extended period with the ESP
switched off. Doing so may cause serious damage to the
drive train which is not covered by the Mercedes-Benz
Limited Warranty. Parking
Important!
It is advisable to set the parking brake whenever
parking or leaving the vehicle. In addition, move
selector lever to position “P”.
When parking on hills, always set the parking brake.
Wa r n i n g !
To reduce the risk of personal injury as a result of
vehicle movement, before
turning off the engine
and leaving the vehicle, always:
1. Keep right foot on the service brake pedal.
2. Firmly depress parking brake pedal.
3. Move the selector lever to position “P”.
4. Slowly release the service brake pedal.
5. Turn front wheels towards the road curb.
6. Turn the key to steering lock position 0 and remove.
7. Take the key and lock vehicle when leaving.
Page 652 of 4133

185
Driving instructions
Te ch n ica l
data
Instruments
and controls Operation
Driving Instrument
cluster display Practical hints Car care Index
Driving on embankments, slopes and other steep
inclines should only be done straight up or downhill, i.e.
in the line of gravity.
Do not drive along the side of a slope (danger of vehicle
rollover). If in doing so, the vehicle begins to show a
tendency to roll, immediately steer into a line of gravity
(straight up or downhill).
To help avoid the vehicle rolling over, never turn it
around on steep inclines. If the vehicle cannot complete
the attempted climb, back it down in reverse gear.
Utilize the engine’s braking power when descending a
slope, observe the engine speed (do not overrev the
engine). Apply the service brake as needed.
Check the brakes after a lengthy downgrade drive.
Notes:
Avoid excessive engine speeds – drive with moderate
engine speeds (max. 3000 RPM).
Select gear range “2” or “1” on the automatic
transmission, see page 165. Traction in steep terrain:
Be easy on the accelerator and watch for continuous
wheel traction when driving in steep terrain.
The 4-ETS+ helps greatly when starting out on a steep
incline. The front wheels have then the tendency to slip
due to the weight reduction over the front axle. The ETS
recognizes the situation and limits the torque for the
front wheels by braking them. Simultaneously the
torque for the rear wheels is increased.
See page 203 for four wheel electronic traction system
(4-ETS+).
Driving across a hilltop:
To prevent the vehicle from speeding up too much after
climbing a hill, decelerate just ahead of a hilltop (do not
select gear range “N”). Use the momentum of the
vehicle to drive across the hilltop. Driving in this
manner prevents the vehicle from jumping across the
hilltop and thus loosing its forward momentum.
Page 674 of 4133
207
Driving systems
Te ch n ica l
data
Instruments
and controls Operation
Driving Instrument
cluster display Practical hints Car care Index
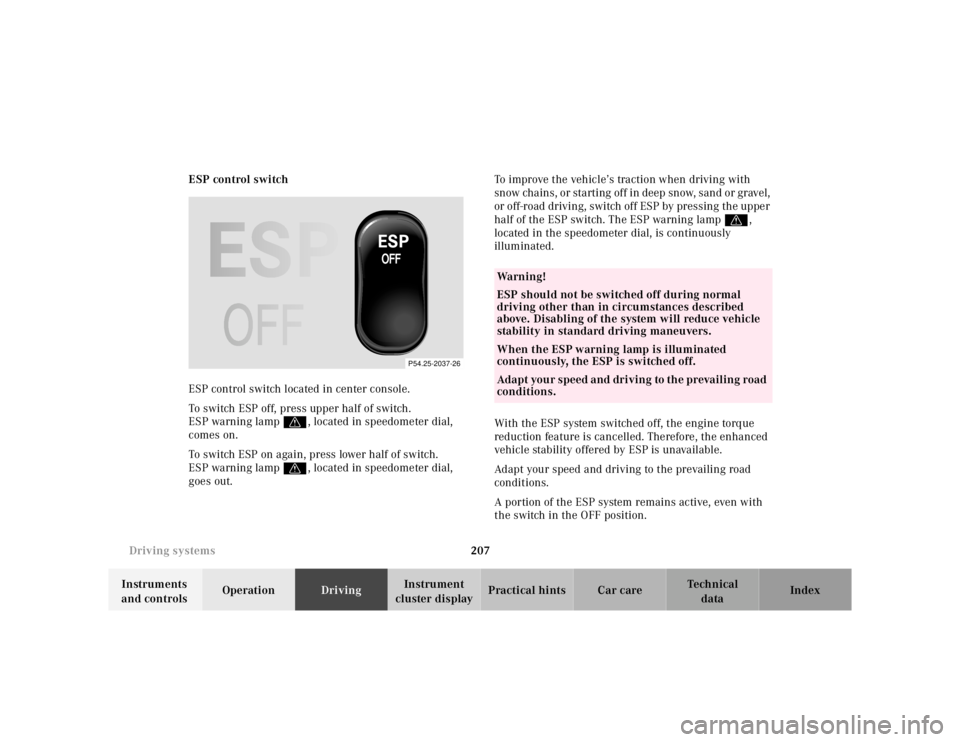
ESP control switch
ESP control switch located in center console.
To switch ESP off, press upper half of switch.
ESP warning lamp v, located in speedometer dial,
comes on.
To switch ESP on again, press lower half of switch.
ESP warning lamp v, located in speedometer dial,
goes out. To improve the vehicle’s traction when driving with
snow chains, or starting off in deep snow, sand or gravel,
or off-road driving, switch off ESP by pressing the upper
half of the ESP switch. The ESP warning lamp v,
located in the speedometer dial, is continuously
illuminated.
With the ESP system switched off, the engine torque
reduction feature is cancelled. Therefore, the enhanced
vehicle stability offered by ESP is unavailable.
Adapt your speed and driving to the prevailing road
conditions.
A portion of the ESP system remains active, even with
the switch in the OFF position.
P54.25-2037-26
Wa r n i n g !
ESP should not be switched off during normal
driving other than in circumstances described
above. Disabling of the system will reduce vehicle
stability in standard driving maneuvers.
When the ESP warning lamp is illuminated
continuously, the ESP is switched off.
Adapt your speed and driving to the prevailing road
conditions.
Page 687 of 4133
220
Malfunction and indicator lamps
Te ch n ica l
data
Instruments
and controls Operation Driving
Instrument
cluster display Practical hints Car care Index
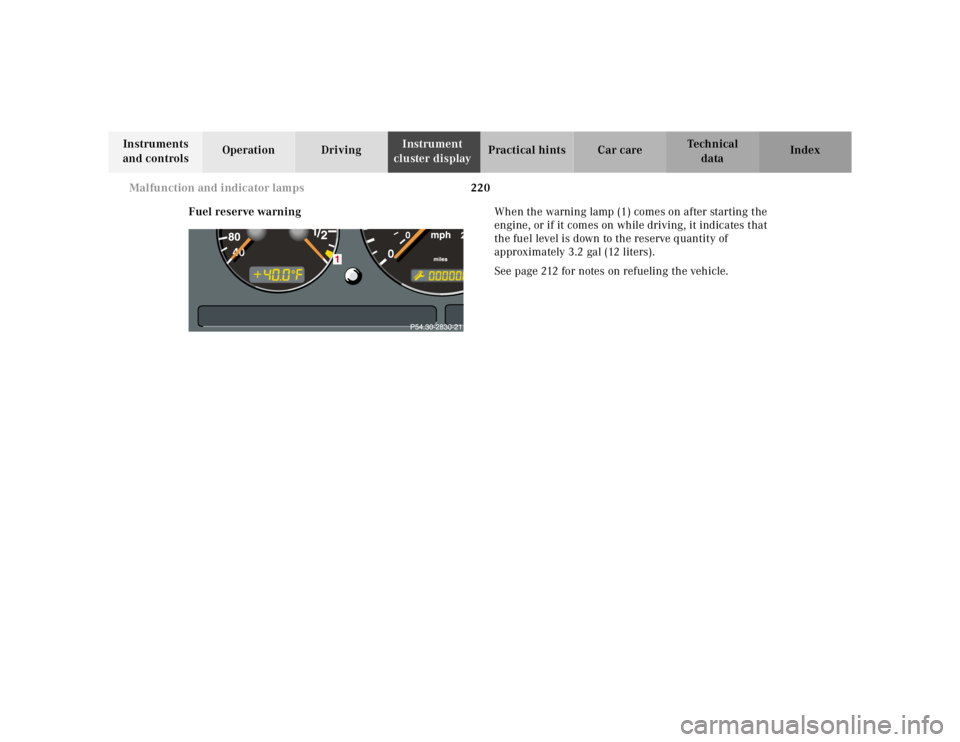
Fuel reserve warning When the warning lamp (1) comes on after starting the
engine, or if it comes on while driving, it indicates that
the fuel level is down to the reserve quantity of
approximately 3.2 gal (12 liters).
See page 212 for notes on refueling the vehicle.
Page 689 of 4133
222
Malfunction and indicator lamps
Te ch n ica l
data
Instruments
and controls Operation Driving
Instrument
cluster display Practical hints Car care Index
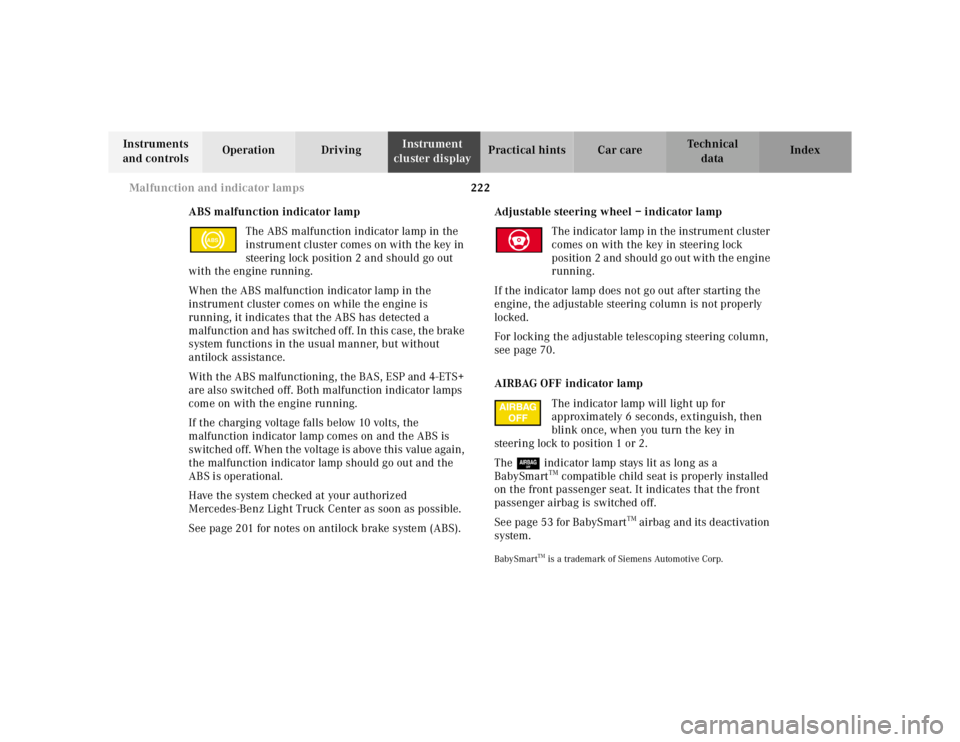
ABS malfunction indicator lamp The ABS malfunction indicator lamp in the
instrument cluster comes on with the key in
steering lock position 2 and should go out
with the engine running.
When the ABS malfunction indicator lamp in the
instrument cluster comes on while the engine is
running, it indicates that the ABS has detected a
malfunction and has switched off. In this case, the brake
system functions in the usual manner, but without
antilock assistance.
With the ABS malfunctioning, the BAS, ESP and 4-ETS+
are also switched off. Both malfunction indicator lamps
come on with the engine running.
If the charging voltage falls below 10 volts, the
malfunction indicator lamp comes on and the ABS is
switched off. When the voltage is above this value again,
the malfunction indicator lamp should go out and the
ABS is operational.
Have the system checked at your authorized
Mercedes-Benz Light Truck Center as soon as possible.
See page 201 for notes on antilock brake system (ABS). Adjustable steering wheel – indicator lamp
The indicator lamp in the instrument cluster
comes on with the key in steering lock
position 2 and should go out with the engine
running.
If the indicator lamp does not go out after starting the
engine, the adjustable steering column is not properly
locked.
For locking the adjustable telescoping steering column,
see page 70.
AIRBAG OFF indicator lamp The indicator lamp will light up for
approximately 6 seconds, extinguish, then
blink once, when you turn the key in
steering lock to position 1 or 2.
The 7 indicator lamp stays lit as long as a
BabySmart
TM compatible child seat is properly installed
on the front passenger seat. It indicates that the front
passenger airbag is switched off.
See page 53 for BabySmart
TM airbag and its deactivation
system.
BabySmart
TM is a trademark of Siemens Automotive Corp.
ABS