1997 MERCEDES-BENZ ML430 Oil filter housing
[x] Cancel search: Oil filter housingPage 2456 of 4133
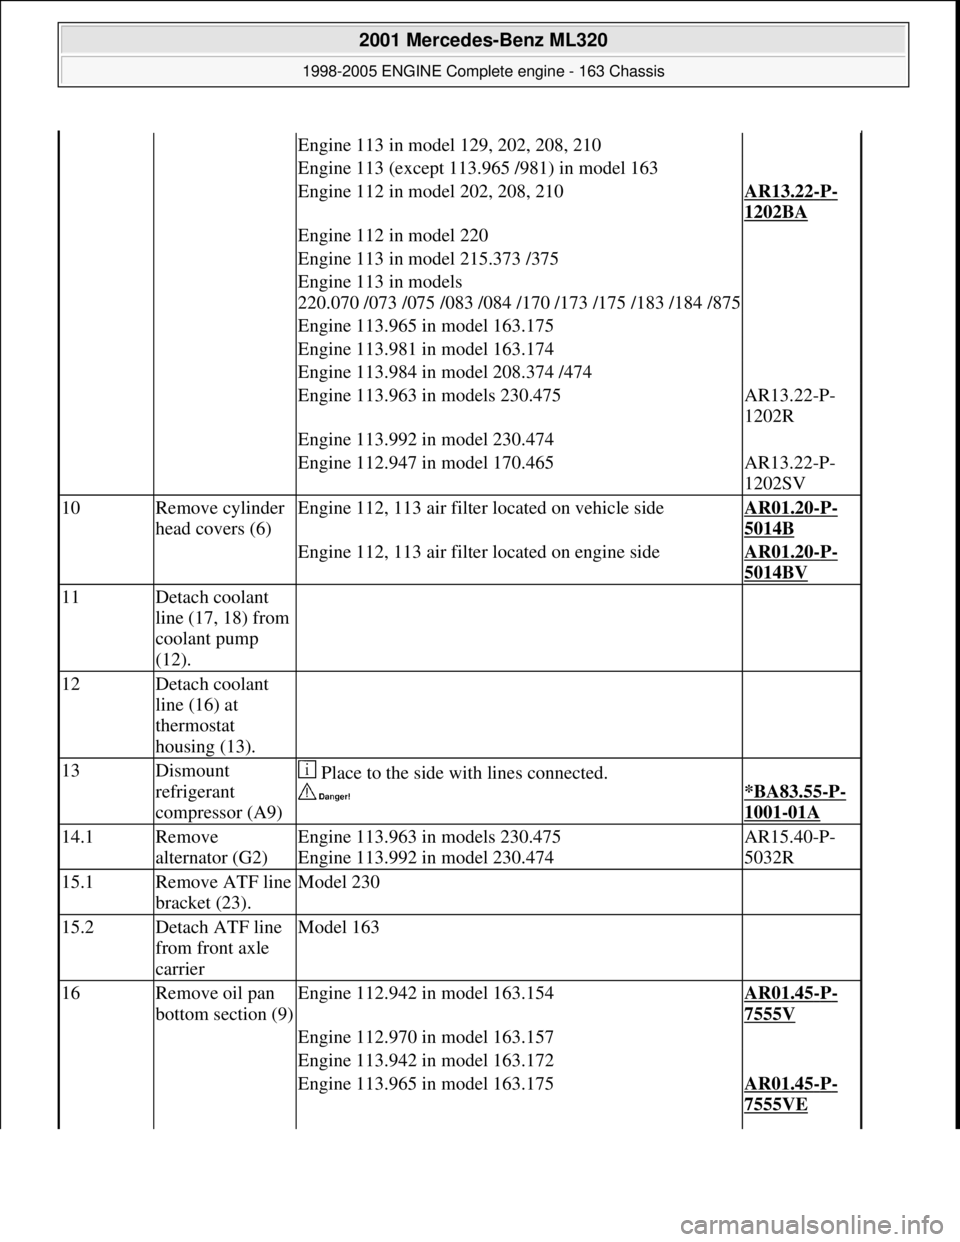
Engine 113 in model 129, 202, 208, 210
Engine 113 (except 113.965 /981) in model 163
Engine 112 in model 202, 208, 210AR13.22-P-
1202BA
Engine 112 in model 220
Engine 113 in model 215.373 /375
Engine 113 in models
220.070 /073 /075 /083 /084 /170 /173 /175 /183 /184 /875
Engine 113.965 in model 163.175
Engine 113.981 in model 163.174
Engine 113.984 in model 208.374 /474
Engine 113.963 in models 230.475AR13.22-P-
1202R
Engine 113.992 in model 230.474
Engine 112.947 in model 170.465AR13.22-P-
1202SV
10Remove cylinder
head covers (6)Engine 112, 113 air filter located on vehicle sideAR01.20-P-
5014B
Engine 112, 113 air filter located on engine sideAR01.20-P-
5014BV
11Detach coolant
line (17, 18) from
coolant pump
(12).
12Detach coolant
line (16) at
thermostat
housing (13).
13Dismount
refrigerant
compressor (A9) Place to the side with lines connected.
*BA83.55-P-
1001-01A
14.1Remove
alternator (G2)Engine 113.963 in models 230.475
Engine 113.992 in model 230.474AR15.40-P-
5032R
15.1Remove ATF line
bracket (23).Model 230
15.2Detach ATF line
from front axle
carrierModel 163
16Remove oil pan
bottom section (9)Engine 112.942 in model 163.154AR01.45-P-
7555V
Engine 112.970 in model 163.157
Engine 113.942 in model 163.172
Engine 113.965 in model 163.175AR01.45-P-
7555VE
2001 Mercedes-Benz ML320
1998-2005 ENGINE Complete engine - 163 Chassis
me
Saturday, October 02, 2010 3:17:57 PMPage 100 © 2006 Mitchell Repair Information Company, LLC.
Page 2458 of 4133
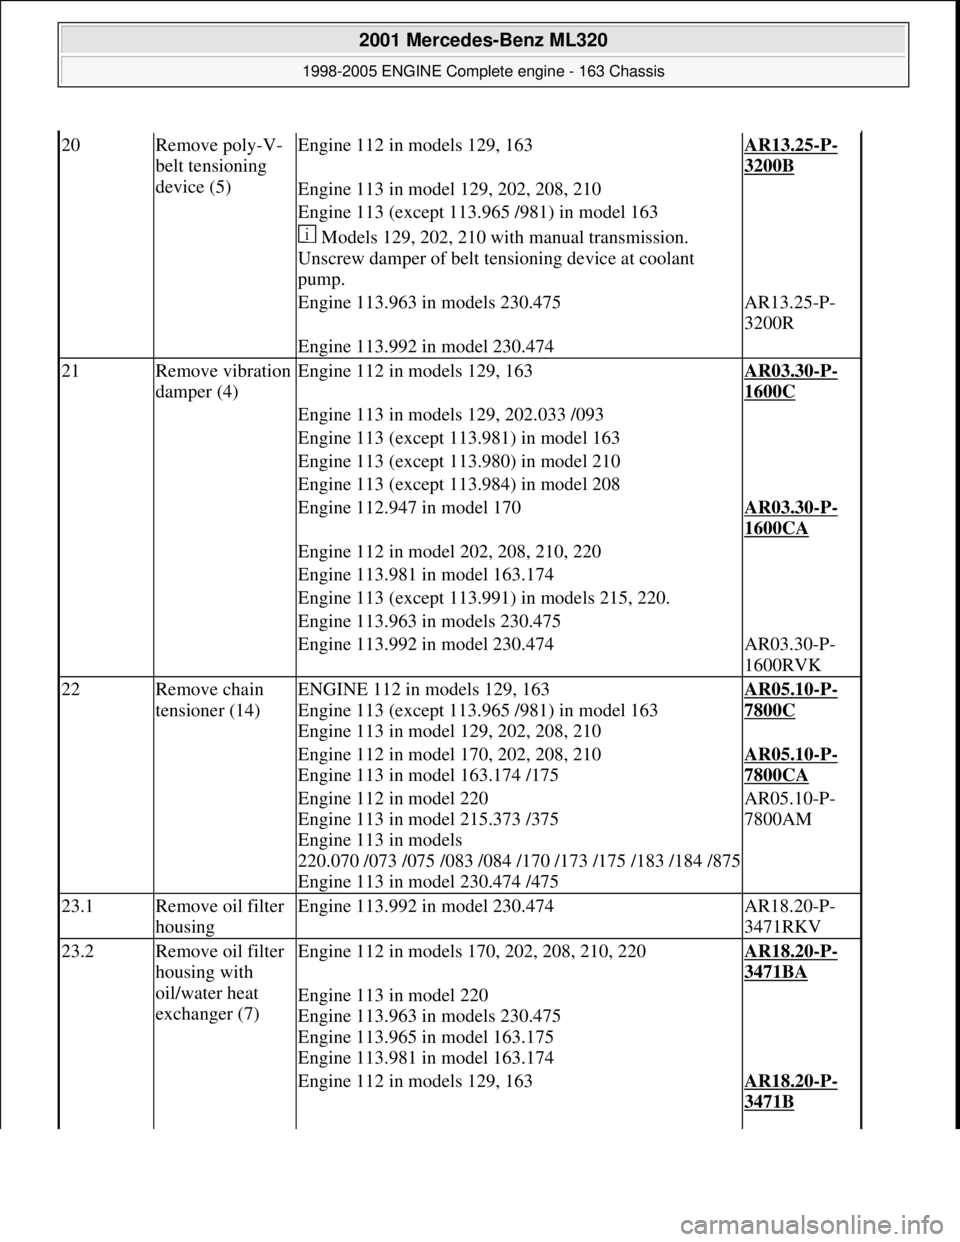
20Remove poly-V-
belt tensioning
device (5)Engine 112 in models 129, 163AR13.25-P-
3200B
Engine 113 in model 129, 202, 208, 210
Engine 113 (except 113.965 /981) in model 163
Models 129, 202, 210 with manual transmission.
Unscrew damper of belt te nsioning device at coolant
pump.
Engine 113.963 in models 230.475AR13.25-P-
3200R
Engine 113.992 in model 230.474
21Remove vibration
damper (4)Engine 112 in models 129, 163AR03.30-P-
1600C
Engine 113 in models 129, 202.033 /093
Engine 113 (except 113.981) in model 163
Engine 113 (except 113.980) in model 210
Engine 113 (except 113.984) in model 208
Engine 112.947 in model 170AR03.30-P-
1600CA
Engine 112 in model 202, 208, 210, 220
Engine 113.981 in model 163.174
Engine 113 (except 113.991) in models 215, 220.
Engine 113.963 in models 230.475
Engine 113.992 in model 230.474AR03.30-P-
1600RVK
22Remove chain
tensioner (14)ENGINE 112 in models 129, 163
Engine 113 (except 113.965 /981) in model 163
Engine 113 in model 129, 202, 208, 210AR05.10-P-
7800C
Engine 112 in model 170, 202, 208, 210
Engine 113 in model 163.174 /175AR05.10-P-
7800CA
Engine 112 in model 220
Engine 113 in model 215.373 /375
Engine 113 in models
220.070 /073 /075 /083 /084 /170 /173 /175 /183 /184 /875
Engine 113 in model 230.474 /475AR05.10-P-
7800AM
23.1Remove oil filter
housingEngine 113.992 in model 230.474AR18.20-P-
3471RKV
23.2Remove oil filter
housing with
oil/water heat
exchanger (7)Engine 112 in models 170, 202, 208, 210, 220AR18.20-P-
3471BA
Engine 113 in model 220
Engine 113.963 in models 230.475
Engine 113.965 in model 163.175
Engine 113.981 in model 163.174
Engine 112 in models 129, 163AR18.20-P-
3471B
2001 Mercedes-Benz ML320
1998-2005 ENGINE Complete engine - 163 Chassis
me
Saturday, October 02, 2010 3:17:57 PMPage 102 © 2006 Mitchell Repair Information Company, LLC.
Page 2589 of 4133
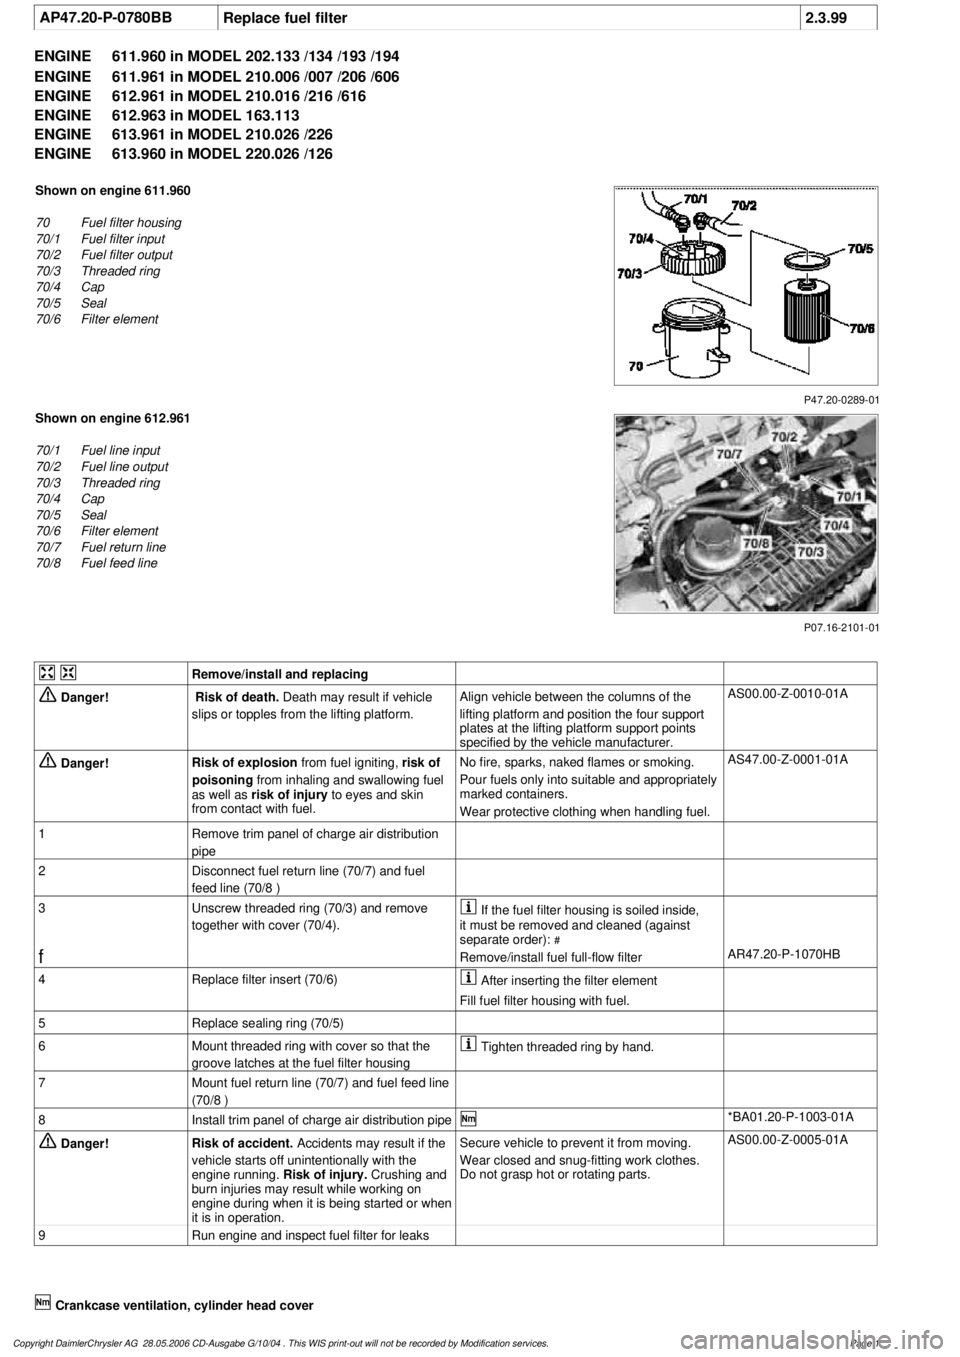
AP47.20-P-0780BB
Replace fuel filter
2.3.99
ENGINE
611.960 in MODEL 202.133 /134 /193 /194
ENGINE
611.961 in MODEL 210.006 /007 /206 /606
ENGINE
612.961 in MODEL 210.016 /216 /616
ENGINE
612.963 in MODEL 163.113
ENGINE
613.961 in MODEL 210.026 /226
ENGINE
613.960 in MODEL 220.026 /126
P47.20-0289-01
Shown on engine 611.960
70
Fuel filter housing
70/1
Fuel filter input
70/2
Fuel filter output
70/3
Threaded ring
70/4
Cap
70/5
Seal
70/6
Filter element
P07.16-2101-01
Shown on engine 612.961
70/1
Fuel line input
70/2
Fuel line output
70/3
Threaded ring
70/4
Cap
70/5
Seal
70/6
Filter element
70/7
Fuel return line
70/8
Fuel feed line
Remove/install and replacing
Danger!
Risk of death.
Death may result if vehicle
slips or topples from the lifting platform.
Align vehicle between the columns of the
lifting platform and position the four support
plates
at the lifting platform support points
specified by the vehicle manufacturer.
AS00.00-Z-0010-01A
Danger!
Risk of explosion
from fuel igniting,
risk of
poisoning
from inhaling and swallowing fuel
as well as
risk of injury
to eyes and skin
from contact with fuel.
No fire, sparks, naked flames or smoking.
Pour fuels only into suitable and appropriately
marked containers.
Wear protective clothing when handling fuel.
AS47.00-Z-0001-01A
1
Remove trim panel of charge air distribution
pipe
2
Disconnect fuel return line (70/7) and fuel
feed line (70/8 )
3
Unscrew threaded ring (70/3) and remove
together with cover (70/4).
If the fuel filter housing is soiled inside,
it must be removed and cleaned (against
separate order):
#
f
Remove/install fuel full-flow filter
AR47.20-P-1070HB
4
Replace filter insert (70/6)
After inserting the filter element
Fill fuel filter housing with fuel.
5
Replace sealing ring (70/5)
6
Mount threaded ring with cover so that the
groove latches at the fuel filter housing
Tighten threaded ring by hand.
7
Mount fuel return line (70/7) and fuel feed line
(70/8 )
8
Install trim panel of charge air distribution pipe
*BA01.20-P-1003-01A
Danger!
Risk of accident.
Accidents may result if the
vehicle starts off unintentionally with the
engine running.
Risk of injury.
Crushing and
burn injuries may result while working on
engine during when it is being started or when
it is in operation.
Secure vehicle to prevent it from moving.
Wear closed and snug-fitting work clothes.
Do not grasp hot or rotating parts.
AS00.00-Z-0005-01A
9
Run engine and inspect fuel filter for leaks
Crankcase ventilation, cylinder head cover
Copyright DaimlerChrysler AG 28.05.2006 CD-Ausgabe G/10/04 . This WIS print-out will not be recorde
d by Modification services.
Page 1
Page 3444 of 4133
CORRECTING OIL LEVEL IN AIR CONDITIONING FOLLOWING REPAIR OR SLOW REFRIGERANT LOSS - AR83.30-P-
5251E
MODEL 163 with CODE (580) Air conditioning or Tempmatic for USA
A/C compressor 7SB16
MODEL 202 with CODE (580) Air conditioning or Tempmatic for USA with CODE (581a) Air
conditioning (Automatic) A/C compressor ND6CA17, A/C compressor 7SB16
MODEL 208 with CODE (580) Air conditioning or Tempmatic for USA with CODE (581a) Air
conditioning (Automatic) A/C compressor 7SB16
MODEL 210 with CODE (580) Air conditioning or Tempmatic for USA with CODE (581a) Air
conditioning (Automatic) A/C compressor 7SB16
MODELS 215,220 A/C compressor 7SE16
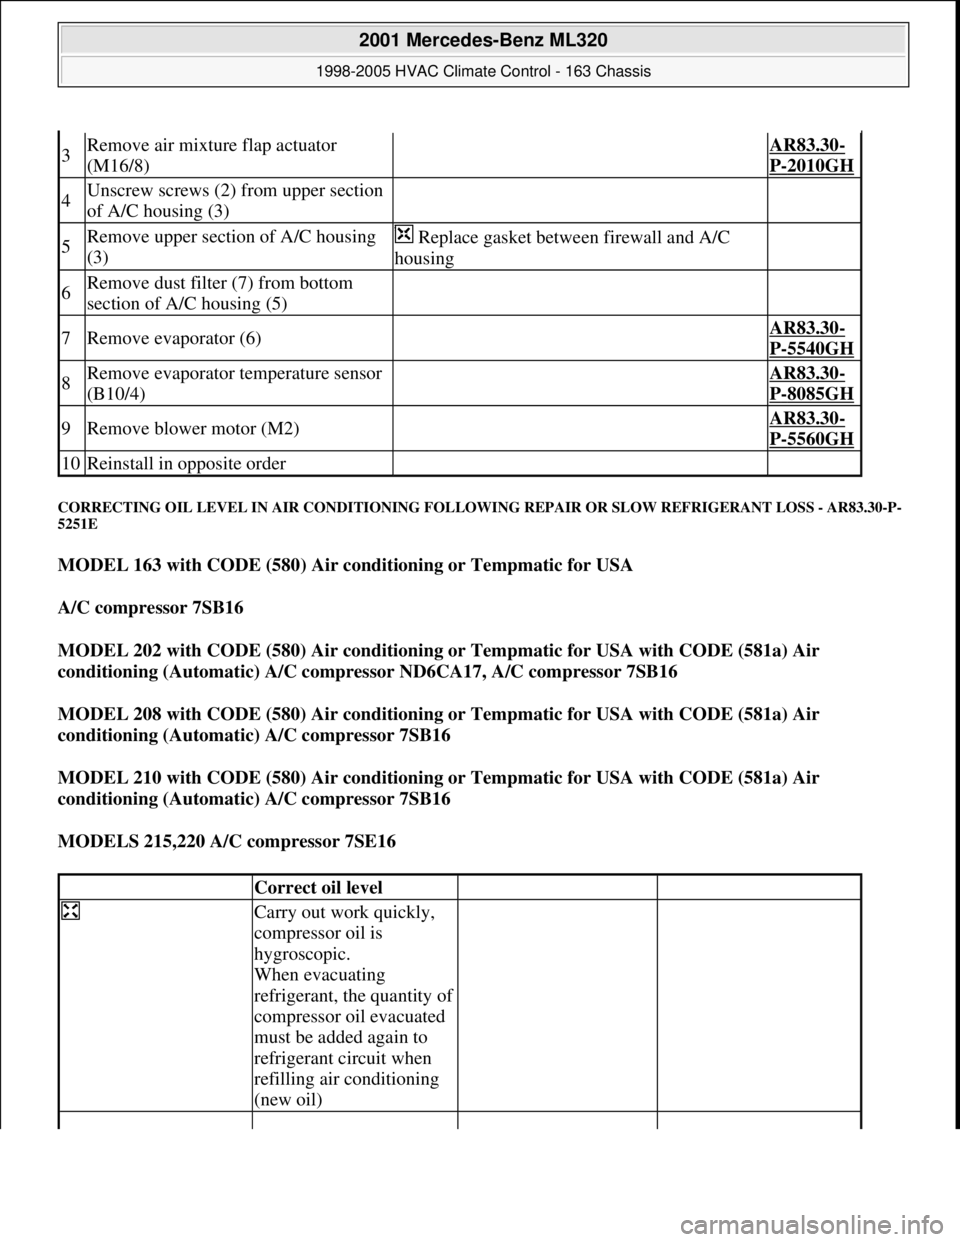
3Remove air mixture flap actuator
(M16/8) AR83.30-
P-2010GH
4Unscrew screws (2) from upper section
of A/C housing (3)
5Remove upper section of A/C housing
(3) Replace gasket between firewall and A/C
housing
6Remove dust filter (7) from bottom
section of A/C housing (5)
7Remove evaporator (6) AR83.30-
P-5540GH
8Remove evaporator temperature sensor
(B10/4) AR83.30-
P-8085GH
9Remove blower motor (M2) AR83.30-
P-5560GH
10Reinstall in opposite order
Correct oil level
Carry out work quickly,
compressor oil is
hygroscopic.
When evacuating
refrigerant, the quantity of
compressor oil evacuated
must be added again to
refrigerant circuit when
refilling air conditioning
(new oil)
2001 Mercedes-Benz ML320
1998-2005 HVAC Climate Control - 163 Chassis
me
Saturday, October 02, 2010 3:23:18 PMPage 200 © 2006 Mitchell Repair Information Company, LLC.
Page 3718 of 4133
AP18.00-P-0101-06GH
Replacing oil filter element, draining oil filter
Oil filter
Number
Designation
Engines
112.910/911/
912/913/914/
915/916/917/
920/921/922/
923/940/941/
942/943/944/
945/946/947/
949/951/953/
954/955/960/
961/970/972/
973/975
Engines
113.940/941/
942/943/944/
945/946/948/
960/961/962/
963/965/966/
967/968/969/
980/981/982/
984/986
Engines
113.990/
991/993
BA18.20-P-1001-01D
Screw cap on oil filter
Nm
252525
103 589 02 09 00
Socket wrench bit
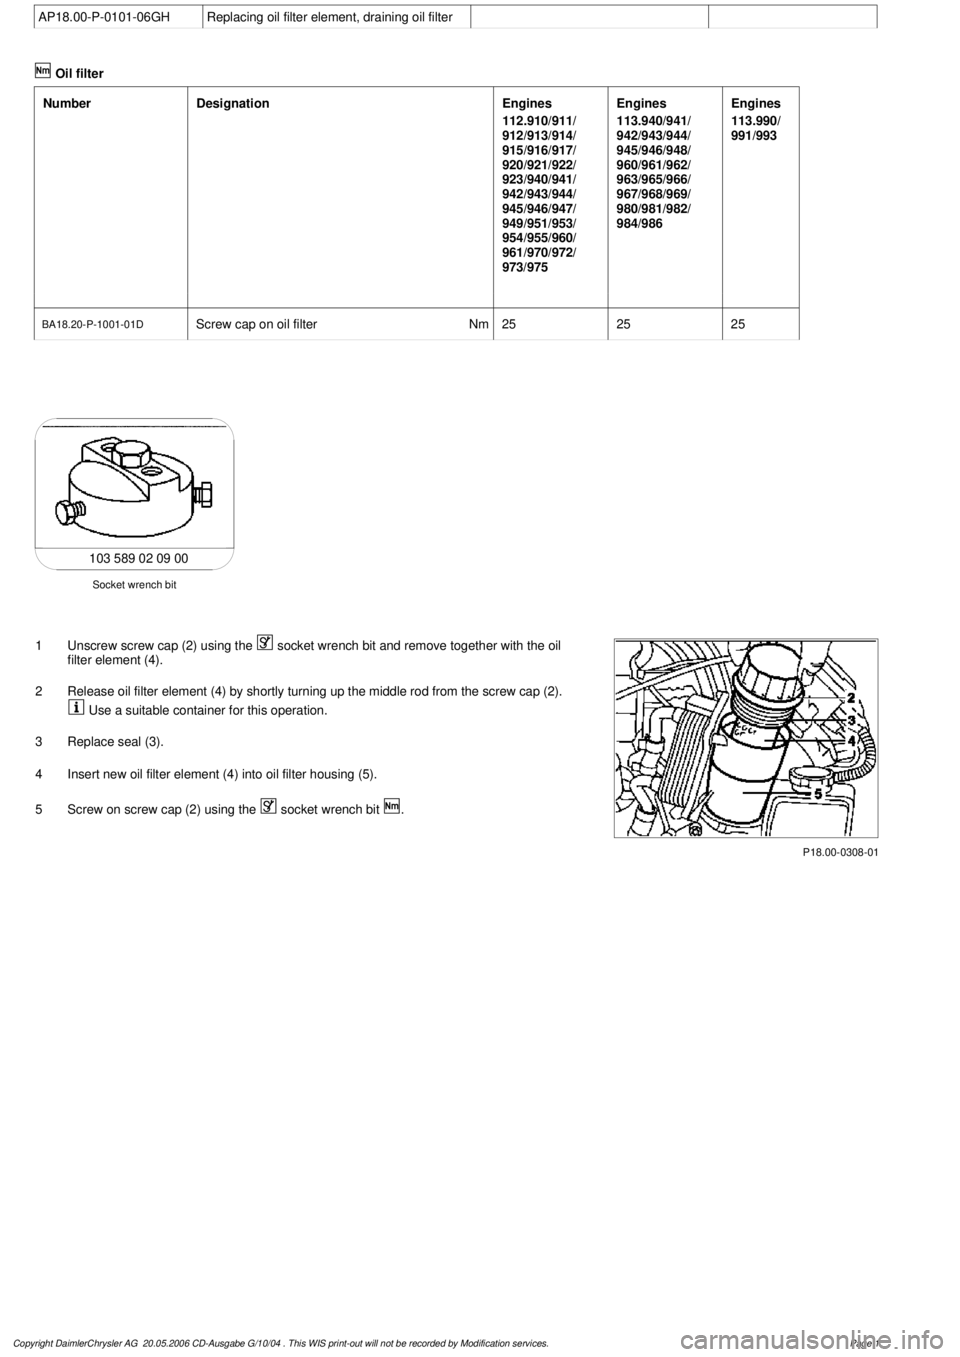
1
Unscrew screw cap (2) using the
socket wrench bit and remove together with the oil
filter element (4).
2
Release oil filter element (4) by shortly turning up the middle rod from the screw cap (2).
Use a suitable container for this operation.
3
Replace seal (3).
4
Insert new oil filter element (4) into oil filter housing (5).
5
Screw on screw cap (2) using the
socket wrench bit
.
P18.00-0308-01
Copyright DaimlerChrysler AG 20.05.2006 CD-Ausgabe G/10/04 . This WIS print-out will not be recorde
d by Modification services.
Page 1
Page 3720 of 4133
P18.20-2022-01
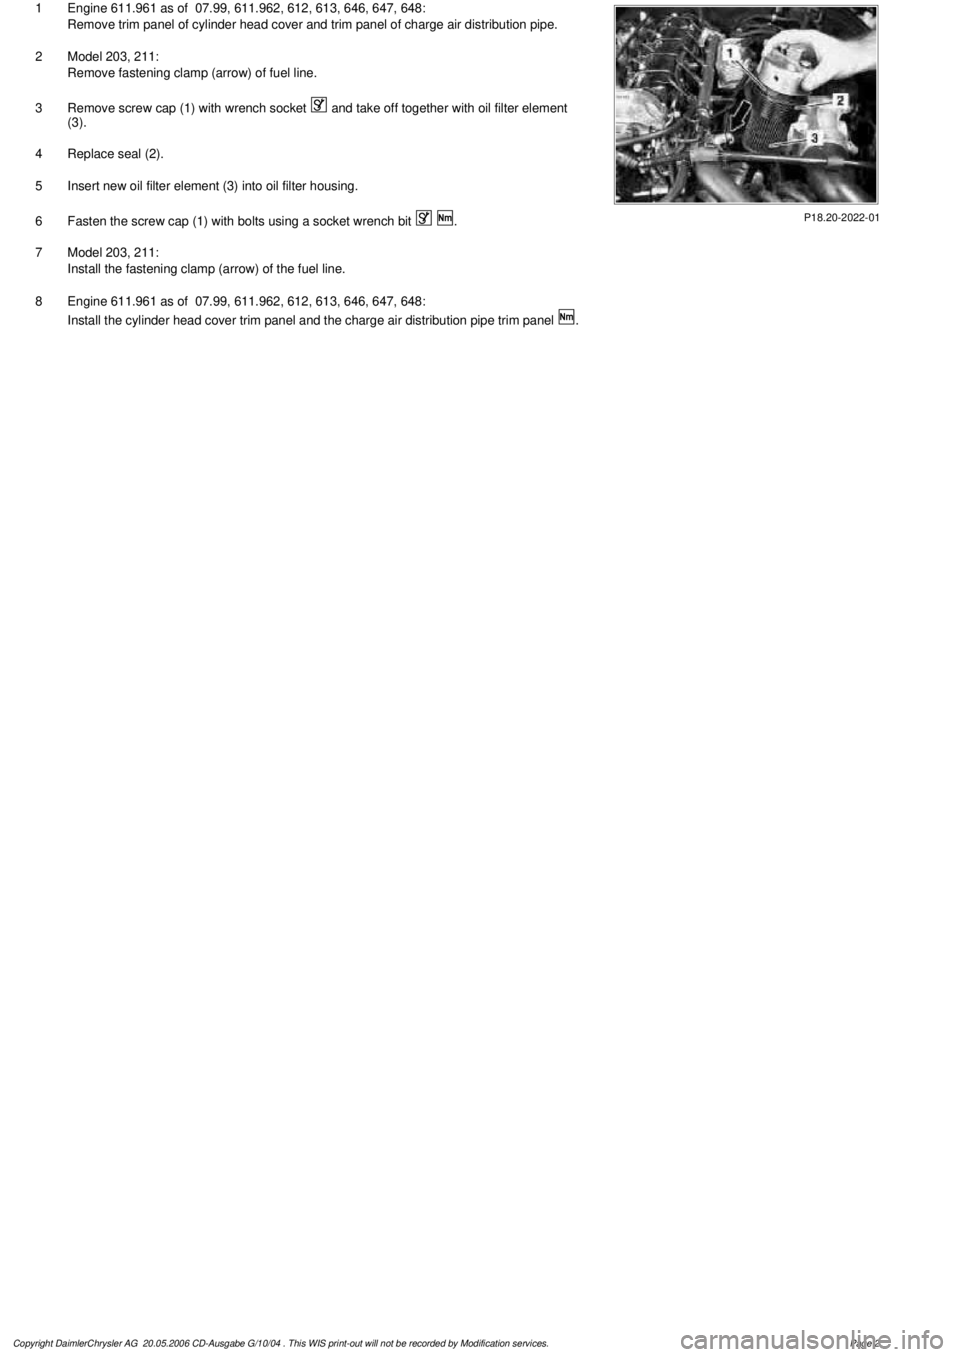
1
Engine 611.961 as of 07.99, 611.962, 612, 613, 646, 647, 648:
Remove trim panel of cylinder head cover and trim panel of charge air distribution pipe.
2
Model 203, 211:
Remove fastening clamp (arrow) of fuel line.
3
Remove screw cap (1) with wrench socket
and take off together with oil filter element
(3).
4
Replace seal (2).
5
Insert new oil filter element (3) into oil filter housing.
6
Fasten the screw cap (1) with bolts using a socket wrench bit
.
7
Model 203, 211:
Install the fastening clamp (arrow) of the fuel line.
8
Engine 611.961 as of 07.99, 611.962, 612, 613, 646, 647, 648:
Install the cylinder head cover trim panel and the charge air distribution pipe trim panel
.
Copyright DaimlerChrysler AG 20.05.2006 CD-Ausgabe G/10/04 . This WIS print-out will not be recorde
d by Modification services.
Page 2