Page 800 of 4133
Courtesy of MERCEDES-BENZ OF NORTH AMERICA.
WIRE REPAIR
DO NOT repair wiring harness. Replace complete SRS wiring harn ess, if any part is damaged.
TORQUE SPECIFICATIONS
TORQUE SPECIFICATIONS
DIAGNOSTICS
Air bag system diagnostic information is not available. All air bag system diagnosis must be carried out using
manufacturers proprietary STAR diagnostic tool.
WIRING DIAGRAMS
ApplicationFt. Lbs. (N.m)
Front ETR
Belt end fitting26 (35)
Belt height adjuster bolt18 (25)
Bolts22 (30)
Rear ETR
Belt height adjuster bolt22 (30)
Bolts22 (30)
INCH Lbs. (N.m)
Control module bolts(1)
Driver-side air bag module bolts71 (8)
Head impact air bag module bolts71 (8)
Passenger-side air bag module nuts71 (8)
Side impact sensor screws(1)
(1)Information is not available.
2004 Mercedes-Benz ML350
2004 ACCESSORIES/SAFETY EQUIPMENT Merce des-Benz - Air Bag Restraint Systems
me
Saturday, October 02, 2010 3:40:40 PMPage 15 © 2006 Mitchell Repair Information Company, LLC.
Page 1178 of 4133
13 - Remove torque converter using 168 589 00 62 00 Grab Handle. See Fig. 9.
14 - Install in reverse order. Torque to specifications. See Fig. 5
- Fig. 8 .
15 - Inspect ATF level in automatic transmission, add ATF if necessary.
Fig. 5: Housing Torque Specifications
Courtesy of MERCEDES-BENZ OF NORTH AMERICA.NOTE: Push retainer (11) upwards.
NOTE: Secure torque converter to prevent it from falling out.
NOTE: Grease the torque converter lightly on drive flange.
NOTE: When refilling or after an oil change pour in approximately 5 quarts of
transmission oil first.
2001 Mercedes-Benz ML320
1998-03 AUTOMATIC TRANSMISSIONS Complete Transmissions - ML 320 - 722.662
me
Saturday, October 02, 2010 3:15:25 PMPage 9 © 2006 Mitchell Repair Information Company, LLC.
Page 1179 of 4133
Fig. 6: Automatic Transmission Oil Pan Torque Specifications
Courtesy of MERCEDES-BENZ OF NORTH AMERICA.
Fig. 7: Torque Converter Specifications
Courtesy of MERCEDES-BENZ OF NORTH AMERICA.
2001 Mercedes-Benz ML320
1998-03 AUTOMATIC TRANSMI SSIONS Complete Transmissions - ML 320 - 722.662
me
Saturday, October 02, 2010 3:15:25 PMPage 10 © 2006 Mitchell Repair Information Company, LLC.
Page 1180 of 4133
Fig. 8: Transfer Case, Complete Unit Torque Specifications
Courtesy of MERCEDES-BENZ OF NORTH AMERICA.
Fig. 9: 168 589 00 62 00 Grab Handle
Courtesy of MERCEDES-BENZ OF NORTH AMERICA.
2001 Mercedes-Benz ML320
1998-03 AUTOMATIC TRANSMISSIONS Complete Transmissions - ML 320 - 722.662
me
Saturday, October 02, 2010 3:15:25 PMPage 11 © 2006 Mitchell Repair Information Company, LLC.
Page 1184 of 4133

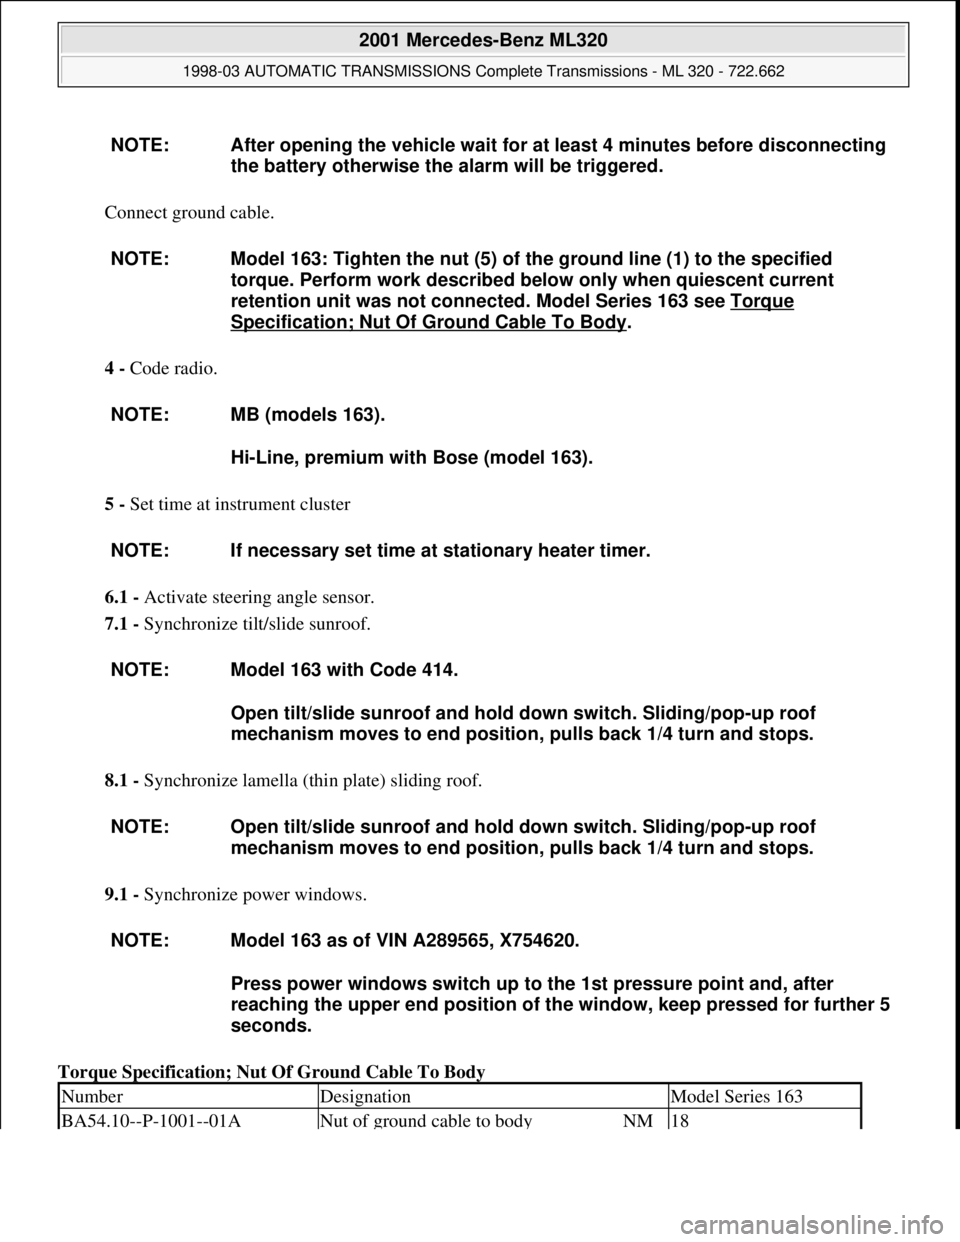
Connect ground cable.
4 - Code radio.
5 - Set time at instrument cluster
6.1 - Activate steering angle sensor.
7.1 - Synchronize tilt/slide sunroof.
8.1 - Synchronize lamella (thin plate) sliding roof.
9.1 - Synchronize power windows.
Torque Specification; Nut Of Ground Cable To Body NOTE: After opening the vehicle wait for at least 4 minutes before disconnecting
the battery otherwise the alarm will be triggered.
NOTE: Model 163: Tighten the nut (5) of the ground line (1) to the specified
torque. Perform work described below only when quiescent current
retention unit was not connected. Model Series 163 see Torque
Specification; Nut Of Ground Cable To Body.
NOTE: MB (models 163).
Hi-Line, premium with Bose (model 163).
NOTE: If necessary set time at stationary heater timer.
NOTE: Model 163 with Code 414.
Open tilt/slide sunroof and hold down switch. Sliding/pop-up roof
mechanism moves to end position, pulls back 1/4 turn and stops.
NOTE: Open tilt/slide sunroof and hold down switch. Sliding/pop-up roof
mechanism moves to end position, pulls back 1/4 turn and stops.
NOTE: Model 163 as of VIN A289565, X754620.
Press power windows switch up to the 1st pressure point and, after
reaching the upper end position of the window, keep pressed for further 5
seconds.
NumberDesignationModel Series 163
BA54.10--P-1001--01ANut of ground cable to bodyNM18
2001 Mercedes-Benz ML320
1998-03 AUTOMATIC TRANSMISSIONS Complete Transmissions - ML 320 - 722.662
me
Saturday, October 02, 2010 3:15:25 PMPage 15 © 2006 Mitchell Repair Information Company, LLC.
Page 1466 of 4133
Fig. 166: Removing & Installing Transfer Case
Courtesy of MERCEDES-BENZ OF NORTH AMERICA.
1.1 - Remove noise encapsulation. See REMOVE/INSTALL NOISE ENCAPSULATION
.
2 - Unscrew exhaust bracket (9) and exhaust bracket (10) to exhaust. See Fig. 166
.
3 - Unscrew bolts (14) and remove propeller shaft (13) from transfer case.
4 - Unscrew bolts (12) and remove propeller shaft (11) from transfer case.
NOTE: Model 163.113/128
Only remove rear section of noise encapsulation.
NOTE: Hang up propeller shaft to one side and ensure that the universal joint and
center bearing are not damaged.
Self-locking screw for front propeller shaft on transfer case (rear axle
side). See Torque Specifications; Driveshaft
.
2001 Mercedes-Benz ML320
1998-03 AUTOMATIC TRANSMISSIONS Complete Transmissions - ML 320 - 722.662
me
Saturday, October 02, 2010 3:15:30 PMPage 297 © 2006 Mitchell Repair Information Company, LLC.
Page 1467 of 4133

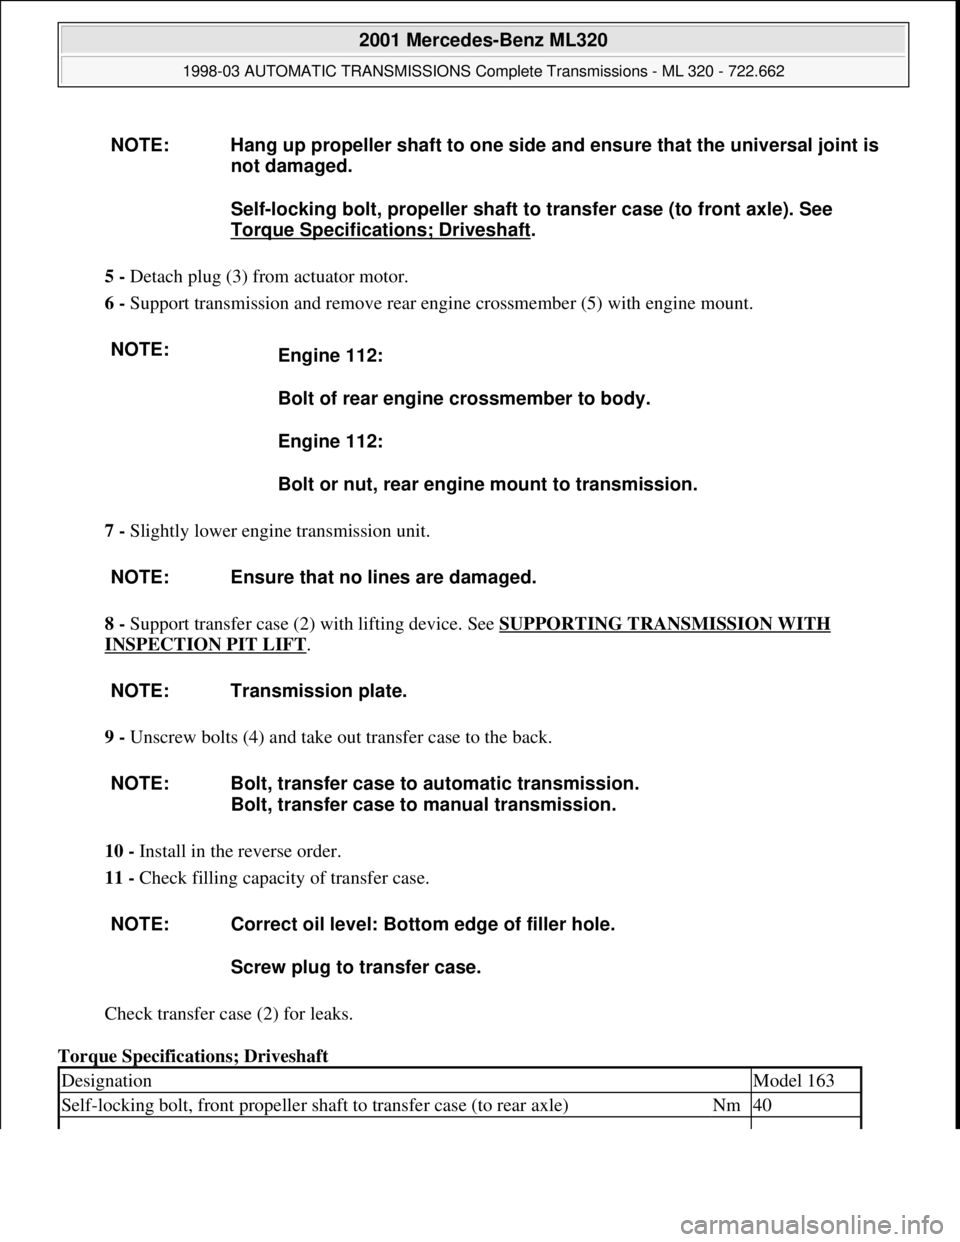
5 - Detach plug (3) from actuator motor.
6 - Support transmission and remove rear engine crossmember (5) with engine mount.
7 - Slightly lower engine transmission unit.
8 - Support transfer case (2) with lifting device. See SUPPORTING TRANSMISSION WITH
INSPECTION PIT LIFT.
9 - Unscrew bolts (4) and take out transfer case to the back.
10 - Install in the reverse order.
11 - Check filling capacity of transfer case.
Check transfer case (2) for leaks.
Torque Specifications; Driveshaft NOTE: Hang up propeller shaft to one side and ensure that the universal joint is
not damaged.
Self-locking bolt, propeller shaft to transfer case (to front axle). See
Torque Specifications; Driveshaft
.
NOTE:
Engine 112:
Bolt of rear engine crossmember to body.
Engine 112:
Bolt or nut, rear engine mount to transmission.
NOTE: Ensure that no lines are damaged.
NOTE: Transmission plate.
NOTE: Bolt, transfer case to automatic transmission.
Bolt, transfer case to manual transmission.
NOTE: Correct oil level: Bottom edge of filler hole.
Screw plug to transfer case.
DesignationModel 163
Self-locking bolt, front propeller shaft to transfer case (to rear axle)Nm40
2001 Mercedes-Benz ML320
1998-03 AUTOMATIC TRANSMISSIONS Complete Transmissions - ML 320 - 722.662
me
Saturday, October 02, 2010 3:15:30 PMPage 298 © 2006 Mitchell Repair Information Company, LLC.
Page 1468 of 4133

Torque Specifications; Engine Mounts, Engine Supports
Torque Specifications; Engine Suspension, Engine Mounts, Engine Supports
Torque Specifications; Engine Suspension, Engine Mounts, Engine Supports
Torque Specifications; Transfer Case, Complete Unit
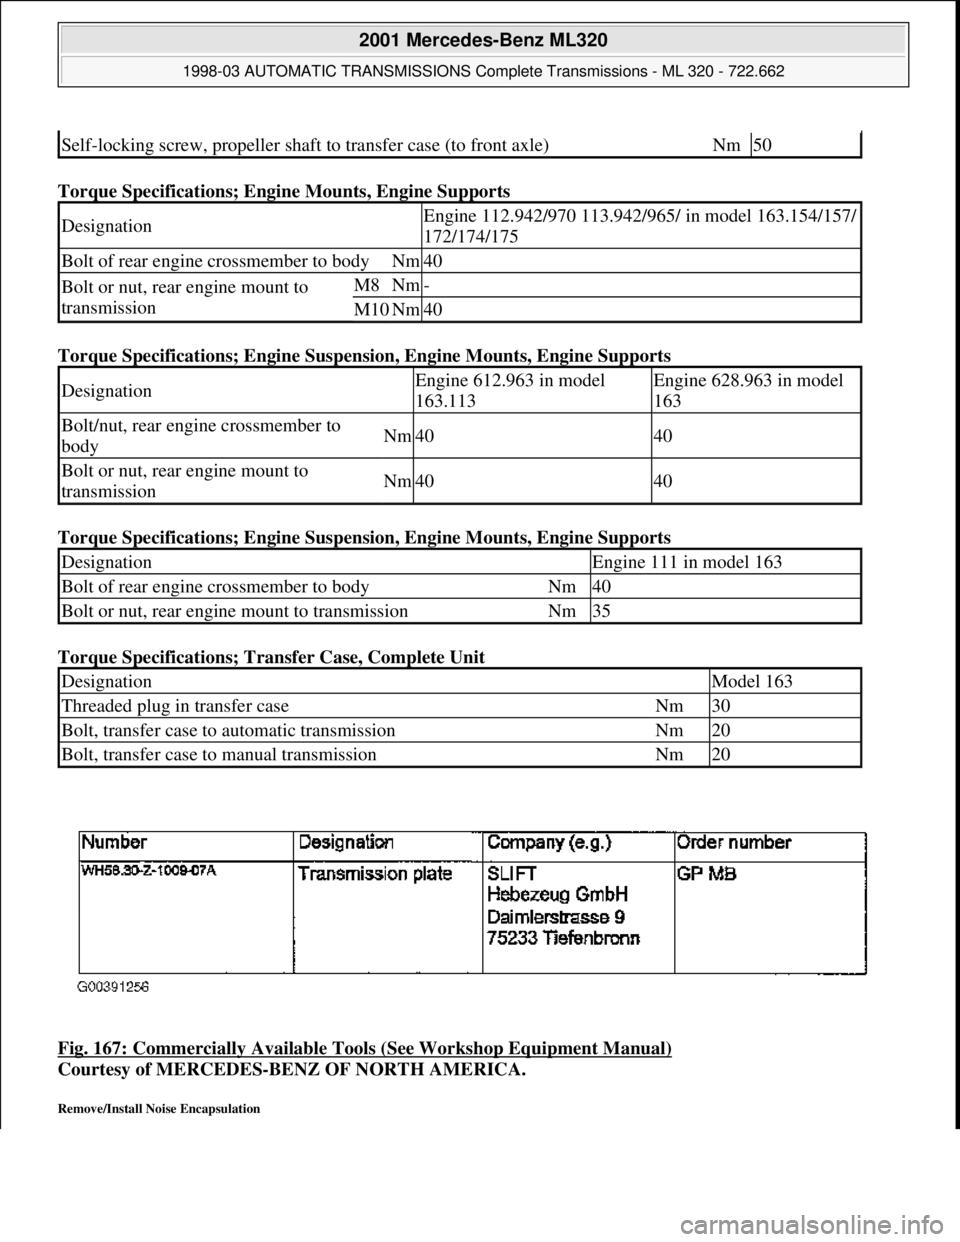
Fig. 167: Commercially Available Tools (See Workshop Equipment Manual)
Courtesy of MERCEDES-BENZ OF NORTH AMERICA.
Remove/Install Noise Encapsulation
Self-locking screw, propeller shaft to transfer case (to front axle)Nm50
DesignationEngine 112.942/970 113.942/965/ in model 163.154/157/
172/174/175
Bolt of rear engine crossmember to bodyNm40
Bolt or nut, rear engine mount to
transmissionM8Nm-
M10Nm40
DesignationEngine 612.963 in model
163.113Engine 628.963 in model
163
Bolt/nut, rear engine crossmember to
bodyNm4040
Bolt or nut, rear engine mount to
transmissionNm4040
DesignationEngine 111 in model 163
Bolt of rear engine crossmember to bodyNm40
Bolt or nut, rear engine mount to transmissionNm35
DesignationModel 163
Threaded plug in transfer caseNm30
Bolt, transfer case to automatic transmissionNm20
Bolt, transfer case to manual transmissionNm20
2001 Mercedes-Benz ML320
1998-03 AUTOMATIC TRANSMISSIONS Complete Transmissions - ML 320 - 722.662
me
Saturday, October 02, 2010 3:15:30 PMPage 299 © 2006 Mitchell Repair Information Company, LLC.