Page 52 of 321

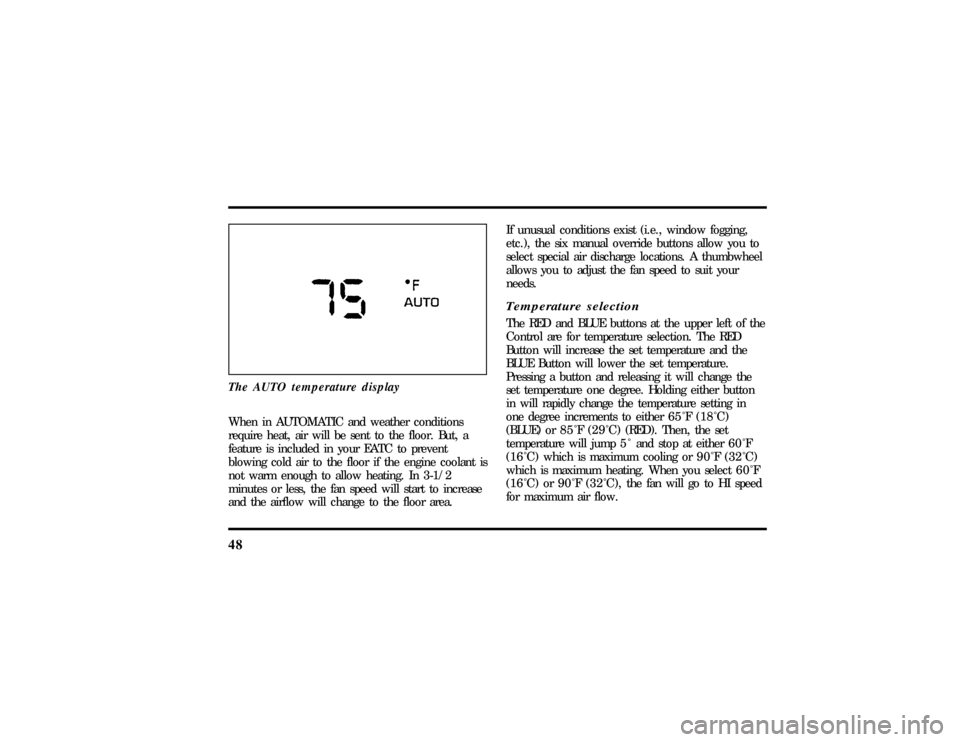
48The AUTO temperature displayWhen in AUTOMATIC and weather conditions
require heat, air will be sent to the floor. But, a
feature is included in your EATC to prevent
blowing cold air to the floor if the engine coolant is
not warm enough to allow heating. In 3-1/2
minutes or less, the fan speed will start to increase
and the airflow will change to the floor area.If unusual conditions exist (i.e., window fogging,
etc.), the six manual override buttons allow you to
select special air discharge locations. A thumbwheel
allows you to adjust the fan speed to suit your
needs.
Temperature selectionThe RED and BLUE buttons at the upper left of the
Control are for temperature selection. The RED
Button will increase the set temperature and the
BLUE Button will lower the set temperature.
Pressing a button and releasing it will change the
set temperature one degree. Holding either button
in will rapidly change the temperature setting in
one degree increments to either65ÊF(18ÊC)
(BLUE) or85ÊF(29ÊC)(RED). Then, the set
temperature will jump 5 Ê and stop at either60ÊF
(16ÊC)which is maximum cooling or90ÊF(32ÊC)
which is maximum heating. When you select60ÊF
(16ÊC) or90ÊF(32ÊC), the fanwill go to HI speed
for maximum air flow.
File:05fncfc.ex
Update:Fri Sep 6 14:53:57 1996
Page 53 of 321
49
The normally selected temperature range is between
68ÊF(20ÊC) and78ÊF(26ÊC).Changing the
temperature setting by several degrees outside this
range or overriding to60ÊF(16ÊC) or90ÊF(32ÊC)
will not speed up the heating or cooling process.
Temperature display
Press MAX A/C and DEF at the same time to
switch between Fahrenheit and Celsius. If the
battery is disconnected, the display will revert
to Fahrenheit.
Fan speed and thumbwheelYour EATC automatically adjusts the fan speed to
the existing conditions. You must push
AUTOMATIC for automatic fan speed operation. To
control the fan speed yourself, use the thumbwheel
which will cancel the automatic fan speed control.
The thumbwheel is located at the extreme right
side of the EATC control panel. It is a vertical
control marked with a fan symbol. Rotate up for HI
and down for LO speeds.
File:05fncfc.ex
Update:Fri Sep 6 14:53:57 1996
Page 54 of 321
50When you move the thumbwheel, the fan speed
will go to manual control. The display window will
show the
Hsymbol in the upper left corner along
with the selected temperature and operating
function.
You can override the fan speed at any time. If you
use the thumbwheel to override the fan speed, the
EATC will continue to control the temperature but
you control the fan speed. To return to auto fan
control, press the AUTOMATIC button. If you are
operating in one of the override functions (FLOOR,
MAX A/C, etc.), automatic fan control will
continue unless you rotate the fan thumbwheel. To
File:05fncfc.ex
Update:Fri Sep 6 14:53:57 1996
Page 55 of 321

51
return to automatic fan control, press the
AUTOMATIC button. The EATC will return to
Automatic operation. If you want to return to any
override function, press the button for that function.
The fan speed will continue to be automatically
controlled.Manual override buttonsYour EATC has six buttons which allow you to
make special selections. The buttons are located
along the bottom edge of the EATC control and
allow you to determine where the air will be
discharged. Pressing any override button changes
the air discharge location only. It does not affect
the ability of the system to control temperature or
the fan speed. Return to fully Automatic operation
by pushing the AUTOMATIC button.MAX A/C button
The MAX A/C feature allows for faster cooling
because air is drawn from inside the vehicle. Using
inside air causes the fan to sound louder which is
normal for this selection. The Display window will
change to indicate60ÊF(16ÊC) and MAXA/C. The
fan will run and the airflow will be from the
instrument panel registers. To exit and return to the
previous temperature, push AUTOMATIC or any of
the other five override buttons.
VENT button
Push this button to select outside air through the
instrument panel registers. The display window will
show the set temperature and VENT to the lower
right of the temperature. Your EATC will heat the
air if the temperature you have selected is warmer
than the outside air coming into the vehicle.
However, the air will NOT be cooled regardless of
the temperature setting.
File:05fncfc.ex
Update:Fri Sep 6 14:53:57 1996
Page 56 of 321

52PNL&FLR button
Push this button to get air from the floor and
instrument panel registers at the same time. The
display will show the set temperature and the
words PNL and FLR. Depending on the selected
temperature, the air will be automatically heated or
cooled.
FLOOR button
Airflow will be to the floor when the FLOOR
button is pressed. The display window will show
the set temperature and FLR to the left of the
temperature. The air cannot be cooled in the FLR
position, only heated. Fan speed will be automatic
unless manually controlled. If you override the fan
speed and wish to return to automatic fan control,
push AUTOMATIC. Then, again select FLOOR for
airflow to the floor.FLR&DEF button
Push this button to get air to the floor and
windshield defrosters at the same time. The display
will show the set temperature, FLR and the Defrost
symbol. If the outside temperature is about50ÊF
(10ÊC) andabove, the air will be dehumidified to
remove moisture. This will help to prevent fogging
in humid weather.
DEF button
Press the Defrost Button to obtain maximum airflow
to the windshield. Adjust the temperature setting as
required for defrosting. The Display window will
show the temperature setting with the Defrost
symbol to the left of the temperature. When the
outside temperature is about50ÊF(10ÊC) and
above, the air will be dehumidified to remove
moisture. This will help prevent fogging in humid
weather.
File:05fncfc.ex
Update:Fri Sep 6 14:53:57 1996
Page 57 of 321

53
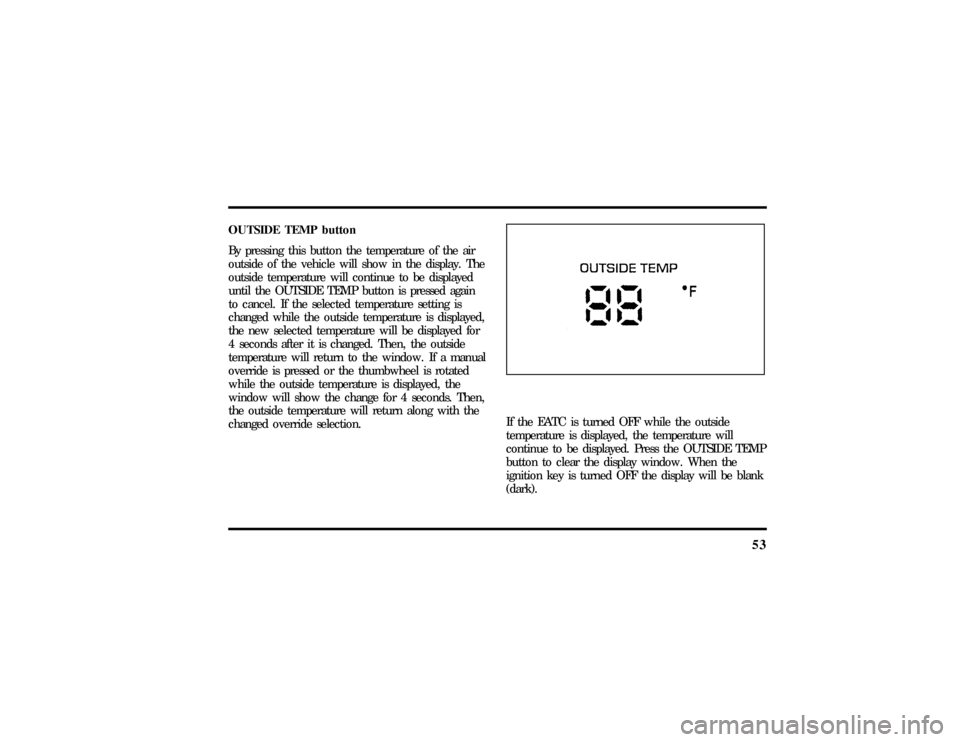
OUTSIDE TEMP button
By pressing this button the temperature of the air
outside of the vehicle will show in the display. The
outside temperature will continue to be displayed
until the OUTSIDE TEMP button is pressed again
to cancel. If the selected temperature setting is
changed while the outside temperature is displayed,
the new selected temperature will be displayed for
4 seconds after it is changed. Then, the outside
temperature will return to the window. If a manual
override is pressed or the thumbwheel is rotated
while the outside temperature is displayed, the
window will show the change for 4 seconds. Then,
the outside temperature will return along with the
changed override selection.
If the EATC is turned OFF while the outside
temperature is displayed, the temperature will
continue to be displayed. Press the OUTSIDE TEMP
button to clear the display window. When the
ignition key is turned OFF the display will be blank
(dark).
File:05fncfc.ex
Update:Fri Sep 6 14:53:57 1996
Page 62 of 321

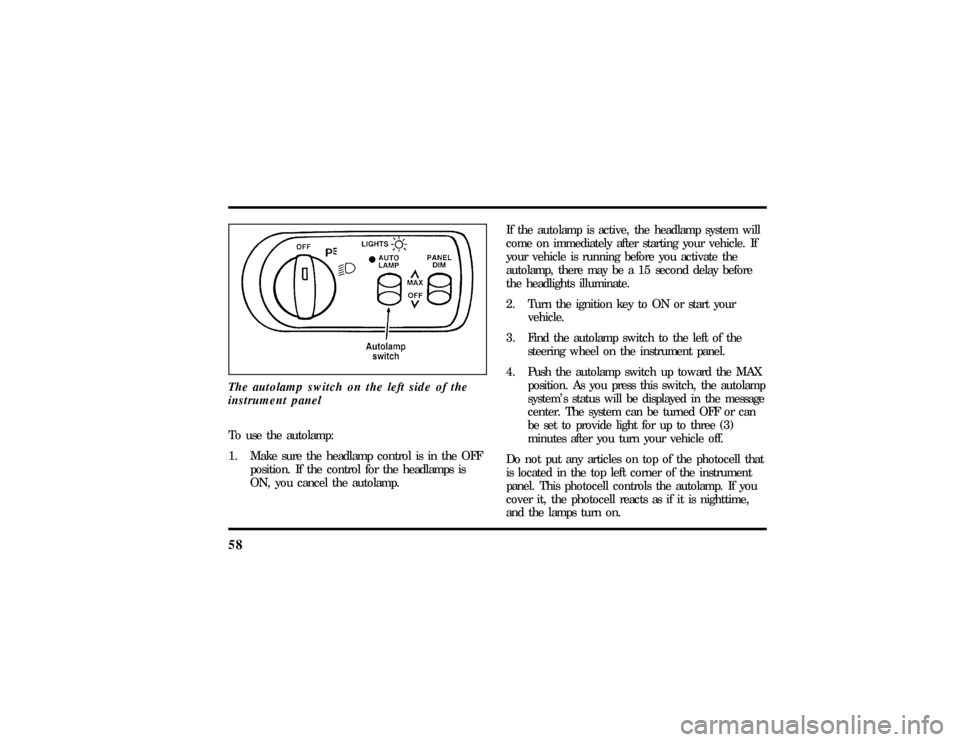
58The autolamp switch on the left side of the
instrument panelTo use the autolamp:
1. Make sure the headlamp control is in the OFF
position. If the control for the headlamps is
ON, you cancel the autolamp.If the autolamp is active, the headlamp system will
come on immediately after starting your vehicle. If
your vehicle is running before you activate the
autolamp, there may be a 15 second delay before
the headlights illuminate.
2. Turn the ignition key to ON or start your
vehicle.
3. Find the autolamp switch to the left of the
steering wheel on the instrument panel.
4. Push the autolamp switch up toward the MAX
position. As you press this switch, the autolamp
system's status will be displayed in the message
center. The system can be turned OFF or can
be set to provide light for up to three (3)
minutes after you turn your vehicle off.
Do not put any articles on top of the photocell that
is located in the top left corner of the instrument
panel. This photocell controls the autolamp. If you
cover it, the photocell reacts as if it is nighttime,
and the lamps turn on.
File:05fncfc.ex
Update:Fri Sep 6 14:53:57 1996
Page 63 of 321
59
To turn the autolamp off, push the switch down
until the message center display reaches OFF.Turning On Interior Lights/Instrument
Panel IlluminationYou can brighten or dim the lights in the
instrument panel and the compass display in the
inside rearview mirror (if equipped) with the
PANEL DIM switch located on the instrument
panel.
The switch that controls interior lamps and
instrument panel brightness
File:05fncfc.ex
Update:Fri Sep 6 14:53:57 1996