1997 HONDA ODYSSEY engine oil
[x] Cancel search: engine oilPage 30 of 241
Carbon Monoxide Hazard
Your car's exhaust contains carbon monoxide gas. You should have no
problem with carbon monoxide
entering the car in normal driving if
you maintain your car properly. Have the exhaust system inspected
for leaks whenever: The car is raised for an oil change.
You notice a change in the sound
of the exhaust. The car was in an accident that
may have damaged the underside. High levels of carbon monoxide can
collect rapidly in enclosed areas,
such as a garage. Do not run the
engine with the garage door closed.
Even with the door open, run the
engine only long enough to move the
car out of the garage. With the tailgate open, air flow can
pull exhaust gas into your car's
interior and create a hazardouscondition. If you must drive with the
tailgate open, open all the windows and set the heating and cooling
system as shown below.
If you must sit in your parked car,
even in an unconfined area, with the
engine running, adjust the heating
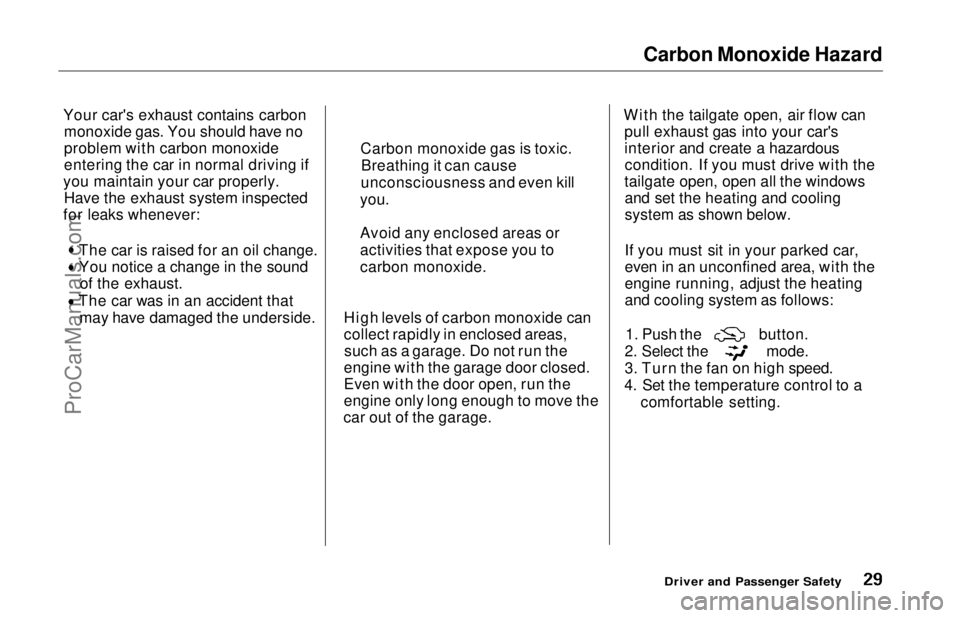
and cooling system as follows: 1. Push the button.
2. Select the mode.
3. Turn the fan on high speed.
4. Set the temperature control to a comfortable setting.
Driver and Passenger Safety
Carbon monoxide gas is toxic.
Breathing it can cause
unconsciousness and even kill
you.
Avoid any enclosed areas or
activities that expose you to
carbon monoxide.ProCarManuals.comMain Menu Table of Contents s t
Page 35 of 241
Indicator Lights
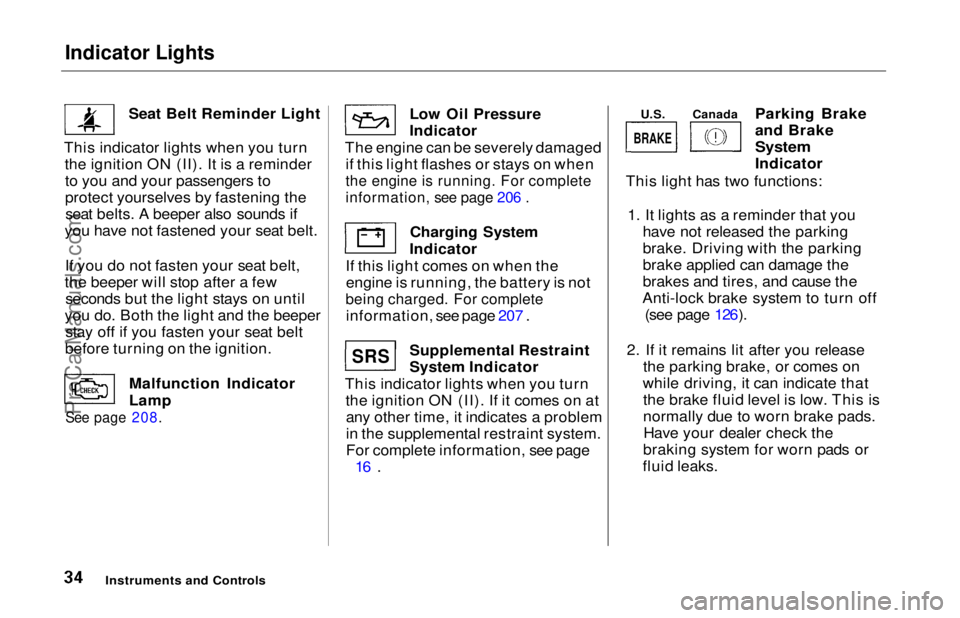
Seat Belt Reminder Light
This indicator lights when you turn the ignition ON (II). It is a reminderto you and your passengers to
protect yourselves by fastening theseat belts. A beeper also sounds if
you have not fastened your seat belt.
If you do not fasten your seat belt,
the beeper will stop after a few seconds but the light stays on until
you do. Both the light and the beeper stay off if you fasten your seat belt
before turning on the ignition.
Malfunction Indicator
Lamp
See page 208.
Low Oil Pressure
Indicator
The engine can be severely damaged if this light flashes or stays on when
the engine is running. For complete
information, see page 206 .
Charging System
Indicator
If this light comes on when the engine is running, the battery is not
being charged. For complete
information, see page 207 .
Supplemental Restraint
System Indicator
This indicator lights when you turn the ignition ON (II). If it comes on atany other time, it indicates a problem
in the supplemental restraint system.
For complete information, see page 16 . Parking Brake
and Brake
System
Indicator
This light has two functions:
1. It lights as a reminder that you have not released the parking
brake. Driving with the parking
brake applied can damage the
brakes and tires, and cause the
Anti-lock brake system to turn off (see page 126).
2. If it remains lit after you release the parking brake, or comes on
while driving, it can indicate that the brake fluid level is low. This is
normally due to worn brake pads.Have your dealer check the
braking system for worn pads or
fluid leaks.
Instruments and Controls
U.S.
Canada
SRS
BRAKE
ProCarManuals.comMain Menu Table of Contents s t
Page 107 of 241

Before Driving
Before you begin driving your Honda,
you should know what gasoline to use, and how to check the levels of
important fluids. You also need to
know how to properly store luggage or packages. The information in thissection will help you. If you plan to
add any accessories to your car,
please read the information in this section first.
Break-in Period.............................. 108
Gasoline.......................................... 108
Oxygenated Fuels...................... 108
Driving in Foreign Countries... 109
Service Station Procedures .......... 110
Filling the Fuel Tank................. 110Opening the Hood..................... 111
Oil Check.................................... 112
Engine Coolant Check.............. 113
Fuel Economy................................ 114 Vehicle Condition...................... 114Driving Habits............................ 114
Accessories..................................... 115 Loading Cargo................................ 116
Before DrivingProCarManuals.comMain Menu s t
Page 112 of 241
Service Station Procedures
Oil Check
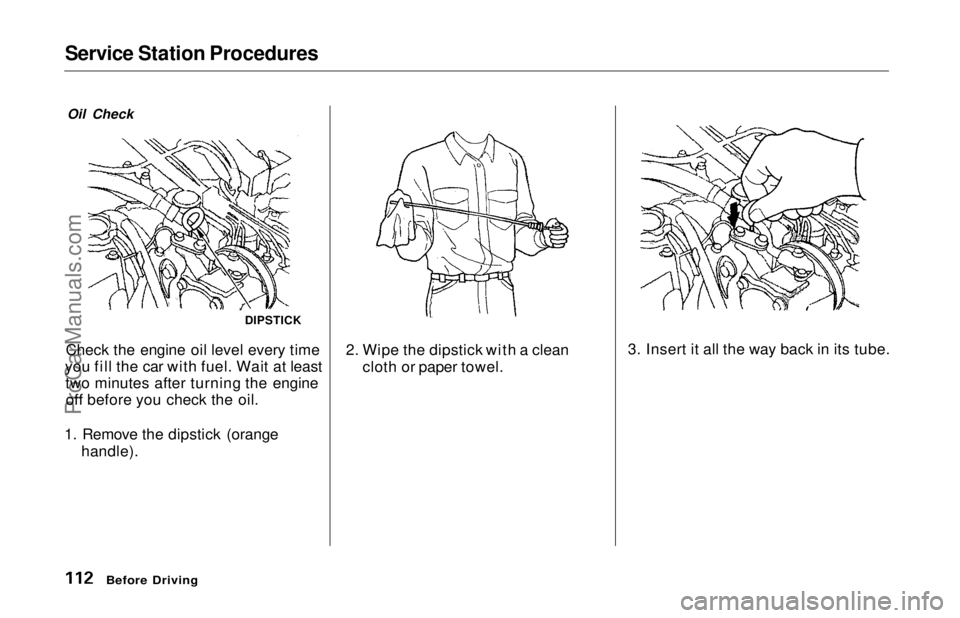
Check the engine oil level every time
you fill the car with fuel. Wait at least two minutes after turning the engineoff before you check the oil.
1. Remove the dipstick (orange handle). 2. Wipe the dipstick with a clean
cloth or paper towel.
Before Driving
DIPSTICK
3. Insert it all the way back in its tube.ProCarManuals.comMain Menu Table of Contents s t
Page 113 of 241
Service Station Procedures
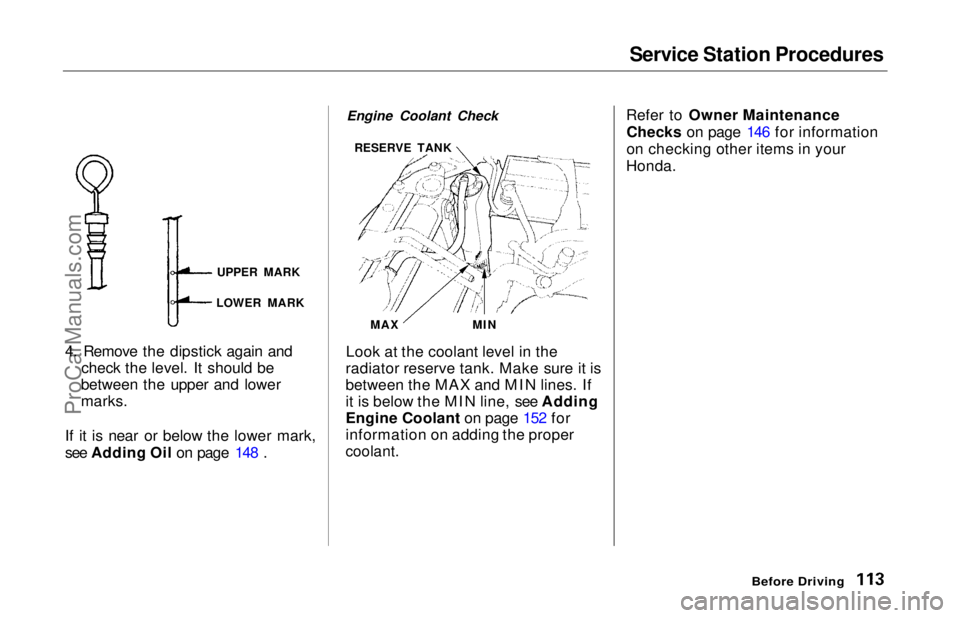
4. Remove the dipstick again and check the level. It should be
between the upper and lower
marks.
If it is near or below the lower mark,
see Adding Oil on page 148 . Engine Coolant Check
Look at the coolant level in the
radiator reserve tank. Make sure it is
between the MAX and MIN lines. If
it is below the MIN line, see Adding
Engine Coolant on page 152 for
information on adding the proper
coolant.
Refer to Owner Maintenance
Checks on page 146 for information
on checking other items in your
Honda.
Before Driving
UPPER MARK
LOWER MARK MIN
MAX
RESERVE TANKProCarManuals.comMain Menu Table of Contents s t
Page 128 of 241
The Braking System, Driving in Bad Weather
If anything goes wrong, the ABS
indicator on the instrument panel
comes on (see page 35). This means
the anti-lock function of the braking
system has shut down. The brakes
still work like a conventional system
without anti-lock, providing normal stopping ability. You should have the
dealer inspect your vehicle as soon
as possible if this light stays on after
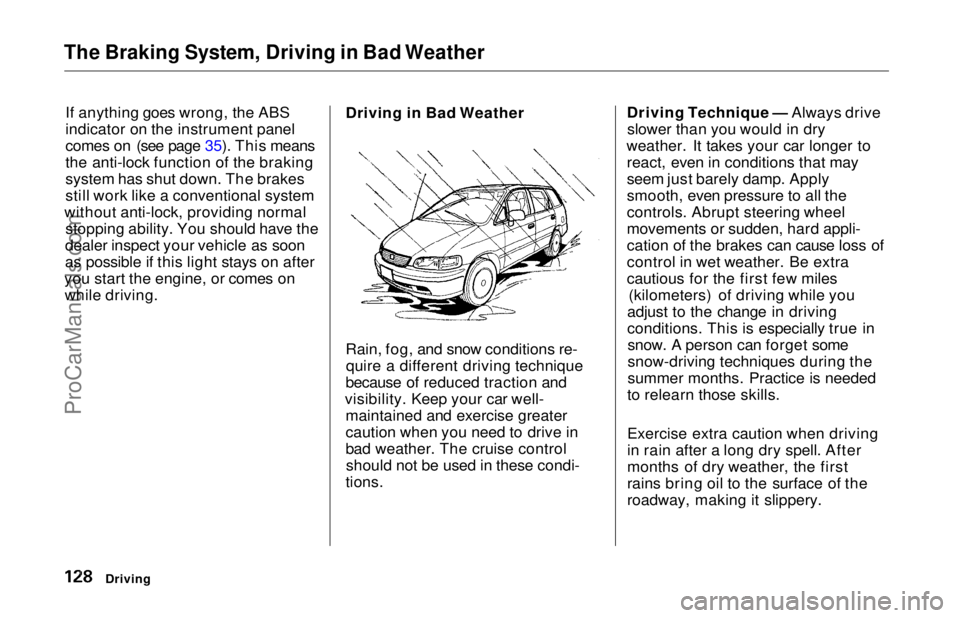
you start the engine, or comes on while driving. Driving in Bad Weather
Rain, fog, and snow conditions re-
quire a different driving technique
because of reduced traction and
visibility. Keep your car well- maintained and exercise greater
caution when you need to drive in
bad weather. The cruise controlshould not be used in these condi-
tions. Driving Technique — Always drive
slower than you would in dry
weather. It takes your car longer to react, even in conditions that may
seem just barely damp. Apply
smooth, even pressure to all the
controls. Abrupt steering wheel
movements or sudden, hard appli-
cation of the brakes can cause loss of
control in wet weather. Be extra
cautious for the first few miles (kilometers) of driving while you
adjust to the change in driving
conditions. This is especially true in snow. A person can forget some
snow-driving techniques during the
summer months. Practice is needed
to relearn those skills.
Exercise extra caution when driving
in rain after a long dry spell. After
months of dry weather, the first
rains bring oil to the surface of the
roadway, making it slippery.
DrivingProCarManuals.comMain Menu Table of Contents s t
Page 136 of 241
Maintenance
This section explains why it is important to keep your car well
maintained and to follow basic
maintenance safety precautions.
This section also includes Maintenance Schedules for normaldriving and severe driving conditions,
a Maintenance Record, and instruc-
tions for simple maintenance tasks
you may want to take care of
yourself.
If you have the skills and tools to per-
form more complex maintenance
tasks on your Honda, you may want to purchase the Service Manual. See
page 235 for information on how toobtain a copy, or see your Honda
dealer.
Maintenance Safety....................... 138
Important Safety Precautions.. 139
Maintenance Schedule.................. 140
Maintenance Record..................... 144
Owner Maintenance Checks........ 146
Fluid Locations............................... 147
Engine Oil....................................... 148
Adding Oil................................... 148Recommended Oil..................... 148
Synthetic Oil............................... 149
Additives..................................... 150
Changing the Oil and Filter...... 150
Cooling System.............................. 152
Adding Engine Coolant............. 152Replacing Engine Coolant........ 154
Windshield Washers..................... 156
Automatic Transmission Fluid..... 157
Brake Fluid..................................... 158
Brake System............................. 158
Anti-lock Brake System............ 159
Power Steering............................... 159
Air Cleaner Element...................... 160
Spark Plugs..................................... 162
Replacement............................... 162
Specifications............................. 163
Battery............................................ 164
Windshield Wipers........................ 166
Air Conditioning System............... 169
Drive Belts...................................... 170
Timing Belt..................................... 170
Tires................................................ 171 Inflation....................................... 171
Inspection................................... 173
Maintenance............................... 173
Tire Rotation.............................. 174 Replacing Tires and Wheels .... 174
Wheels and Tires....................... 175
Winter Driving........................... 175 Snow Tires.............................. 176
Tire Chains............................. 176
Lights.............................................. 177
Headlight Aiming...................... 177
Replacing Bulbs......................... 179
Storing Your Car............................ 184
MaintenanceProCarManuals.comMain Menu s t
Page 145 of 241
Owner Maintenance Checks
You should check the following items at the specified intervals. If
you are unsure of how to perform any check, turn to the page given. Engine oil level — Check every
time you fill the fuel tank. See
page 112.
Engine coolant level — Check the
radiator reserve tank every time
you fill the fuel tank. See page 113.
Windshield washer fluid — Check the level in the reservoir monthly.
If weather conditions cause you to
use the washers frequently, check
the reservoir each time you stop
for fuel. See page 156.
Automatic transmission — Check the fluid level monthly. See page
157.
Brakes — Check the fluid level
monthly. See page 158. Tires — Check the tire pressure
monthly. Examine the tread for
wear and foreign objects. See page
171.
Lights — Check the operation of
the headlights, parking lights,
taillights, high-mount brake light,
turn signals, brake lights, and
license plate lights monthly. See
page 177.
MaintenanceProCarManuals.comMain Menu Table of Contents s t