Page 128 of 241

The Braking System, Driving in Bad Weather
If anything goes wrong, the ABS
indicator on the instrument panel
comes on (see page 35). This means
the anti-lock function of the braking
system has shut down. The brakes
still work like a conventional system
without anti-lock, providing normal stopping ability. You should have the
dealer inspect your vehicle as soon
as possible if this light stays on after
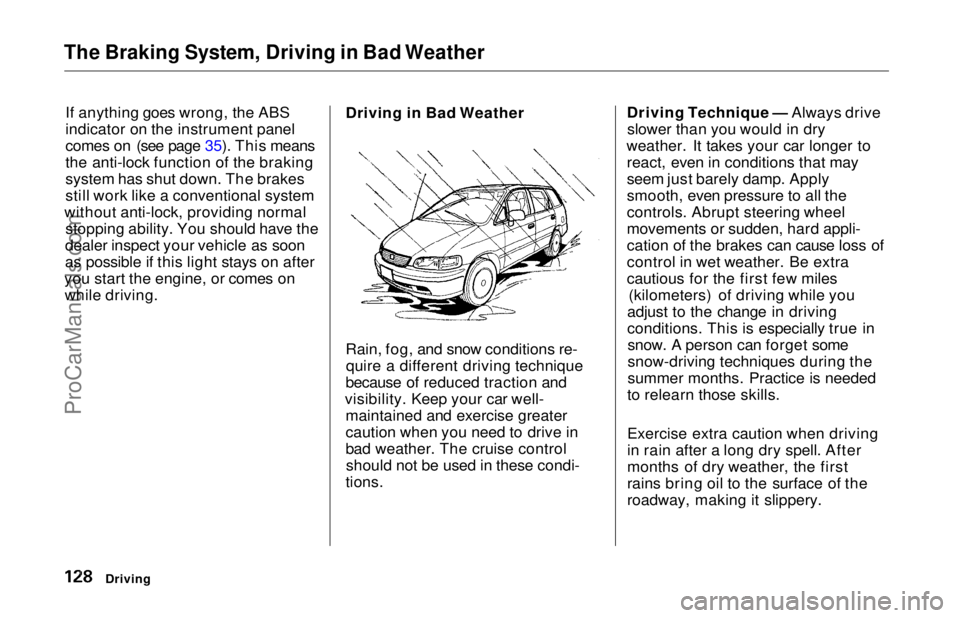
you start the engine, or comes on while driving. Driving in Bad Weather
Rain, fog, and snow conditions re-
quire a different driving technique
because of reduced traction and
visibility. Keep your car well- maintained and exercise greater
caution when you need to drive in
bad weather. The cruise controlshould not be used in these condi-
tions. Driving Technique — Always drive
slower than you would in dry
weather. It takes your car longer to react, even in conditions that may
seem just barely damp. Apply
smooth, even pressure to all the
controls. Abrupt steering wheel
movements or sudden, hard appli-
cation of the brakes can cause loss of
control in wet weather. Be extra
cautious for the first few miles (kilometers) of driving while you
adjust to the change in driving
conditions. This is especially true in snow. A person can forget some
snow-driving techniques during the
summer months. Practice is needed
to relearn those skills.
Exercise extra caution when driving
in rain after a long dry spell. After
months of dry weather, the first
rains bring oil to the surface of the
roadway, making it slippery.
DrivingProCarManuals.comMain Menu Table of Contents s t
Page 154 of 241

Cooling System
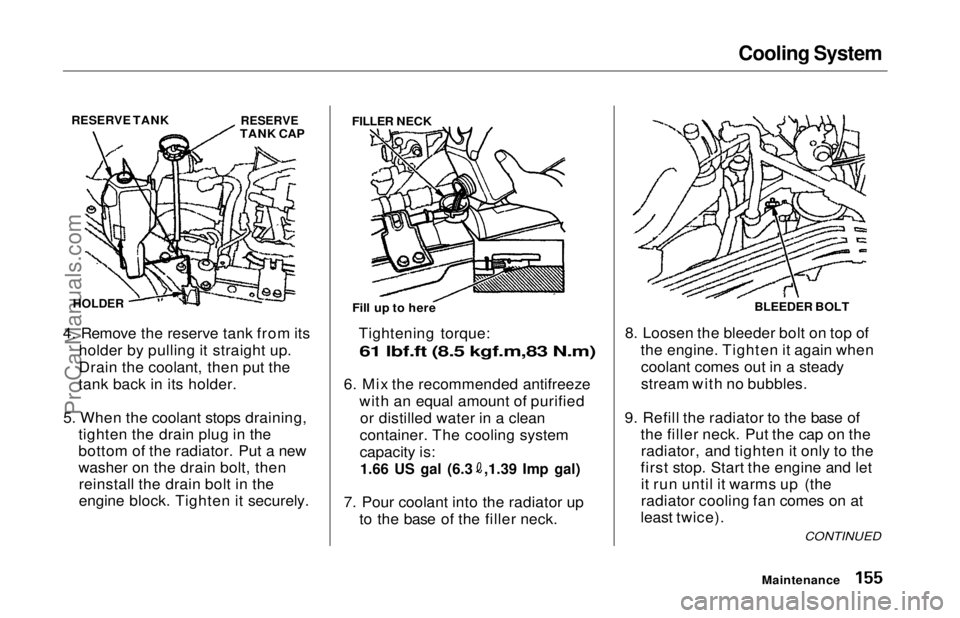
4. Remove the reserve tank from its holder by pulling it straight up.
Drain the coolant, then put the
tank back in its holder.
5. When the coolant stops draining, tighten the drain plug in the
bottom of the radiator. Put a new
washer on the drain bolt, thenreinstall the drain bolt in the
engine block. Tighten it securely. Tightening torque:
61 lbf.ft (8.5 kgf.m,83 N.m)
6. Mix the recommended antifreeze
with an equal amount of purifiedor distilled water in a clean
container. The cooling system
capacity is:
1.66 US gal (6.3 ,1.39 Imp gal)
7. Pour coolant into the radiator up to the base of the filler neck. 8. Loosen the bleeder bolt on top of
the engine. Tighten it again whencoolant comes out in a steady
stream with no bubbles.
9. Refill the radiator to the base of the filler neck. Put the cap on theradiator, and tighten it only to the
first stop. Start the engine and let it run until it warms up (the
radiator cooling fan comes on at
least twice).
Maintenance
CONTINUED
RESERVE TANK
RESERVE
TANK CAP
HOLDER
FILLER NECK
Fill up to here BLEEDER BOLT
ProCarManuals.comMain Menu Table of Contents s t
Page 203 of 241

If Your Engine Overheats
4. If the temperature gauge stays at the red mark, turn off the engine.
5. Wait until you see no more signs of steam or spray, then open the
hood.
6. Look for any obvious coolant leaks, such as a split radiator hose.
Everything is still extremely hot, so use caution. If you find a leak, it
must be repaired before you
continue driving (see Towing on
page 215).
7. If you don't find an obvious leak, check the coolant level in the
radiator reserve tank (see page113). If the level is below the
MIN mark, add coolant to halfway
between the MIN and MAX marks.
8. If there was no coolant in the reserve tank, you may also have to
add coolant to the radiator. Let the
engine cool down until the pointer reaches the middle of the tempera-
ture gauge, or lower, before check-
ing the radiator.
9. Using gloves or a large heavy cloth, turn the radiator cap
counterclockwise, without pushing
down, to the first stop. This
releases any remaining pressure in
the cooling system. After the
pressure releases, push down on
the cap and turn it until it comes
off.
10.Start the engine and set the
temperature control lever tomaximum. Add coolant to the
radiator up to the base of the filler
neck. If you do not have the
proper coolant mixture available,
you can add plain water. Remember to have the coolingsystem drained and refilled with
the proper mixture as soon as you
can.
11. Put the radiator cap back on tightly. Run the engine and watch
the temperature gauge. If it goes
back to the red mark, the engine
needs repair. (See Towing on
page 215.)
12.If the temperature stays normal, check the coolant level in the
radiator reserve tank. If it has
gone down, add coolant to the MAX mark. Put the cap back on
tightly.
Taking Care of the Unexpected
Removing the radiator cap
while the engine is hot can cause the coolant to spray out,seriously scalding you.
Always let the engine and radiator cool down before
removing the radiator cap.ProCarManuals.comMain Menu Table of Contents s t
Page 204 of 241

Low Oil Pressure Indicator
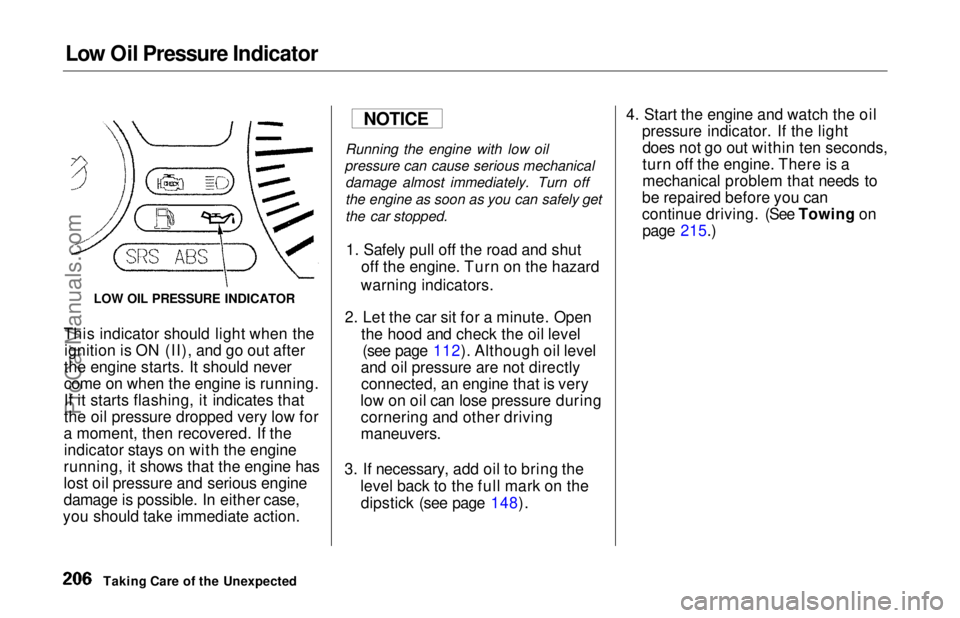
This indicator should light when the ignition is ON (II), and go out after
the engine starts. It should never
come on when the engine is running.
If it starts flashing, it indicates that
the oil pressure dropped very low for
a moment, then recovered. If the indicator stays on with the engine
running, it shows that the engine has
lost oil pressure and serious engine
damage is possible. In either case,
you should take immediate action. Running the engine with low oil
pressure can cause serious mechanical damage almost immediately. Turn off
the engine as soon as you can safely get
the car stopped.
1. Safely pull off the road and shut off the engine. Turn on the hazard
warning indicators.
2. Let the car sit for a minute. Open the hood and check the oil level(see page 112). Although oil level
and oil pressure are not directly connected, an engine that is very
low on oil can lose pressure during cornering and other driving
maneuvers.
3. If necessary, add oil to bring the level back to the full mark on thedipstick (see page 148). 4. Start the engine and watch the oil
pressure indicator. If the lightdoes not go out within ten seconds,
turn off the engine. There is a
mechanical problem that needs to
be repaired before you can
continue driving. (See Towing on page 215.)
Taking Care of the Unexpected
NOTICE
LOW OIL PRESSURE INDICATORProCarManuals.comMain Menu Table of Contents s t
Page 205 of 241
Charging System Indicator
This indicator should come on when the ignition is ON (II), and go out
after the engine starts. If it comes on
brightly when the engine is running, it indicates that the charging system
has stopped charging the battery. Immediately turn off all electrical
accessories: radio, heater, A/C, rear
defogger, cruise control, etc. Try not
to use other electrically-operated
controls such as the power windows. Keep the engine running and take
extra care not to stall it. Starting the
engine will discharge the battery
rapidly. By eliminating as much of the
electrical load as possible, you can drive several miles before the
battery is top discharged to keep the
engine running. Drive to a service station or garage where you can get
technical assistance.
Taking Care of the Unexpected
CHARGING SYSTEM INDICATORProCarManuals.comMain Menu Table of Contents s t