1997 GMC SIERRA manual transmission
[x] Cancel search: manual transmissionPage 298 of 436
How to Check
Because this operation can be a little difficult, you may
choose to have this
done at your GM dealership
Service Department.
If you do it yourself, be sure to follow all the instructions
here,
or you could get a false reading on the dipstick.
NOTICE:
Too much or too little fluid can damage your
transmission.
Too much can mean that some of
the fluid could come out and fall on hot engine
parts or exhaust system parts, starting a fire. Be
sure to get an accurate reading if you check your
transmission fluid.
Wait at least 30 minutes before checking the
transmission fluid level if you have been driving:
0 When outside temperatures are above 90°F (32°C).
To get the right reading, the fluid should be at normal
operating temperature, which
is 180°F to 200 "F
(82°C to 93°C).
Checking Transmission Fluid Hot
Get the vehicle warmed up by driving about 15 miles
(24 km) when outside temperatures are above 50°F
(10°C). If it's colder than 50°F ( 10°C), drive the
vehicle
in THIRD (3) until the engine temperature gage
moves and then remains steady for 10 minutes. Then
follow
the hot check procedures.
Checking Transmission Fluid Cold
A cold check is made after the vehicle has been sitting
for eight hours or more with the engine
off and is used
only as a reference. Let the engine run at idle for five
minutes if outside temperatures are 50°F
( 10°C) or
more. If it's colder than
50°F (lO"C), you may have
to idle the engine longer. Should the fluid level be low
during a cold check,
you must perform a hot check
before adding fluid. This will give you a more accurate
reading
of the fluid level.
0 At high speed for quite a while.
0 In heavy traffic -- especially in hot weather.
0 While pulling a trailer.
6-22
ProCarManuals.com
Page 299 of 436
Checking the Fluid Hot or Cold
Park your vehicle on a level place. Keep the
engine running.
With the parking brake applied, place the shift lever
in PARK
(P).
0 With your foot on the brake pedal, move the shift
lever through each gear range, pausing
for about
three seconds in each range. Then, position the shift
lever in PARK (P). Then, without shutting
off the engine, follow these steps:
0 Let the
engine run at idle for three minutes or more.
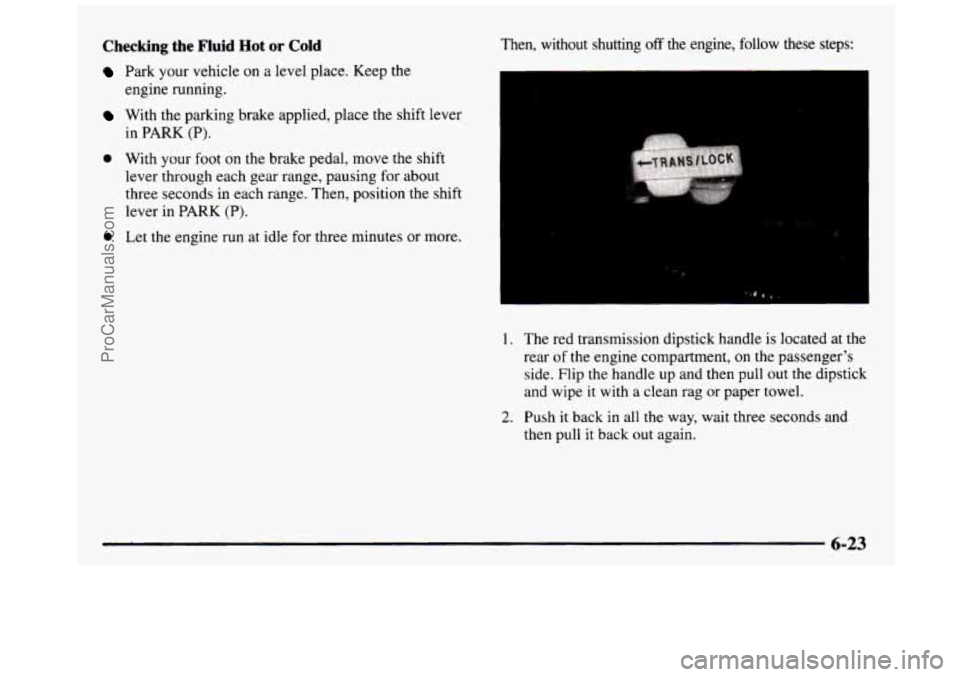
1. The red transmission dipstick handle is located at the
rear
of the engine compartment, on the passenger's
side. Flip the handle
up and then pull out the dipstick
and wipe
it with a clean rag or paper towel.
2. Push it back in all the way, wait three seconds and
then
pull it back out again.
ProCarManuals.com
Page 300 of 436
I
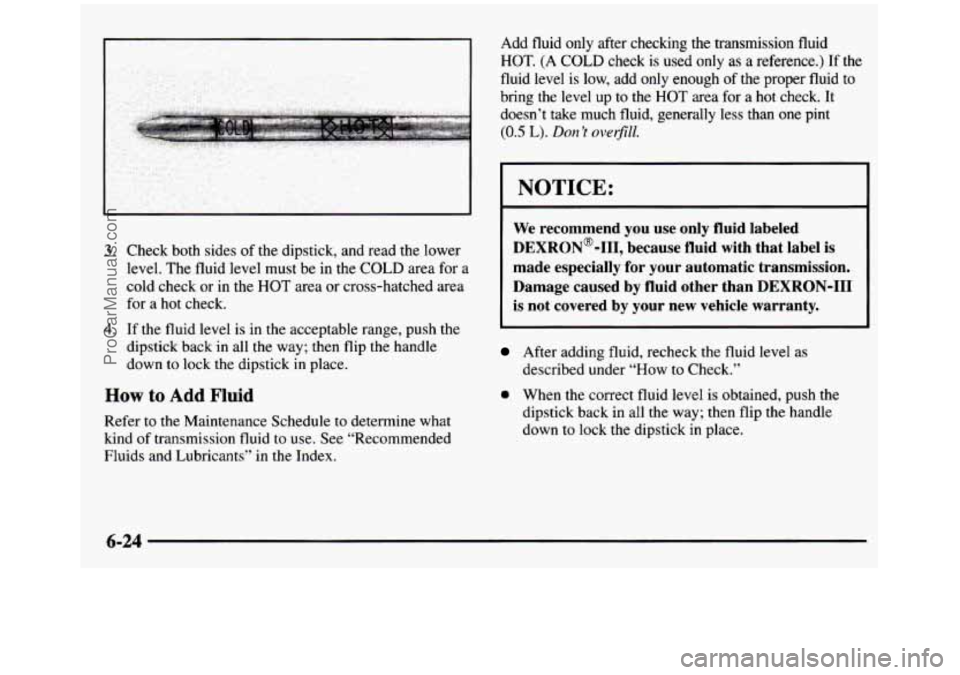
3. Check both sides of the dipstick, and read the lower
level. The fluid level must
be in the COLD area for a
cold check or in the HOT area or cross-hatched area
for a hot check.
4. If the fluid level is in the acceptable range, push the
dipstick back in all the way; then flip the handle
down to lock the dipstick in place.
How to Add Fluid
Refer to the Maintenance Schedule to determine what
kind
of transmission fluid to use. See “Recommended
Fluids and Lubricants”
in the Index. Add
fluid only after checking the transmission fluid
HOT. (A COLD check is used only as a reference.) If the
fluid level is low, add only enough
of the proper fluid to
bring the level up to the
HOT area for a hot check. It
doesn’t take much fluid, generally less than one pint
(0.5 L). Don ’t ove@ZZ.
NOTICE:
We recommend you use only fluid labeled
DEXRON@-111, because fluid with that label is
made especially
for your automatic transmission.
Damage caused by fluid other than DEXRON-111
is not covered by your new vehicle warranty.
After adding fluid, recheck the fluid level as
described under
“HOW to Check.”
0 When the correct fluid level is obtained, push the
dipstick back in all
the way; then flip the handle
down to lock the dipstick
in place.
6-24
ProCarManuals.com
Page 301 of 436
Manual Transmission Fluid
When to Check
A good time to have it checked is when the engine oil is
changed. However, the fluid
in your manual
transmission doesn’t require changing.
How to Check
Because this operation can be a little difficult, you may
choose to have this done at your
GM dealership
Service Department.
If you do it yourself, be sure to follow all the
instructions here, or you could get a false reading.
NOTICE:
Too much or too little fluid can damage your
transmission.
Too much can mean that some of
the fluid could come out and
fall on hot engine
parts or exhaust system parts, starting
a fire. Be
sure to get an accurate reading if
you check your
transmission fluid.
Check the fluid level only when your engine is off, the
vehicle is parked on
a level place and the transmission is
cool enough for you to rest your fingers on the
transmission case.
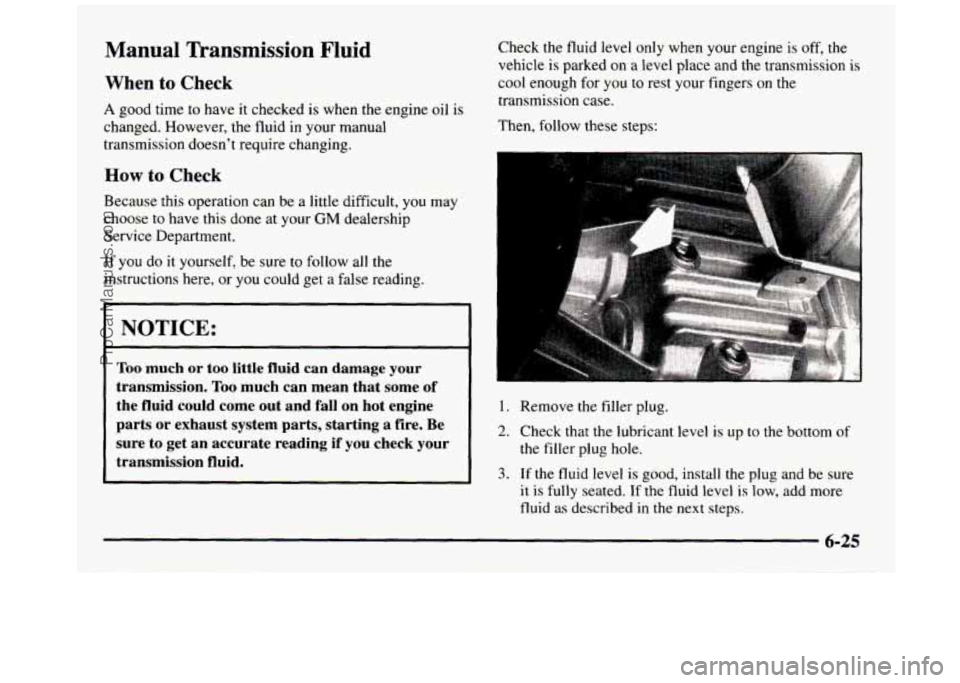
Then, follow these steps:
1. Remove the filler plug.
2. Check that the lubricant level is up to the bottom of
3. If the fluid level is good, install the plug and be sure
the
filler plug hole.
it
is fully seated. If the fluid level is low, add more
fluid as described
in the next steps.
ProCarManuals.com
Page 349 of 436
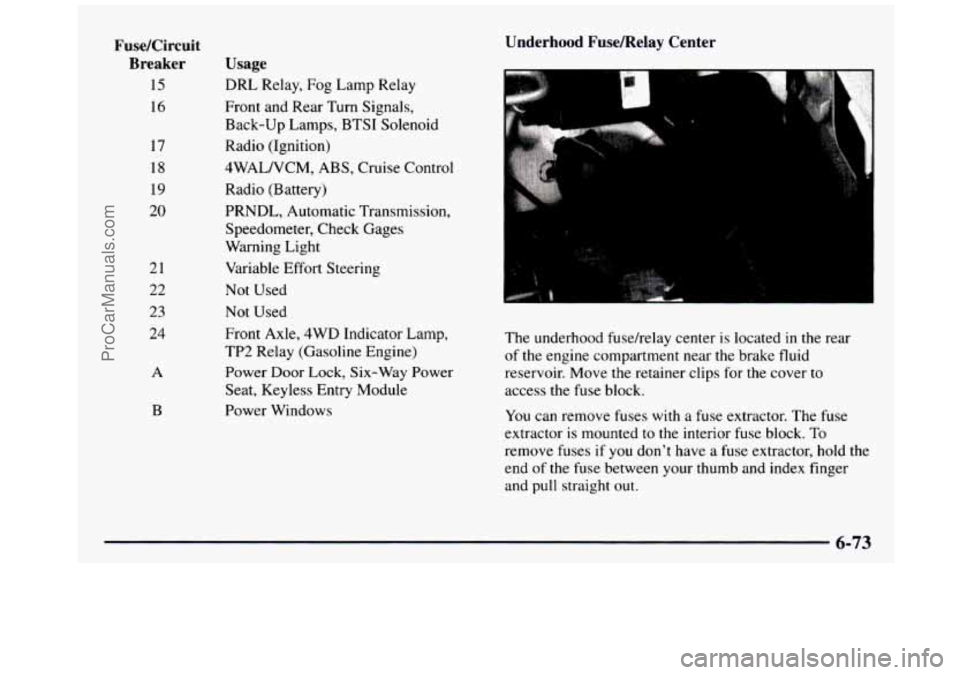
FuseKircuit Breaker
15
16
17
18
19
20
21
22
23
24
A
B
Usage
DRL Relay, Fog Lamp Relay
Front and Rear Turn Signals,
Back-up Lamps, BTSI Solenoid
Radio (Ignition)
LCWALNCM, ABS, Cruise Control
Radio (Battery)
PRNDL, Automatic Transmission, Speedometer, Check Gages
Warning Light
Variable Effort Steering
Not Used
Not Used
Front Axle, 4WD Indicator Lamp,
TP2 Relay (Gasoline Engine)
Power Door Lock, Six-Way Power
Seat, Keyless Entry Module
Power Windows
Underhood Fusemelay Center
The underhood fusehelay center is located in the rear
of the engine compartment near the brake fluid
reservoir. Move the retainer clips for the cover to
access the fuse block.
You can remove fuses with
a fuse extractor. The fuse
extractor
is mounted to the interior fuse block. To
remove fuses
if you don’t have a fuse extractor, hold the
end of the fuse between your thumb and index finger
and
pull straight out.
ProCarManuals.com
Page 359 of 436
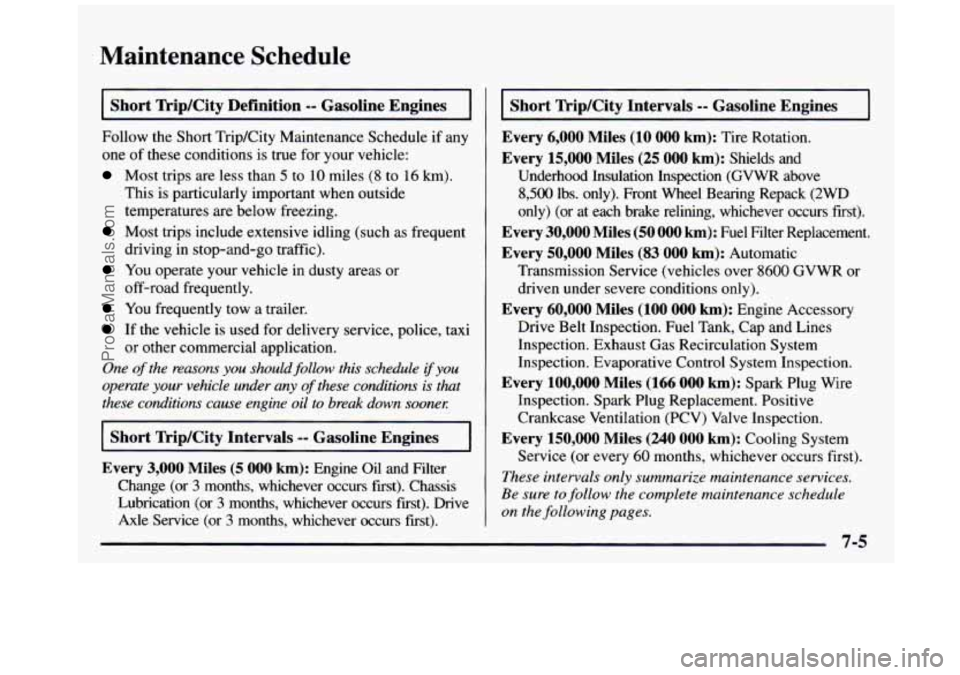
Maintenance Schedule
-
Short Trip/City Definition -- Gasoline Engines
Follow the Short TripKity Maintenance Schedule if any
one of these conditions is true for your vehicle:
Most trips are less than 5 to 10 miles (8 to 16 km).
This is particularly important when outside
temperatures
are below freezing.
driving in stop-and-go traffic).
off-road frequently.
Most trips include extensive idling (such as frequent
You operate your vehicle in dusty areas or
You frequently tow a trailer.
If the vehicle is used for delivery service, police, taxi
One of the reasons you should follow this schedule if you
operate
your vehicle under any of these conditions is that
these conditions cause engine
oil to break down soonel:
Short Trip/City Intervals -- Gasoline Engines
Every
3,000 Miles (5 000 km): Engine Oil and Filter
or other commercial application.
Change (or
3 months, whichever occurs first). Chassis
Lubrication (or
3 months, whichever occurs first). Drive
Axle Service (or
3 months, whichever occurs fmt).
Short Trip/City Intervals -- Gasoline Engines
Every 6,000 Miles (10
000 km): Tire Rotation.
Every 15,000 Miles (25 000 km): Shields and
Underhood Insulation Inspection (GVWR above
8,500 lbs. only). Front Wheel Bearing Repack (2WD
only) (or at each brake relining, whichever occurs first).
Every 30,000 Miles (50 000 km): Fuel Filter Replacement.
Every 50,000 Miles (83 000 km): Automatic
Transmission Service (vehicles over
8600 GVWR or
driven under severe conditions only).
Every 60,000 Miles (100 000 km): Engine Accessory
Drive Belt Inspection. Fuel Tank, Cap and Lines
Inspection. Exhaust Gas Recirculation System
Inspection. Evaporative Control System Inspection.
Every 100,000 Miles (166 000 km): Spark Plug Wire
Inspection. Spark Plug Replacement. Positive
Crankcase Ventilation (PCV) Valve Inspection.
Every 150,000 Miles (240 000 km): Cooling System
Service (or every
60 months, whichever occurs first).
These intervals only summarize maintenance services.
Be sure to follow the complete maintenance schedule
on the following pages.
ProCarManuals.com
Page 360 of 436
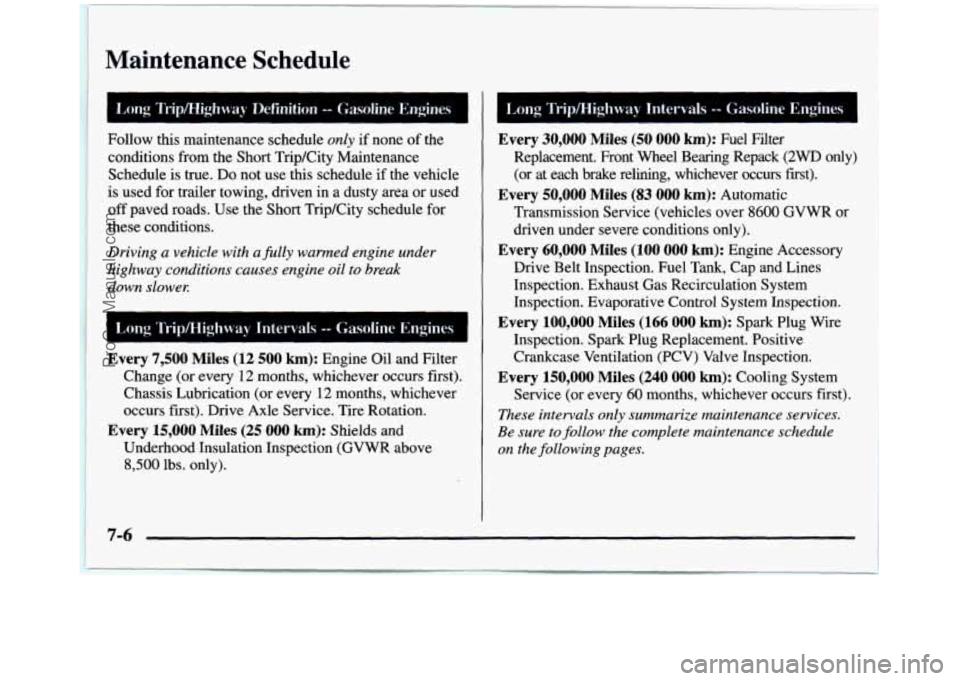
Maintenance Schedule
Follow this maintenance schedule only if none of the
conditions from the Short Trip/City Maintenance
Schedule is true.
Da not use this schedule if the vehicle
is used for trailer towing, driven in a dusty area or used
off paved roads. Use the Short Trip/City schedule for
these conditions.
Driving a vehicle with afully warmed engine under
highway conditions causes engine
oil to break
down slower:
Every 7,500 Miles (12 500 km): Engine Oil and Filter
Change (or every
12 months, whichever occurs first).
Chassis Lubrication (or every 12 months, whichever
occurs first). Drive Axle Service. Tire Rotation.
Underhood Insulation Inspection (GVWR above
8,500 lbs. only).
Every 15,000 Miles (25 OOO km): Shields and
I
1 Long Trip/Highway Intervals -- Gasoline Engines ~~~ ~
~ ~~
Every 30,000 Miles (50 000 km): Fuel Filter
Replacement. Front Wheel Bearing Repack
(2WD only)
(or at each brake relining, whichever occurs fiist).
Transmission Service (vehicles over
8600 GVWR or
driven under severe conditions only).
Every 60,000 Miles (100 000 km): Engine Accessory
Drive Belt Inspection. Fuel
Tank, Cap and Lines
Inspection. Exhaust Gas Recirculation System
Inspection. Evaporative Control System Inspection.
Every 100,000 Miles (166 000 km): Spark Plug Wire
Inspection. Spark Plug Replacement. Positive
Crankcase Ventilation (PCV) Valve Inspection.
Every 150,000 Miles (240 000 km): Cooling System
Service (or every
60 months, whichever occurs first).
Every 50,000 Miles (83 000 km): Automatic
These intervals only summarize maintenance services.
Be sure to
follow the complete maintenance schedule
on the following pages.
7-6
ProCarManuals.com
Page 361 of 436
Short TripKity Maintenance Schedule =- Gasoline Engines
The services shown in this schedule up to 100,000 miles
(166 000 km) should be performed after 100,000 miles
(166 000 km) at the same intervals. The services shown
at 150,000 miles (240 000 km) should be performed at
the same interval after 150,000 miles (240 000 km).
See “Owner Checks and Services” and “Periodic
Maintenance Inspections” following.
Footnotes
The U.S. Environmental Protection Agency or the
California
Air Resources Board has determined that the
failure to perform this maintenance item will not nullify
the emission warranty or limit recall liability prior to the
completion of the vehicle’s useful life. We, however, urge
that all recommended maintenance services
be performed
at the indicated intervals and the maintenance be recorded.
# Lubricate the front suspension, kingpin bushings,
steering linkage, transmission shift linkage, transfer case
shift linkage, parking brake cable guides, rear driveline
center splines, front axle propshaft splines and brake
pedal springs. Ball joints and kingpin bushings should
not be lubricated unless their temperature
is 10°F
(- 12°C) or higher, or they could be damaged.
+ A good time to check your brakes is during tire
rotation. See “Brake System Inspection’’ under “Periodic
Maintenance Inspection”
in Part C of this schedule.
ProCarManuals.com