Page 122 of 219
Trailer towing table (F-250 4x4 manual transmission)
4.6L 3.73 3,533 (7,800) 1,224
(2,700)5.52 (60)
SuperCab F-250
4.6L 3.31 3,261 (7,200) 952 (2,100) 5.52 (60)
4.6L 3.73 3,533 (7,800) 1,224
(2,700)5.52 (60)
TOWING A TRAILER
Your vehicle may tow a class I, II
or III trailer provided the
maximum trailer weight is less
than or equal to the maximum
trailer weight listed for your engine
and rear axle ratio on the above
charts.
Your vehicle's load capacity is
designated by weight, not by
volume, so you cannot necessarily
use all available space when
loading a vehicle.
Towing a trailer places an
additional load on your vehicle's
engine, transmission, axle, brakes,
tires and suspension. Inspect these
components carefully after any
towing operation.
f12_trailer
Driving
123
Page 123 of 219
Do not exceed the GVWR
or the GAWR specified on
the Safety Compliance
Certification Label.
Towing trailers beyond the
maximum recommended
gross trailer weight could result
in engine damage,
transmission/axle damage,
structural damage, loss of
control, and personal injury.
Preparing to tow
Use the proper equipment for
towing a trailer, and make sure it
is properly attached to your
vehicle. See your dealer or a
reliable trailer dealer if you require
assistance.
Hitches
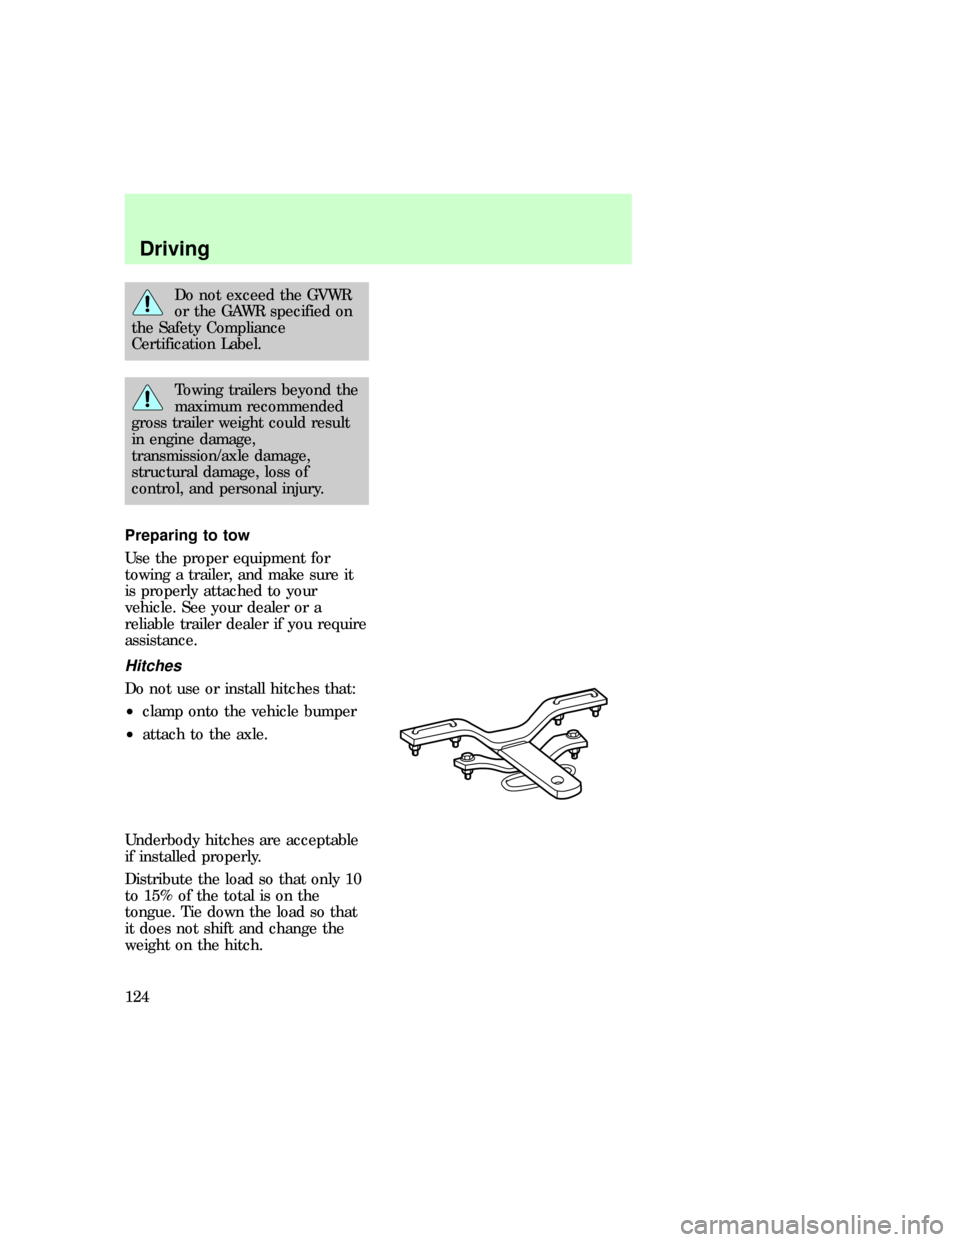
Do not use or install hitches that:
²clamp onto the vehicle bumper
²attach to the axle.
Underbody hitches are acceptable
if installed properly.
Distribute the load so that only 10
to 15% of the total is on the
tongue. Tie down the load so that
it does not shift and change the
weight on the hitch.
f12_preparing_tow
f12_hitches
Driving
124
Page 126 of 219
mph) with a trailer while towing in
hilly country or on hot days.
Speed control may shut off if you
are towing on very long, steep
grades.
When towing a trailer
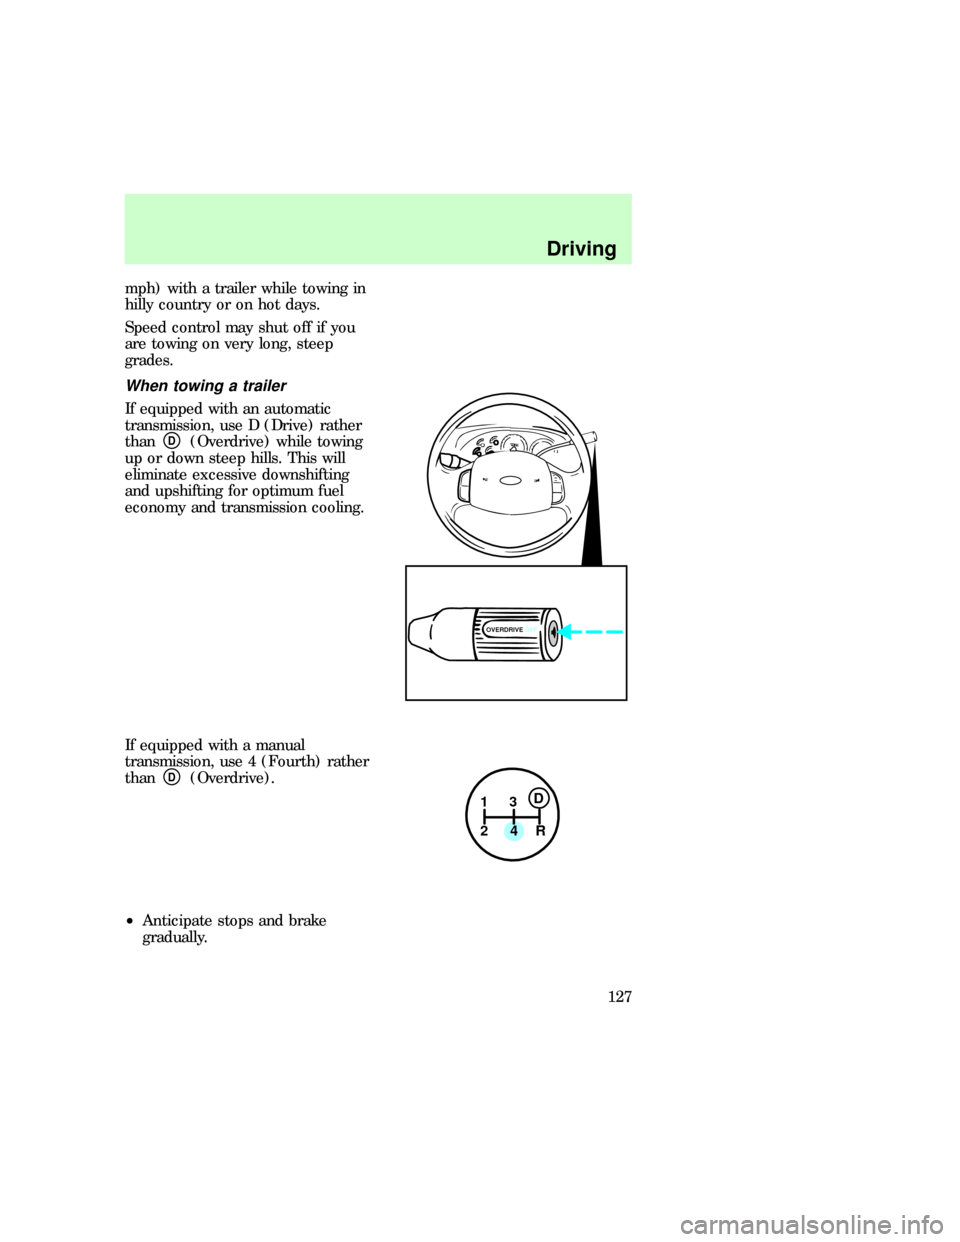
If equipped with an automatic
transmission, use D (Drive) rather
than
D(Overdrive) while towing
up or down steep hills. This will
eliminate excessive downshifting
and upshifting for optimum fuel
economy and transmission cooling.
If equipped with a manual
transmission, use 4 (Fourth) rather
than
D(Overdrive).
²Anticipate stops and brake
gradually.
OVERDRIVE OFF
1
24R3D
f12_when_you_tow
Driving
127
Page 127 of 219

²Allow more room for stopping
with a trailer attached.
²Practice turning, stopping and
backing in an area before
starting on a trip to get the feel
of the vehicle/trailer
combination.
²When turning, drive slightly
beyond the normal turning point
so the trailer wheels will clear
curbs and other obstacles.
²When stopped in traffic for long
periods of time in hot weather,
place the automatic transmission
gearshift in P (Park) to increase
idle speed. This aids engine
cooling and air conditioner
efficiency.
²Vehicles with trailers should not
be parked on a grade. If you
must park on a grade, place
wheel chocks under the trailer's
wheels.
²After you have travelled about
80 km (50 miles), thoroughly
check your hitch, electrical
connections and trailer wheel
lug nuts.
Launching or retrieving a boat
When backing down a ramp during
boat launching or retrieval,
²Do not allow the static water
level to rise above the bottom
edge of the rear bumper and
²Do not allow waves to break
higher than 15 cm (six inches)
above the bottom edge of the
rear bumper.
com_launch-retrieving_boat.01
Driving
128
Page 128 of 219
Exceeding these limits may allow
water to enter critical vehicle
components, adversely affecting
driveability, emissions and
reliability.
Servicing when towing
If you tow a trailer for long
distances, your vehicle will require
more frequent service intervals.
Refer to the ªService Guideº for
more information.
SNOWPLOWING
Ford recommends the following
specifications for low speed,
personal use snow removal:
²F-150 4WD long wheelbase or
F-250 4WD Regular Cab
²4.6L or 5.4L engine
²Super engine cooling
²Heavy duty front suspension
package
²Automatic transmission with
auxiliary automatic transmission
fluid cooling
²All-terrain tires
Do not install a snowplow and
plow with your vehicle until it has
been driven at least 800 km (500
miles).
Installing snowplow
Read the following instructions
before installing a snowplow:
²Front GAWR must not exceed
63% of the GVW. Add ballast
weight to the back of the
f12_service_towing
f12_snowplowing
f12_install_plow
Driving
129
Page 132 of 219
If you are driving more then 24 km
(15 miles) at temperatures above
freezing, angle the plow blade
either full left or full right to
provide maximum airflow to the
radiator.
If you are driving less than 24 km
(15 miles) at speeds up to 64 km/h
(40 mph) in cold weather, you will
not need to worry about blade
position to provide maximum
airflow.
Transmission operation while
plowing
²Shift transfer case to 4L (4WD
Low) when plowing in small
areas at speeds below 8 km/h (5
mph).
²Shift transfer case to 4H (4WD
High) when plowing larger areas
or light snow at higher speeds.
Do not exceed 24 km/h (15
mph).
²Do not shift the transmission
from a forward gear to R
(Reverse) until the engine is at
idle and the wheels are stopped.
²If the vehicle is stuck, shift the
transmission in a steady motion
between forward and reverse
gears. Do not rock the vehicle
for more than a few minutes.
The transmission and tires may
be damaged or the engine can
overheat.
Driving
133
Page 137 of 219
Position Amps Description
9 - Not used
10 - Not used
11 30 Wiper system
12 5 On-board diagnostic (OBD II) data link
connector
13 15 Brake ON/OFF switch, rear anti-lock brake
module and brake pressure switch
14 15 Interior lamps and accessory delay relay
15 5 GEM module/CTM module
16 20 High beam headlamps
17 - Not used
18 5 Instrument illumination
19 10 Air bag diagnostic monitor, instrument cluster
20 5 GEM module/CTM module and powertrain
control module (PCM)
21 15 Starter relay
22 10 Air bag diagnostic monitor and passenger air
bag deactivate switch
23 10 4WD clutch relay, electronic flasher, 4WD/2WD
vacuum solenoids and trailer tow battery charge
relay
24 10 I/P blower relay
25 5 4WABS module and relay
26 10 Right low beam headlamp and DRL module
27 5 Foglamp relay
28 10 Left low beam headlamp
29 5 Autolamp, instrument cluster, transmission
control indicator lamp and switch
30 30 Ignition coils and PCM relay
31 - Not used
Roadside emergencies
138
Page 142 of 219
Tire change procedure
1. Park on a level surface.
2. Activate the hazard flashers.
3. Set the parking brake.
4. Place the gearshift in P (Park)
(automatic transmission) or R
(Reverse) (manual transmission).
For 4WD vehicles equipped with
Lever-operated transfer case, make
sure that the lever is not in the N
(Neutral) position.
5. Block the diagonally opposite
wheel.
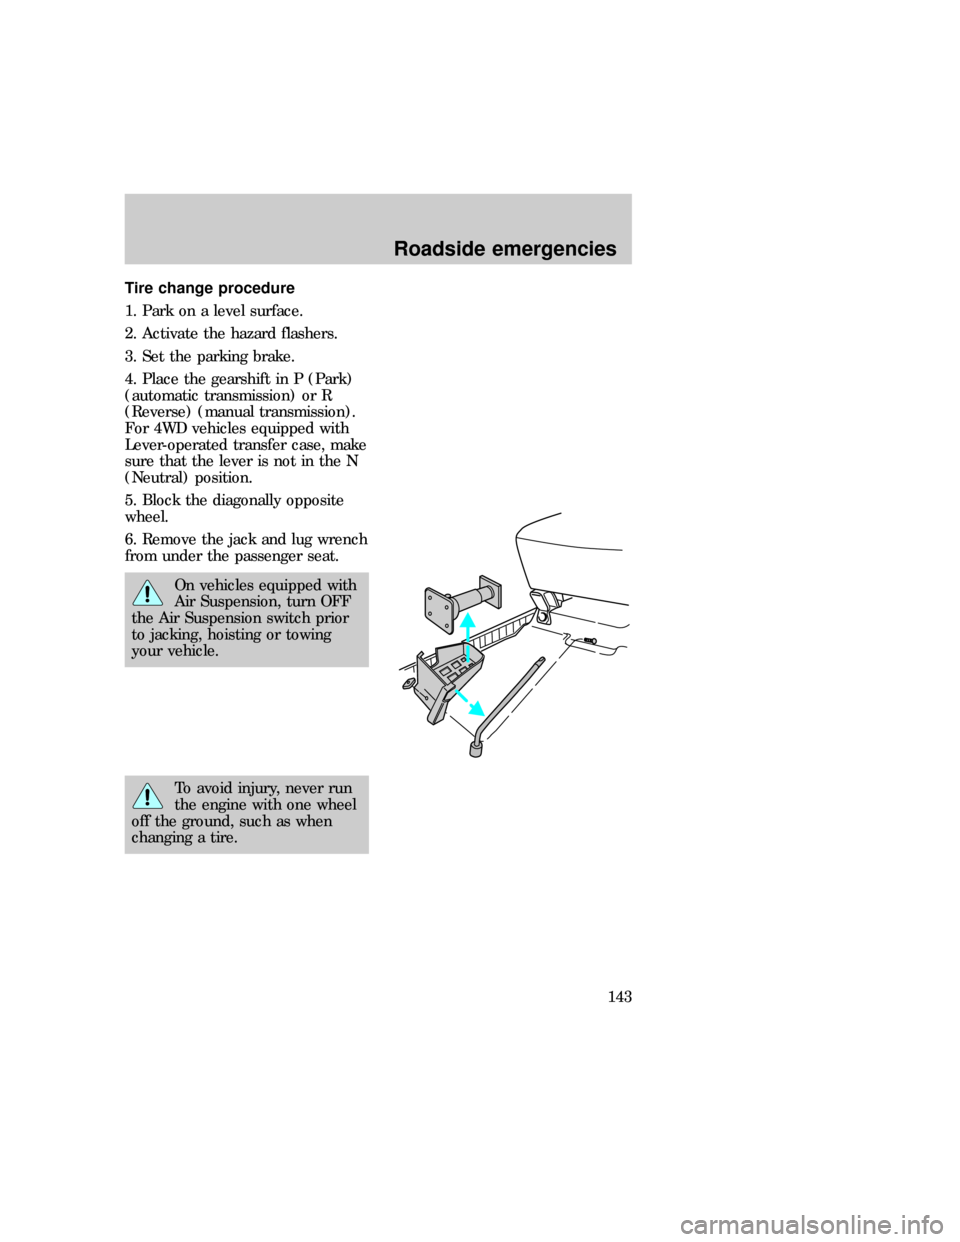
6. Remove the jack and lug wrench
from under the passenger seat.
On vehicles equipped with
Air Suspension, turn OFF
the Air Suspension switch prior
to jacking, hoisting or towing
your vehicle.
To avoid injury, never run
the engine with one wheel
off the ground, such as when
changing a tire.
f12_removing_spare
Roadside emergencies
143