1997 CHEVROLET S10 ignition switch
[x] Cancel search: ignition switchPage 58 of 402
Downloaded from www.Manualslib.com manuals search engine New Vehkk “Bre-ak-In”
NOTICE:
Your modern vehicle d.oesn’t need an elaborate
“break-in.”
But it will perform better in the long
run if you follow these guidelines:
0 Keep your speed at 55 mph (88 km/h) or
less far the first 500 miles (805 km).
Don’t drive at any one speed -- fast or
slow
-- for the first-500 miles (805 km).
Don’t make full-thro.ttle starts.
200 miles. (322 km) or so. During this time
your
new brake linings aren’t yetbro-ken
in. Hard stops with new linings cmmean
premature wear and earlier replacement.
Follow this breaking-in guideline every
time you
get new brake linings.
See “Tbwing a Trailer” in the Index for
more information..
Avoid makiilg hard stops for the first
Don’ttow a trailer during break-in.
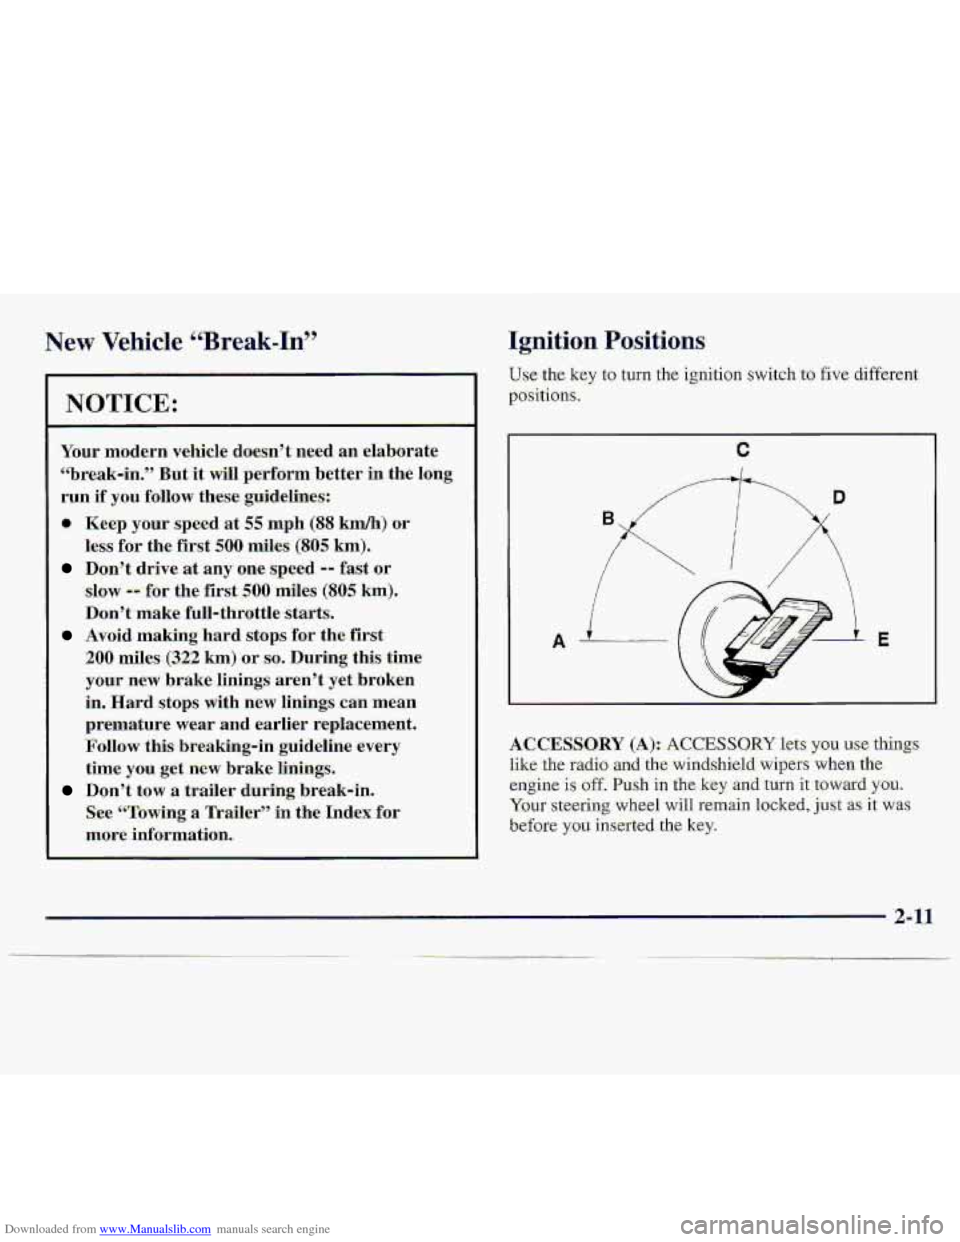
Ignition Positions
Use.the key to-turn the ignition switch to €ive different
positions,
A 3.
ACCESSORY (A):. ACCESSO-RY lets ysu .use‘-thi-ngs
like the radio ad the.winds,hield wipe-rs when the
engine is off. Push i.n the key -and turn it toward. YOU.
Your steering wheel will remain locked, just. as it was
before
you inserted the. key.
2-11
Page 59 of 402
Downloaded from www.Manualslib.com manuals search engine NOTICE:
Don't operate accessories. in the ACCESSORY
position far long periods of time. Prolonged.
operation
of accessories in the ACCESSORY
position could drain your battery-and prevent
you
from skarting your vehicle.
LOCK (E): This position locks your ignition; -steering
wheel-and tra-nsmiss-ion.
It's a theft-deterfeat feature.
You will oaly be able to remove your key whe.n the
ignition is turned to. LOCK.
.OFF (C); This position lets you turn off.the engine but
Tstill turn the steering wheel'. Us.e OFF if you must have
~yx.u- whic1.e in motion while -the erigine :is off (for
example, if your vehickis being towed).
RUN (I)): This is the positio-n for driving.
START (E): This starts your engine. On manual transmission
vehicles, turning t.he key
to
LOCK will lock the steerihgcolumn and result
in
a lass of ability to steer the vehicle. This could
cause
-a collision. If you need to turn the enghe
off while the vehicle is moving, turn the key only
to OFF. Don't press the key release button while
the vehicle is moving.
NOTICE:
If your key seems stuck in 'LOCK. and -you can't
turn it, be sure you
are using the corkect key; if
so, is it all the way in? If'ft is, then turn the
steering wheel left and right while you turn the
key h.ard. But t.urn the key only with
your hand.
Using
a tool to force it could. break the key or the
ignition switch.
'If none of this. works, then your
vehicle needs service.
2-12
Page 82 of 402
Downloaded from www.Manualslib.com manuals search engine Windows
Manual Windows
Turn the hand crank on each door to raise or lower.your
manual side door windows.
Power Windows (If Equipped)
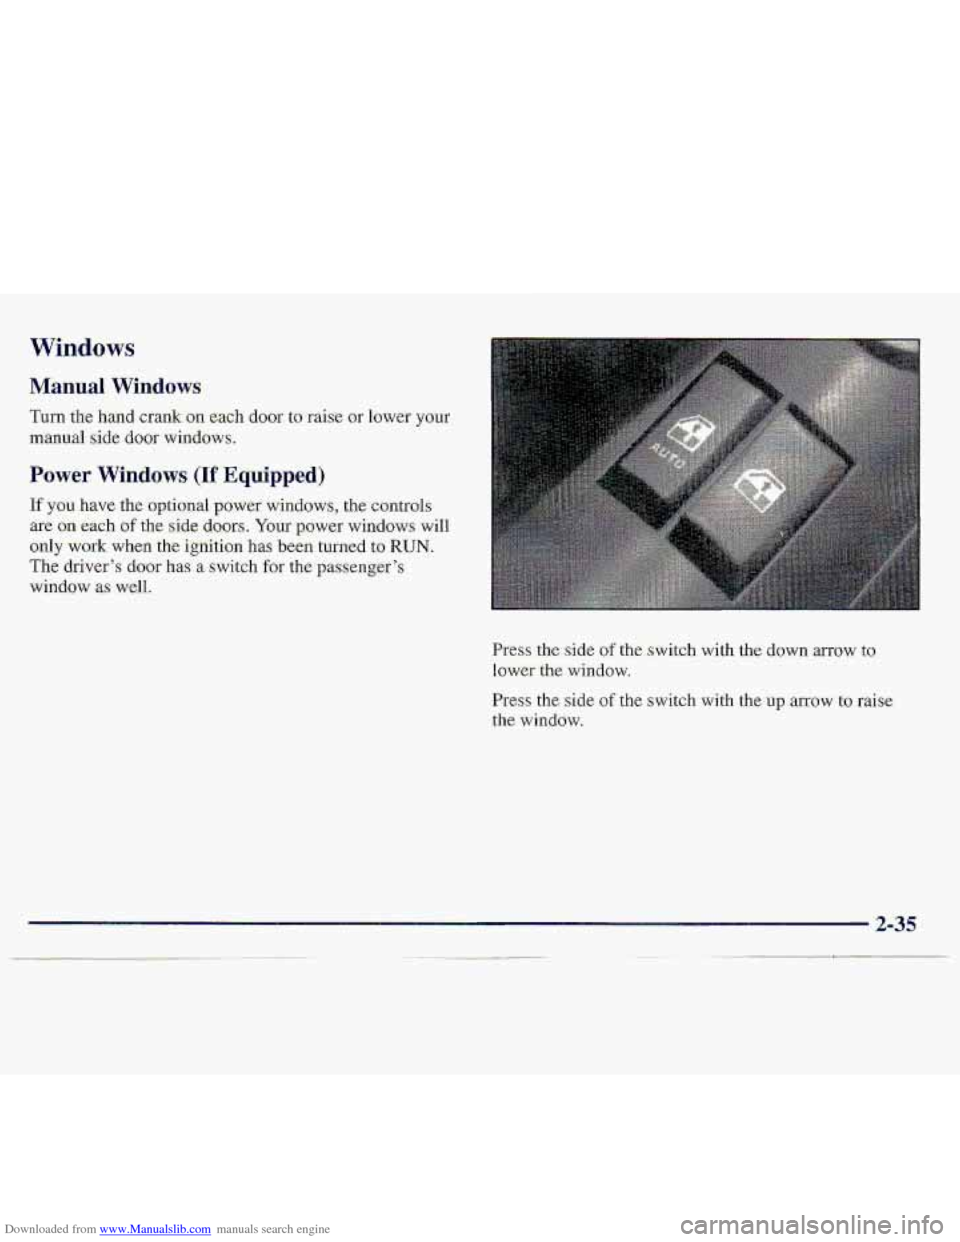
If you have the optional power windows, the controls
are on each of the side do-ors. Your power windows will
only work when the ignition has been tumed to RUN.
The driver’s door has a switch for the passenger’s
window as we-ll.
Press- the side
of the switch with the down arrow to
lower the window.
Press
the side of the switch with the up arrow to raise
the window.
2-35
Page 89 of 402
Downloaded from www.Manualslib.com manuals search engine Incrleasing Speed While Using Cruise Control
There are two ways to..go: to a hi.gher speed:
U.se the ac.cel:eratsr pedal to get to the higher speed.
press the :button at the md of the lever, then reIea.se
the button and the accelerator p.edal. You'll now
cruise-at the higher
speed.
0 'Move the cruise switch froin ON to R/A. Hold it
tlwe until
y0.u get up to the speed you want, and
then
release tkswitch. (To increase your speed in
very small amounts, move the switch to
WA. Each
time you dcj this, your vehicle will g.o about 1 mph
1.4 kdh) faster;)
Reducing Speed While Using- Cruise C-ontrol
Press in the. hutton- at the endof ,the lever until you reach
the lower s.peed you want, then release it.
To slaw down in very small amounts., press the button
for
.less than a half a second. Each time you do: this,
you'll go 1 mph (1.6 km/h) slower.
Passing Another Vehicle While Using. .Cruise Contml
Use the :accelerator pe.dal to increase pur speed. When
you take your foot off the pedal, yQur vehicle will slow
down to the cmise control -speed you
set earlier:
Using Cruise. Control an Hills
How well your cruise control will work an hills depeads
upon your spee"d, load .and the steepmss of the hills.
When going. up steep
hills, you may want to step on the
accelerator pedal to maintain'your speed. When
going
downhill, you may have to bcake o? shift tba lower gear
to keep your speed down. Of course, applying the brake-
takes you out of cruise control. Many-drivers find this to
b,e too much trouble and don't use cruise cc -01 on
steep. hills.
Ending Cruise Controf
Th.ere.are. two ways to.turn off the cruise control:
O Step lightly on the brake, pedal or push .the clutch
pedal, if you have a manual transmission.
0 Move the cruise switch to OFF.
Erasing Speed Memory
When you turn off the cruise control or the ignition,
your c.ruise control set speed mernmy is erased.
2-42
Page 91 of 402
Downloaded from www.Manualslib.com manuals search engine Lamps On Reminder
Aren&idertone will sound when your headlamps or.
pzi&irig:.lamps ,-and interior lamps are turned on and your
ignition is
in OFF, LOCK -or ACCESS-'ORY To turn the
to.ne off, press the OFF switch.
Daytime Running Lamps,
Daytime Running Lamps (DRL) can make it easier for
dthezs to- s-eethe front of your vehicle during the day.
DRL can be helpful in many different driving
amditions,
but they can, be especially helpful in the
short periods after- dawn and before sunset.
The DRL;syste;m will make your headlamps come on at
reduced brightness when:
* the ignition is on,
the headlamp switchis off and
tkparking brake. is released.
When the DRL are on, only your he-adlamps will be on.
The taillamp, sidemarker md other lamps wan't be on,
The. instrument panel won't be lit up either.
When it begins to get dark, your DRL ifidicator light: is a
reminder to turn yoar headlamp switch .on. The other
lamp3 that come on with your headlamps will al9.0
Come on.
When you 'turn the headlmp switch .off7 the regular
lamps will g.0 off, arld:your he.adlanipS will change. to
the reduced brightness
of DRL.
Tcr: idle your vehicle with the.DRL off, set .the paking,
brake. The DRL will stay off until yab release- the
p.arking
brake,
As with any vehiclej yau:sho.uld turn on the regular
headla-mp. system. when ycwneed it.
2-44
Page 110 of 402
Downloaded from www.Manualslib.com manuals search engine Shift Light Check Gages Light.
SHIFT
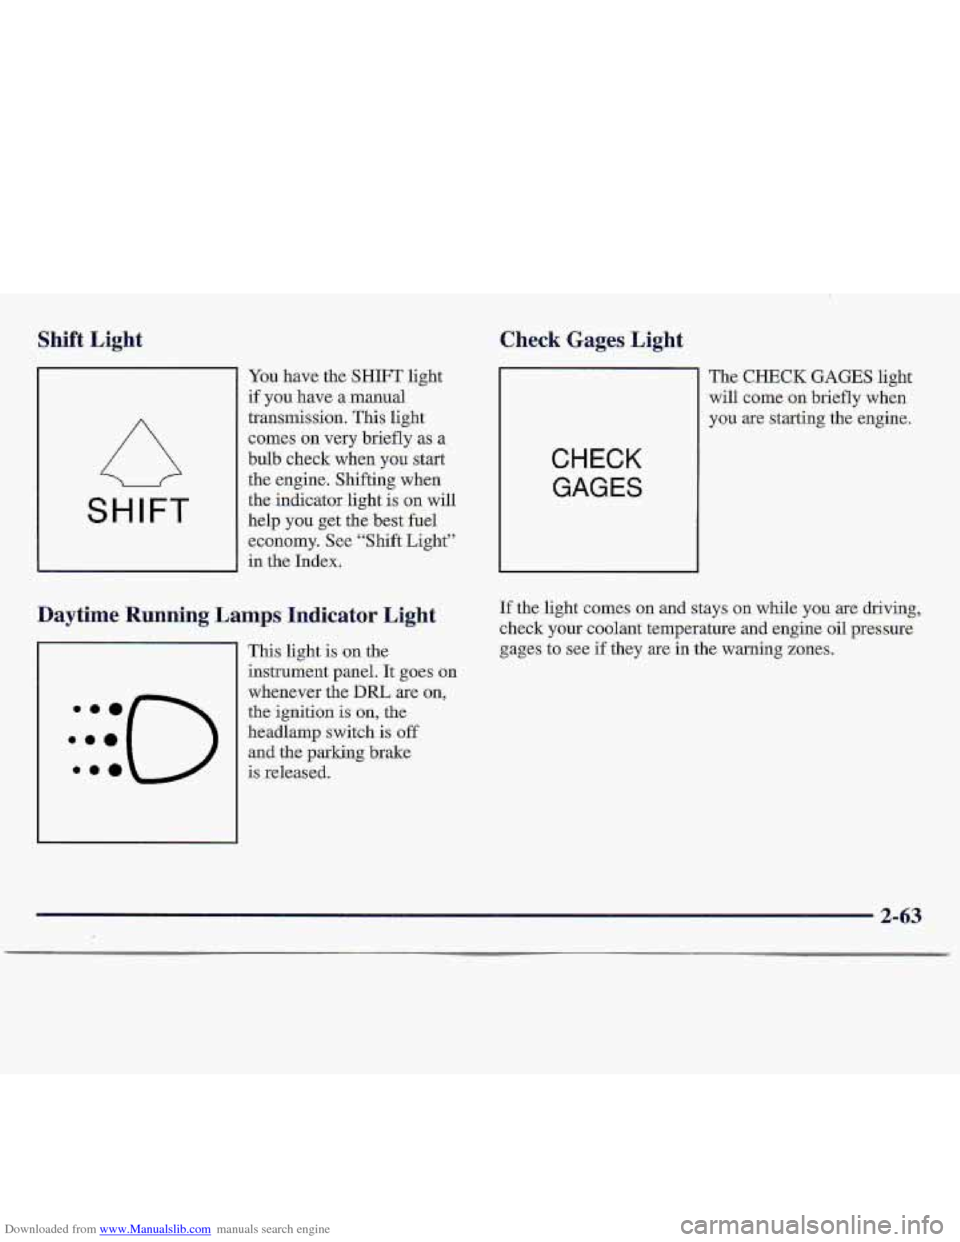
You have the SHIFT light
if you have a manual
transmission. This light
comes- on very briefly as a
bulb check wh-en
you start
the engine. Shifting when
the indicator light is on will
help
you get the best fuel
economy. See “Shift Light”
in the Index.
Daytime Running Lamps Indicator Light
This light is ,on the
instrument panel. It goes on
whenever the
DIU are on,
the ignition is on, the
headlamp switch
is off
and the parking brake-
:::(-)
.ma is released.
CHECK
GAGES
The CHECK GAGES light
will come
on briefly when
y9u
are starting the engine.
If the light comes on and stays on while you are driving,
check
your coolant temperature and engine oil pressure
gages
to see if they are in the warning zones.
2-63
Page 121 of 402
Downloaded from www.Manualslib.com manuals search engine AM-FM Stereo with Cassette Tape Player
(If Equipped)
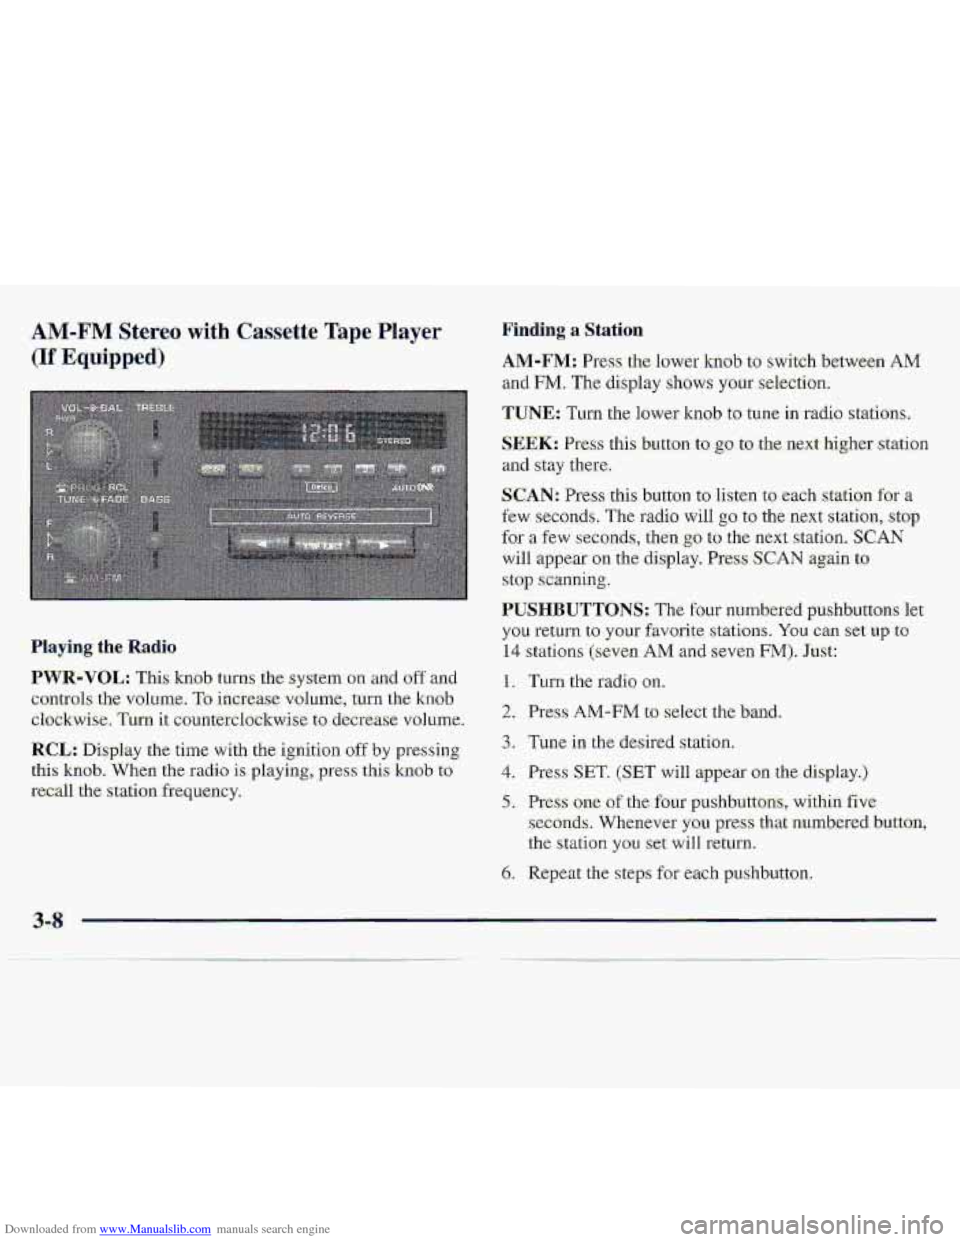
Finding a Station
.AM-FM: Press the lower knob to switch betwe-en AM
and FM. The display shows your selection.
TUNE: Turn the lower knob to tune in radio stations,
SEEK: Press this button to go to the next higher station
and stay there.
SCAN: Press this button to listen to each station for a
few seconds, The radio will go to the next station, stop
for a few seconds, then go to the ne.xt station. SCAN
will appear on the display. Press SCAN again to
stop scanning.
PUSHBUTTONS: The four numbered p-ushbuttons let
you return to your favorite. stations. You can set up to
14 stations (seven AM and seven FM). Just:
1. Turn the radio on.
2. Press AM-FM to select the band.
3. Tune in the desired slation,
4. Press SET. (SET will appear on the display.)
5. Press one of the four pushbuttons, within five
seconds. Whenever you press that numbered button,
the
stalion you set will return.
6. Repeat the steps for each pushbu.tton.
Playing the Radio
PWR-VOL: This knob turns the system on and off and
controls- the- volume,
To increase volume, turn the knob.
clockwise. Turn it countetclsckwise to. decrease vol~me-.
RCL: Display the time with the ignition off by pressing
thi-s knob. When the radio is playing,.press this knob to
recall the station freq,uency.
3-8
Page 123 of 402
Downloaded from www.Manualslib.com manuals search engine AM-FM Stereo with Cassette Tape Player
and Equalizer (If Equipped)
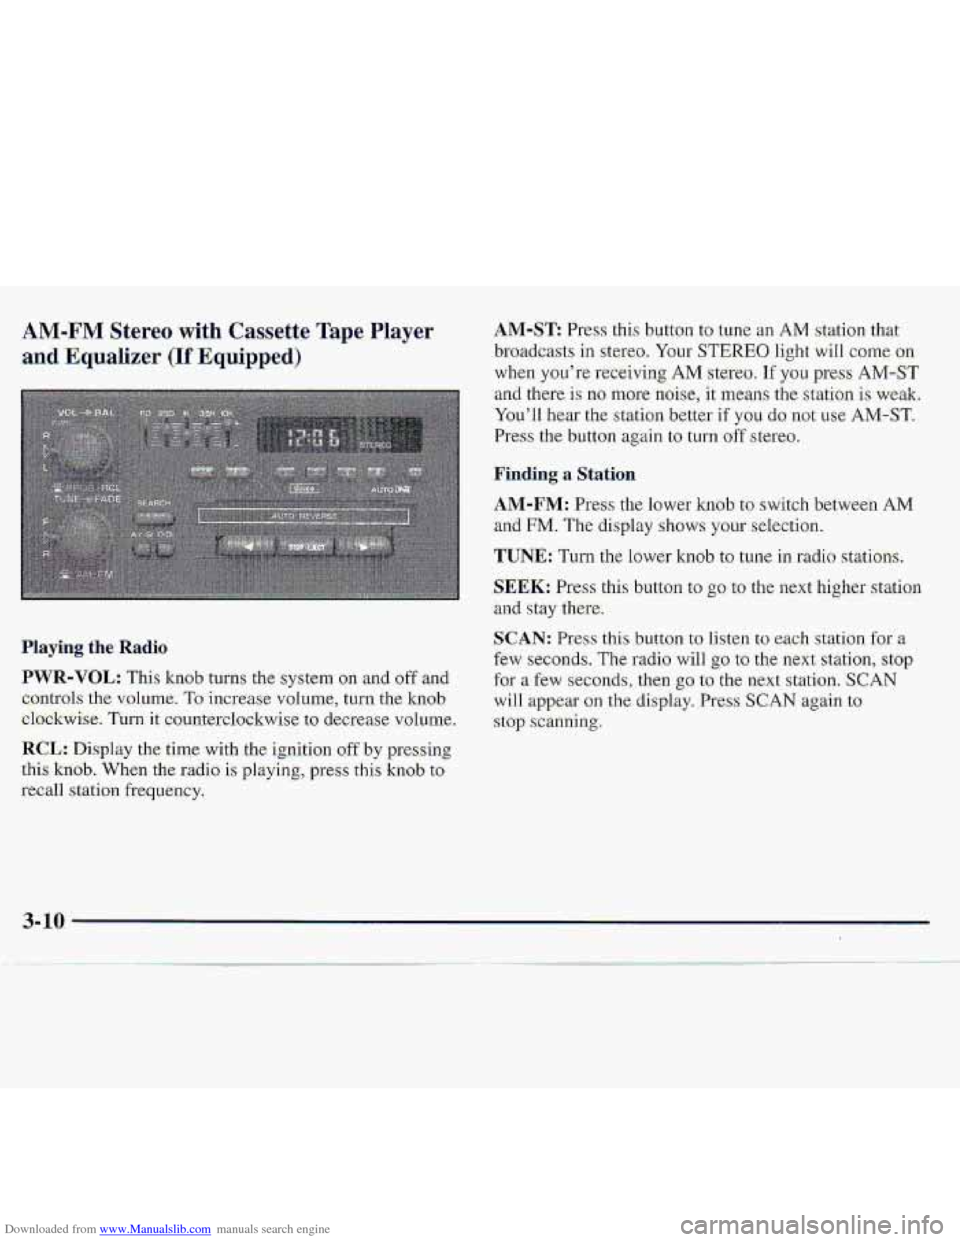
.Playing the- Radio
PWR-VOL: This knob turns the system on and oftand
c,ontrols
the vnl.ume. To increase volume, turn the knob
el.ockwise. Turnit counterdo-ckwise to decrease v~olurne.
RCL: Disp1.a~ the time with the ignition off by presshg
.this
kxiob. When the r.adio is playing, press this kn0.b to
recall station frequency.
AM-ST Press this button to tune an AM station that
..broadcasts
in ste.reo. Your STEREO. light wiIl come on
when you’re receiving AM stereo. If you press AM-ST
and there- is no more noise, it ‘means the station is weaki
You’ll hear
the st.at.ian bewr if YOU do not use AM-ST.
Press the button again to turn off stereo.
~Firrding a Station
AM-FM: Press the lower knob to switch between AM
and FM. The display shows your selection.
TUNE: Turn the lower knob to tune in .radio stations.
$EEK: Press this button to go to the ne-xt higher station
and stay there.
c,
SCAN: Pr.ess thisbutton to listen to each station fgr a
few seconds. The radio will go to the next statiofl, stop
for a few seconds, then go to the next station. SCAN
will appear-on the display. Press SCAN again to
.stop scanning.