Page 144 of 354

Downloaded from www.Manualslib.com manuals search engine Care of Your Cassette Tape Player
A tape player that is not cleaned regularly can cause
reduced sound quality, ruined cassettes or a damaged
mechanism. Cassette tapes should be stored in their
cases away from contaminants, direct sunlight and
extreme heat. If they aren’t, they may not operate
properly or may cause failure of the tape player.
Your tape player should be cleaned regularly after
every
50 hours of use. Your radio may display CLN
to indicate that you have used your tape player for
50 hours without resetting the tape clean timer. If this
message appears on the display, your cassette tape
player needs to be cleaned. It will still play tapes, but
you should clean it as soon as possible to prevent
damage
to your tapes and player. If you notice a
reduction in sound quality, try a known good cassette
to see if it is the tape or the tape player at fault. If this
other cassette has no improvement in sound quality,
clean
the tape player.
Cleaning may be done with a scrubbing action,
non-abrasive cleaning cassette with pads which scrub
the tape head as the hubs of the cleaner cassette turn.
A scrubbing action cleaning cassette is available through
your dealership. When using a cleaning cassette, it is
normal for the cassette to eject while cleaning because
your unit is equipped with a cut tape detection feature and some cleaning cassettes may appear as a broken
tape.
If the cleaning cassette is ejected immediately
from the tape player, you will need to override the cut
tape feature.
To temporarily override this feature (for one insertion),
follow these steps:
1. Turn the ignition on.
2. Turn the radio off.
3. Press and hold TAPE AUX until the tape symbol
flashes on the display. (For vehicles without
Automatic Tone Control, press both
SEEK arrows.)
4. Insert the cleaning cassette. (Insert the cassette at
least three times to ensure thorough cleaning.)
5. Eject the cleaning cassette.
When the cleaning cassette has been ejected, the broken
tape detection feature is active again.
After you clean the player, press and hold EJECT for
five seconds to reset the CLN indicator. The radio will
display
--- to show the indicator was reset.
Cassettes are subject to wear and the sound quality
may degrade over time. Always make sure the cassette
tape is in good condition before you have your tape
player serviced.
3-23
Page 170 of 354

Downloaded from www.Manualslib.com manuals search engine If you drive regularly in steep country, or if you’re
planning to visit there, here are some tips that can make
your trips safer and more enjoyable.
0 Keep your vehicle in good shape. Check all fluid levels
and
also the brakes, tires, cooling system and transaxle.
These parts can work hard on mountain roads.
0 Know how to go down hills. The most important
thing to know is this: let your engine
do some of the
slowing down. Shift to a lower gear when you go
down a steep or long hill.
If you don’t shift down, your brakes could
get
so hot that they wouldn’t work well. You
would then have poor braking or even none going
down a hill, You could crash. Shift down to let
your engine
assist your brakes on a steep
downhill slope.
0
0
0
0
I A CAUTION: -
Coasting downhill in NEUTRAL (N) or with the
ignition
off is dangerous. Your brakes will have to
do all the work of slowing down. They could get so
hot that they wouldn’t work well. You would then
have poor
braking or even none going down a hill.
You could crash. Always have your engine running
and your vehicle
in gear when you go downhill.
Know how to go uphill. Drive in the highest
gear possible.
Stay
in your own lane when driving on two-lane
roads in hills or mountains. Don’t swing wide or cut
across the center of
the road. Drive at speeds that let
you stay in your own lane.
As you go over the top of a hill, be alert. There could be
something in your lane, like a stalled car
or an accident.
You may see highway signs on mountains that
warn of
special problems. Examples are long grades, passing or
no-passing zones, a falling rocks area
or windmg
roads. Be
alert to these and take appropriate action.
4-23
Page 176 of 354
Downloaded from www.Manualslib.com manuals search engine To tow your vehicle with all four wheels on the ground,
follow these steps:
t
m
7 ---
1. Position the vehicle to tow and then secure it.
2. Turn the ignition switch to OFF.
3. Set the parking brake.
4. Remove the following fuses from the left side
instrument panel fuse block:
A) Radio, B) Wiper,
H) Powertrain Control Module and K) Body
Function Control Module, Cluster. This will
prevent your battery form draining while towing. See “Instrument Panel Fusle Block-Left” in
Section
6 for location of the fuses.
5. Turn the ignition switch to ACC.
6. Shift your transaxle to NEUTRAL (N).
7. Release the parking brake.
Remember to replace the fuse once you reach your
destination.
To replace the fuse:
1. Set the parking brake.
2. Remove the key from the ignition switch.
3. Replace the fuse.
I NOTICE:
Make sure that the towing speed does not exceed
55 mph (90 kmh), or your vehicle could be
badly damaged.
4-29
Page 191 of 354

Downloaded from www.Manualslib.com manuals search engine 2. Get the vehicles close enough so the jumper cables
can reach, but be sure the vehicles aren’t touching
each other.
If they are, it could cause a ground
connection you don’t want.
You wouldn’t be able to
start your Chevrolet, and the bad grounding could
damage the electrical systems.
You could be injured if the vehicles roll. Set the
parking brake firmly on each vehicle. Put the
transaxle
in PARK (P).
unnecessary accessories plugged into the cigarette
lighter
or the accessory power outlet. Turn off all
lamps that aren’t needed,
as well as radios. This will
avoid sparks
and help save both batteries. In
addition, it could save your radio.
3. Turn off the ignition on both vehicles. Unplug
I NOTICE:
If you leave your radio on, it could be badly
damaged. The repairs wouldn’t be covered by
your warranty.
4. Open the hoods and locate the batteries.
CAUTION:
An electric fan can start up even when the engine
is not running and can injure you. Keep hands,
clothing and tools away from any underhood
electric
fan.
5-4
Page 196 of 354

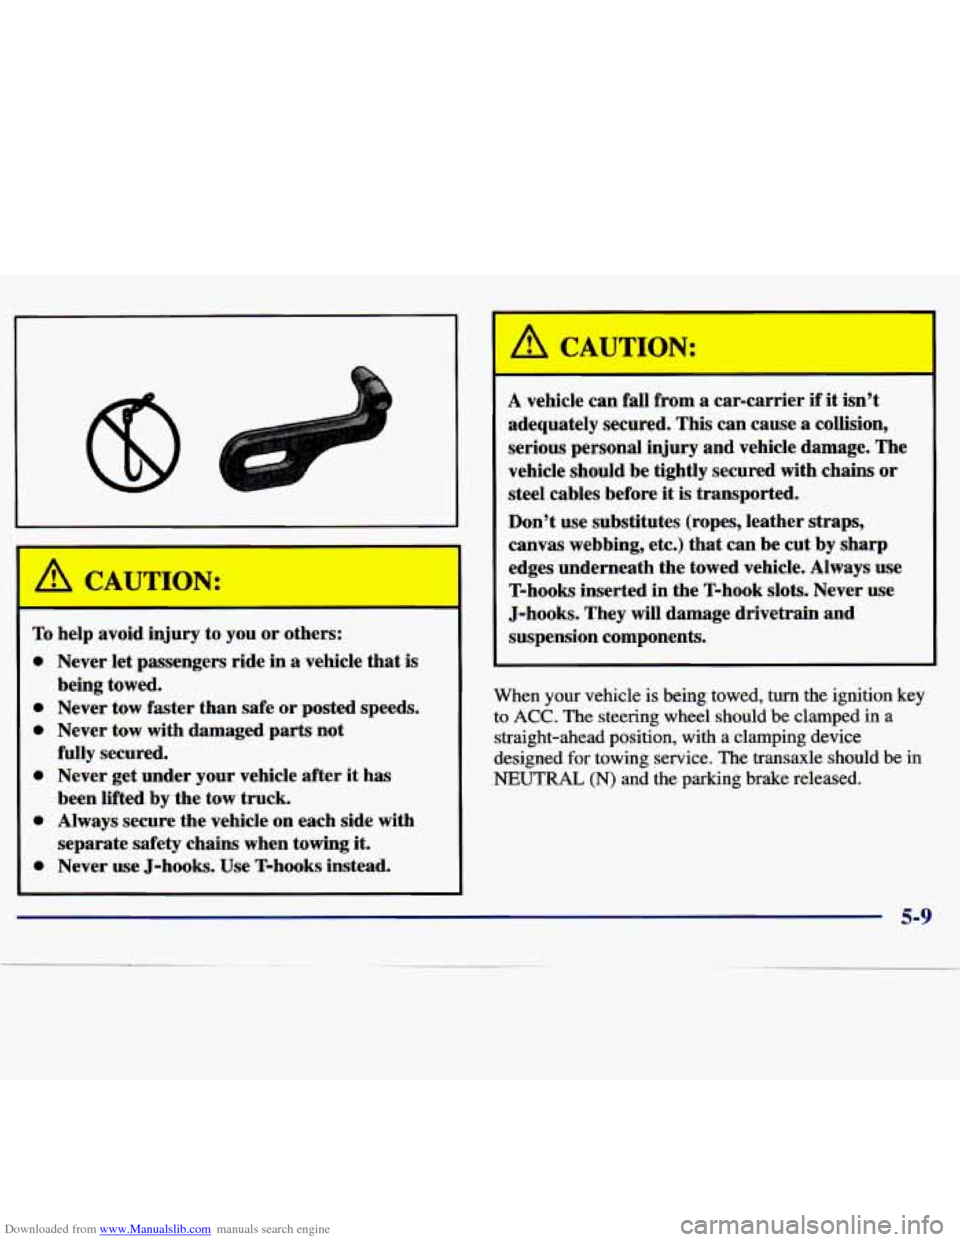
Downloaded from www.Manualslib.com manuals search engine A CAUTION:
To help avoid injury to you or others:
0 Never let passengers ride in a vehicle that is
0 Never tow faster than safe or posted speeds.
0 Never tow with damaged parts not
fully secured.
0 Never get under your vehicle after it has
been lifted
by the tow truck.
0 Always secure the vehicle on each side with
separate safety chains when towing it.
0 Never use J-hooks. Use T-hooks instead.
being towed.
A vehicle
can fall from a car-carrier if it isn’t
adequately secured. This can cause
a collision,
serious personal injury and vehicle damage. The
vehicle should be tightly secured with chains or
steel cables before it is transported.
Don’t use substitutes (ropes, leather straps,
canvas webbing, etc.) that can be cut by sharp
edges underneath the towed vehicle. Always use
T-hooks inserted in the T-hook slots. Never use
J-hooks. They will damage drivetrain and
suspension components.
When your vehicle is being towed, turn the ignition key
to ACC. The steering wheel should be clamped in a
straight-ahead position, with a clamping device
designed
for towing service. The transaxle should be in
NEUTRAL (N) and the parking brake released.
5-9
Page 279 of 354
Downloaded from www.Manualslib.com manuals search engine Engine Compartment Fuse Block
The engine compartment fuse block is located on the
driver’s side of the engine compartment,
near the
air cleaner.
Fuse
Maxi-Fuses
1)
2)
Usage
Ignition Switch
Left-Hand Electrical
Center-Power Seats, Power
Mirrors, Door Locks,
Trunk
Release and Remote Lock Control
6-58
Page 280 of 354
Downloaded from www.Manualslib.com manuals search engine 3)
4)
Left-Hand Electrical
Center-Stoplamps, Hazard Lamps,
Body Function Control Module, Cluster, Climate Control System
Right-hand Electrical Center-Fog
Lamps, Radio, Body Function Control Module, Interior Lamps
Ignition Switch
Not Used
Anti-Lock Brakes
Cooling Fans
Rear Defog
Not Used Anti-Lock
Brakes
Cooling Fan
HVAC Blower (Climate Control)
Cooling Fans
Cooling Fans
35)
36)
37)
3
8)
Air Conditioning Compressor
Not Used
Fuel Pump
Automatic Light Control Automatic Light Control
Horn
Daytime Running Lamps
Spare Fuses
Rear Defog Accessory Power Outlets,
Cigar Lighter
Anti-Lock Brakes
Anti-Lock Brakes
Air Conditioning Compressor,
Body Function Control Module
Automatic Transaxle
6-59
Page 281 of 354
Downloaded from www.Manualslib.com manuals search engine Mini-Fuses 39) Powertrain Control
Module, Ignition
Anti-Lock Brakes
Ignition System
Back-up Lamps, Brake-Transaxle
Shift Interlock
Horn
Powertrain Control Module
Parking Lamps
Rear Defog, Daytime Running
Lamps, Climate Control System Mini-Fuses
47) Canister Purge Valve, Powertrain
Control Module, Exhaust Gas
Recirculation, Heated
02 Sensor
Fuel Pump, Injectors
Generator
Right-Hand Headlamp
Left-Hand Headlamp
Cooling Fan
WAC Blower (Climate Control
)
Fuse Puller for Mini-Fuses
Tach Test Point for
Diagnostic Testing
6-60