Page 117 of 354
Downloaded from www.Manualslib.com manuals search engine Oil Pressure Warning Light
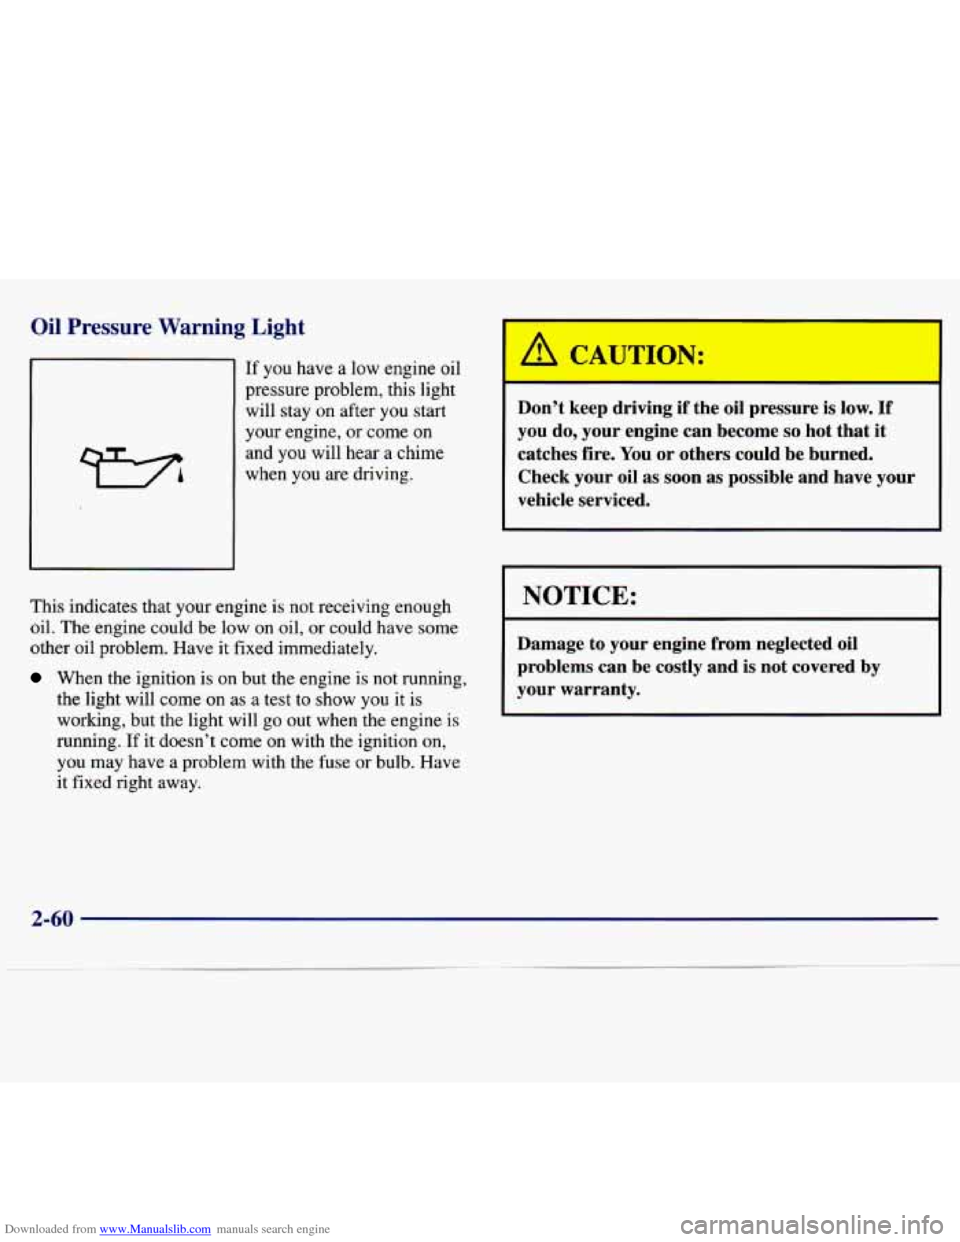
If you have a low engine oil
pressure problem, this light
will stay
on after you start
your engine, or come on
and you will hear a chime
when you are driving.
This indicates that your engine
is not receiving enough
oil. The engine could be low on
oil, or could have some
other oil problem. Have it fixed immediately.
When the ignition is on but the engine is not running,
the light will come on as
a test to show you it is
working, but the light will go out when the engine is
running.
If it doesn’t come on with the ignition on,
you may have a problem with the fuse or bulb. Have
it fixed
right away.
J:
Don’t keep driving if the oil pressure is low. If
you
do, your engine can become so hot that it
catches fire.
You or others could be burned.
Check your oil as soon as possible and have your
vehicle serviced.
I NOTICE:
Damage to your engine from neglected oil problems can be costly and is not covered by
your warranty.
2-60
Page 118 of 354
Downloaded from www.Manualslib.com manuals search engine Check Oil Light (If Equipped)
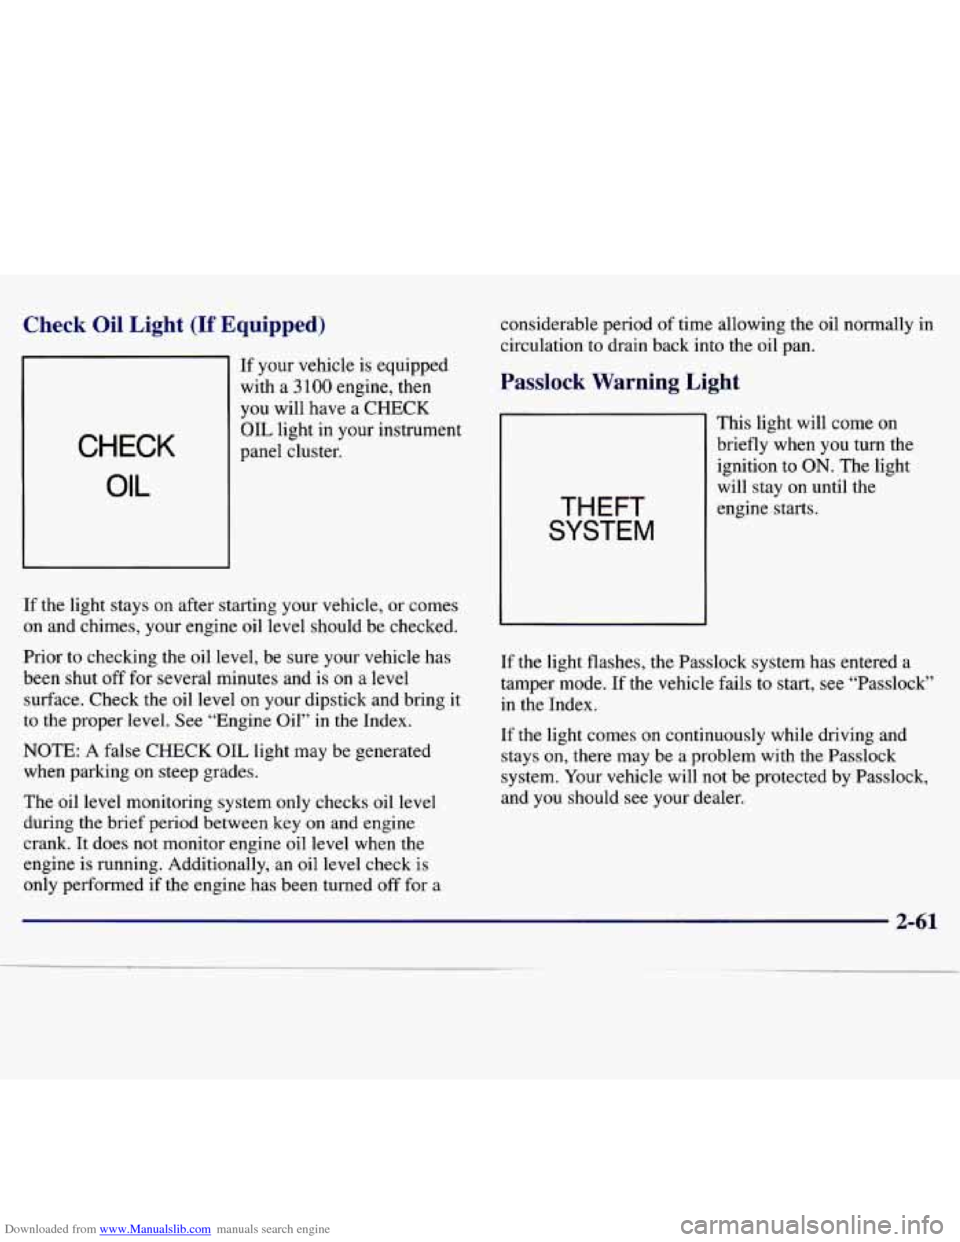
If your vehicle is equipped
with a
3 100 engine, then
you will have a CHECK
OIL light in your instrument
CHECK
OIL
panel cluster.
If the light stays on after starting your vehicle, or comes
on and chimes, your engine oil level should be checked.
Prior to checking the oil level, be sure your vehicle has
been shut
off for several minutes and is on a level
surface. Check the oil level on your dipstick and bring it
to the proper level. See “Engine Oil” in the Index.
NOTE: A false
CHECK OIL light may be generated
when parking on steep grades.
The oil level monitoring system only checks oil
level
during the brief period between key on and engine
crank. It does not monitor engine oil level when the
engine is running. Additionally, an oil level
check is
only performed if the engine has been turned off for a considerable period
of time allowing the
oil normally in
circulation to drain back into the oil pan.
Passlock Warning Light
THEFT
SYSTEM
This light will come on
briefly when you turn the
ignition to
ON. The light
will stay on until the
engine starts.
If the light flashes, the Passlock system has entered a
tamper mode. If the vehicle fails to start, see “Passlock”
in the Index.
If the light comes on continuously while driving and
stays on, there may be a problem with the Passlock
system. Your vehicle will not be protected by Passlock,
and you should see your dealer.
Page 119 of 354
Downloaded from www.Manualslib.com manuals search engine Cruise Light (If Equipped)
CRUISE
The CRUISE light comes
on whenever you set your
cruise control.
Low Washer Light
LOW
WASH
The LOW WASH
FLUID light will come
on
on briefly
when you turn
the ignition.
It will also stay on or come on and chime if the fluid
reservoir is
less than one-third full.
2-62
Page 120 of 354
Downloaded from www.Manualslib.com manuals search engine Service Vehicle Soon Light
SERVICE VEHICLE
SOON
Door
This light will come on
briefly when you turn
on the ignition.
It will stay on or come on and chime if it detects a
problem on the vehicle, such as a
DRL malfunction. If
this happens, see your dealer service department as soon
as possible. When
the ignition is on, this
light will stay on until all
doors
are closed and
completely latched.
You will hear a chime if a door is unlatched after the
engine is started and the vehicle is not in
PARK (P) or
NEUTRAL
(N). The chime will continue until the door
is latched properly.
2-63
Page 121 of 354
Downloaded from www.Manualslib.com manuals search engine Fuel Gage
Your fuel gage tells you
about how much fuel you
have left, when the ignition
is on. When the indicator
nears
EMPTY (E), the light
will come
on and you will
hear a chime. You still have
a little fuel left, but you
should get more soon.
Here are four things that
some owners ask about. None
of these show a problem with your fuel gage:
At the service station, the gas pump shuts off before
the gage reads
FULL (F).
It takes a little more or less fuel to fill up than the
gage indicated. For example, the gage may have
indicated the tank was half full, but it actually took a
little more or less than half the tank’s capacity to
fill
the tank.
The gage moves a little when you turn a corner or
speed up.
The gage goes back to EMPTY (E) when you turn
off the ignition.
2-64
Page 126 of 354
Downloaded from www.Manualslib.com manuals search engine Your vehicle is equipped with side window defogger
vents. The side window defogger vents are located on
the outside of the side instrument panel vents. For
additional side window defogging, rotate the mode
control to VENT, rotate the fan control to the highest
speed, press
A/C and aim the side vents on the
instrument panel to the windows. For increased
airflow to the side windows, close the center vents.
RECIRCULATION will not work in DEFROST and
DEFOG. This is done to prevent recirculation of humid
inside air and allow the system to work properly.
Rear Window Defogger (If Equipped)
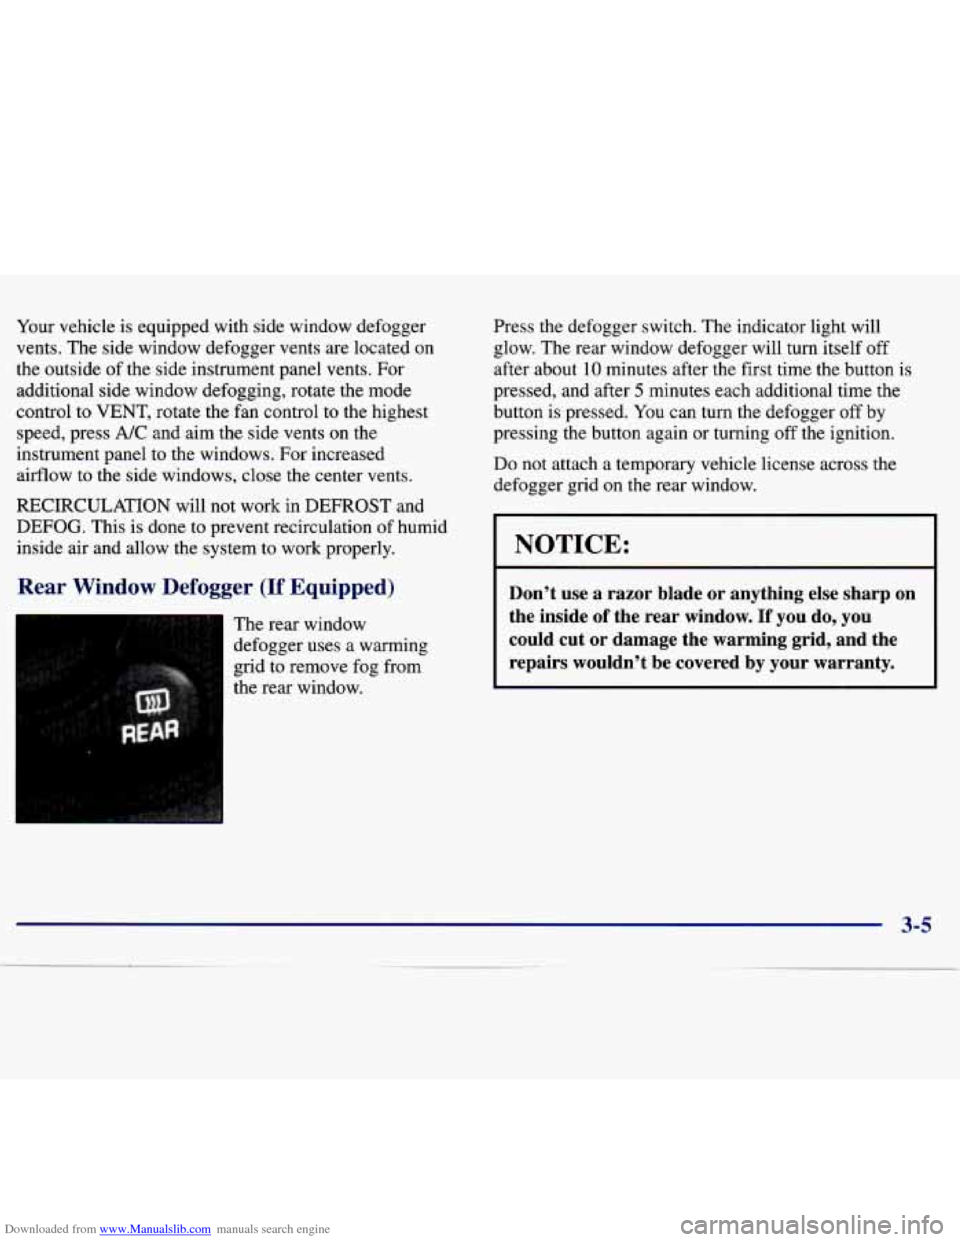
I The rear window
defogger uses a warming
grid to remove fog from
the rear window. Press the defogger switch.
The indicator light will
glow. The rear window defogger will turn itself
off
after about 10 minutes after the first time the button is
pressed, and after
5 minutes each additional time the
button is pressed. You can turn the defogger off
by
pressing the button again or turning off the ignition.
Do not attach a temporary vehicle license across the
defogger grid on the rear window.
NOTICE:
Don’t use a razor blade or anything else sharp on
the inside
of the rear window. If you do, you
could cut or damage the warming grid, and the repairs wouldn’t be covered by your warranty.
3-5
Page 128 of 354
Downloaded from www.Manualslib.com manuals search engine Audio Systems
Your Delco' audio system has been designed to operate
easily and give years of listening pleasure. You will get
the most enjoyment out of it
if you acquaint yourself
with it first. Find out what your Delco system can do
and how to operate all its controls, to be sure you're
getting the most out
of the advanced engineering that
went into it.
Setting the Clock for Systems without
Automatic Tone Control
Press SET. SET will appear on the display for five
seconds. Within five seconds, press and hold the right
arrow on the
SEEK button until the correct minute
appears. Press and hold
the left arrow on the SEEK
button until the correct hour appears.
Setting the Clock for Systems with
Automatic Tone Control
Press and hold HR until the correct hour appears. Press
and hold
MN until the correct minute appears.
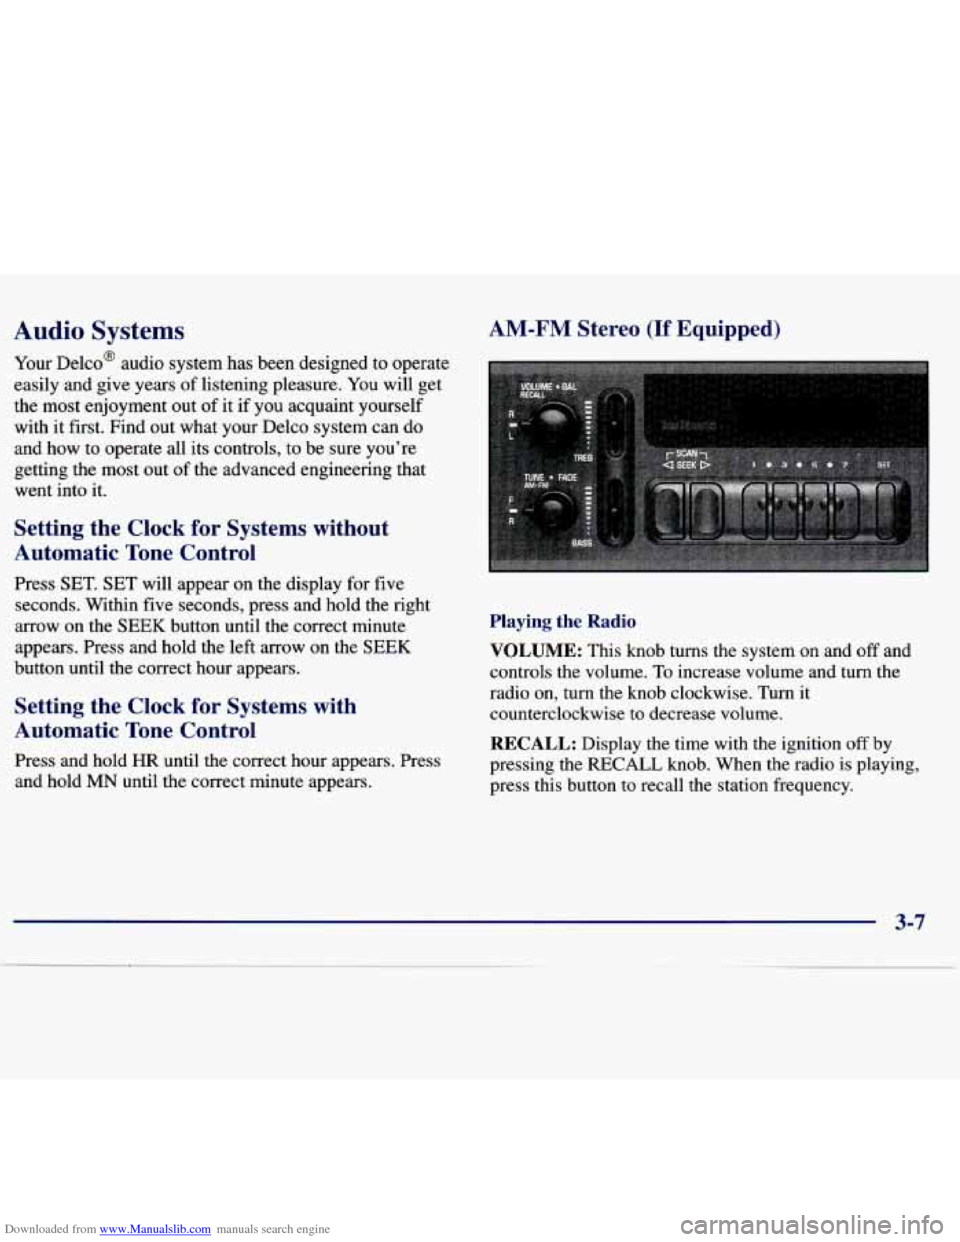
AM-FM Stereo (If Equipped)
Playing the Radio
VOLUME: This knob turns the system on and off and
controls the volume.
To increase volume and turn the
radio on,
turn the knob clockwise. Turn it
counterclockwise to decrease volume.
RECALL: Display the time with the ignition off by
pressing the
RECALL knob. When the radio is playing,
press this button to recall the station frequency.
3-7
Page 130 of 354
Downloaded from www.Manualslib.com manuals search engine Setting the Tone
BASS: Slide the lever up or down to increase or
decrease bass.
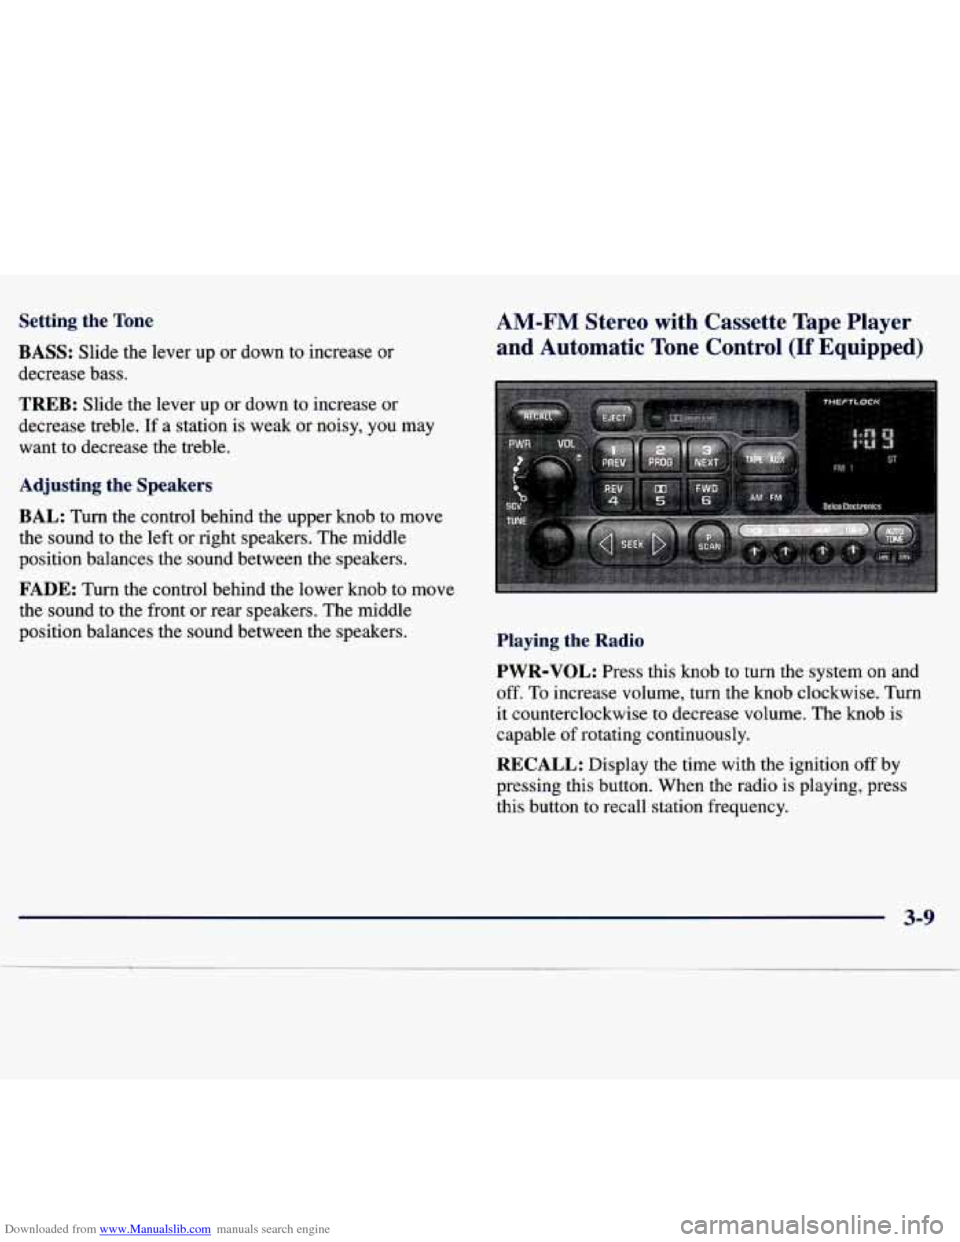
AM-FM Stereo with Cassette Tape Player
and Automatic
Tone Control (If Equipped) -
TREB: Slide the lever' up dr down to increase or
decrease treble. If a station is weak or noisy, you may
want to decrease the treble.
Adjusting the Speakers
BAL: Turn the control behind the upper knob to move
the sound to the left or right speakers. The middle
position balances the sound between the speakers.
FADE: Turn the control behind the lower knob to move
the sound to the front or rear speakers. The middle
position balances the sound between the speakers.
Playing the Radio
PWR-VOL:
Press this knob to turn the system on and
off. To increase volume, turn the knob clockwise. Turn
it counterclockwise to decrease volume. The knob is
capable of rotating continuously.
RECALL: Display the time with the ignition off by
pressing this button. When
the radio is playing, press
this button to recall station frequency.
3-9