1997 CHEVROLET CORVETTE lock
[x] Cancel search: lockPage 70 of 356
Downloaded from www.Manualslib.com manuals search engine START Starts the engine. When the engine starts,
release the key. The ignition switch will return to
ON
for normal driving.
When the engine is not running, ACC and
ON allow you
to operate your electrical accessories, such as the radio.
A warning tone will sound if you open the driver’s
door when the ignition is in
OFF or ACC and the key
is in the ignition.
I A CAUTION:
Removing the key from the ignition switch will
lock the steering column and result in a loss of
ability to steer the vehicle. This could cause a
collision.
If you need to turn the engine off while
the vehicle is moving, turn the key to ACC.
NOTICE:
If your key seems stuck in OFF and you can’t
turn
it, be sure you are using the correct key; if
so, is it all the way in? If it is, then turn the
steering wheel left and right while you turn the
key hard. But turn the key only with your hand.
Using a tool to force it could break the key or the
ignition switch.
If none of this works, then your
vehicle needs service.
Retained Accessory Power (RAP)
With RAP, your power windows and the audio system
will continue to work for up to
15 minutes after the
ignition key is turned to
OFT and neither door is opened.
If a door is opened, the audio system and power
windows will shut off.
2-21
Page 72 of 356
Downloaded from www.Manualslib.com manuals search engine When starting your engine in very cold weather (below
0°F or -18”C), do this:
1. With your foot off the accelerator pedal, turn the
ignition key to START and hold it there. When the
engine starts, let go of the key. Use the accelerator
pedal to maintain engine speed, if you have to, until
your engine has
run for a while.
stops), it could be flooded with too much gasoline.
Try pushing your accelerator pedal all the way to the
floor and holding
it there as you hold the key in
START for about three seconds.
If the vehicle starts
briefly but then stops again, do the same thing, but
this time keep the pedal down for five or six seconds.
This clears the extra gasoline from the engine.
2. If your engine still won’t start (or starts but then
NOTICE:
Your engine is designed to work with the
electronics in your vehicle.
If you add electrical
parts or accessories, you could change the way
the engine operates. Before adding electrical
equipment, check with your dealer.
If you don’t,
your engine might not perform properly.
If you ever have to have your vehicle towed, see
the part of this manual that tells how to do
it
without damaging your vehicle. See “Towing
Your Vehicle” in the Index.
For your convenience and to avoid damage to your
starter, your vehicle is equipped with a starter interlock
feature. This feature will not allow you to crank the
engine when the vehicle is already running.
2-23
Page 75 of 356
Downloaded from www.Manualslib.com manuals search engine ~ Automatic Transmission Operation
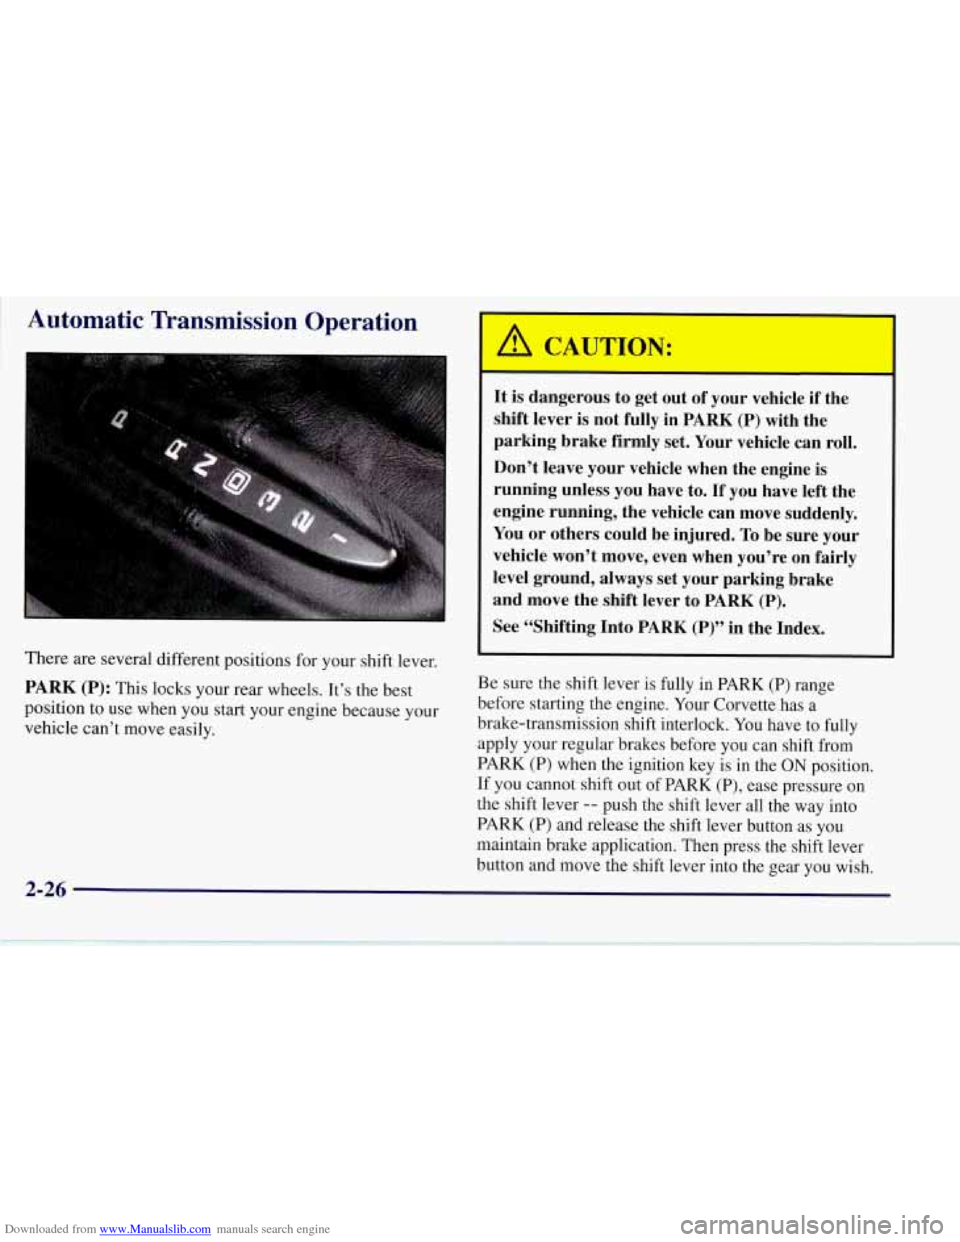
There are several different positions for your shift lever.
PARK (P): This locks your rear wheels. It’s the best
position to use when you start your engine because your
vehicle can’t move easily.
It is dangerous to get out of your vehicle if the
shift lever is not fully in
PARK (P) with the
parking brake firmly set. Your vehicle can roll.
Don’t leave your vehicle when the engine is
running unless you have to.
If you have left the
engine running, the vehicle can move suddenly.
You or others could be injured.
To be sure your
vehicle won’t move, even when you’re on fairly
level ground, always set your parking brake
and move the shift lever to
PARK (P).
See “Shifting Into PARK (P)” in the Index.
Be sure the shift lever is fully in PARK (P) range
before starting the engine. Your Corvette has a
brake-transmission shift interlock. You have to
fully
apply your regular brakes before you can shift from
PARK (P) when the ignition key is in the
ON position.
If you cannot shift out of PARK (P), ease pressure on
the shift lever
-- push the shift lever all the way into
PARK
(P) and release the shift lever button as you
maintain brake application. Then press the shift lever
button and move the shift lever into the gear you wish.
Page 78 of 356
Downloaded from www.Manualslib.com manuals search engine Manual Transmission Operation
6-Speed
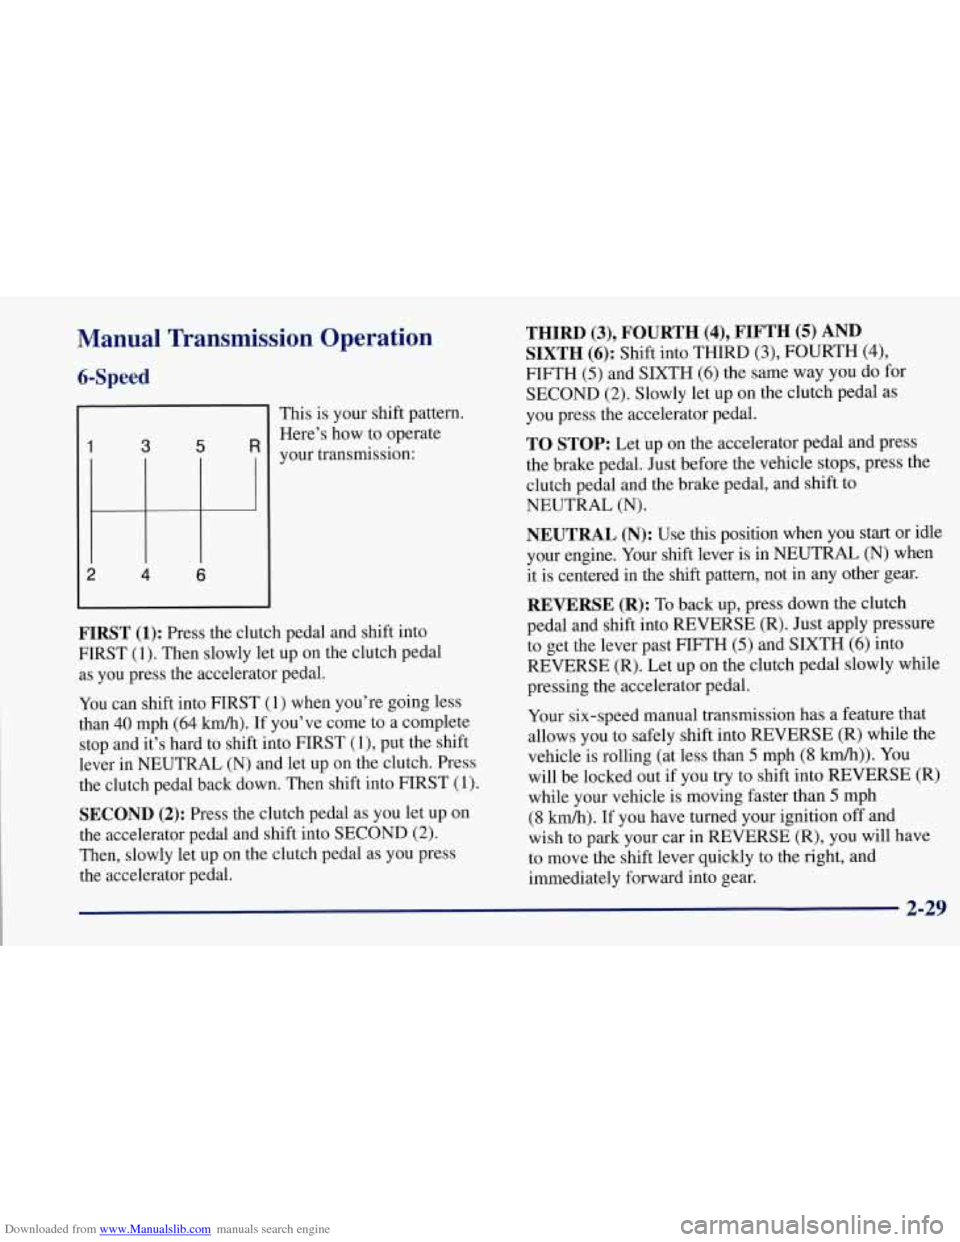
1 3 5 R
2 4 6
This is your shift pattern.
Here’s how to operate
your transmission:
FIRST (1): Press the clutch pedal and shift into
FIRST
(1). Then slowly let up on the clutch pedal
as you press the accelerator pedal.
You can shift into FIRST (1) when you’re going less
than
40 mph (64 km/h).’If you’ve come to a complete
stop and it’s hard to shift into FIRST
(l), put the shift
lever in NEUTRAL
(N) and let up on the clutch. Press
the clutch pedal back down. Then shift into FIRST
(1).
SECOND (2): Press the clutch pedal as you let up on
the accelerator pedal and shift into SECOND (2).
Then, slowly let up on the clutch pedal as you press
the accelerator pedal.
THIRD(3),FOURTH(4),FIFTH(5)AND
SIXTH (6): Shift into THIRD (3), FOURTH (4)’
FIFTH (5) and SIXTH (6) the same way you do for
SECOND
(2). Slowly let up on the clutch pedal as
you press the accelerator pedal.
TO STOP: Let up on the accelerator pedal and press
the brake pedal. Just before the vehicle stops, press the clutch pedal and the brake pedal, and shift to
NEUTRAL
(N).
NEUTRAL (N): Use this position when you start or idle
your engine. Your shift lever is in NEUTRAL
(N) when
it is centered in
the shift pattern, not in any other gear.
REVERSE (R): To back up, press down the clutch
pedal and shift into REVERSE (R). Just apply pressure
to get the lever past FIFTH
(5) and SIXTH (6) into
REVERSE (R). Let up on the clutch pedal slowly while
pressing the accelerator pedal.
Your six-speed manual transmission has a feature that
allows you to safely shift into REVERSE (R) while the
vehicle is rolling (at less than
5 mph (8 km/h)). You
will be locked out if you try to shift into REVERSE (R)
while your vehicle is moving faster than
5 mph
(8 km/h). If you have turned your ignition off and
wish to park your car in REVERSE
(R), you will have
to move the shift lever quickly to the right, and
immediately forward into gear.
2-29
Page 84 of 356
Downloaded from www.Manualslib.com manuals search engine Torque Lock (Automatic Transmission)
If you are parking on a hill and you don’t shift your
transmission into PARK (P) properly, the weight of the
vehicle may put too much force on the parking pawl in
the transmission. You may find it difficult to pull the
shift lever out of PARK (P). This is called “torque lock.”
To prevent torque lock, set the parking brake and then
shift into PARK (P) properly before you leave the
driver’s seat.
To find out how, see “Shifting Into
PARK (P)” in the Index.
When you are ready to drive, move the shift lever out of
PARK (P)
before you release the parking brake.
If torque lock does occur, you may need to have another
vehicle push yours a little uphill to take some of the
pressure from the parking pawl in the transmission, so
you can pull the shift lever out of PARK
(P).
Shifting Out of PARK (P)
(Automatic Transmission)
Your Corvette has a brake-transmission shift interlock.
You have to fully apply your regular brake before you
can shift from PARK (P) when the ignition is in the
ON
position. See “Automatic Transmission Operation” in
the Index.
As a prompt, you will see a message in the Driver
Information Center (DIC) that will say PRESS
BRAKE BEFORE SHIFT within
15 seconds unless
the brake is pressed.
If you cannot shift out of PARK (P), ease pressure on
the shift lever
-- push the shift lever all the way into
PARK (P) and release the shift lever button
as you
maintain brake application. Then press the shift lever
button and move the shift lever into the gear you wish.
2-35
Page 90 of 356
Downloaded from www.Manualslib.com manuals search engine Tilt Wheel
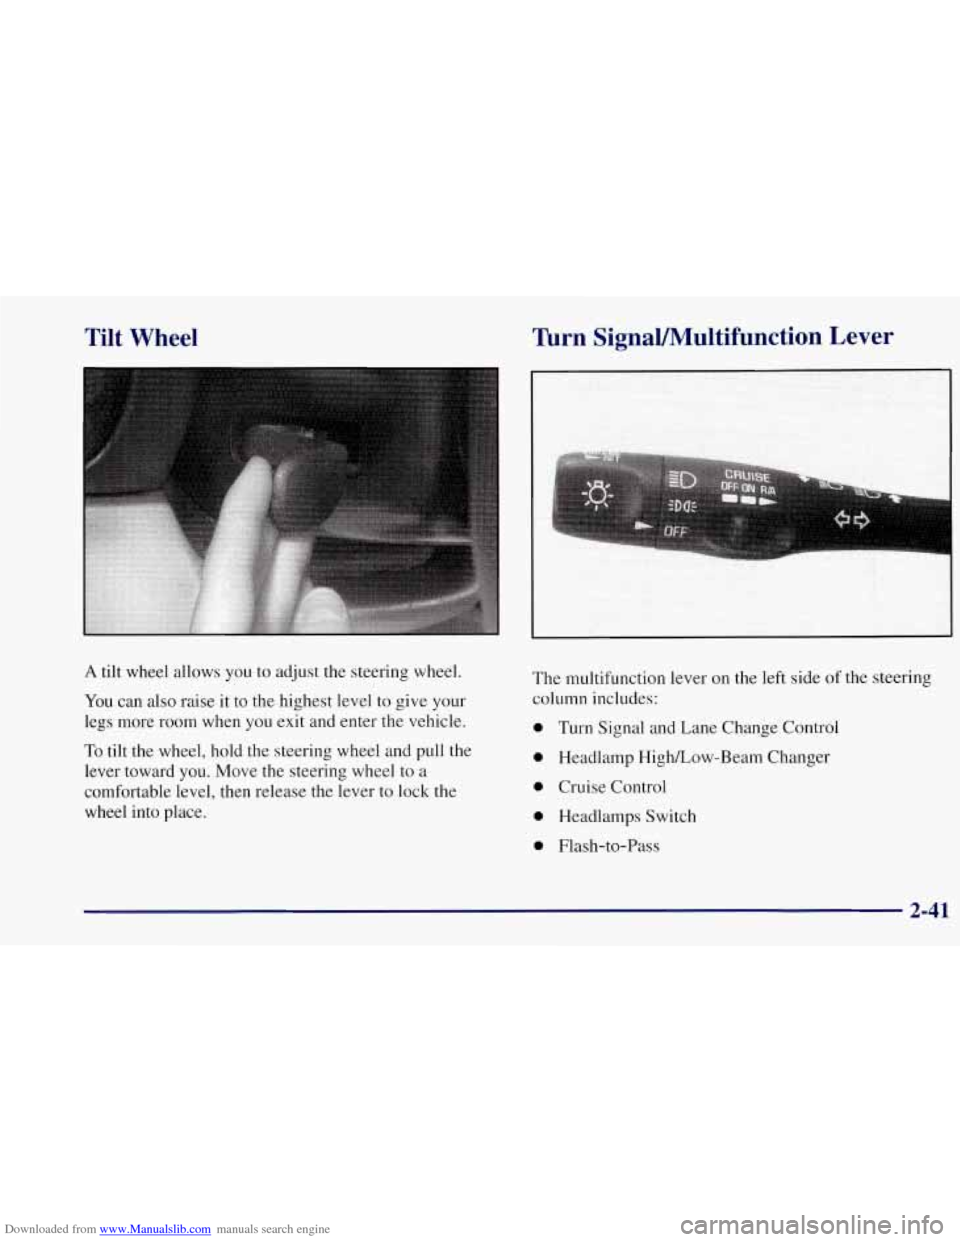
A tilt wheel allows you to adjust the steering wheel.
You can also raise it to the highest level to give your
legs more room when you exit and enter the vehicle.
To tilt the wheel, hold the steering wheel and pull the
lever toward you. Move the steering wheel to a
comfortable level, then release the lever to lock the
wheel into place.
Turn SignaVMultifunction Lever
The multifunction lever on the left side of the steering
column includes:
0 Turn Signal and Lane Change Control
0 Headlamp HighLow-Beam Changer
0 Cruise Control
0 Headlamps Switch
0 Flash-to-Pass
2-41
Page 95 of 356
Downloaded from www.Manualslib.com manuals search engine You can set the wiper speed for a long or short delay
between wipes. This can be very useful in light rain or
snow. Push the lever up to INT (intermittent), then turn
the band, located on the lever, to adjust the delay time.
Rotate the band up for
a shorter delay, down for a longer
delay. The wiper speed can only be adjusted when the
lever is
in the INT position, not in HI or LO.
For steady wiping at low speed, move the lever up to
the
LO position. For steady high-speed wiping, move
the lever up further, to HI. To stop the wipers, move the
lever down to
OFF.
Be sure to clear ice and snow from the wiper blades
before using them.
If they’re frozen to the windshield,
carefully loosen or thaw them.
If your blades do become
damaged, get new blades or blade inserts.
Heavy snow or ice can overload your wipers.
A circuit
breaker will stop them until the motor cools. Clear
away snow or ice
to prevent an overload.
Windshield Washer
The lever on the right side of your steering column also
controls your windshield washer. At the end of the lever
there is a push button.
To spray washer fluid on the
windshield, push the button and hold it. The washer
will spray until you release the button. The wipers will
continue to clear the window for about six seconds after
the button is released and then stop or return to your
preset speed.
A CAUTION:
In freezing weather, don’t use your washer until
the windshield is warmed. Otherwise the washer
fluid can form ice on the windshield, blocking
your vision.
If the fluid in the windshield washer fluid reservoir is
low, the message
LOW WASHER FLUID will appear
on the Driver Information Center display. It will take
60 seconds after the bottle is refilled for this message
to turn
off. For information on the correct washer fluid
mixture to use, see “Windshield Washer Fluid” and
“Recommended Fluids and Lubricants’’ in the Index.
2-46
Page 101 of 356
Downloaded from www.Manualslib.com manuals search engine Interior Lamps
Instrument Panel Brightness Control
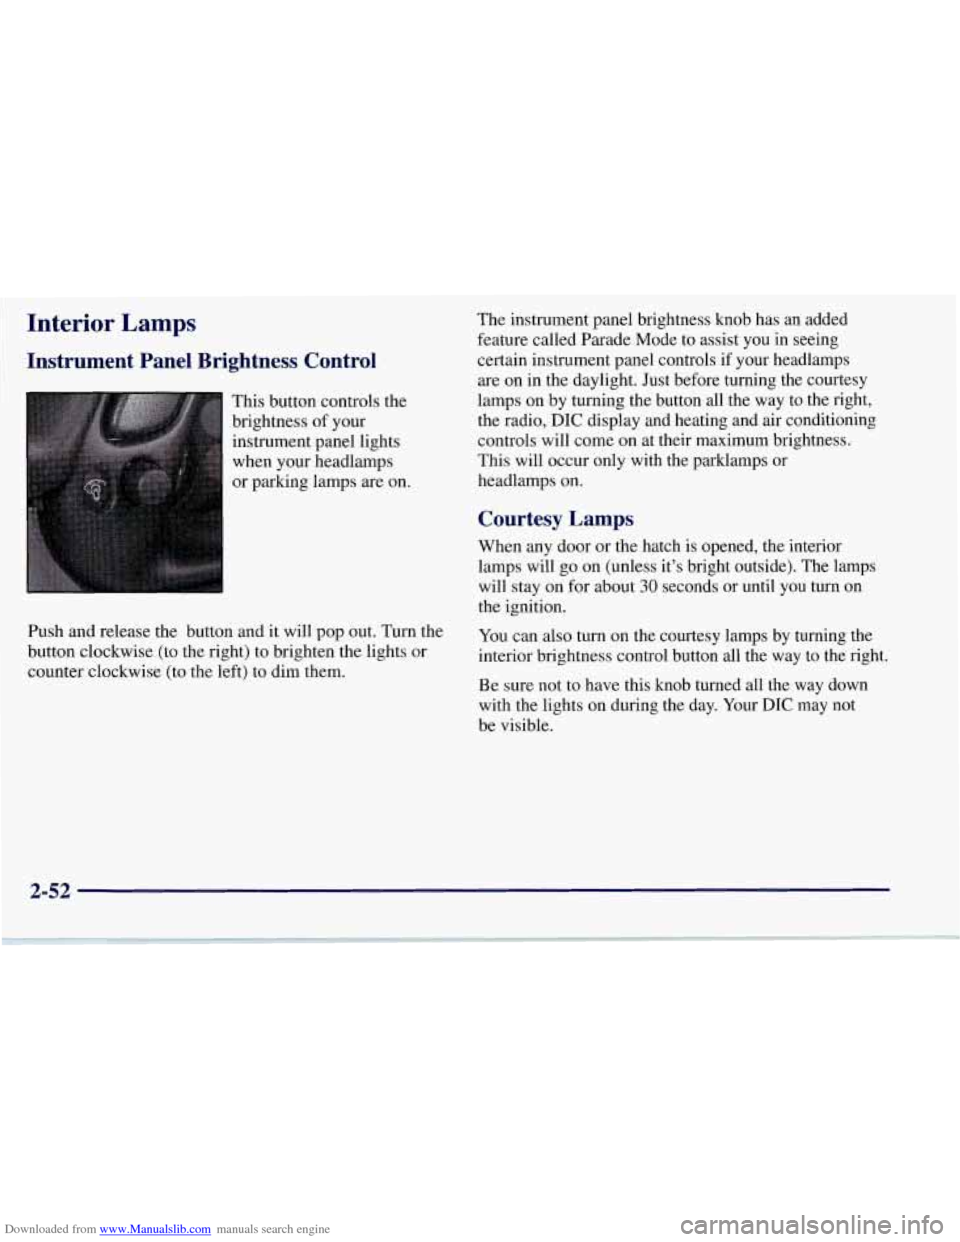
This button controls the
brightness of your
instrument panel lights
when your headlamps
or parking lamps are on.
Push and release the button and it will pop out. Turn the
button clockwise (to the right) to brighten the lights or
counter clockwise (to the left) to dim them. The
instrument panel brightness knob has an added
feature called Parade Mode to assist you in seeing
certain instrument panel controls if your headlamps
are on in the daylight. Just before turning the courtesy
lamps on by turning the button all the way to the right,
the radio,
DIC display and heating and air conditioning
controls will come on at their maximum brightness..
This will occur only with the parklamps or
headlamps on.
Courtesy Lamps
When any door or the hatch is opened, the interior
lamps will go on (unless it’s bright outside). The lamps
will stay on for about
30 seconds or until you turn on
the ignition.
You can also turn on the courtesy lamps by turning the
interior brightness control button all the way to the right.
Be sure not to have this knob turned all the way down
with the lights on during the day. Your
DIC may not
be visible.
2-52