1997 CHEVROLET CAMARO fuse
[x] Cancel search: fusePage 10 of 404

Downloaded from www.Manualslib.com manuals search engine Vehicle Symbols
These are some of the symbols you may find on your vehicle.
For example,
these symbols
are used on an
original battery:
POSSIBLE A
CAUTION
INJURY
PROTECT EYES BY
SHIELDING
CAUSTIC
BURNS AVOID
SPARKS
OR
FLAMES
SPARK
OR ,\I/,
COULD FLAME
EXPLODE BAllERY
These symbols
are important
for you and
your passengers
whenever your
vehicle
is
driven:
DOOR LOCK
UNLOCK
FASTEN SEAT
BELTS
These symbols have to
do with
your
lamps:
SIGNALS e a
TURN
FOG LAMPS
$0
These symbols
are
on some of
your controls:
WINDSHIELD
WIPER
WINDSHIELD DEFROSTER
WINDOW
DEFOGGER
These symbols
are used
on
warning and
indicator lights:
ENGINE t
COOLANT
TEMP
-
CHARGING 1-1
BAllERY
SYSTEM
BRAKE
(@)
COOLANT a
ENGINE OIL w,
PRESSURE
ANTI-LOCK
(a)
BRAKES
Here are some other symbols
you may
see:
FUSE
t
LIGHTER m
HORN k3
SPEAKER
Er
FUEL B
...
Page 12 of 404

Downloaded from www.Manualslib.com manuals search engine Seats and Seat Controls
This section tells you about the seats -- how to adjust
them, and also about reclining front seatbacks, seatback
latches and the folding rear seatback.
Manual Front Seat
I
/& CAU
[ON:
You can lose control of the vehicle if you try to
adjust a manual driver’s seat while the vehicle is
moving. The sudden movement could startle and confuse you, or make you push a pedal when
you
don’t want to. Adjust the driver’s seat only when
the vehicle is
not moving.
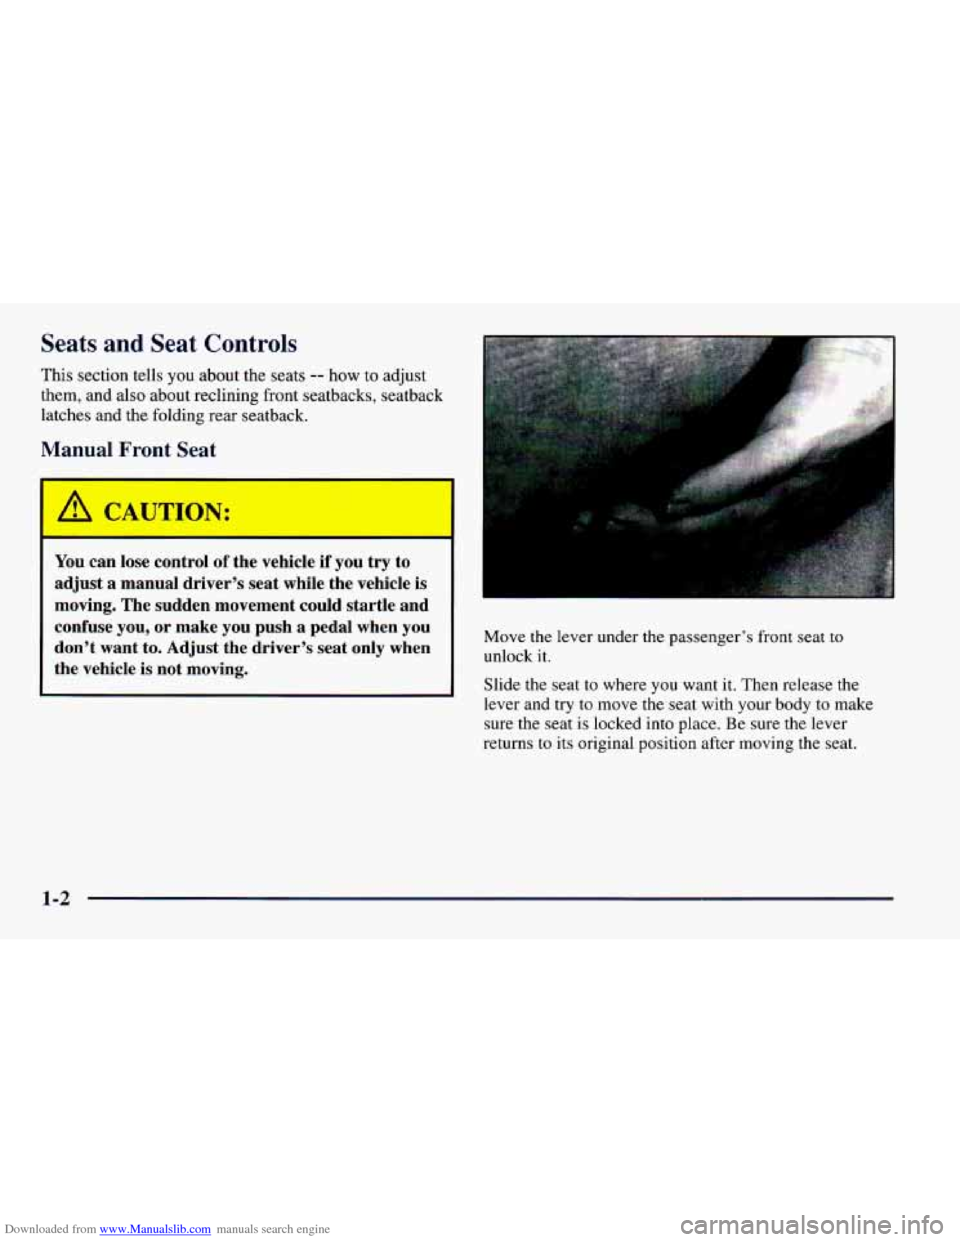
Move the lever under the passenger’s front seat to
unlock it.
Slide the seat to where you want it. Then release the
lever and try to move the seat with your body to make
sure the seat is locked into place.
Be sure the lever
returns to its original position after moving the seat.
1-2
Page 60 of 404

Downloaded from www.Manualslib.com manuals search engine Have each transmitter you intend to match ready for the
next steps.
To match transmitters to your vehicle:
1.
2.
3.
4.
5.
6.
7.
Turn the ignition to the RUN position, then to the
OFF position. This will disarm the Vehicle and
Content Theft-DeterrendAlarm System (if your
vehicle has this option).
Remove the RADIO fuse. This fuse is located in the
main fuse block, located on the left side
of your main
instrument panel. See “Fuses and Circuit Breakers”
in the Index.
Turn the ignition switch from the
OFF to the RUN
position three times quickly (within five seconds).
The vehicle will respond by locking the doors,
unlocking the driver’s doors and releasing the hatch.
Your transmitter is now ready
to match the vehicle.
Press and hold the LOCK and UNLOCK buttons
on
the first transmitter for 15 seconds. The vehicle will
respond as in step
3.
Repeat Step 4 for the remaining transmitters.
When you have finished matching all
of your
transmitters, replace the
RADIO fuse.
Check that all transmitters work by pressing
their buttons.
If the transmitters don’t work, or if you’d rather not match
the transmitters yourself, see your Chevrolet dealer.
Battery Replacement
Under normal use, the battery in your remote keyless
entry transmitter should last about two years.
You can tell the battery is weak if the transmitter won’t
work at the normal range in any location. If
you have to
get close
to your vehicle before the transmitter works,
it’s probably time to change the battery.
Use one battery, type CR2032, or a similar type.
2-10
Page 67 of 404

Downloaded from www.Manualslib.com manuals search engine PASS-Key@ I1
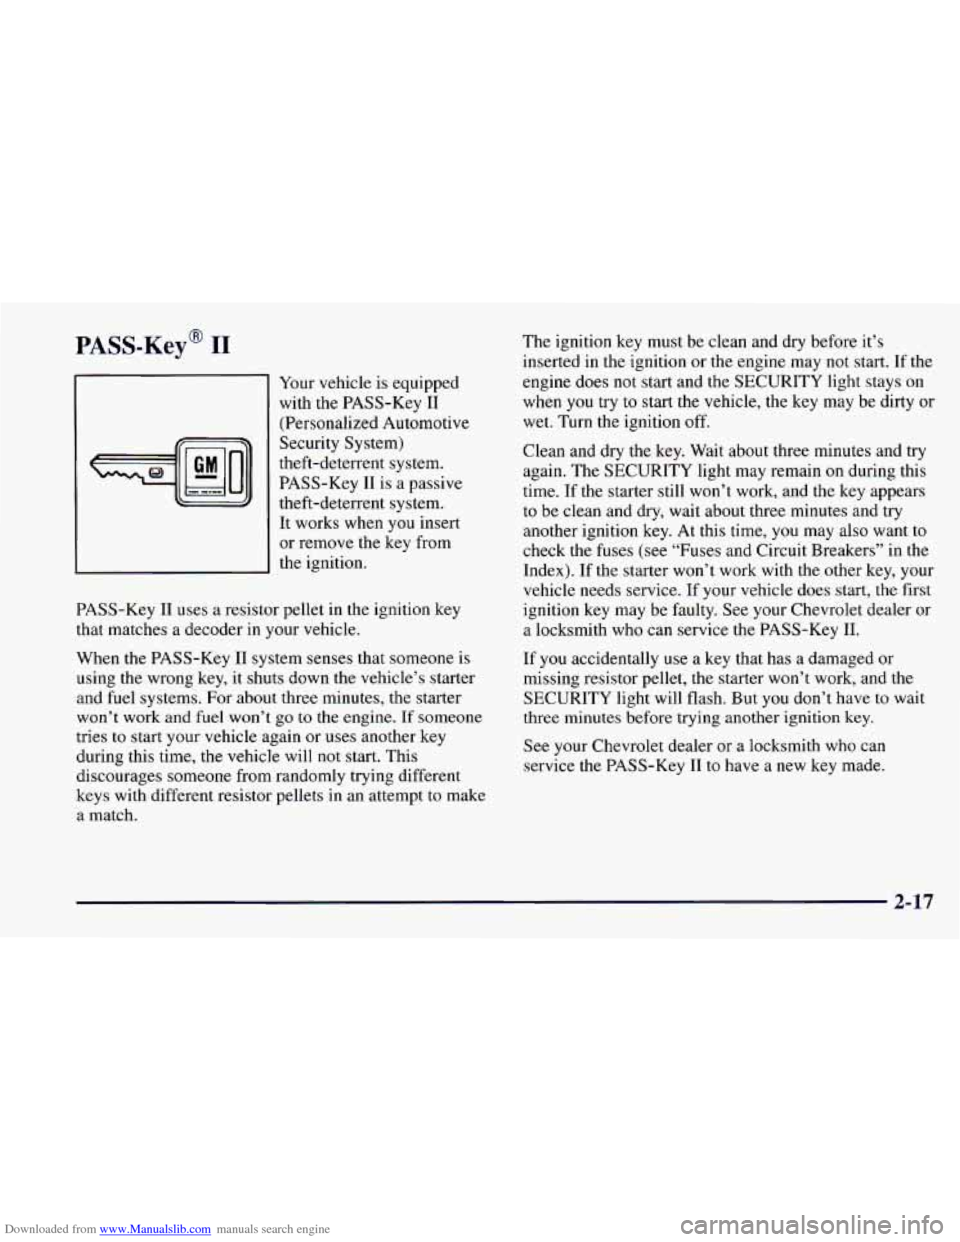
Your vehicle is equipped
with the PASS-Key I1
(Personalized Automotive
Security System)
theft-deterrent system.
PASS-Key
I1 is a passive
theft-deterrent system. It works when you insert
or remove the key from
the ignition.
PASS-Key 11 uses a resistor pellet in the ignition key
that matches a decoder in your vehicle.
When the PASS-Key I1 system senses that someone is
using the wrong key, it shuts down the vehicle’s starter
and fuel systems. For about three minutes, the starter
won’t work and fuel won’t
go to the engine. If someone
tries
to start your vehicle again or uses another key
during this time, the vehicle will not start. This
discourages someone from randomly trying different
keys with different resistor pellets in an attempt to make
a match. The
ignition key must be clean and dry before it’s
inserted in the ignition
or the engine may not start. If the
engine does not start and the SECURITY light stays on
when
you try to start the vehicle, the key may be dirty or
wet. Turn the ignition
off.
Clean and dry the key. Wait about three minutes and try
again. The SECURITY light may remain
on during this
time.
If the starter still won’t work, and the key appears
to be clean and dry, wait about three minutes and try
another ignition key. At this time,
you may also want to
check the fuses
(see “Fuses and Circuit Breakers” in the
Index). If the starter won’t work with the other key, your
vehicle needs service. If your vehicle does start, the first
ignition key may be faulty. See your Chevrolet dealer or
a locksmith who can service the PASS-Key 11.
If
you accidentally use a key that has a damaged or
missing resistor pellet, the starter won’t work, and
the
SECURITY light will flash. But you don’t have to wait
three minutes before trying another ignition key.
See your Chevrolet dealer or a locksmith who can
service the PASS-Key
I1 to have a new key made.
2-17
Page 69 of 404

Downloaded from www.Manualslib.com manuals search engine To program features, your vehicle must be in the
programming mode. Follow these steps:
1.
2.
3.
4.
5,
Put your key in the ignition.
Turn the ignition to the
RUN position to disarm the
Vehicle and Content Theft-DeterrentlAlarm System.
Turn the ignition to the
OFF position.
Remove
the RADIO fuse. This fuse is in the main
fuse block, located on the left side
of your
instrument panel. When the main fuse block is open,
the RADIO fuse is located in the lower right hand
corner of the fuse panel. See “Fuses and Circuit
Breakers’’ in the Index.
Turn the ignition
to the ACC position.
You should hear a chime to verify that the system is
in programming mode, If the chime sounds once,
you will be able to program Exit Lighting, Delayed
Illumination, Last
Door Closed Locking and Lockout
Prevention only. If the chime sounds twice and your
vehicle is equipped with the Vehicle and Content
Theft-Deterrent System,
you will also be able to set
Remote Keyless Entry Verification, Arming Method,
Arming Verification, Driver’s Door Delay and Shock
Sensor Enable.
Exit Lighting and Delayed Illumination
Exit Lighting: Your interior lights will come on for up
to 25 seconds when the key is removed from the
ignition switch.
Delayed Illumination: Your interior lights will come
on
and stay on for up to 25 seconds when entering the vehicle
and for up
to five seconds when leaving your vehicle.
Your vehicle comes with both features enabled. (Mode 4)
To change the factory setting, do the following:
1. Turn the courtesy la~nps on by turning the instrument
panel brightness control knob all the way up.
2. Count the number of chimes you hear. The number
of chimes tells you which mode your vehicle is
set for.
3. Turn the courtesy lamp switch to OFF.
4. Turn the courtesy lamp switch from ON to OFF until
you hear the number of chimes that correspond to the
mode selection you want.
Mode 1: Both Off
Mode 2: Delayed Illumination Only
Mode 3: Exit Lighting Only
Mode 4: Both On
2-19
Page 73 of 404

Downloaded from www.Manualslib.com manuals search engine Mode 1: Zero Delay and Shock Sensor Disabled
(The alarm will sound immediately if the driver’s door
is opened with your key and the shock sensor
will not
be available to measure sharp blows to your vehicle).
Mode 2: Eight Second Delay and Shock Sensor
Disabled (The alarm will sound eight seconds after the
driver’s door is opened with your key and the shock
sensor will not be available to measure sharp blows to
your vehicle).
Mode 3: Zero Delay and Shock Sensor Enabled (The
alarm will sound immediately after the driver’s door is
opened with your key and
the shock sensor will be
available to measure sharp blows to your vehicle).
Mode 4: Eight Second Delay and Shock Sensor Enabled
(The
alarm will sound eight seconds after the driver’s
door is opened with your key and the shock sensor will
be available to measure sharp blows to your vehicle).
Leaving Programming Mode
When programming is done, turn the ignition switch to
the
OFF position and replace the RADIO fuse.
New Vehicle “Break-In”
NOTICE:
Your modern Chevrolet doesn’t need an
elaborate “break-in.” But
it will perform better
in the long run if you follow these guidelines:
0 Keep your speed at 55 mph (88 km/h) or
less for the
first 500 miles (805 km).
0 Don’t drive at any one speed -- fast or
slow
-- for the first 500 miles (805 km).
Don’t make full-throttle starts.
200 miles (322 km) or so. During this time
your new brake linings aren’t yet broken
in. Hard stops with new linings can mean
premature wear and earlier replacement.
Follow
this breaking-in guideline every
time you get new brake linings.
See “Towing
a Trailer” in the Index for
more information.
0 Avoid making hard stops for the first
0 Don’t tow a trailer during break-in.
2-23
Page 96 of 404

Downloaded from www.Manualslib.com manuals search engine As you signal a turn or a lane change, if the arrows don’t
flash but just stay on
as you signal a turn or lane change,
a signal bulb
may be burned out and other drivers won’t
see your turn signal.
If a bulb is burned out, replace it to help avoid an
accident. If the arrows don’t go on at all when
you
signal a turn, check the fuse (see “Fuses and Circuit
Breakers” in the Index).
Headlamp High/Low Beam Changer
To change the headlamps
from low beam to high or
high to low, pull the turn
signal lever all the way
toward you. Then release it.
When the high beams are
on, this light on the
instrument panel also
will be on.
Windshield Wipers
You control the windshield wipers by turning the band
with
the wiper symbol on it.
For a single wiping cycle, turn the band to
MIST. Hold
it there until the wipers start, then let go. The wipers will
stop after one cycle. If you want more cycles, hold the
band on MIST longer.
2-46
Page 110 of 404

Downloaded from www.Manualslib.com manuals search engine Ashtray and Lighter
Lift up the cover to open the ashtray. To remove it, lift
up on the right side of the ashtray. If you have an
automatic transmission, the ashtray is near the front of
your console. If you have
a manual transmission, the
ashtray is near your cupholder.
NOTICE:
Don’t put papers and other things that burn into
your ashtrays.
If you do, cigarettes or other
smoking materials could set them on fire,
causing damage.
To use the lighter, push it in all the way and let go.
When it’s ready, it will pop back by itself.
NOTICE:
Don’t hold a cigarette lighter in with your hand
while it
is heating. If you do, it won’t be able to
back away from the heating element when it’s
ready. That can make it overheat, damaging the
lighter and the heating element.
If you plug accessories into your cigarette lighter, such
as heating devices or air compressors, these accessories
should have a rated current of
less than 15 amps.
Exceeding this limit will result in a blown fuse.
2-60