1997 CHEVROLET ASTRO ECO mode
[x] Cancel search: ECO modePage 39 of 404

Downloaded from www.Manualslib.com manuals search engine How does an air bag restrain?
In moderate to severe frontal or near-frontal collisions,
even belted occupants can contact the steering wheel or the
instrument panel.
Air bags supplement the protection
provided by safety belts.
Air bags distribute the force of
the impact more evenly over the occupant’s upper body,
stopping the occupant more gradually. But air bags would
not help you
in many types of collisions, including
rollovers, rear impacts and side impacts, primarily because
an occupant’s motion is not toward those air bags. Air
bags should never be regarded as anwg more than a
supplement to safety
belts, and then only in moderate to
severe frontal or near-frontal collisions.
What will you see after an air bag inflates?
After an air bag inflates, it quickly deflates, so quickly
that some people
may not even realize the air bag
inflated. Some components of the air bag module
-- the
steering wheel hub for the driver’s air bag, or the
instrument panel for the right front passenger’s
bag
-- will be hot for a short time. The parts of the
bag that come into contact with you may be warm, but
not too hot to touch. There will be some smoke and
dust coming from vents in the deflated air bags. Air bag
inflation doesn’t prevent the driver from seeing or from
being able to steer the vehicle, nor does it
stop people
from leaving the vehicle.
When an air bag inflates, there is dust in the air.
This dust could cause breathing problems for
people with a history of asthma
or other
breathing trouble. To avoid this, everyone in the
vehicle should get out as soon as it is safe to do
so.
If you have breathing problems but can’t get out
of the vehicle after an air bag inflates, then get
fresh air by opening a window or
door.
0
0
Air bags are designed to inflate only once. After they
inflate, you’ll need some new parts for your air bag
system.
If you don’t get them, the air bag system
won’t be there to help protect you in another crash.
A new system will include air bag modules and
possibly other parts. The service manual for your
vehicle covers the need to replace other parts.
Your vehicle is equipped with a crash sensing and
diagnostic module, which records information
about the
air bag system. The module records
information about the readiness of the system,
when the sensors are activated and
driver’s safety
belt usage at deployment.
1-31
Page 81 of 404
Downloaded from www.Manualslib.com manuals search engine Power Door LC ’-- (If Equipped)
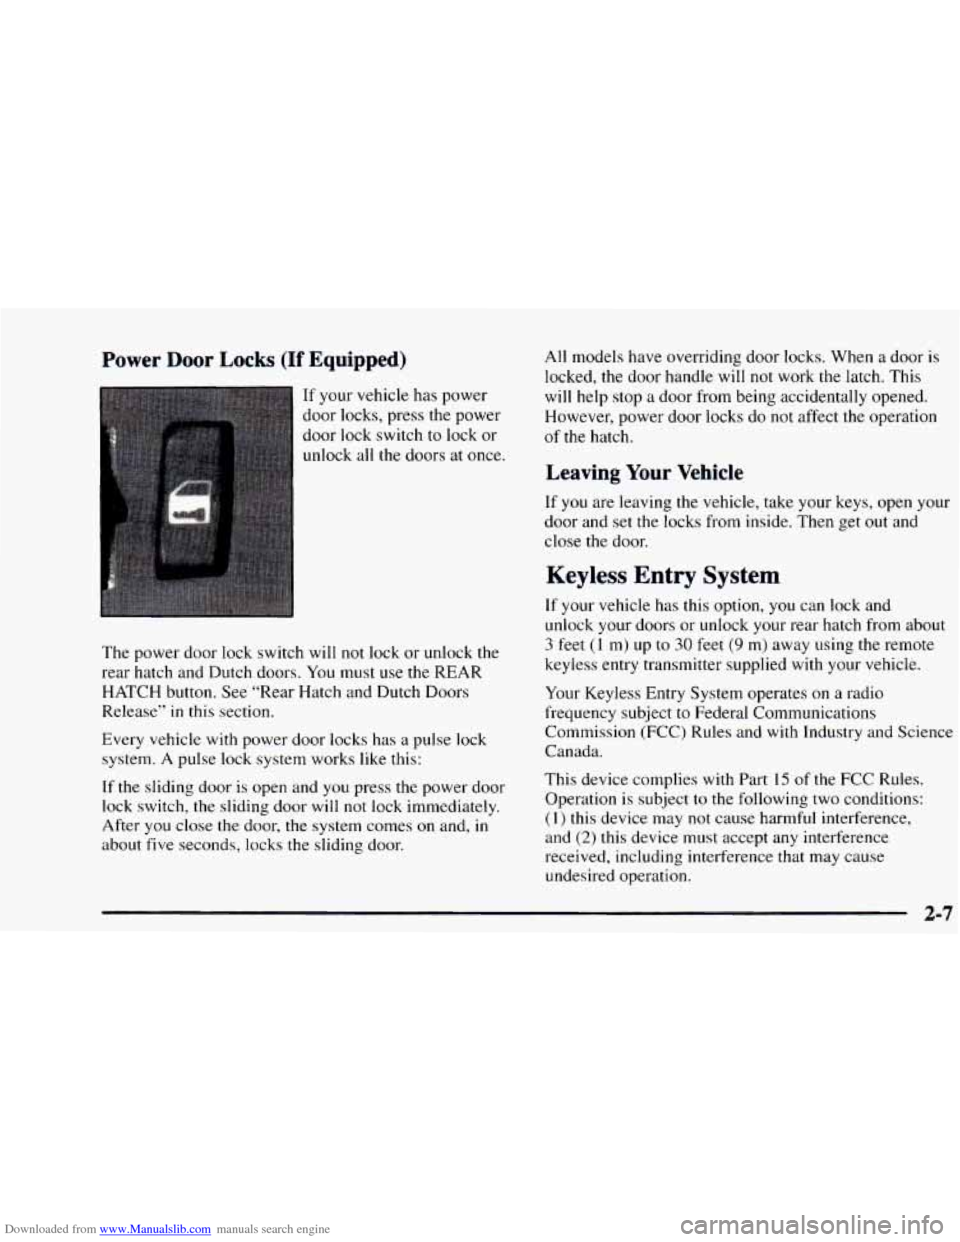
If your vehicle has power
door locks, press the power
door lock switch to lock or
unlock all the doors at once.
The power door lock switch will
not lock or unlock the
rear hatch and Dutch doors.
You must use the REAR
HATCH button. See “Rear Hatch and Dutch Doors
Release” in
this section.
Every vehicle with power door locks has
a pulse lock
system.
A pulse lock system works like this:
If the sliding door is open and you press the power door
lock switch, the sliding door will
not lock immediately.
After you close the door, the system comes
on and, in
about five seconds, locks the sliding door. All
models have overriding door locks. When a door is
locked,
the door handle will not work the latch. This
will help stop a door from being accidentally opened.
However, power door locks
do not affect the operation
of the hatch.
Leaving Your Vehicle
If you are leaving the vehicle, take your keys, open your
door and set the locks from inside. Then get
out and
close the door.
Keyless Entry System
If your vehicle has this option, you can lock and
unlock your doors or unlock your rear hatch from about
3 feet (1 m) up to 30 feet (9 m) away using the remote
keyless entry transmitter supplied with your vehicle.
Your Keyless Entry System operates on a radio
frequency subject to Federal Communications
Commission (FCC) Rules and with Industry and Science
Canada.
This device complies with Part
15 of the FCC Rules.
Operation
is subject to the following two conditions:
(1) this device may not cause harmful interference,
and
(2) this device must accept any interference
received, including interference that may cause
undesired operation.
2-7
Page 155 of 404

Downloaded from www.Manualslib.com manuals search engine Audio Systems
Your Delco@ audio system has been designed to operate
easily and give years
of listening pleasure. You will get
the most enjoyment out of it if you acquaint yourself
with
it first. Find out what your Delco system can do
and how
to operate all its controls, to be sure you’re
getting
the most out of the advanced engineering that
went into it.
AM-FM Stereo
Setting the Clock for Systems without
Automatic Tone Control
Press SET. Within five seconds, press and hold the
SEEK right arrow until the correct minute appears on
the display. Press and hold the
SEEK left arrow until the
correct hour appears on the display.
Setting the Clock for Systems with
Automatic
Tone Control
Press and hold HR until the correct hour appears on the
display. Press and hold MIN until the correct minute
appears on the display. To display the clock with the
ignition off, press RECALL or HR/MIN and
the time
will be displayed for a few seconds. There is an initial
two-second delay before the clock goes
into the
time-set mode.
Playing the Radio
VOLUME: This knob turns the system on and off and
controls the volume. To increase volume and turn
the
radio on, turn the knob clockwise. Turn it
counterclockwise
to decrease volume.
RECALL: Display the time with the ignition off by
pressing
the recall knob. When the radio is playing,
press this knob
to recall the station frequency.
3-9
Page 161 of 404
Downloaded from www.Manualslib.com manuals search engine P.SCAN: The preset scan button lets you scan through
your favorite stations stored
on your pushbuttons. Select
either the
AM, FM 1 or FM2 mode and then press
PSCAN.
It will scan through each station stored on your
pushbuttons and stop for
a few seconds before continuing
to scan through all of the pushbuttons. Press €?SCAN
again or one of the pushbuttons to stop scanning
to listen
to a specific preset station. P.SCAN will light up
on the
display while
in this mode. If one of the stations stored on
a pushbutton
is too weak for the location you are in, the
radio display will show the channel number (Pl-P6)
for
several seconds before advancing to the next preset station.
Setting the Tone
BASS:
Press lightly on this knob to release it from its
stored position. Turn
the knob clockwise to increase bass
and counterclockwise to decrease bass. When the BASS
control is rotated, the AUTO TONE display will go blank.
TREB: Press lightly on this knob to release it from its
stored position. Turn the knob clockwise to increase
treble and counterclockwise
to decrease treble. When
the TREB control is rotated,
the AUTO TONE display
will go blank. If a station is weak or noisy, you may
want
to decrease the treble.
Push
these knobs back into their stored positions when
you’re not using them.
AUTO TONE: Press this button to select among the six
preset equalization settings and tailor the sound to the
music or voice being heard. Each time
you press the
button, the selection will switch to one of the preset
settings
of CLASSIC, NEWS, ROCK, POP, C/W
(CountryNestern)
or JAZZ. To return to the manual
mode, press and release this button
until the AUTO
TONE display goes blank. This will return the tone
adjustment to the BASS and TREB controls.
If a BASS
or TREB control is rotated, the AUTO TONE display
will go blank.
Adjusting the Speakers
BAL: Press lightly on this knob to release it from its
stored position. Turn
the control clockwise to adjust
sound to the right speakers and counterclockwise to
adjust sound
to the left speakers. The middle position
balances the sound between the speakers.
FADE: Press lightly on this knob to release it from its
stored position. Turn the control clockwise to adjust the
sound to the front speakers and counterclockwise for the
rear speakers. The middle position balances
the sound
between the speakers.
Push these knobs back
into their stored positions when
you’re
not using them.
3-15
Page 162 of 404
Downloaded from www.Manualslib.com manuals search engine Playing a Cassette Tape
Your tape player is built to work best with tapes that are
30 to 45 minutes long on each side. Tapes longer than
that are
so thin they may not work well in this player.
To load a cassette tape with the ignition off, press
EJECT or RECALL. Then, insert the cassette tape.
If the ignition is
on but the radio is off, the tape will
begin playing.
Once the tape is playing,
use the VOL, AUTO TONE,
BAL, FADE, BASS and TREB controls just as
you do
for the radio. The tape symbol and a direction arrow will
be
on the display whenever a tape is being played.
Anytime
a tape is inserted, the top side is selected for
play first.
The player automatically senses if the cassette tape is
metal or Cr02 and adjusts for best playback sound.
For metal tapes, the double-D symbol will appear
on
the display.
PREV (1): Press the PREV button or the SEEK left
arrow to search for the previous selection. A minimum
three-second blank gap
is required for the player to stop
at
the beginning of the selection. The tape direction
arrow will blink during
the SEEK operation.
PROG (2): Press this button to switch from one side of
the tape to the other.
NEXT (3): Press the NEXT button or the SEEK right
arrow to search for the next selection. A minimum
three-second blank gap is required for the player
to stop
at the beginning
of the selection. The tape direction
arrow will blink during the SEEK operation. The sound
will mute while searching for the next selection.
REV (4): Press this button to rapidly reverse the tape to
the beginning of the cassette or until you press REV
again. The radio will play the last selected station while
reversing the tape. The tape direction arrow will blink
during
the reverse operation.
00 (5): Press this button to reduce cassette tape noise.
The double-D symbol will appear
on the display while
the player
is in this mode.
Dolby Noise Reduction is manufactured under a license
from Dolby Laboratories Licensing Corporation. Dolby
and the double-D symbol are trademarks
of Dolby
Laboratories Licensing Corporation.
FWD (6): Press this button to rapidly forward the tape
to the end of the cassette or until you press FWD again.
The radio will play
the last selected station while
forwarding the tape. The tape direction arrow will blink
during the forward operation.
AM-FM: Press this button to switch from a tape to
the radio.
3-16
Page 163 of 404
Downloaded from www.Manualslib.com manuals search engine TAPE AUX: Press this button to return to the tape
player when playing the radio. The lighted arrow
will
appear and show the direction of play when a tape is in
the active mode.
EJECT: Press this button to remove the tape. The radio
will now play. EJECT can be used with either the
ignition or radio off. To load a cassette tape with the
ignition or radio
off, press EJECT before loading the
cassette.
If you leave a cassette tape in the player while
listening
to the radio, it may become warm.
CLN:
If this message appears on the display, the
cassette tape player needs to be cleaned. It will still play
tapes, but you should clean
it as soon as possible to
prevent damage to the tapes and player. See “Care of
Your Cassette Tape Player” in the Index. After you clean
the player, press and hold EJECT
for five seconds to
reset the CLN indicator. The radio will display
--- to
show the indicator was reset.
CD Adapter Kits
It is possible to use a CD adapter kit with your cassette
tape player after activating the bypass feature on your
tape player.
To activate
the bypass feature, the ignition must be on.
Turn your radio off. Press TAPE AUX and hold for
three seconds. After three seconds, the tape symbol
in
the display will flash for two seconds indicating the
feature is active. Insert the adapter cassette again.
It will
power up the radio and begin playing.
This override routine will remain active
until EJECT
is pressed.
3-17
Page 165 of 404
Downloaded from www.Manualslib.com manuals search engine SCAN: Press and hold SEEK until the radio goes into
SCAN mode. SCAN allows you to listen to stations for
a few seconds. The receiver will continue
to scan and
momentarily stop at each station
until you press
SEEK again.
P.SET PROG: The front passengers must be listening
to something different for each of these three functions
to work:
Press this button to seek through your preset radio
stations set
on your primary radio pushbuttons.
When a cassette tape is playing, press this button to
go
to the other side of the tape.
TAPE CD: With a cassette tape in the player and the
radio playing, press this button to play a cassette tape.
Press
AM-FM to return to the radio when a cassette tape
is playing. The inactive tape will remain safely inside
the radio for future listening.
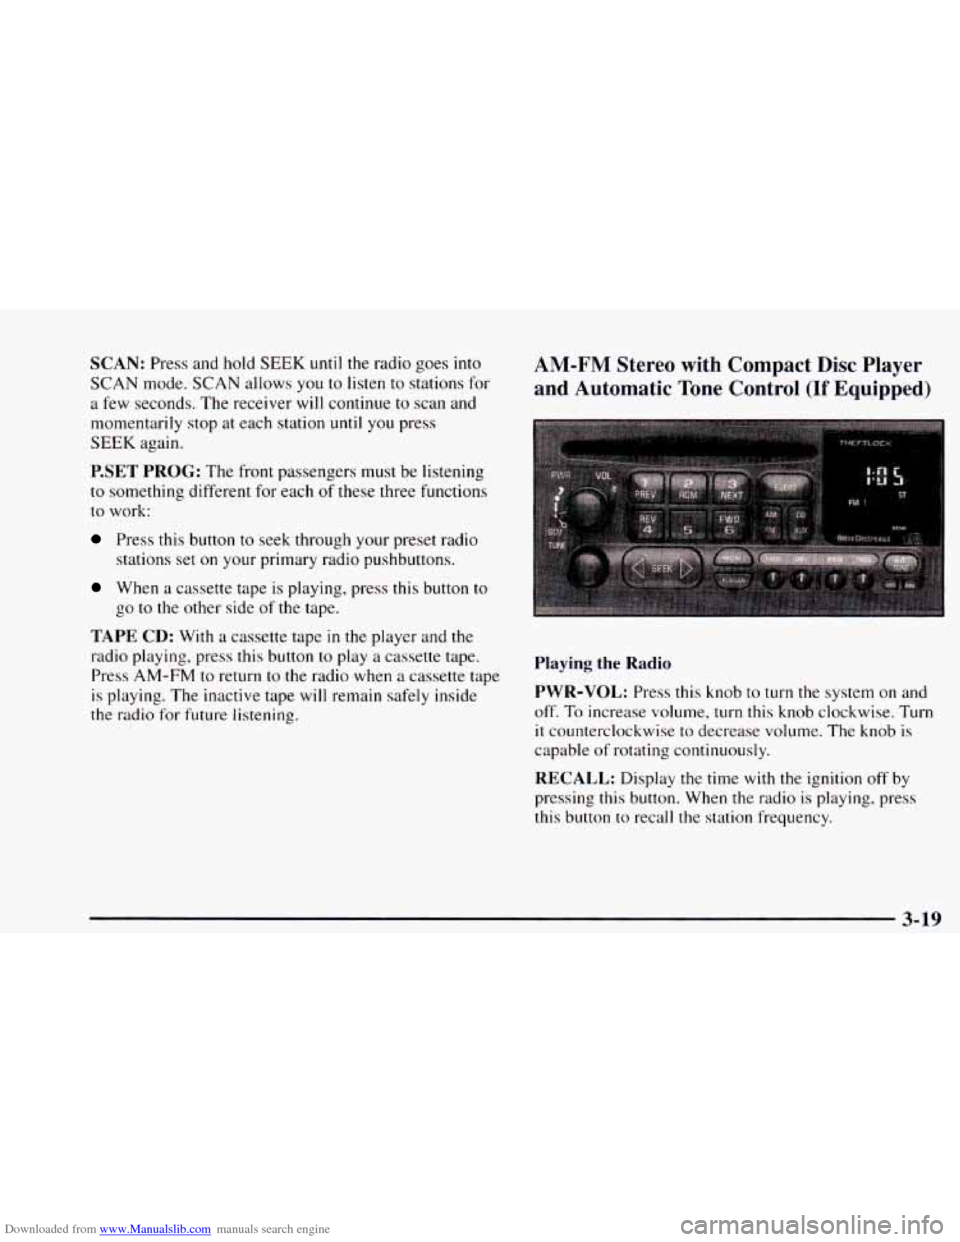
AM-FM Stereo with Compact Disc Player
and Automatic Tone Control
(If Equipped)
Playing the Radio
PWR-VOL: Press this knob to turn the system on and
off.
To increase volume, turn this knob clockwise. Turn
it counterclockwise to decrease volume. The knob is
capable of rotating continuously.
RECALL: Display the time with the ignition off by
pressing this button. When
the radio is playing, press
this button to recall the station frequency.
3-19
Page 167 of 404
Downloaded from www.Manualslib.com manuals search engine P.SCAN: The preset scan button lets you scan through
your favorite stations stored on your pushbuttons. Select
either the AM, FMl
or FM2 mode and then press
P.SCAN.
It will scan through each station stored on your
pushbuttons and stop for a few seconds before continuing
to scan through all of the pushbuttons. Press PSCAN
again or one of the pushbuttons
to stop scanning to listen
to a specific stored station. PSCAN
will light up on the
display while
in this mode. If one of the stations stored on
a pushbutton is too weak for the location you are in, the
radio display will show the channel number (Pl-P6) for
several seconds before advancing
to the next preset station.
Setting the Tone
BASS:
Press lightly on this knob to release it from its
stored position. Turn the knob clockwise to increase bass
and counterclockwise to decrease bass. When the BASS
control is rotated, the AUTO TONE display will
go blank.
TREB: Press lightly on this knob to release it from its
stored position. Turn the knob clockwise to increase
treble and counterclockwise
to decrease treble. When
the TREB control is rotated, the AUTO TONE display
will go blank.
If a station is weak or noisy, you may
want
to decrease the treble.
Push these knobs back into their stored positions when
you’re
not using them.
AUTO TONE: Press this button to select among the six
preset equalization settings and tailor the sound
to the
music or voice being heard. Each time you press the
button, the selection will switch
to one of the preset
settings of CLASSIC, NEWS, ROCK, POP,
CN
(CountryNestern) or JAZZ. To return to the manual
mode, press and release
this button until the AUTO
TONE display goes blank. This will return the tone
adjustment
to the BASS and TREB controls. If a BASS
or TREB control is rotated,
the AUTO TONE display
will go blank.
Adjusting the Speakers
BAL: Press lightly on this knob to release it from its
stored position. Turn the control clockwise to adjust
sound to the right speakers and counterclockwise
to
adjust sound to the left speakers. The middle position
balances the sound between
the speakers.
FADE: Press lightly on this knob to release it from its
stored position. Turn the control clockwise to adjust the
sound
to the front speakers and counterclockwise for
rear speakers. The middle position balances
the sound
between the speakers.
Push these knobs back
into their stored positions when
you’re not using them.
3-21