1997 CHEVROLET ASTRO automatic transmission
[x] Cancel search: automatic transmissionPage 75 of 404

Downloaded from www.Manualslib.com manuals search engine Section 2 Features and Controls
Here you can learn about the many standard and optional features on your vehicle, and information on starting,
shifting and braking. Also explained are the instrument panel and the warning systems that tell you if everything is
working properly
-- and what to do if you have a problem.
2-2
2-4 2-4
2- 6
2-7
2-
10
2- 12
2-
14
2- 15
2-15
2- 17
2-1 8
2- 19
2-22
2-22
2-23
2-24
2-26 Keys
Front
Doors
Rear Doors
Door Locks
Keyless Entry System
Sliding Door
Hatch
Theft New Vehicle “Break-In”
Ignition Positions
Starting Your Engine
Engine Coolant Heater (Option)
Automatic Transmission Operation
Locking Rear Axle All-Wheel Drive (Option)
Parking Brake
Shifting Into PARK (P)
Shifting Out
of PARK (P) 2-27
2-27
2-28
2-29
2-3
1
2-3 1
2-3 1
2-37
2-39
2-4
1
2-42
2-50
2-5
1
2-52
2-5
3
2-56
2-58
2-60 Parking
Over Things That Burn
Engine Exhaust
Running Your Engine While You’re Parked
Windows
Horn
Tilt Wheel (If Equipped)
Turn Signal/Multifunction Lever
Lamps Interior Lamps
Mirrors Storage Compartments
Ashtrays and Cigarette Lighter
Sun Visors
Accessory Power Outlets (Option)
Universal Transmitter (Option)
Instrument Panel
Instrument Panel Cluster
Warning Lights, Gages and Indicators
2-1
Page 93 of 404

Downloaded from www.Manualslib.com manuals search engine A CAUTION:
Plugging the cord into an ungrounded outlet could cause an electrical shock.
Also, the wrong
kind of extension cord could overheat and cause
a fire. You could be seriously injured. Plug the
cord into a properly grounded three-prong 110-volt
AC outlet. If the cord won’t reach, use
a heavy-duty three-prong extension cord rated
for at least
15 amps.
4. Before starting the engine, be sure to unplug and
store the cord as it was before
to keep it away
from moving engine parts. If
you don’t, it could
be damaged.
How long should you keep the coolant heater plugged
in? The answer depends on the outside temperature, the
kind of oil you have, and some other things. Instead
of
trying to list everything here, we ask that you contact
your
GM dealer in the area where you’ll be parking your
vehicle. The dealer can give you the best advice for that
particular area.
Automatic Transmission Operation
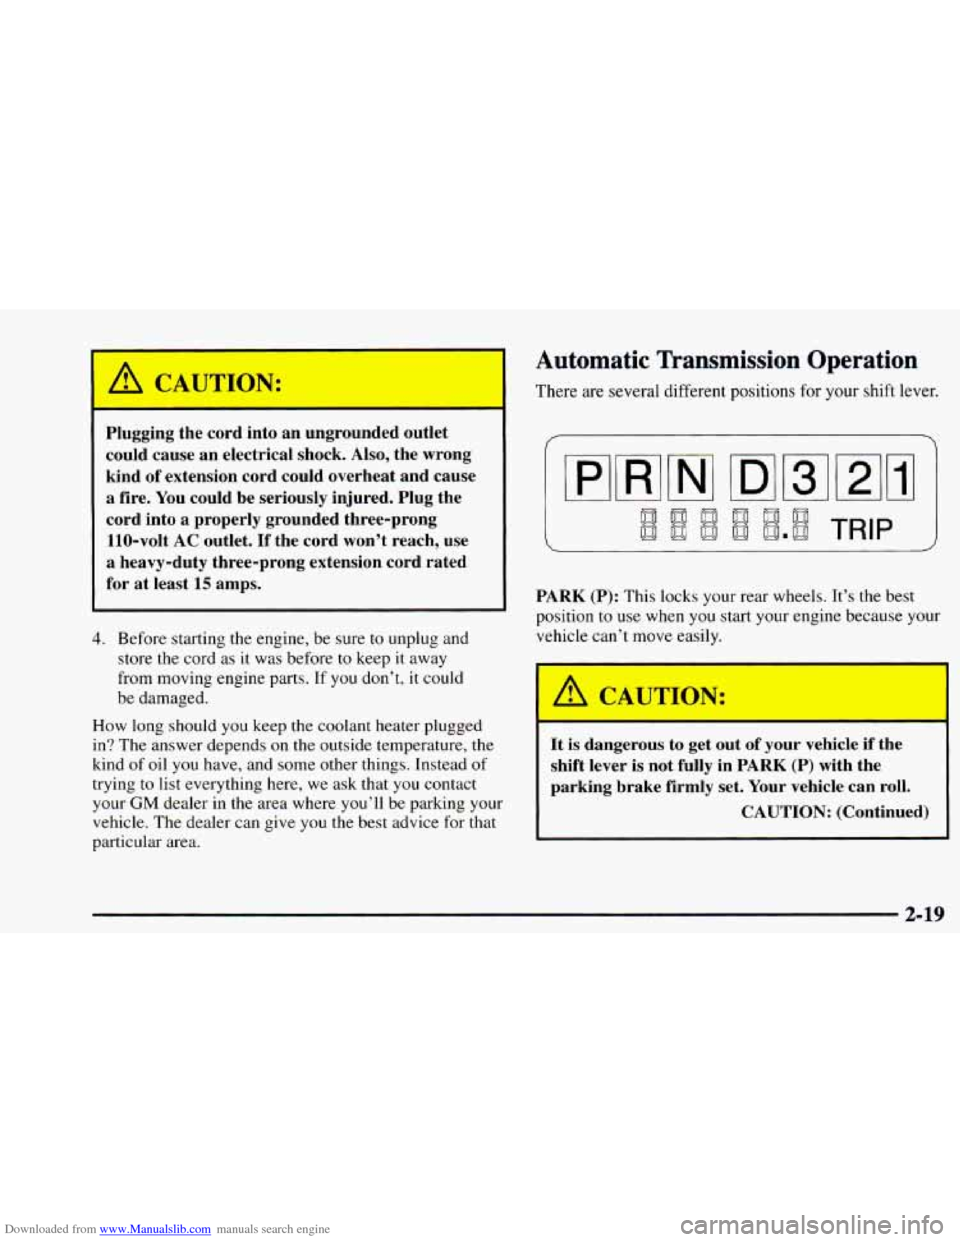
There are several different positions for your shift lever.
PARK
(P): This locks your rear wheels. It’s the best
position to use when you start your engine because your
vehicle can’t move easily.
I A CAUTION:
It is dangerous to get out of your vehicle if the
shift lever is not fully in
PARK (P) with the
parking brake firmly set. Your vehicle can roll.
CAUTION: (Continued)
2-19
Page 96 of 404

Downloaded from www.Manualslib.com manuals search engine FIRST (1): This position gives you even more power
(but lower fuel economy) than
SECOND (2). You can
use it
on very steep hills, or in deep snow or mud. If the
selector lever is put in FIRST
(l), the transmission
won’t shift into first gear until the vehicle is going
slow enough.
NOTICE:
If your rear wheels can’t rotate, don’t try to
drive. This might happen if you were stuck in
very deep sand or mud or were up against
a solid
object. You could damage your transmission or
transfer case or both.
Also, if you stop when going uphill, don’t hold
your vehicle there with only the accelerator
pedal. This could overheat and damage the transmission. Use your brakes or shift into
PARK
(P) to hold your vehicle in position
on a hill.
Locking Rear Axle
If you have this feature, your rear axle can give you
additional traction on snow, mud, ice, sand or gravel. It
works like a standard axle most of the time, but when
one
of the rear wheels has no traction and the other does,
the locking feature will allow the wheel with traction to
move the vehicle.
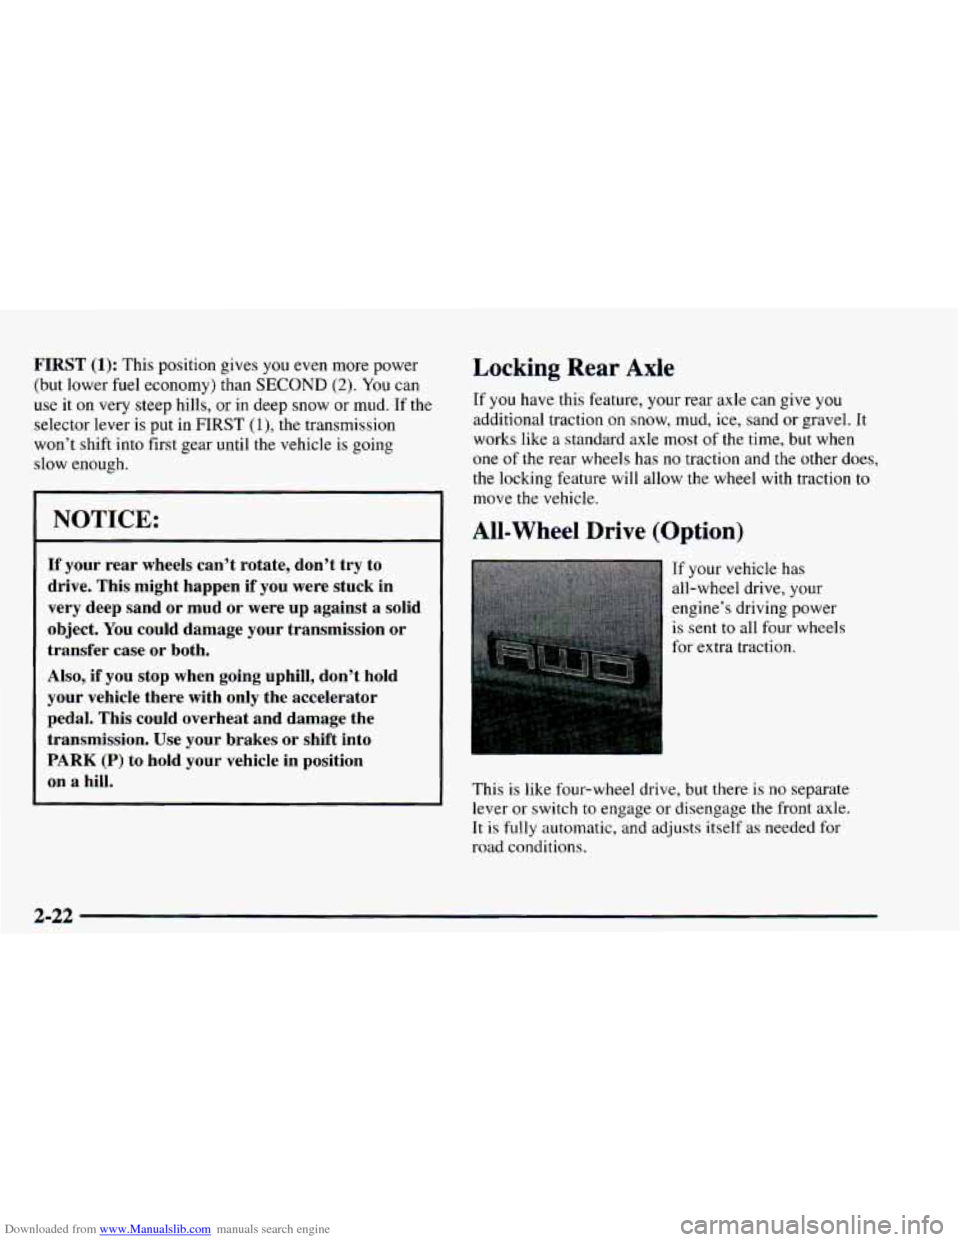
All-Wheel Drive (Option)
If your vehicle has
all-wheel drive, your
engine’s driving power
is sent to all four wheels
for extra traction.
This is like four-wheel drive, but there is
no separate
lever
or switch to engage or disengage the front axle.
It is fully automatic, and adjusts itself as needed
for
road conditions.
2-22
Page 100 of 404

Downloaded from www.Manualslib.com manuals search engine Torque Lock
If you are parking on a hill and you don’t shift your
transmission into PARK (P) properly, the weight of the
vehicle may put too much force on
the parking pawl in
the transmission. You may find it difficult to pull the
shift lever out of PARK (P). This is called “torque lock.”
To prevent torque lock, set the parking brake and then
shift into PARK (P) properly before you leave the
driver’s seat. To find out how, see “Shifting Into
PARK
(P)” in the Index.
When
you are ready to drive, move the shift lever out
of PARK (P) before you release the parking brake.
If torque lock does occur, you may need to have another
vehicle push yours
a little uphill to take some of the
pressure from
the parking pawl in the transmission,
so you can pull the shift lever out of PARK (P).
Shifting Out of PARK (P)
Your vehicle has a brake-transmission shift interlock.
You have to fully apply your regular brake before
you can shift from PARK (P) when
the ignition is in
the
RUN position. See “Automatic Transmission” in
the Index.
If you cannot shift out
of PARK (P), ease pressure on
the shift lever
-- push the shift lever all the way into
PARK (P) as you maintain brake application. Then
move the shift lever into the gear
you want.
If you ever hold the brake pedal down but still can’t
shift out of PARK
(P), try this:
I. Turn the key to OFF.
2. Apply and hold the brake until the end of Step 4.
3. Shift to NEUTRAL (N).
4. Start the vehicle and then shift to the drive gear
you want.
5. Have the vehicle fixed as soon as you can.
2-26
Page 213 of 404

Downloaded from www.Manualslib.com manuals search engine Turn Signals When Towing a Trailer
When you tow a trailer, your vehicle has to have extra
wiring (included
in the optional trailering package).
The green arrows
on your instrument panel will flash
whenever
you signal a turn or lane change. Properly
hooked up, the trailer lamps will also flash, telling other
drivers you’re about
to turn, change lanes or stop.
When towing a trailer, the green arrows
on your
instrument panel will flash for turns even if the bulbs on
the trailer are burned
out. Thus, you may think drivers
behind you are seeing your signal when they are not. It’s
important to check occasionally to be sure the trailer
bulbs are still working.
Driving On Grades
Reduce speed and shift to a lower gear before you start
down a long or steep downgrade. If you don’t shift
down,
you might have to use your brakes so much that
they would get hot and no longer work well.
On a long uphill grade,
shift down and reduce your
speed to around
45 mph (70 km/h) to reduce the
possibility
of engine and transmission overheating.
When towing at high altitude on steep uphill grades,
consider the following: Engine coolant will boil at a
lower temperature than at normal altitudes. If
you turn
your engine
off immediately after towing at high altitude
on steep uphill grades, your vehicle may show signs
similar to engine overheating.
To avoid this, let the
engine run while parked (preferably on level ground)
with the automatic transmission in
PARK (P) for a few
minutes before turning
the engine off. If you do get the
overheat warning, see “Engine Overheating” in
the Index.
4-37
Page 214 of 404

Downloaded from www.Manualslib.com manuals search engine Parking on Hills
You really should not park your vehicle, with a trailer
attached, on a hill.
If something goes wrong, your rig
could start to move. People can be injured, and both
your vehicle and the trailer can be damaged.
But if you ever have
to park your rig on a hill, here’s
how
to do it:
1. Apply your regular brakes, but don’t shift into
2. Have someone place chocks under the trailer wheels.
3. When the wheel chocks are in place, release the
regular brakes until the chocks absorb the load.
PARK (P) yet.
4. Reapply the regular brakes. Then apply your parking
5. Release the regular brakes.
brake,
and shift to
PARK (P).
When You Are Ready to Leave After
Parking on a Hill
1. Apply your regular brakes and hold the pedal down
while you:
0 Start your engine;
Shift into a gear; and
Release the parking brake.
2. Let up on the brake pedal.
3. Drive slowly until the trailer is clear of the chocks.
4. Stop and have someone pick up and store the chocks.
Maintenance When Trailer Towing
Your vehicle will need service more often when you’re
pulling a trailer. See the Maintenance Schedule for more
on this. Things that are especially important in trailer
operation are automatic transmission fluid (don’t
overfill), engine oil, axle lubricant, belt, cooling system
and brake adjustment. Each of these is covered in this
manual, and the Index will help you
find them quickly.
If you’re trailering, it’s a
good idea to review these
sections before you start your trip.
Check periodically to see that all hitch nuts and bolts
are tight.
4-38
Page 222 of 404

Downloaded from www.Manualslib.com manuals search engine 2. Get the vehicles close enough so the jumper cables
can reach, but be sure the vehicles aren’t touching
each other.
If they are, it could cause a ground
connection you don’t want.
You wouldn’t be able to
start your vehicle, and the bad grounding could
damage the electrical systems.
To avoid the possibility of the vehicles rolling, set
the parking brake firmly
on both vehicles involved in
the jump start procedure. Put an automatic
transmission
in PARK (P).
3. Turn off the ignition on both vehicles. Unplug
unnecessary accessories plugged into the cigarette
lighter or accessory power outlets. Turn
off all lamps
that aren’t needed as well
as radios. This will avoid
sparks and help save both batteries. In addition, it
could save your radio!
NOTICE:
I I
If you leave your radio on, it could be badly
damaged. The repairs wouldn’t be covered by
your warranty.
4. Open the hoods and locate the batteries. Find the
positive
(+) and negative (-) terminals on each battery.
Using a match near a battery can cause battery
gas to explode. People have been hurt doing this,
and some have been blinded. Use a flashlight
if
you need more light.
Be sure the battery has enough water. You don’t
need to add water to the Delco Freedom@ battery
installed in every new
GM vehicle. But if a
battery has filler caps, be sure the right amount
of fluid is there.
If it is low, add water to take care
of that first. If’ you don’t, explosive gas could
be present.
Battery fluid contains acid that can burn you.
Don’t get
it on you. If you accidentally get it in
your eyes or on your skin, flush the place with
water and get medical help immediately.
Page 257 of 404

Downloaded from www.Manualslib.com manuals search engine Section 6 Service and Appearance Care
Here you will find information about the care of your vehicle. This section begins with service and fuel information,
and
then it shows how to check important fluid and lubricant levels. There is also technical information about your
vehicle, and
a part devoted to its appearance care.
6- 2
6-3
6-4
6-5
6-7
6-1 1
6- 15
6- 19
6-20
6-23
6-25
6-25
6-29
6-30
6-30
6-3
1
6-32
6-36
6-36
6-36 Service
Fuel Fuels
in Foreign Countries
Filling Your Tank
Checking Things Under the Hood
Engine Oil
Engine Cover
Air Cleaner
Automatic Transmission Fluid
All-Wheel Drive Rear Axle
Engine Coolant
Radiator Pressure Cap
Thermostat Power Steering Fluid
Windshield Washer Fluid
Brakes Battery
Bulb Replacement Halogen Bulbs 6-42
6-43
6-50
6-5
1
6-54
6-55
6-55
6-57
6-5
8
6-5 8
6-5
8
6-59
6-60
6-60
6-60
6-66
6-66
6-67
6-68 Windshield Wiper Blade Replacement
Tires Appearance Care
Cleaning
the Inside of Your Vehicle
Cleaning Glass Surfaces
Cleaning the Outside
of the Windshield,
Backglass and Wiper Blades
Cleaning the Outside
of Your Vehicle
Cleaning Tires Finish Damage Underbody Maintenance
Chemical Paint Spotting
Appearance Care Materials Chart
Vehicle Identification Number
(VIN)
Service Parts Identification Label
Electrical System Replacement Bulbs
Capacities and Specifications
Air Conditioning Refrigerants
Normal Maintenance Replacement Parts
6-1