1997 CADILLAC ELDORADO tow
[x] Cancel search: towPage 99 of 361
Downloaded from www.Manualslib.com manuals search engine s
This lets you use the high-beam headlamps to signal the
driver in front of you that you want to pass.
Pull the turn signal lever toward
you to use. When
you do:
a
e
e
If the headlamps are either off or in the DRL mode,
the high-beam headlamps will turn
on. They’ll stay
on as long as you hold the lever there. Release the
lever to turn them off.
If the headlamps are on low beam, they will shift to
high beam and stay there. Pull the lever toward you
to return to low beam.
If the headlamps are on high beam, they will switch
to low beam.
To return to high beam, pull the lever
toward you.
I
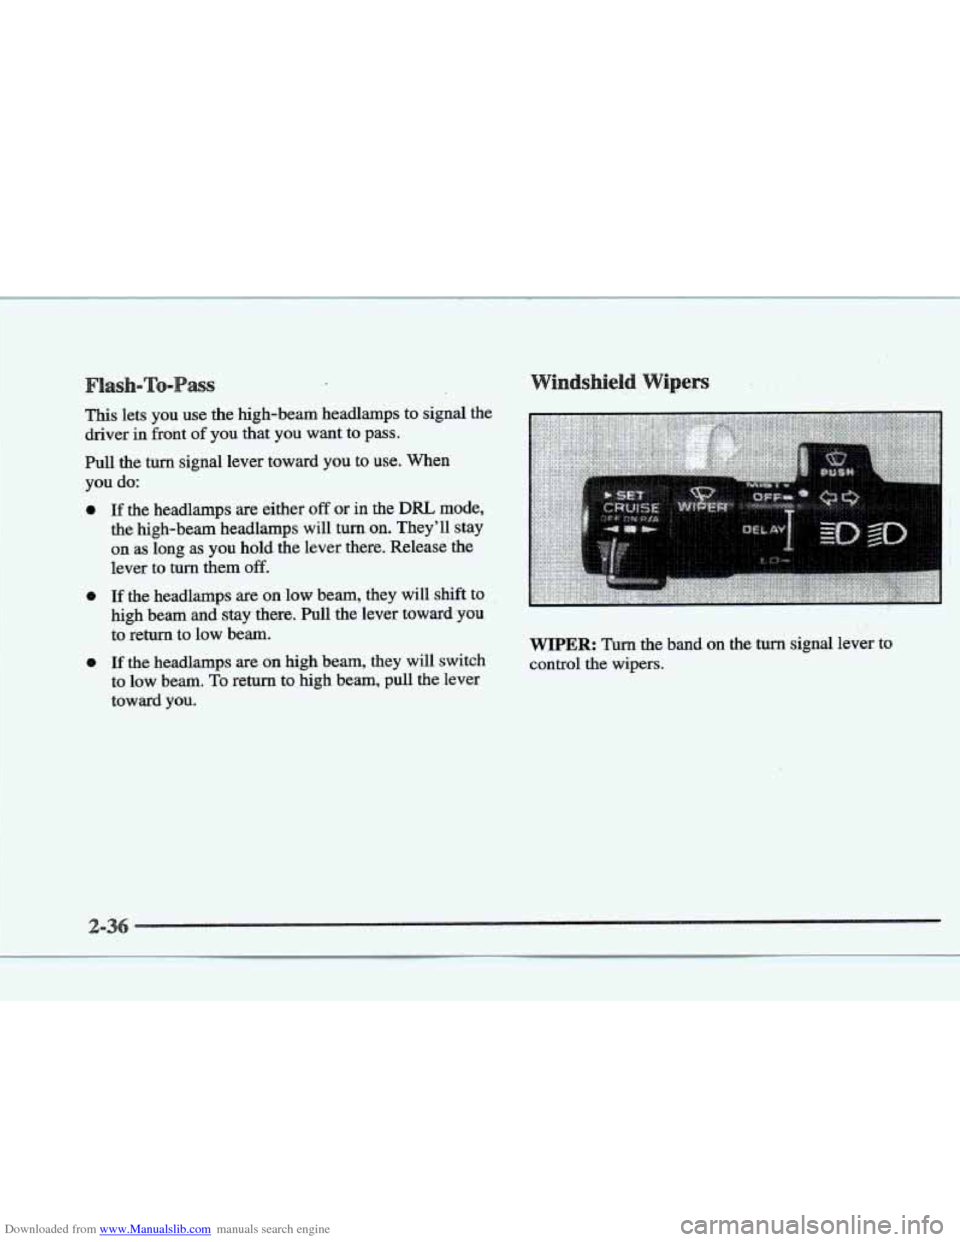
WIPER: Turn the band on the tum signal lever to
control the wipers.
Page 100 of 361
Downloaded from www.Manualslib.com manuals search engine MIST: Turn the band toward you and then release it for.
a single wipe cycle. For more cycles, hold the band on
MIST longer.
LO or HI: Turn the band away from you to either LO
(low speed) or to HI (high speed), depending on the
wiper speed
you want.
DELAY: You can set the wiper speed for a long or short
delay between wipes with this setting. Move the band to
the
DELAY position. The closer you move it to LO, the
longer
the delay. (Eldorado Only)
OFF’: Tun the band to OFF to turn off the wipers.
Be sure to clear ice and snow from the wiper blades
before
using them. If they’re frozen to the windshield,
carefully loosen or thaw them.
If the blades do become
damaged, get new blades or blade inserts.
Heavy snow or ice can overload the wiper motor.
A
circuit breaker will stop the motor until it cools. Clear
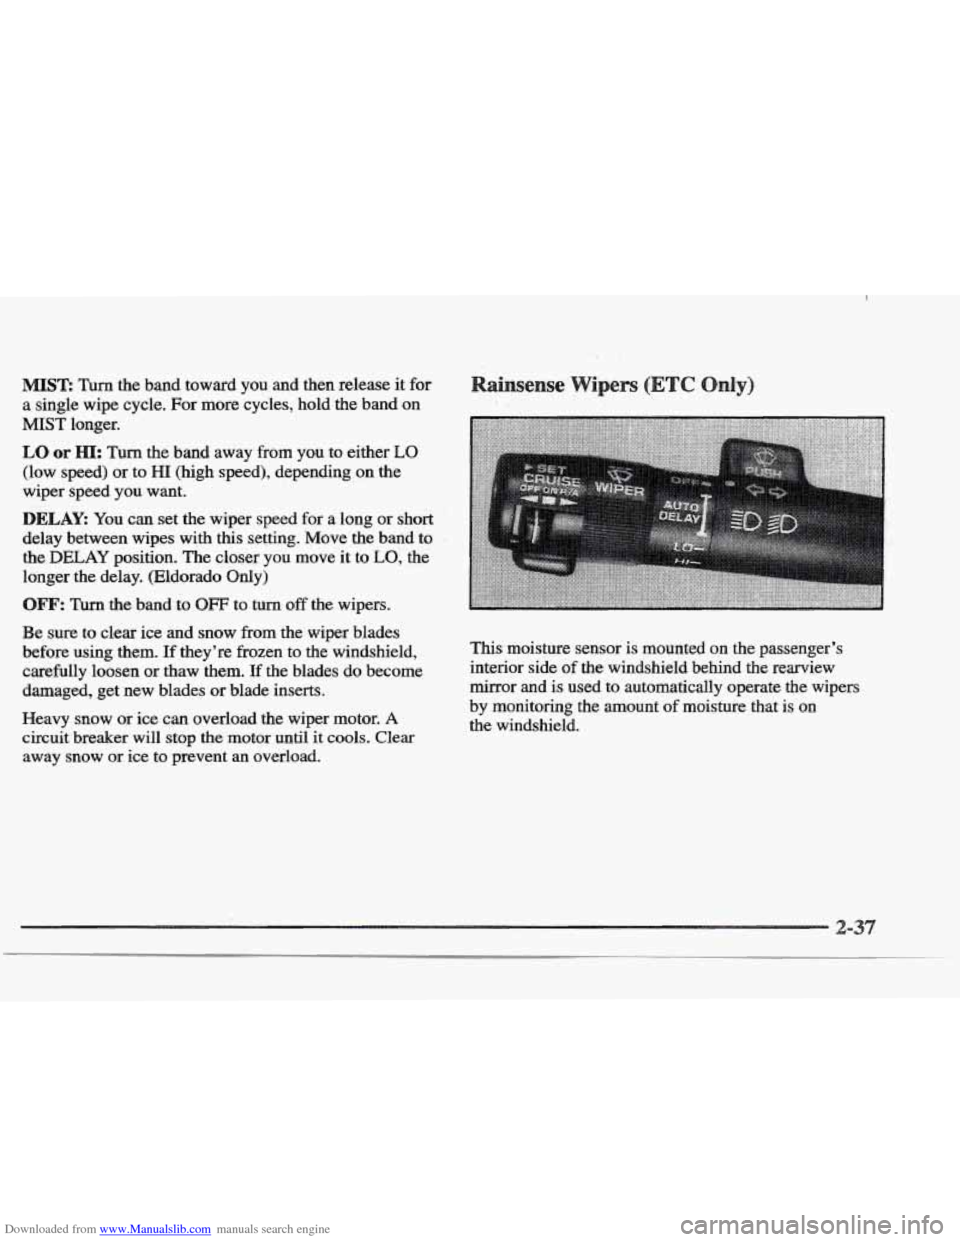
away snow or ice to prevent an overload. This-moisture
sensor
is mounted on the passenger’s
interior side
of the windshield behind the rearview
mirror and
is used to automatically operate the wipers
by monitoring
the amount of moisture that is on
the windshield.
Page 135 of 361
Downloaded from www.Manualslib.com manuals search engine sake System
Your Cadillac’s hydraulic brake system is divided into
two parts. If
one part isn’t working, the other part can
still
work and stop you. For good braking though, you
need both parts working well.
If the warning light comes on, there could be a brake
problem.
Have your brake system inspected right away.
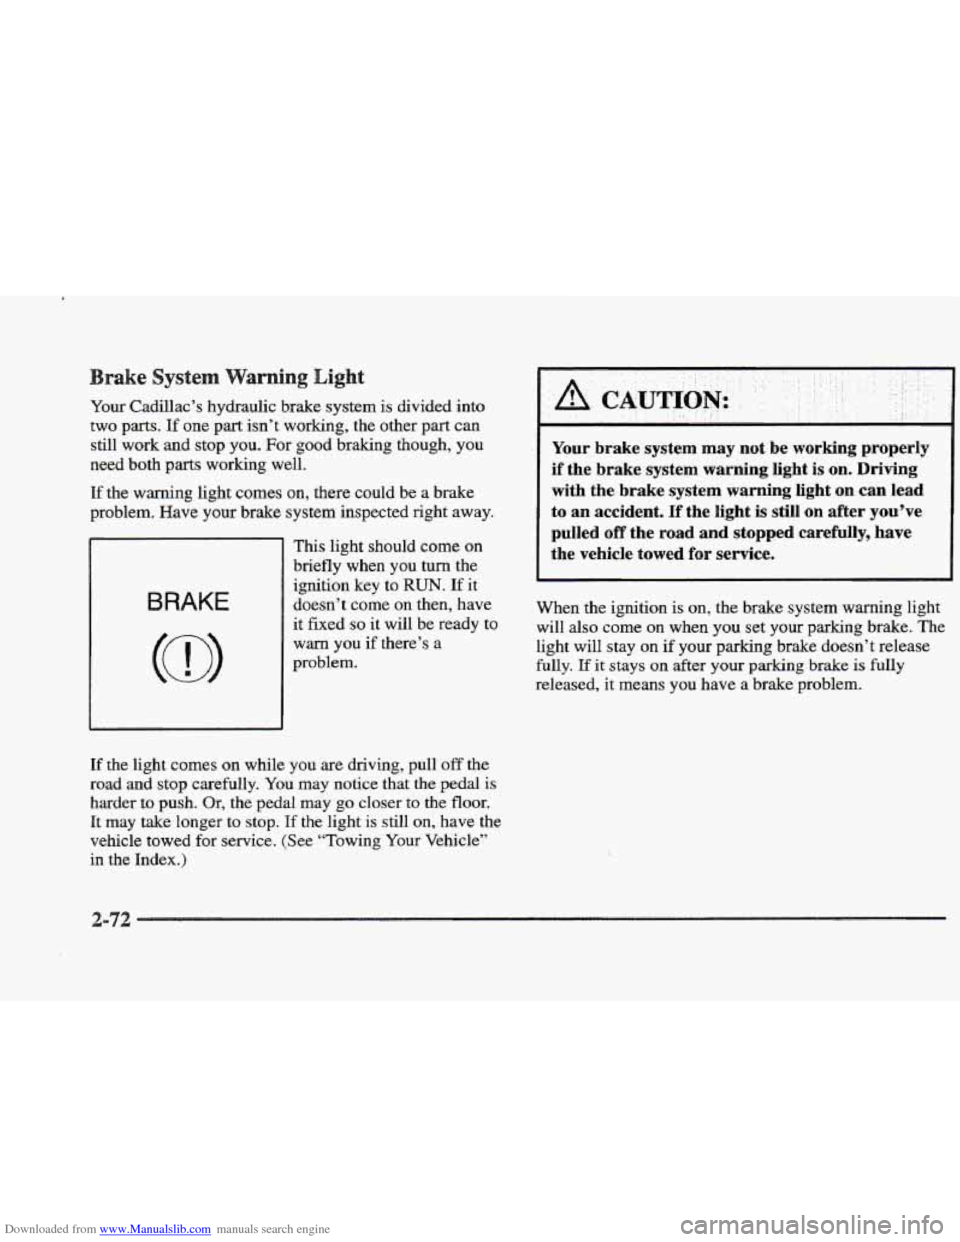
BRAKE
This light should come on
briefly when you turn the
ignition key to
RUN. If it
doesn’t come on then, have
it
fixed so it will be ready to
warn you if there’s a
problem.
If the light comes on while you are driving, pull off the
road and stop carefully. You may notice that the pedal is
harder
to push. Or, the pedal may go closer to the floor.
It
may take longer to stop. Tf the light is still on, have the
vehicle
towed for service. (See “Towing Your Vehicle’’
in the Index.)
Your brake system may not be working properly
if the brake system warning light is on. Driving
with the brake system
warning light on can lead
to an accident. If the light
is still on after you’ve
pulled
off the road and stopped carefully, have
the vehicle towed
for service.
When the ignition is on, the brake system warning light
will also come
on when you set your parking brake. The
light will stay on if your parking brake doesn’t release
fully.
If it stays on after your parking brake is fully
released, it means you have a brake problem.
Page 140 of 361
Downloaded from www.Manualslib.com manuals search engine the Light Is Flashing
The following may prevent more serious damage to
your vehicle:
Reducing
vehicle speed.
9 Avoiding hard accelerations.
e Avoiding steep uphill grades.
@ If you are towing a trailer, reduce the amount of
cargo being hauled as soon as it is possible.
If the light stops flashing and remains on steady, see “If
the Light
Is On Steady” following.
If the light continues to flash, when it is safe to do so,
stop the vehicle. Find a safe place to park your vehicle.
Turn the key off, wait at least 10 seconds and restart the
engine.
If the light remains on steady, see “If the Light
Is Qn Steady” following. If the light is still flashing,
follow
the previous steps, and drive the vehicle to your
dealer or qualified service center for service.
You may
be able to correct the emission system
malfunction
by considering the following:
Did you just drive through a deep puddle
of water?
If so, your electrical system may be wet. The condition
will usually be corrected when the electrical system
dries out. A few driving trips should turn the light off.
Are you low on fuel?
As your engine starts to run out of fuel, your engine may
not run as efficiently as designed since small amounts of
air are sucked into the fuel line causing
a misfire. The
system can detect this. Adding fuel should correct this
condition. Make sure
to install the fuel cap properly. It
will take a few driving trips to turn the light off.
Have you recently changed brands of fuel?
If
so, be sure to fuel your vehicle with quality fuel (see
“Fuel” in
the Index). Poor fuel quality will cause your
engine not to run as efficiently as designed. You may
notice
this as stalling after start-up, stalling when you put
the vehicle into gear,
misfiring, hesitation on acceleration
or stumbling
on acceleration. (These conditions may go
away once the engine is warmed
up.) This will be
detected
by the system and cause the light to turn on.
If you experience one or more of these conditions,
change the fuel brand you use.
It will require at least one
full
tank of the proper fuel to turn the light off.
If none of the above steps have made the light turn off,
have your dealer or qualified service center check the
vehicle. Your dealer has the proper test equipment and
diagnostic tools
to fix any mechanical or electrical
problems that may have developed.
Page 159 of 361
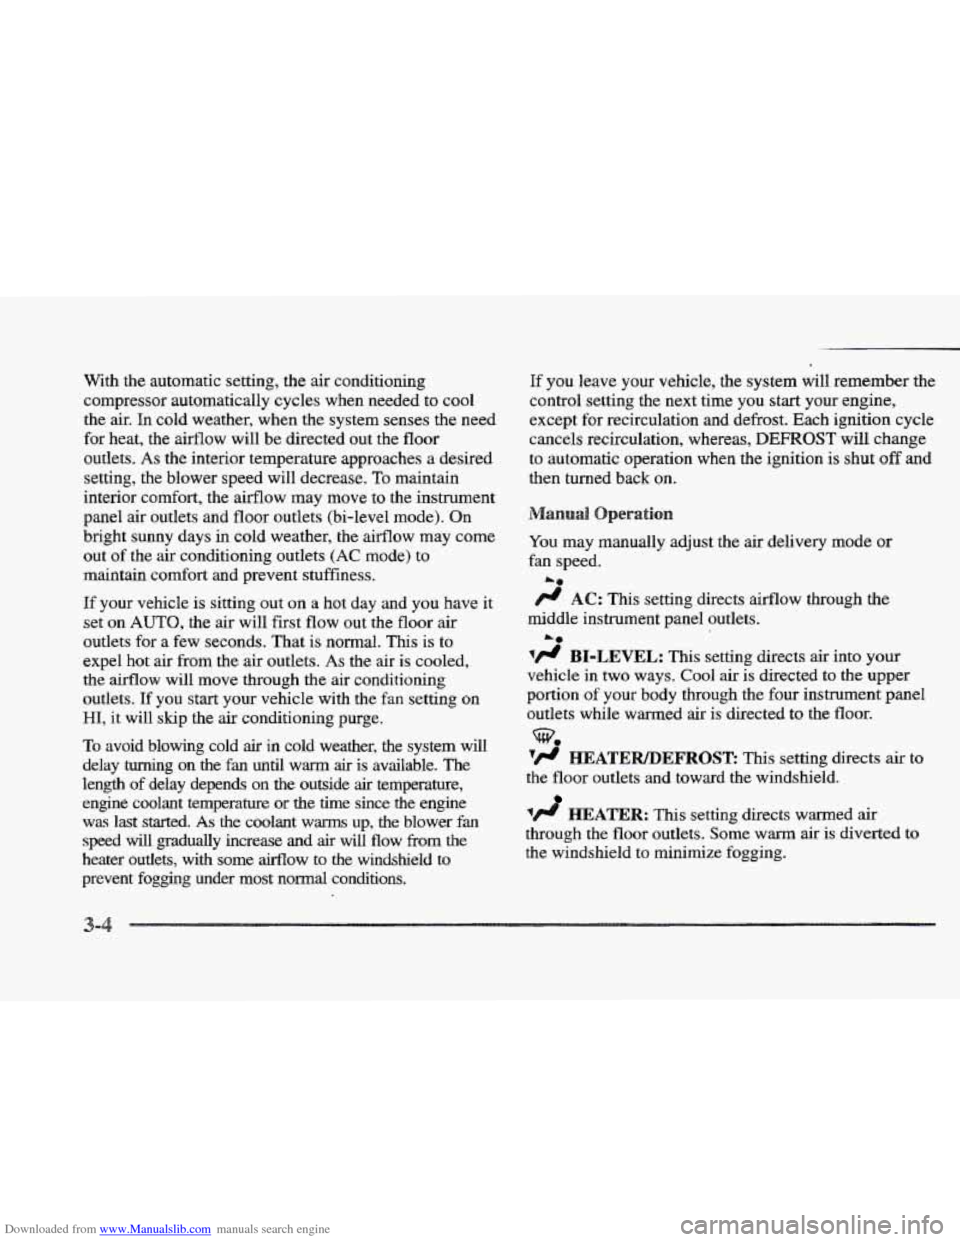
Downloaded from www.Manualslib.com manuals search engine With the automatic setting, the air conditioning
compressor automatically cycles when needed to cool
the
air. In cold weather, when the system senses the need
for heat, the airflow will be directed out
the floor
outlets. As the interior temperature approaches a desired
setting, the blower speed will decrease.
To maintain
interior comfort, the aifflow may move to the instrument
panel air outlets and floor outlets (bi-level mode). On
bright sunny days in cold weather,
the airflow may come
out of the air conditioning outlets (AC mode) to
maintain comfort and prevent stuffiness.
If your vehicle is sitting out on a hot day and you have it
set on
AUTO, the air will first flow out the floor air
outlets for a few seconds. That is normal. This is to
expel
hot air from the air outlets. As the air is cooled,
the airflow will move through
the air conditioning
outlets. If you start your vehicle with the
fan setting on
HI,
it will skip the air conditioning purge.
To avoid blowing cold
air in cold weather, the system will
delay
turning on the fan until warm air is available. The
length of delay depends on the outside
air temperature,
engine coolant temperature
or the time since the engine
was last started. As the coolant warms up, the blower fan
speed will gradually increase and air will flow from the
heater outlets, with some airflow to
the windshield to
prevent fogging under most normal conditions.
If you leave your vehicle, the system will remember the
control setting the next time you
start your engine,
except
for recirculation and defrost. Each ignition cycle
cancels recirculation, whereas,
DEFROST will change
to automatic operation when
the ignition is shut off and
then turned
back on.
You may manually adjust
the air delivery mode or
fan speed.
/.I AC: This setting directs airflow through the
middle instrument panel outlets.
'/J BI-LEVEL: This setting directs air into your
vehicle in two ways. Cool air is directed to the upper
portion
of your body through the four instrument panel
outlets while warmed
air is directed to the floor.
'fl HEATER/DEFROSE This setting directs air to
the floor outlets and toward the windshield.
1/J HEATER: This setting directs warmed air
through the
floor outlets. Some warm air is diverted to
the windshield to minimize fogging.
L*
Page 173 of 361
Downloaded from www.Manualslib.com manuals search engine 4. Press and hold one of the six numbered buttons until
you hear a chime.
A preset number will appear on
the display. The sound will mute. When it returns,
release the button. Whenever you press that
numbered button, the station
you set will return.
5. Repeat the steps for each pushbutton.
seconds until PRESET
SCAN appears on the display to
listen
to each of your preset stations for a few seconds
(Factory presets which have not been reprogrammed
with your stations will be ignored). The radio
will go to
the first preset station stored on your pushbuttons, stop
for a few seconds, then go on to the next preset station.
Press
SCAN again to stop scanning. If a preset station
has weak reception, the radio
will not stop at the
preset station.
ESET SCAN: Press and hold SCAN for two to three
ASS: Press this knob lightly so it extends. Turn the
knob clockwise to increase and counterclockwise to
decrease
bass.
T : Press this knob lightly so it extends. Turn the
knob clockwise to increase and counterclockwise to
decrease treble.
If a station is weak or noisy, you may
want to decrease the treble. Push
these knobs back into their stored positions when
you're not using them.
SP: The Digital Signal Processing (DSP) feature is
used to produce four audio effects. These include
TALK, DRIVER SEAT, LIVE and AUDITORIUM.
DSP can be used while listening to the radio, the
cassette tape player or the CD player. To activate DSP,
press the DSP button. Press this button again to go
through the
four effects. To turn the DSP feature off,
press OFF.
TALK: This setting is used when listening to
non-musical material such as baseball games, talk
shows
or news. TALK gives the best clarity of
spoken words. The high and low frequencies are
lowered, the mid-range is increased and the audio is
moved more toward the front speakers.
DRIVER SEAE This setting adjusts the audio to
give
the driver the best possible sound qualities. This
has been done by tailoring the sound arrival times
and equalization
for the driver seat. DRIVER SEAT
can be used at
any time for any material. Other
passengers
in the vehicle may not perceive the
same effect.
LIVE: This setting is used to imitate the sound of a
live performance.
Page 186 of 361
Downloaded from www.Manualslib.com manuals search engine , 1 II
L
Here you’ll find information about driving on different kinds of roads and in varying weather conditions. We’ve also
included many other useful tips on driving.
i 4-2
4-3
4-6
4-6
4-10
4- 13
4-13
4- 14
4-
16 I
.
Defensive Driving Drunken Driving
Control
of a Vehicle
Braking
Steering
Off-Road Recovery
Passing
Loss of Control
Driving at Night
,’% ., , ,. ’
4-1 8
4-2 1
4-22
4-23
4-24
4-24
4-26
4-30
4-32
Driving in Rain and on Wet Roads
City Driving
Freeway Driving
Before Leaving
on a Long Trip
Highway Hypnosis
Hill and Mountain
Roads
Winter Driving
Loading
Your Vehicle
Towing
a Trailer
Page 217 of 361
Downloaded from www.Manualslib.com manuals search engine Things’ you put. inside your- vehicle can strike and:
injure people in a sudden stop .or turn, or in
a crash,
Put things in the,trunk of your vehicle. In a ,
trunk, put.them as far forward. as you can.
Try to spread the weight evenly.
inside the
vehicle so that some of them are
above the tops
.of the seats.
Don’t leave an unsecured child restraint in
your vehicle.
0 When you carry something inside the
vehicle, secure
it whenever you can.
0 Never stack heavier things, like suitcases,
.I# ‘-a ...-,- ._ .. * . ..l_.
This feature keeps the rear of your vehicle level as the
load changes. It’s automatic -- you don’t need to
adjust anything.
Towing, a
If you don’t use the correct equipment and drive
properly, you can lose control when
you pull a
trailer. For example,, if the trailer is too heavy, the
brakes may not work well
=- or even at all. You
and your passengers could be seriously injured.
Pull a trailer only if you have followed all the
steps in
this section. Ask your Cadillac dealer for
advice and information about towing a trailer
with your vehicle.
I NOTICE.:
Pulling a trailer improperly can damage your
vehicle and result
in costly repairs not covered by
your warranty.
To pull a trailer correctly, follow
the advice in this part,
and see your Cadillac
dealer
for important information about towing a
trailer with your vehicle.