1997 CADILLAC ELDORADO mirror
[x] Cancel search: mirrorPage 115 of 361
Downloaded from www.Manualslib.com manuals search engine This feature prevents rapid changing of the mirror from
the night mode to the day mode as you drive under
lights and through. traffic.
The reverse mode
is another important feature of the
automatic mirror. When the shift lever is placed
in
REVERSE (R), the mirror changes to the'day mode.
This gives you a bright image in the mirror as you
back up.
Cleaning the
Use a cotton swab and glass cleaner to clean the front
and rear photocells that make the auto-dimming
feature work. Once the compass is calibrated,
it does not need
to be
recalibrated.
To calibrate the compass:
1.
2.
3.
Set the switch on the mirror control to C/M.
Turn the vehicle ignition switch on. The letter C
should be displayed in the mirror compass window.
If not, hold the CAL switch (on the bottom of the
mirror) for more than
10 seconds, and the letter C
will appear. To hold in the CAL switch, insert a
paper clip into
the small hole on the bottom of the
mirror housing. The display will show
a number
first, but keep holding until the letter
C appears.
For quick calibration,
drive the vehicle in a
360-degree circle at less than 5 mph (8 krnh) until
the display reads a compass direction. For normal
calibration, drive
the vehicle on your everyday
routine, and the compass will eventually calibrate.
Page 116 of 361
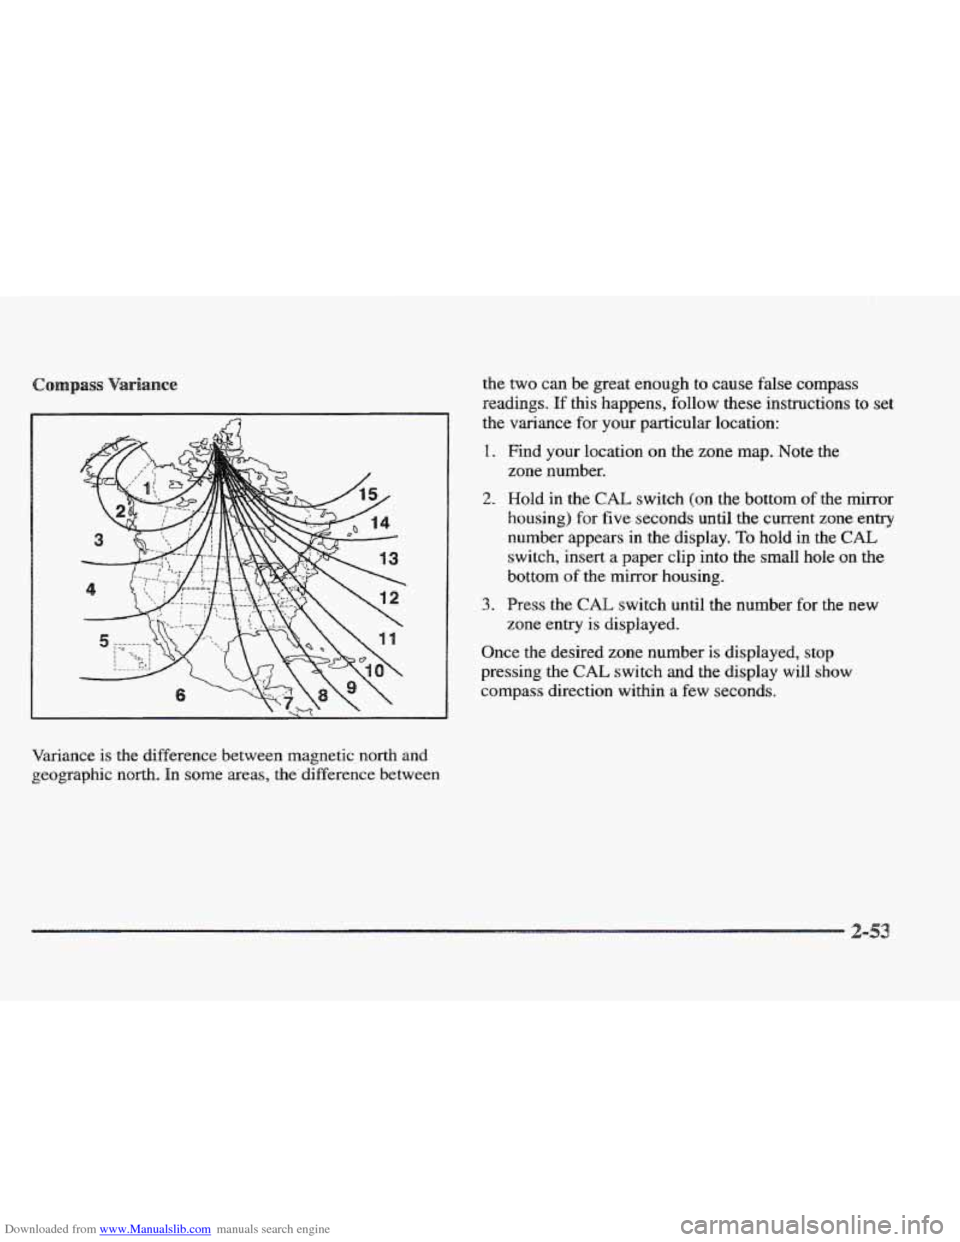
Downloaded from www.Manualslib.com manuals search engine Variance is the difference between magnetic north and
geographic north. In
some areas, the difference between the
two can be great enough
to cause false compass
readings.
If this happens, follow these instructions to set
the variance for your particular location:
1. Find your location on the zone map. Note the
2. Hold in the CAE switch (on the bottom of the mirror
housing) for
five seconds until the current zone entry
number appears in the display.
To hold in the CAL
switch, insert a paper clip into the small hole on the
bottom of the mirror housing.
zone
number.
3. Press the CAL switch until the number for the new
zone entry is displayed.
Once the desired zone number
is displayed, stop
pressing the
CAL switch and the display will show
compass direction within a few seconds.
Page 117 of 361
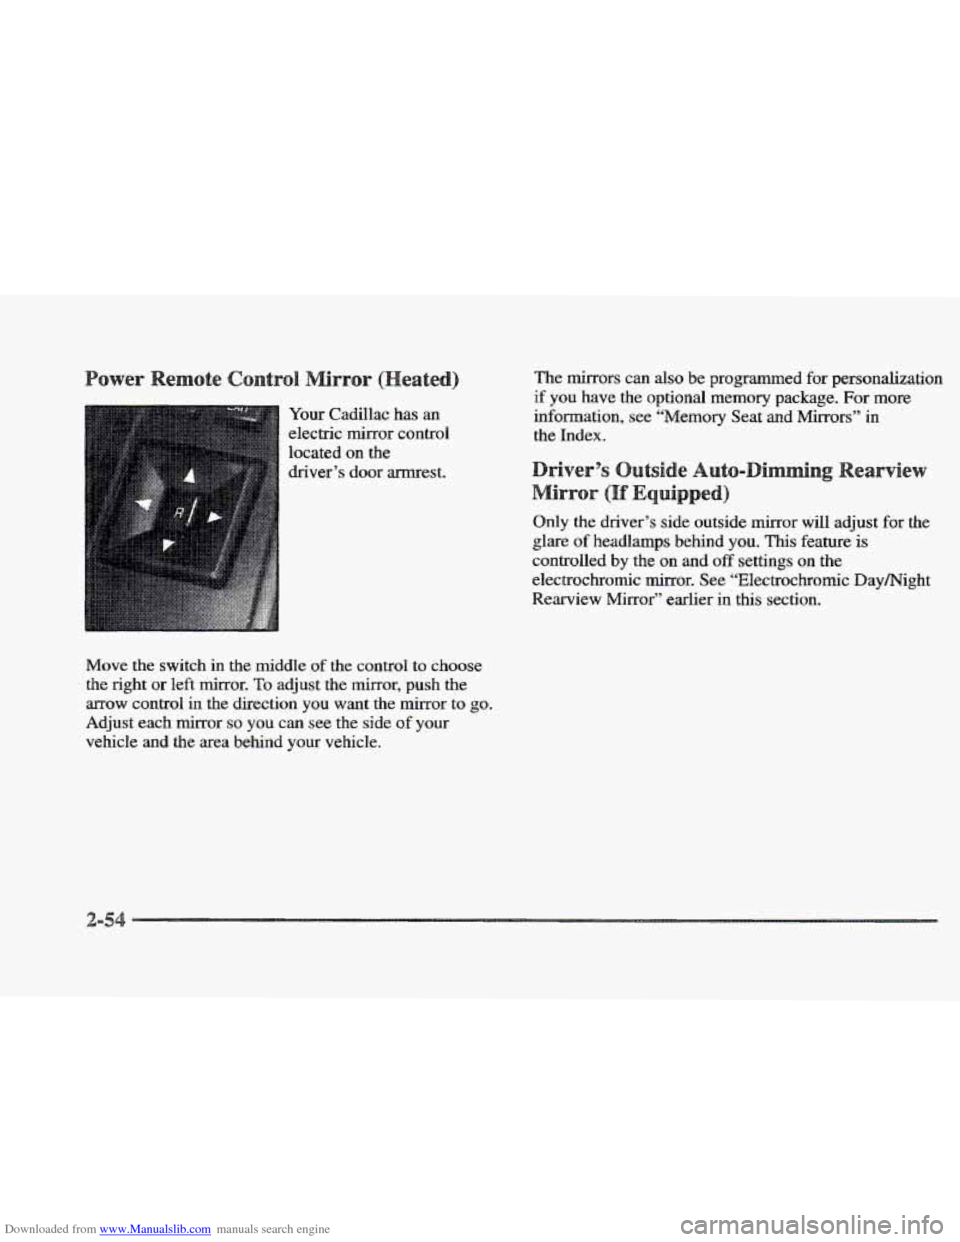
Downloaded from www.Manualslib.com manuals search engine Your Cadillac has an
electric mirror control
located
on the
driver’s door armrest.
Move the switch
in the middle of the control to choose
the right or left
mirror. To adjust the mirror, push the
arrow control in the direction YOU want the mirror to go.
Adjust each mirror so you can see the side of your
vehicle and the area behind your vehicle. The
mirrors can
also be programmed for personalization
if you have the optional memory package. For more
information, see “Memory Seat
and Mirrors” in
the Index.
in
Only the driver’s side outside mirror will adjust for the
controlled by
the on and off settings on the
electrochromic mirror. See “Electrochromic Day/Night
Rearview Mirror” earlier
in this section.
b ulare of headlamps behind you. This feature is
Page 118 of 361
Downloaded from www.Manualslib.com manuals search engine Your passenger’s side mirror is convex. A convex
mirror’s
surface is curved so you can see more from
the driver’s seat.
This mirror does not have a
dimming feature.
vehicles) look farther away than they really are.
If you cut too sharply into the right lane, you
could hit a vehicle on ~QW right. Check your
inside mirror
or glance over shoulder before
e
The glove box is located in front of the passenger’s seat.
To lock the glove box door, insert the oval key into the
lock cylinder and turn it clockwise. Turn
the key
counterclockwise to unlock the
door.
.. ..
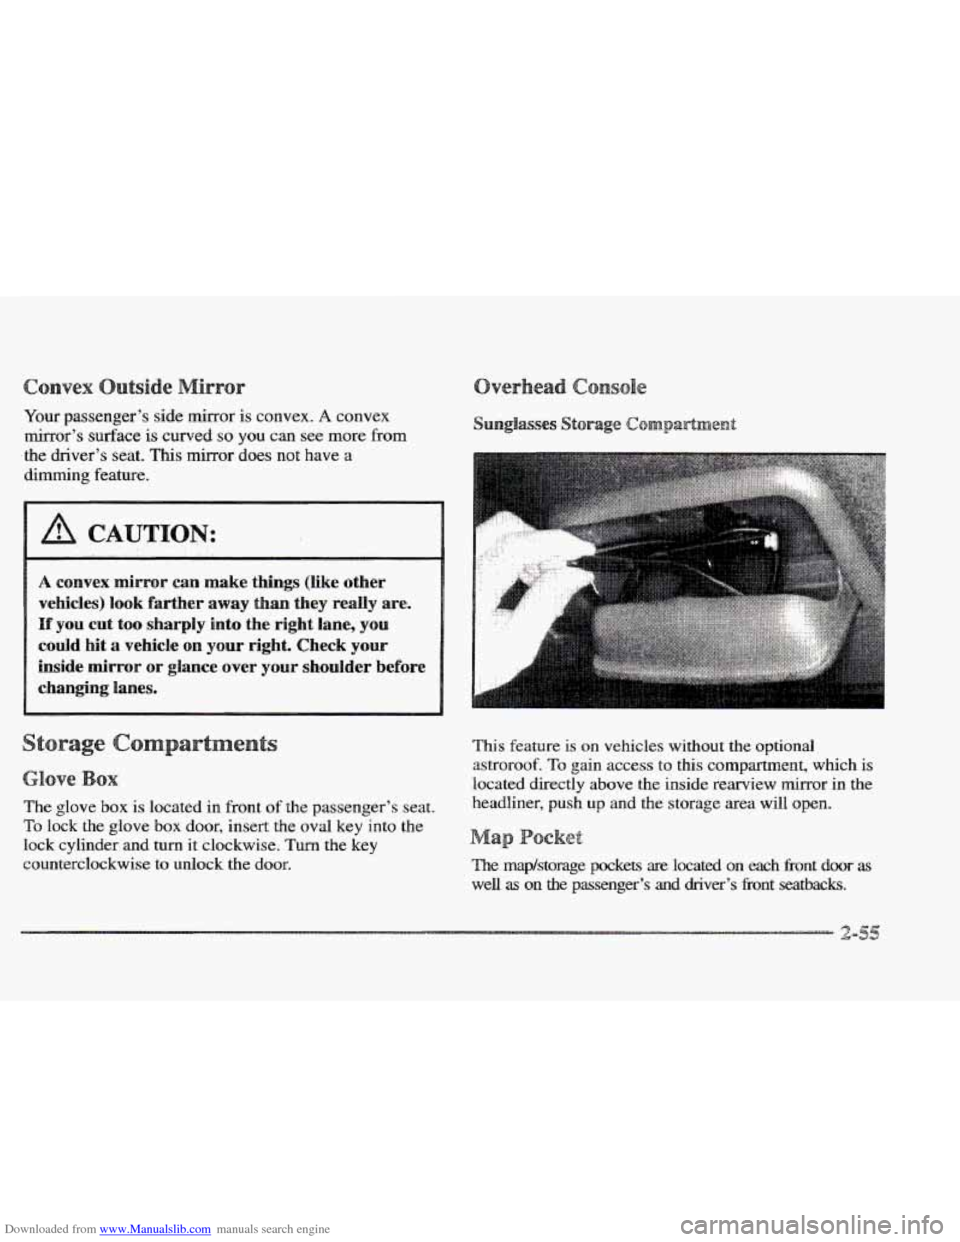
This feature is on vehicles without the optional
astroroof.
To gain access to this compartment, which is
located directly above the inside rearview mirror in the
headliner, push
up and the storage area will open.
a
The map/storage pockets are located on each Eront door as
well as on the passenger’s and driver’s fi-ont seatbacks.
Page 144 of 361
Downloaded from www.Manualslib.com manuals search engine river
The DIC display gives you the status of many of your
vehicle’s systems. The DIC is
also used to display driver
personalization features and warning/status messages.
Your vehicle may be equipped with the following
features that can be individually customized for up to
two drivers.
e Programmable Automatic Door Locks
e Remote Confirmation (for RKE)
e Exterior Lighting (at Unlock)
e Remote Recall Memory (for RKE or Key in
the Ignition)
e Battery Guard Storage
8 Climate Control Personalization
Memory Seat and Mirrors
Radio Personalization
For detailed information, see each feature in the Index.
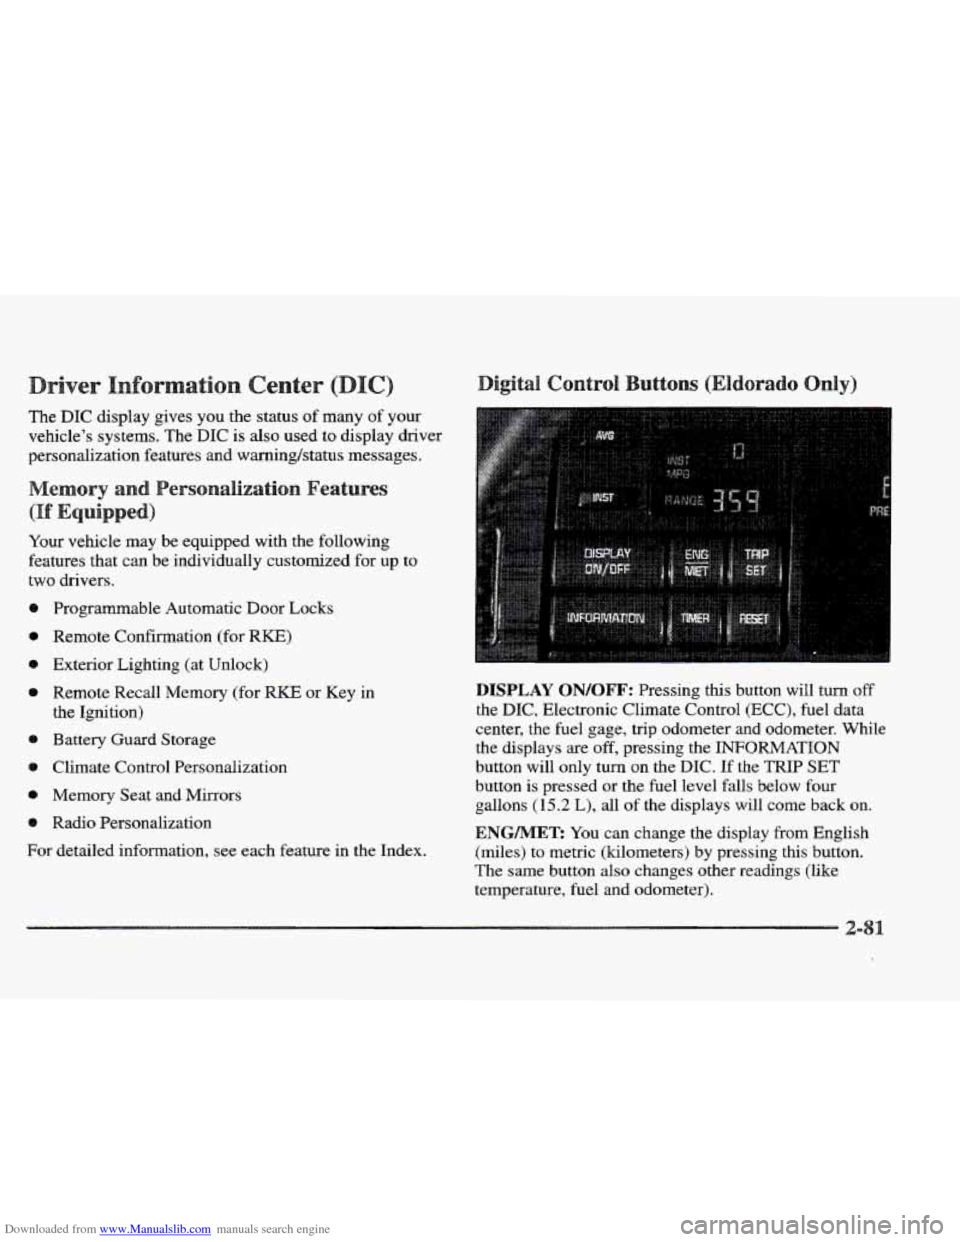
DISPLAY QN/QFF: Pressing this button will turn off
the DIC, Electronic Climate Control (ECC), fuel data
center, the fuel gage, trip odometer and odometer. While
the displays
are off, pressing the INFORMATION
button will only turn
on the DIC. If the TRIP SET
button is pressed or the fuel level falls below four
gallons
(15.2 L), all of the displays will come back on.
ENGMET: You can change the display from English
(miles) to metric (kilometers) by pressing this button.
The same button also changes other readings (like
temperature, fuel and odometer).
Page 163 of 361

Downloaded from www.Manualslib.com manuals search engine Ventilation Tips
a Keep the hood and front air inlet free of ice, snow or
any other obstruction (such as leaves). The heater
and defroster will work
far better, reducing the
chance of fogging the inside of the windows.
0 When you enter a vehicle in cold weather, adjust the
fan to
the highest speed for a few moments before
driving
off. This helps clear the intake outlets of
snow and moisture, and reduces the chance of
fogging
the inside of the windows.
0 Keep the air path under the front seats clear of
objects. This helps circulate air throughout
your vehicle.
Use
DEFROST to remove fog or ice from the windshield
quickly in extremely humid or cold conditions.
Press the DEFROST button.
If you select DEFROST,
adjust the fan speed by pressing the fan button up or
down.
If you select DEFROST from AUTO, the system
will control the fan speed. The temperature also needs to
be adjusted by turning
the TEMP/AUTO knob.
Note that recirculation
is not available in the defrost or
defog modes. The lines
you see
on the
rear window wm the
glass. Press
this button to
turn on the rear defogger.
With
it, the rear window
and both outside rearview
mirrors
are heated.
The system will automatically shut
off after 10 minutes.
If further defogging is desired, press the button again.
Do not attach a temporary vehicle license, tape or decals
across the defogger grid on the rear window.
cut and damage the heating grids. Your warranty
would not cover this damage.
And don’t put
decals there; you might have to scrape them off.
Page 199 of 361
Downloaded from www.Manualslib.com manuals search engine Do not get too close to the vehicle you want to
pass while you’re awaiting an opportunity. For one
thing, following
too closely reduces your area of
vision, especially if you’re following a larger
vehicle. Also,
you won’t have adequate space if the
vehicle ahead suddenly slows or stops. Keep back a
reasonable distance.
When it looks like a chance
to pass is coming up,
start to accelerate but stay in the right lane and don’t
get too close. Time your move
so you will be
increasing speed as the time comes
to move into the
other Bane.
If the way is clear to pass, you will have a
“running start” that more than makes up
for the
distance you would lose by dropping back. And if
something happens to cause you to cancel your
pass,
you need only slow down and drop back again and
wait for another opportunity.
If other cars are lined up to pass a slow vehicle, wait
your turn. But take care that someone isn’t trying
to
pass you as you pull out to pass the slow vehicle.
Remember
to glance over your shoulder and check
the blind spot.
Check your mirrors, glance over your shoulder,
and
start your left lane change signal before moving out
of the right lane to pass. When you are far enough
ahead
of the passed vehicle to see its front in your inside
mirror, activate
your right lane change signal
and move back into the right lane. (Remember that
your right outside mirror is convex. The vehicle you
just passed may seem to be farther away from you
than
it really is.)
Try not to pass more than one vehicle at a time on
two-lane roads. Reconsider before passing the
next vehicle.
Don’t overtake a slowly moving vehicle too rapidly.
Even though the brake lamps are not flashing, it may
be slowing down or starting to turn.
If you’re being passed, make it easy for the
following driver to get ahead
of you. Perhaps you
can ease a little to the right.
ss
Let’s review what driving experts say about what
happens when
the three control systems (brakes, steering
and acceleration) don’t have enough friction where the
tires meet
the road to do what the driver has asked.
In any emergency, don’t give up. Keep trying to steer and
constantly
seek an escape route or area of less danger.
Page 200 of 361
Downloaded from www.Manualslib.com manuals search engine In a skid, a driver can lose control of the vehicle.
Defensive drivers avoid most skids by taking reasonable
care suited to existing conditions, and by not “overdriving”\
those conditions. But skids are always possible.
The
three types of skids correspond to your Cadillac’s
three control systems.
In the bralung skid, your wheels
aren’t rolling. In the steering or cornering shd, too
much speed or steering in
a curve causes tires to slip and
lose cornering force. And
in the acceleration skid, too
much throttle causes the driving wheels to spin.
A cornering skid is best handled by easing your foot off
the accelerator pedal.
Remember: Any traction control system helps avoid
only the acceleration
skid.
If your traction control system is off, then an
acceleration
skid is also best handled by easing your
foot
off the accelerator pedal.
If your vehicle starts to slide, ease your foot
off the
accelerator pedal
and quickly steer the way you want the
vehicle to
go. If you start steering quickly enough, your
vehicle may straighten out. Always
be ready for a
second skid
if it occurs. If you
have
the Eldorado ETC, you may see the
STABILITY
SYS ENGAGED message on the Driver
Information Center. See “Stability Engaged Message”
in
the Index.
Of course, traction is reduced when water, snow, ice,
gravel or other material is on
the road. For safety, you’ll
want to slow down and adjust your driving
to these
conditions.
It is important to slow down on slippery
surfaces because stopping distance will be longer and
vehicle control more limited.
While driving on a surface with reduced traction, try
your best to avoid sudden steering, acceleration or
braking (including engine braking by shifting to a lower
gear). Any sudden changes could cause the tires to
slide. You may not realize the surface
is slippery until
your vehicle
is skidding. Learn to recognize warning
clues
-- such as enough water, ice or packed snow on
the road to make a “mirrored surface” -- and slow
down when you have any doubt.
Remember: Any anti-lock brake system
(ABS) helps
avoid only the braking
skid.