1997 BUICK CENTURY lights
[x] Cancel search: lightsPage 12 of 406
Vehicle Symbols
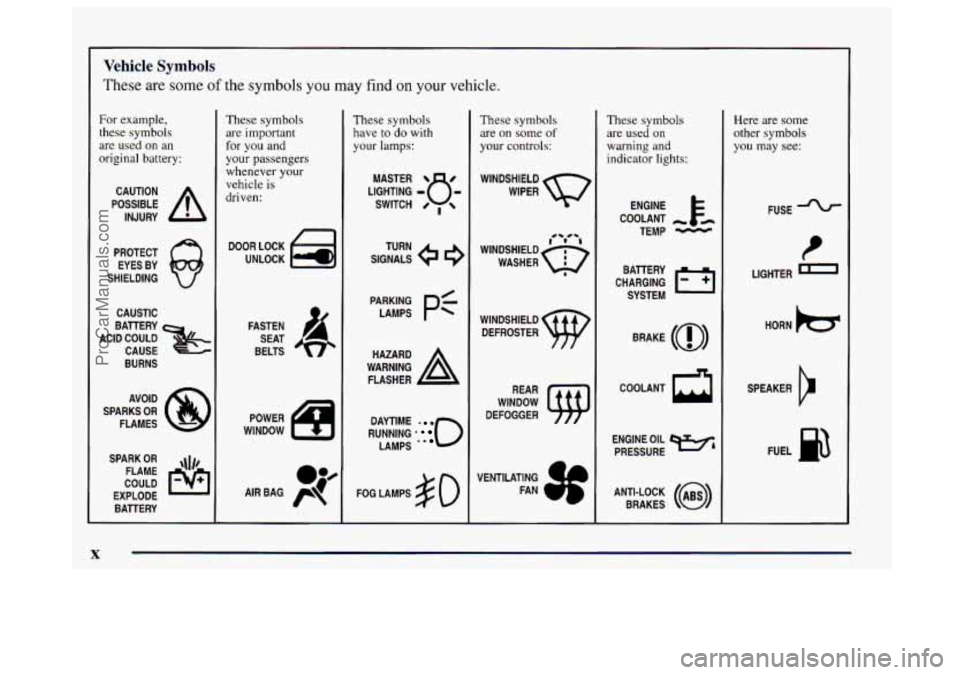
These are some of the symbols you may find on your vehicle.
For example,
these symbols
are used on an
original battery:
POSSIBLE A
CAUTION
INJURY
PROTECT EYES
BY
SHIELDING
CAUSTIC
BATTERY
CAUSE
BURNS
ACID COULD
&
AVOID
SPARKS
OR
FLAMES
SPARK
OR ,\I/,
COULD FLAME
EXPLODE BATTERY
. K
These symbols
are important
for you and
your passengers
whenever your
vehicle is
driven:
DOOR LOCK
UNLOCK
FASTEN SEAT
BELTS
These symbols have to do with
your lamps:
SIGNALS e
TURN
WARNING
A
HAZARD
FLASHER
RUNNING
' 0
DAYTIME rn
LAMPS .*
FOG LAMPS $0
These symbols
are on some
of
your controls:
WINDSHIELD
WIPER
WINDSHIELD DEFROSTER
WINDOW
DEFOGGER
These symbols are used
on
warning and
indicator lights:
ENGINE t
COOLANT - tm
TEMP -
CHARGING I-1
BATTERY
SYSTEM
BRAKE
(0)
COOLANT a
ENGINE OIL e,
PRESSURE
ANTI-LOCK
(@)
BRAKES
1
Here are some
other symbols
you may see:
FUSE
t
LIGHTER
HORN
)cr
SPEAKER
b
FUEL p3
ProCarManuals.com
Page 77 of 406

Section 2 Features and Controls
Here you can learn about the many standard and optional features on your Buick, and information on starting, shifting
and braking. Also explained are the instrument panel and the warning systems that tell you
if everything is working
properly
-- and what to do if you have a problem.
2-2
2-4
2-9
2- 14
2-15
2-16 2-17
2-17
2- 19
2-20
3-22
2-26
2-27
2-29
2-30
2-30
2-3 1
Keys
Door Locks
Remote Keyless Entry TrUnk
Theft
PASS-Key@ I1
New Vehicle “Break-In”
Ignition Positions Starting Your Engine
Engine Coolant Heater
Automatic Transaxle Operation
Parking Brake
Shifting Into PARK
(P)
Shifting Out of PARK (P)
Parking Over Things That Burn
Engine Exhaust
Running Your Engine While
You’re Parked 2-32
2-33
2-33
2-34
2-4 1
2-44
2-46
2-49
2-50
2-50
2-5 1.
2-52
2-52
2-53
2-54
2-55 Windows
Horn
Tilt Steering Wheel
Turn SignalMultifunction Lever
Exterior Lamps
Interior Lamps
Mirrors
Storage Compartments
Ashtrays and Lighter
Sun Visors
Auxiliary Power Connection
Sunroof
Cellular Phone Provisions
Instrument Panel
-- Your Information System
Instrument Panel Cluster
Warning Lights, Gages and Indicators
2-1
ProCarManuals.com
Page 94 of 406
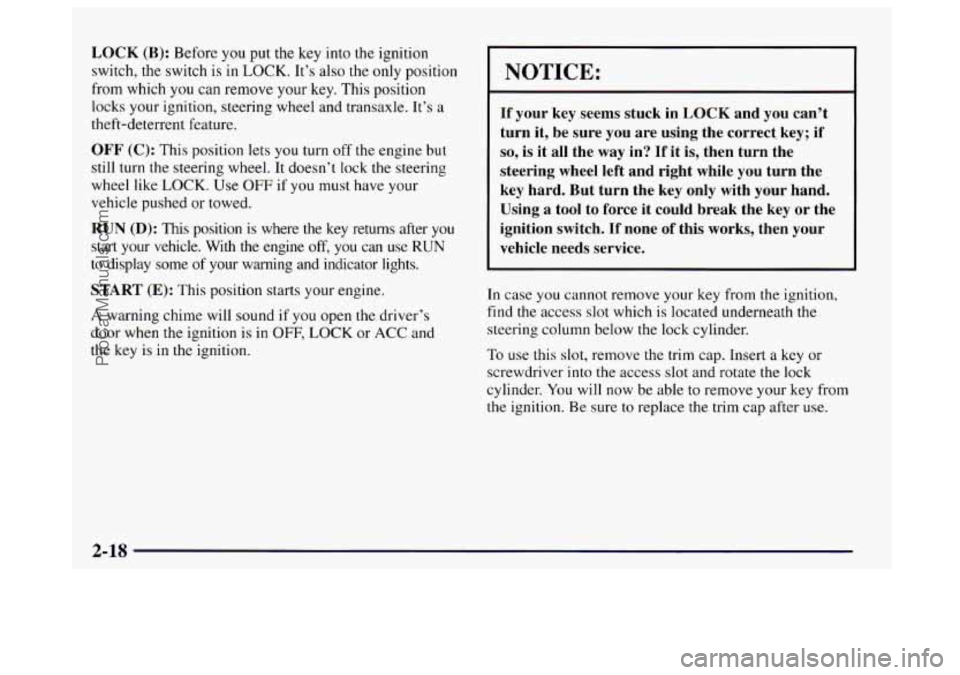
LOCK (B): Before you put the key into the ignition
switch, the switch is in
LOCK. It’s also the only position
from which you
can remove your key. This position
locks your ignition, steering wheel and transaxle. It’s
a
theft-deterrent feature.
OFF (C): This position lets you turn off the engine but
still turn
the steering wheel, It doesn’t lock the steering
wheel like
LOCK. Use OFF if you must have your
vehicle pushed or towed.
RUN (D): This position is where the key returns after you
start your vehicle. With the engine off, you can use RUN
to display some of your warning and indicator lights.
START (E): This position starts your engine.
A warning chime will sound if you open the driver’s
door when the ignition is
in OFF, LOCK or ACC and
the key is in the ignition.
NOTICE:
If your key seems stuck in LOCK and you can’t
turn it, be sure you are using the correct. key; if
so, is it all the way in? If it is, then turn the
steering wheel left and right while you turn the
key hard. But turn the key only with your hand.
Using a tool to force it
could break the key or the
ignition switch.
If none of this works, then your
vehicle needs service.
In case you cannot remove
your key from the ignition,
find the access
slot which is located underneath the
steering column below the lock cylinder.
To use this slot, remove the trim cap. Insert
a key or
screwdriver into the access slot and rotate the lock
cylinder.
You will now be able to remove your key from
the ignition. Be sure to replace the trim cap after use.
2-18
ProCarManuals.com
Page 120 of 406
Interior Lamps
Instrument Panel Brightness Control
You can brighten or dim the instrument panel lights by
moving the LIGHTS dial.
If you turn the dial past
MAX, your courtesy or interior lamps will come on.
Courtesy Lamps
When any door is opened, several lamps come on. These
lamps are courtesy lamps. They make it easy for you to
enter and leave your vehicle.
You can also turn these
lamps
on by moving the interior lamps dial all the way
to the right.
Illuminated Entry
Your courtesy lamps will come on and stay on for a set
time whenever you press UNLOCK on the remote
keyless entry transmitter.
If you open a door, the lamps will stay on while it’s open
and then turn
off automatically about 25 seconds after
you close it. If you press UNLOCK and don’t open a
door, the lamps will turn off after about 40 seconds.
Illuminated Entry includes
a feature called theater
dimming. With theater dimming, the lamps don’t just
turn off at the end of the delay time. Instead, they slowly dim after the delay time until they go out. The delay
time
is canceled if you turn the ignition key to RUN or
START,
so the lamps will dim right away.
When the ignition is on, Illuminated Entry is inactive,
which means the courtesy lamps won’t come on unless a
door is opened.
Delayed Entry Lighting
Delayed Entry Lighting illuminates your vehicle’s
interior for
a period of time after all the doors have been
closed.
The ignition must be off for Delayed Entry Lighting
to
work. Just after all the doors have been closed, the
Delayed Entry Lighting feature will continue to
work until:
0 The ignition is turned to the RUN position.
The doors are locked.
An illumination period of 25 seconds has elapsed.
If during
the illumination period a door is opened, the
timed illumination period will be canceled and the interior lamps will remain on since a door is open.
2-44
ProCarManuals.com
Page 123 of 406
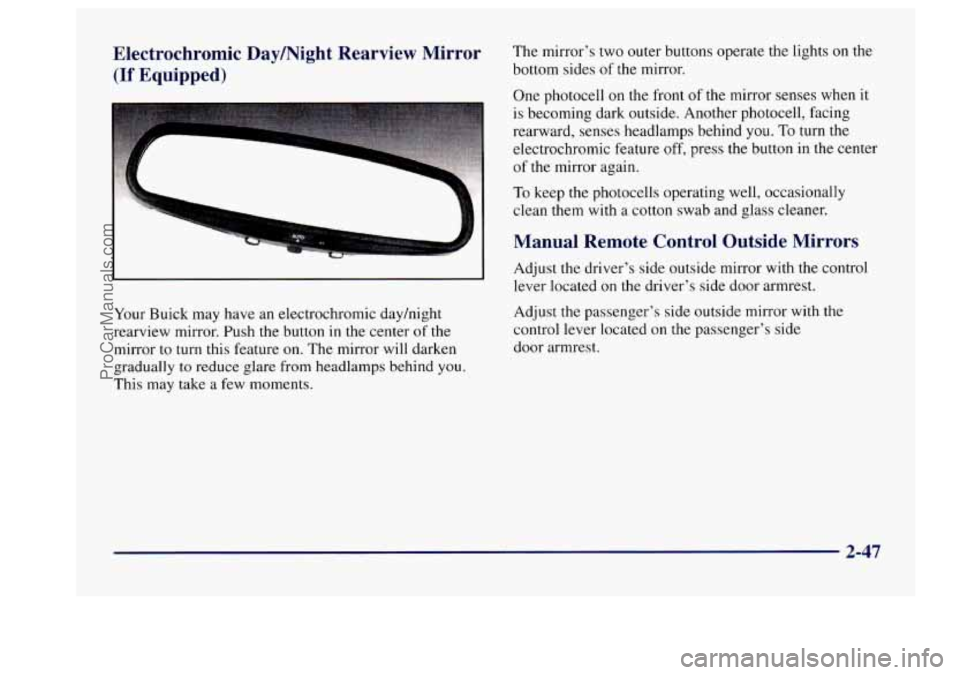
Electrochromic Daymight Rearview Mirror The mirror's two outer buttons operate the lights on the
(If Equipped) bottom sides of the mirror.
One photocell
on the front of the mirror senses when it
is becoming dark outside. Another photocell, facing
rearward, senses headlamps behind you.
To turn the
--
electrochromic feature off, press the button in the center
of the mirror again.
To keep the photocells operating well, occasionally
clean them
with a cotton swab and glass cleaner.
Manual Remote Control Outside Mirrors
Your Buick may have an electrochromic dayhight
rearview mirror. Push the button
in the center of the
mirror to turn this feature on. The mirror will darken
gradually to reduce glare from headlamps behind you.
This may take
a few moments. Adjust
the driver's side outside
mirror with the control
lever located on the driver's side door armrest.
Adjust
the passenger's side outside mirror with the
control lever located on the passenger's side
door armrest.
2-47
ProCarManuals.com
Page 131 of 406
Speedometer and Odometer
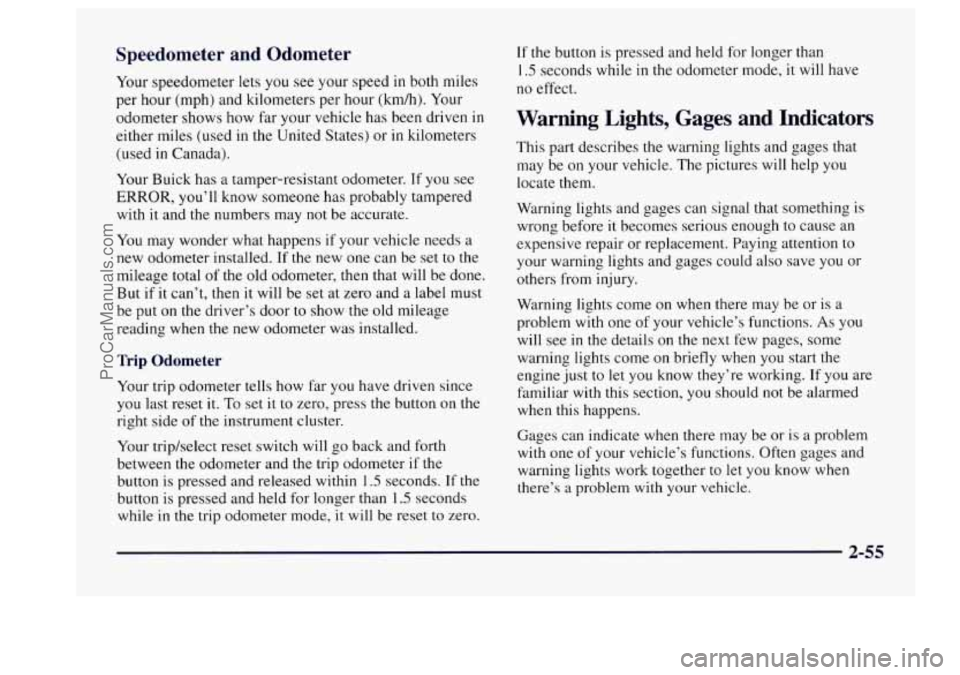
Your speedometer lets you see your speed in both miles
per hour (mph) and kilometers per hour (kdh). Your
odometer shows how far your vehicle has been driven
in
either miles (used in the United States) or in kilometers
(used
in Canada).
Your Buick has a tamper-resistant odometer.
If you see
ERROR, you’ll know someone has probably tampered
with it and the numbers may not be accurate.
You may wonder what happens if your vehicle needs a
new odometer installed. If the new one can be set to the
mileage total of the old odometer, then that will be done.
But if it can’t, then
it will be set at zero and a label must
be put on the driver’s door
to show the old mileage
reading when the new odometer was installed.
Trip Odometer
Your trip odometer tells how far you have driven since
you last reset it. To set it to zero, press the button on the
right side of the instrument cluster.
Your triphelect reset switch will go back and forth
between the odometer and the trip odometer if the
button
is pressed and released within 1.5 seconds. If the
button is pressed and held for longer than
1.5 seconds
while in the trip odometer mode, it will be reset to zero.
If the button is pressed and held for longer than
I .5 seconds while in the odometer mode, it will have
no effect.
Warning Lights, Gages and Indicators
This part describes the warning lights and gages that
may be on your vehicle. The pictures will help you
locate them.
Warning lights and gages can signal that something is
wrong before it becomes serious enough to cause an
expensive repair or replacement. Paying attention to
your warning lights and gages could also save
you or
others from injury.
Warning lights come on when there may be or
is a
problem with one
of your vehicle’s functions. As you
will see in the details on the next few pages, some
warning lights come on briefly when
you start the
engine just to
let you know they’re working. If you are
familiar with this section, you should not be alarmed
when this happens.
Gages can indicate when there may be or is a problem
with one of your vehicle’s functions. Often gages and
warning lights work together to let you know when
there’s a problem with your vehicle.
2-55
ProCarManuals.com
Page 132 of 406
When one of the warning lights comes on and stays on
when
you are driving, or when one of the gages shows
there may be a problem, check the section that tells you
what to do about
it. Please follow this manual’s advice.
Waiting
to do repairs can be costly -- and even
dangerous.
So please get to know your warning lights
and gages. They’re a big help.
Safety Belt Reminder Light
When the key is turned to RUN or START, a chime will
come on for about eight seconds to remind people to
fasten their safety belts, unless the driver’s safety belt
is
already buckled.
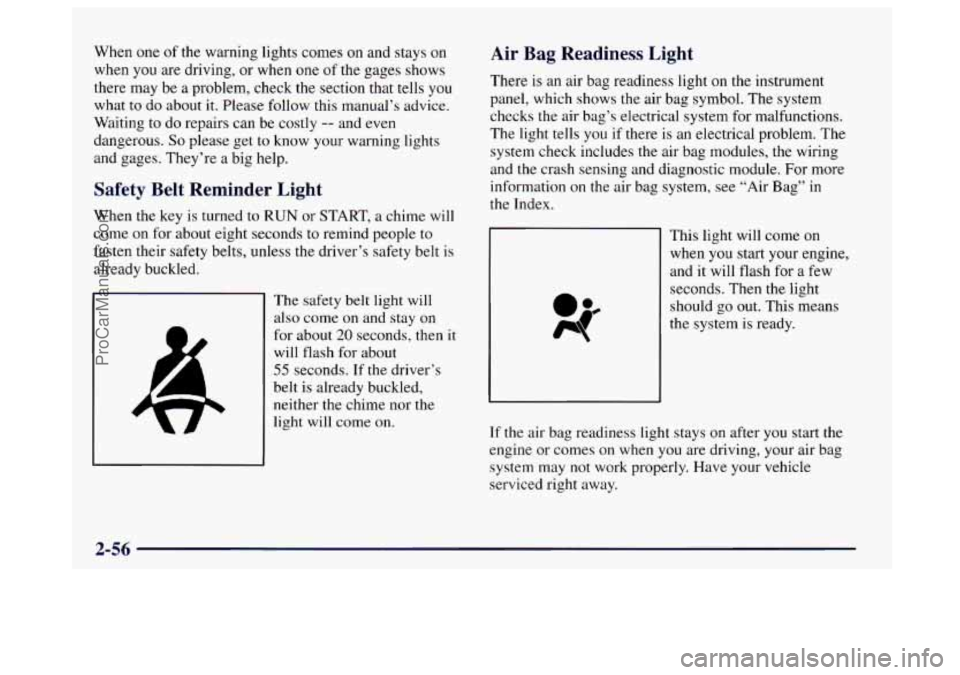
The safety belt light will
also come on and stay on
for about
20 seconds, then it
will flash for about
55 seconds. If the driver’s
belt is already buckled,
neither the chime nor the
light
will come on.
Air Bag Readiness Light
There is an air bag readiness light on the instrument
panel, which shows the air bag symbol. The system
checks the air bag’s electrical system for malfunctions.
The light tells you if there is an electrical problem. The
system check includes the air bag modules, the wiring
and the crash sensing and diagnostic module. For more
information
on the air bag system, see “Air Bag” in
the Index.
This right will come on
when you start your engine,
and it will flash for a few
seconds. Then the light
should
go out. This means
the system is ready.
If the air bag readiness light stays
on after you start the
engine or comes on when
you are driving, your air bag
system may not work properly. Have your vehicle
serviced right away.
2-56
ProCarManuals.com
Page 152 of 406
Passenger’s Temperature Control
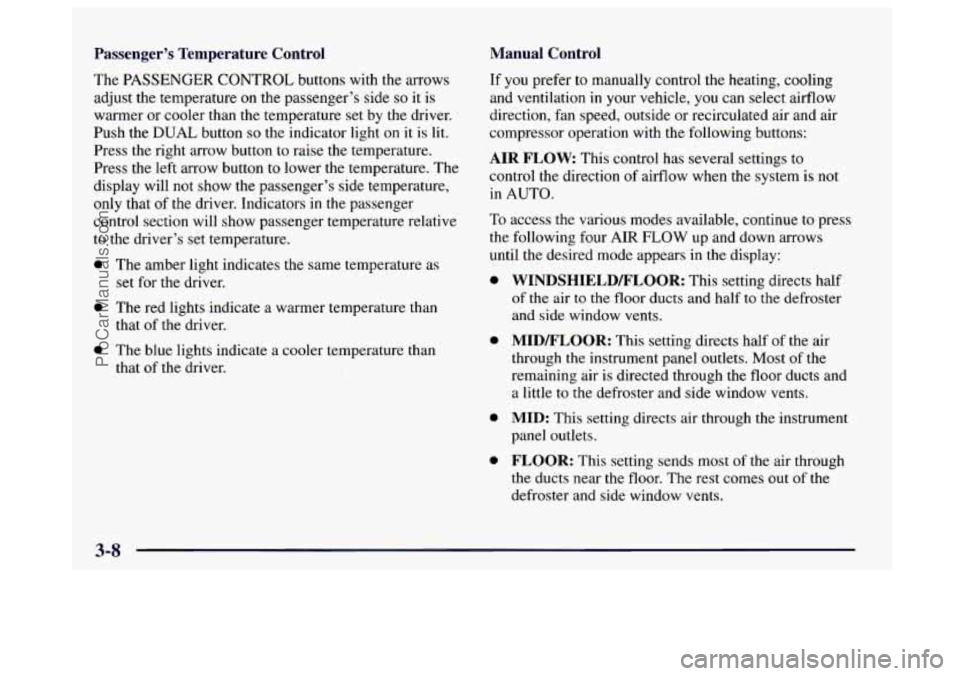
The PASSENGER CONTROL buttons with the arrows
adjust the temperature on the passenger’s side
so it is
warmer or cooler than
the temperature set by the driver.
Push the
DUAL button so the indicator light on it is lit.
Press the right arrow button to raise the temperature.
Press the left arrow button to lower the temperature. The
display will not show the passenger’s side temperature,
only that of the driver. Indicators in the passenger
control section will show passenger temperature relative
to the driver’s set temperature.
0 The amber light indicates the same temperature as
set for the driver.
0 The red lights indicate a warmer temperature than
that of the driver.
0 The blue lights indicate a cooler temperature than
that of the driver.
Manual Control
If you prefer to manually control the heating, cooling
and ventilation
in your vehicle, you can select airflow
direction, fan speed, outside or recirculated air and air
compressor operation with the following buttons:
AIR FLOW: This control has several settings to
control the direction of aifflow when the system is not
in AUTO.
To access the various modes available, continue to press
the following four
AIR FLOW up and down arrows
until the desired mode appears in the display:
0
0
0
0
WINDSHIELD/FLOOR: This setting directs half
of the air to the floor ducts and half to the defroster
and side window vents.
MID/FLOOR: This setting directs half of the air
through the instrument panel outlets. Most of the
remaining air
is directed through the floor ducts and
a little
to the defroster and side window vents.
MID: This setting directs air through the instrument
panel outlets.
FLOOR: This setting sends most of the air through
the ducts near the floor. The rest comes out of the
defroster and side window vents.
3-8
ProCarManuals.com