1997 BUICK CENTURY ECO mode
[x] Cancel search: ECO modePage 84 of 406
The Programmable Automatic Power Door Locks will
be in operating Mode
3 when your vehicle is shipped
from the factory.
Disconnecting the vehicle battery for up to a year will
not change the programmed mode of the Programmable
Automatic Power Door Locks.
Delayed Locking
Delayed Locking allows the doors to be locked while
passengers
are exiting the vehicle. This feature also
provides a brief time period after all the doors are
closed, but before the doors are locked,
in which the
doors
may be reopened. Delayed Locking is user
programmable for the enabling or disabling of
the function.
Delayed Locking is activated when a door lock switch is
pressed while the key
is not in the vehicle’s ignition, and
a door is open. The door lock switch may be the lock
switch on the door or
on the remote keyless entry
transmitter (see “Remote Keyless Entry” later in this
section for more details). The doors
do not lock when
the lock switch is pressed, but instead, three chimes are
heard. These chimes indicate that the Delayed Locking
function has been activated.
You have three actions possible once Delayed Locking
is activated:
1. Cancel the Delayed Locking by pressing the unlock
switch or by fully inserting the key in the ignition.
2. Override the Delayed Locking feature and lock the
doors immediately by pressing the lock switch a
second time.
3. Let the Delayed Locking function complete the
locking of the vehicle.
If you wish to let the Delayed Locking function
complete the locking of the vehicle, no additional action
is required. The Delayed Locking function will lock the
doors automatically after all the doors have been closed
for a period of five seconds. During this five second
period, any door may be reopened, at which time the
three possible actions shown above are again available.
ProCarManuals.com
Page 88 of 406
the current unlock mode, providing you with feedback.
When the door unlock switch is released, the vehicle will
remain in the most recent unlock mode.
Both the lock and unlock Security Feedback functions
will be in operating Mode
4 when the vehicle is shipped
from the factory.
Disconnecting the vehicle’s battery for up to a year will
not change the programmed mode of the lock and
unlock Security Feedback functions.
Illumination on Remote Activation
This feature provides interior illumination when a
remote keyless entry door unlock command is received
and executed by your vehicle. Your vehicle’s ignition
must be off for the Illumination on Remote Activation
feature
to work. The interior lamps will illuminate until
your vehicle’s ignition is turned to the
RUN position or
until an illumination period
of 40 seconds has elapsed. If
a door
is opened during the illumination period, the
timed illumination will be canceled, and
the interior
lamps will remain on since a door is open.
Instant Alarm
This feature allows you to activate an alarm by pressing a
switch on the remote keyless entry transmitter.
Your vehicle’s ignition must be
off for the Instant Alarm to
work. When
you press the special horn button on the remote
keyless entry transmitter, your vehicle’s headlamps will flash, the horn will
honk repeatedly, and your interior lamps
will illuminate, attracting attention if you need it. The alarm
will continue until:
1. You press the alarm button on the RKE transmitter a
second time.
2. The vehicle’s ignition is turned to the RUN position.
3. An alarm period of about two minutes has elapsed.
Matching Transmitter(s) To Your Vehicle
Each remote keyless entry transmitter is coded to
prevent another transmitter from unlocking your vehicle.
If a transmitter is lost or stolen, a replacement can be
purchased through your dealer. Remember
to bring any
remaining transmitters with you when you go
to your
dealer. When the dealer matches the replacement
transmitter to your vehicle, any remaining transmitters
must also be matched. Once your dealer has coded the
new transmitter, the lost transmitter will not unlock your
vehicle. Each vehicle can have only four transmitters
matched
to it.
2-12
ProCarManuals.com
Page 131 of 406
Speedometer and Odometer
Your speedometer lets you see your speed in both miles
per hour (mph) and kilometers per hour (kdh). Your
odometer shows how far your vehicle has been driven
in
either miles (used in the United States) or in kilometers
(used
in Canada).
Your Buick has a tamper-resistant odometer.
If you see
ERROR, you’ll know someone has probably tampered
with it and the numbers may not be accurate.
You may wonder what happens if your vehicle needs a
new odometer installed. If the new one can be set to the
mileage total of the old odometer, then that will be done.
But if it can’t, then
it will be set at zero and a label must
be put on the driver’s door
to show the old mileage
reading when the new odometer was installed.
Trip Odometer
Your trip odometer tells how far you have driven since
you last reset it. To set it to zero, press the button on the
right side of the instrument cluster.
Your triphelect reset switch will go back and forth
between the odometer and the trip odometer if the
button
is pressed and released within 1.5 seconds. If the
button is pressed and held for longer than
1.5 seconds
while in the trip odometer mode, it will be reset to zero.
If the button is pressed and held for longer than
I .5 seconds while in the odometer mode, it will have
no effect.
Warning Lights, Gages and Indicators
This part describes the warning lights and gages that
may be on your vehicle. The pictures will help you
locate them.
Warning lights and gages can signal that something is
wrong before it becomes serious enough to cause an
expensive repair or replacement. Paying attention to
your warning lights and gages could also save
you or
others from injury.
Warning lights come on when there may be or
is a
problem with one
of your vehicle’s functions. As you
will see in the details on the next few pages, some
warning lights come on briefly when
you start the
engine just to
let you know they’re working. If you are
familiar with this section, you should not be alarmed
when this happens.
Gages can indicate when there may be or is a problem
with one of your vehicle’s functions. Often gages and
warning lights work together to let you know when
there’s a problem with your vehicle.
2-55
ProCarManuals.com
Page 153 of 406
FRONT This setting brings in outside air and
directs most of
the air through the defrost vent. Some
of the air also goes
to the floor ducts and the side
window defogger outlets. The indicator on the button
will light and WINDSHIELD will be lit in the display.
The air conditioning compressor will run automatically
in this setting unless the outside temperature is below
40°F (4°C).
VENT This pushbutton turns the air conditioning
compressor
on and off. The indicator lights when
the compressor is turned
off. Recirculation is not
permitted when
the compressor is off. The system
will try
to control the temperature automatically, but
without the compressor.
RECIRC: This setting recirculates much of the
air inside your vehicle. This setting is not permitted
in FRONT defrost mode and is only permitted in
WINDSHIELD/FLOOR mode if the compressor is
turned on. The indicator light will be
lit when
Recirculation is engaged, but will light for
one second
and then turn off if selected when not permitted.
Air Conditioning
On very hot days, open the windows long enough to let
hot, inside air escape. This reduces the time for the
vehicle to cool down.
For a quick cool-down on very hot days, use MAX with
the temperature knob all the way in the blue area. If this
setting
is used for long periods of time, the air in your
vehicle may become too dry.
For normal cooling on hot days, use NORM with the
temperature knob
in the blue area. The system will bring
in outside air and cool it.
On cool, but sunny days, the sun may warm your upper
body, but your lower body may
not be warm enough.
You can use BI-LEV and set the temperature knob to a
comfortable setting. The system will bring
in outside air
and direct it to your upper body, while sending slightly
warmed air
to your lower body. You may notice this
temperature difference more
at some times than others.
3-9
ProCarManuals.com
Page 155 of 406
Ventilation Tips
0 Keep the hood and front air inlet free of ice, snow or
any other obstruction, such
as leaves. The heater and
defroster will work far better, reducing the chance of
fogging the inside
of your windows.
When you enter a vehicle in cold weather, adjust the
mode knob or button to FLOOR and the fan to the
highest speed for a few seconds before driving off.
This helps clear the intake ducts
of snow and
moisture and reduces the chance
of fogging the
inside
of your windows.
Rear Window Defogger
C
D
REAR
0
0 Keep the air path under the front seats clear of
objects. This helps air to circulate throughout
your vehicle. The
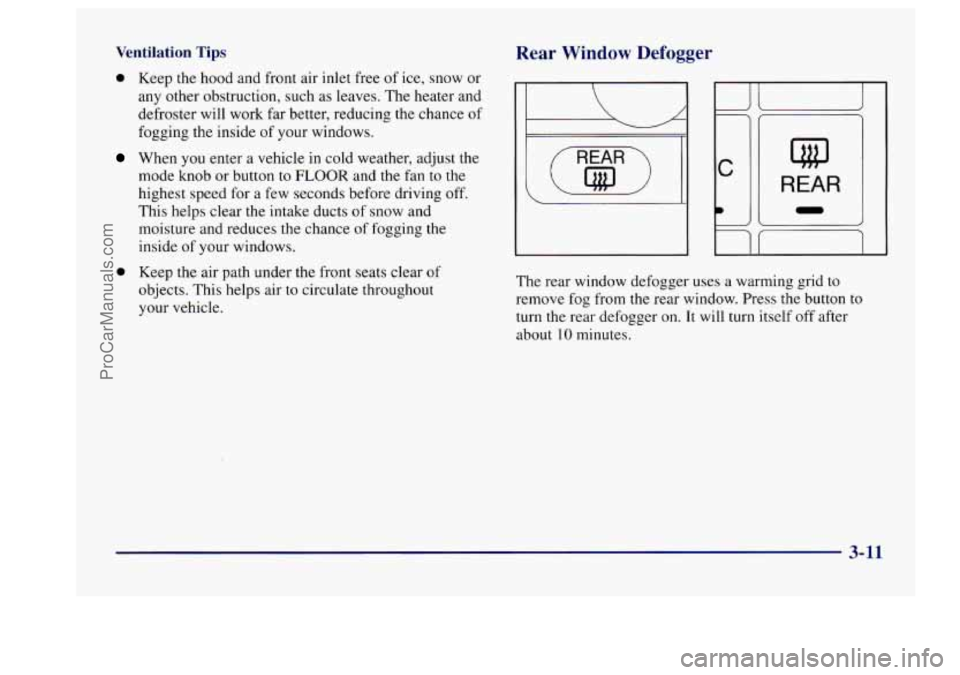
rear window defogger uses a warming grid to
remove fog from the rear window. Press the button to
turn the rear defogger on.
It will turn itself off after
about
10 minutes.
3-11
ProCarManuals.com
Page 295 of 406
Some driving conditions or climates may cause a brake
squeal when the brakes are first applied or lightly
applied. This does not mean something is wrong with
your brakes.
Properly torqued
wheel nuts are necessary to help
prevent brake pulsation. When tires are rotated, inspect
brake pads for wear and evenly torque wheel
nuts in the
proper sequence to
GM specifications.
Brake linings should always be replaced
as complete
axle sets.
See “Brake System Inspection”
in Section 7 of this manual
under Part
C “Periodic Maintenance Inspections.”
Brake Pedal Travel
See your dealer if the brake pedal does not return to
normal height, or
if there is a rapid increase in pedal
travel. This could be
a sign of brake trouble.
Brake Adjustment
Every time you apply the brakes, with or without the
vehicle moving, your brakes adjust for wear.
Replacing Brake System Parts
The braking system on a modern vehicle is complex.
Its many parts have to be of top quality and work well
together if
the vehicle is to have really good braking.
Your vehicle was designed and tested with top-quality
GM brake parts. When you replace parts
of your braking
system
-- for example, when your brake linings wear
down and you have to have new ones
put in -- be sure
you get new approved GM replacement parts.
If you
don’t, your brakes may no longer work properly. For
example,
if someone puts in brake linings that are wrong
for your vehicle, the balance between your front and
rear brakes can change
-- for the worse. The braking
performance you’ve come to expect can change
in many
other ways
if someone puts in the wrong replacement
brake parts.
Battery
Every new Buick has a Delco Freedom@ battery. You
never have to add water to one of these. When it’s time
for a new battery, we recommend a Delco Freedom
battery. Get one that
has the replacement number shown
on the original battery’s label.
6-29
ProCarManuals.com