Page 193 of 406

Avoid needless heavy bralung. Some people drive in
spurts
-- heavy acceleration followed by heavy
braking
-- rather than keeping pace with traffic. This is a
mistake. Your brakes may not have time to cool between
hard stops. Your brakes will wear out much faster if you
do
a lot of heavy braking. If you keep pace with the
traffic and allow realistic following distances,
you will
eliminate a lot
of unnecessary braking. That means
better braking and longer brake life.
If your engine ever stops while you’re driving, brake
normally but don’t pump your brakes.
If you do, the
pedal may get harder to push down.
If your engine
stops,
you will still have some power brake assist. But
you will
use it when you brake. Once the power assist is
used up, it may take longer to stop and the brake pedal
will be harder
to push.
Anti-Lock Brakes (ABS)
Your vehicle has anti-lock brakes (ABS). ABS is an
advanced electronic braking system that will help
prevent a braking skid.
When you start your engine, or when
you begin to drive
away, your anti-lock brake system will check itself. You
may hear a momentary motor or clicking noise while
this
test is going on, and you may even notice that your
brake pedal moves a little. This is normal.
ANTI -
LOCK
If there’s a problem with the
anti-lock brake system, this
warning light will stay on or
flash. See “Anti-Lock
Brake System Warning
Light” in the Index.
4-7
ProCarManuals.com
Page 194 of 406
than any driver could. The computer
is programmed to
The
anti-lock system can change the
brake pressure faster
mc&e the most of available tire and
road conditions.
Here’s how anti-lock works. Let’s say the road
is wet.
You’re driving safely. Suddenly an animal jumps out in
front of you.
You slam on the brakes. Here’s what happens with ABS.
A computer senses that wheels are slowing down. If one
of the wheels is about to stop rolling, the computer will
separately work the brakes at each front wheel and at the
rear wheels. You
can steer around the obstacle while braking hard.
As you brake, your computer keeps receiving updates on
wheel speed and controls braking pressure accordingly.
4-8
ProCarManuals.com
Page 200 of 406

If your vehicle starts to slide, ease your foot off the
accelerator pedal and quickly steer the way you want the
vehicle to go. If you start steering quickly enough, your
vehicle may straighten out. Always be ready for a
second skid if it occurs.
Of course, traction is reduced when water, snow, ice,
gravel or other material is on the road. For safety, you’ll
want to slow down and adjust your driving
to these
conditions. It is important to slow down on slippery
surfaces because stopping distance will be longer and
vehicle control more limited.
While driving on a surface with reduced traction, try
your best to avoid sudden steering, acceleration or
braking (including engine braking by shifting to a lower
gear). Any sudden changes could cause the tires
to
slide. You may not realize the surface is slippery until
your vehicle is skidding. Learn to recognize warning
clues
-- such as enough water, ice or packed snow on
the road to make a “mirrored surface’’
-- and slow
down when you have any doubt.
Remember: Any anti-lock brake system (ABS) helps
avoid only the braking skid.
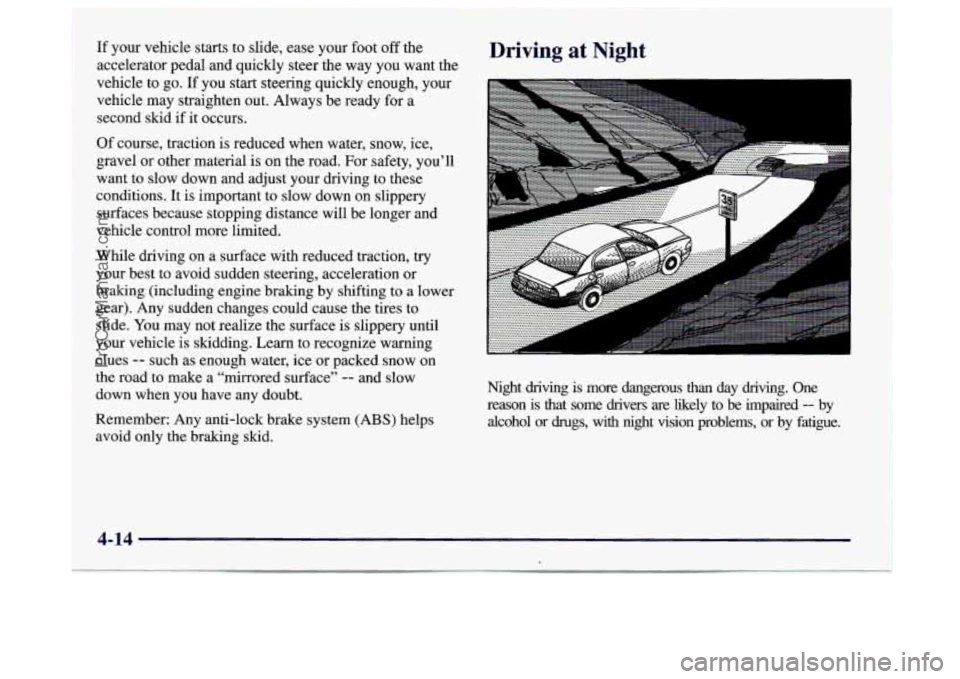
Driving at Night
Night driving is more dangerous than day driving. One
reason is that some drivers
are likely to be impaired -- by
alcohol or
drugs, with night vision problems, or by fatigue.
4-14 1
ProCarManuals.com
Page 222 of 406

Turn Signals When Towing a Trailer
When you tow a trailer, your vehicle may need a
different turn signal flasher and/or extra wiring. Check
with your Buick dealer. The green arrows on your
instrument panel will flash whenever you signal a turn
or lane change. Properly hooked
up, the trailer lamps
will also flash, telling other drivers you’re about to turn,
change lanes or stop.
When towing a trailer, the green arrows on your
instrument panel will flash for turns even
if the bulbs on
the trailer are burned
out. Thus, you may think drivers
behind you are seeing your signal when they are not.
It’s important to check occasionally to be sure the trailer
bulbs
are still working.
Driving On Grades
Reduce speed and shift to a lower gear before you start
down a long
or steep downgrade. If you don’t shift
down, you might have to
use your brakes so much that
they would get hot and no longer work well.
On a long uphill grade, shift down and reduce your
speed to around
45 mph (70 km/h) to reduce the
possibility of engine and transaxle overheating.
Parking on Hills
You really should not park your vehicle, with a trailer
attached,
on a hill. If something goes wrong, your rig
could start to move. People can be injured, and both
your vehicle and the trailer
can be damaged.
But if you ever have to park your rig on a hill, here’s
how to do it:
1.
2.
3.
4.
5.
Apply your regular brakes, but don’t shift into
PARK (P) yet.
Have someone place chocks under the
trailer’s wheels.
When the wheel chocks are
in place, release the
regular brakes until the chocks absorb the load.
Reapply the regular brakes. Then apply your parking
brake, and shift
to PARK (P).
Release the regular brakes.
4-36
ProCarManuals.com
Page 238 of 406
// -1 Attach T-hook chains in
front of the wheels, into the
slots
of the front shipping
brackets
on the cradle (both
sides). Insert the hook from
the inward side of the slot
and not the outward side.
NOTICE:
When attaching T-hooks to the shipping slots in
the frame rail, attach them inside of the frame to
avoid damage to the frame or front fascia.
These slots are to be used when securing to
car-carrier equipment.
Attach
a separate safety
chain around the outboard
end
of each lower
control arm.
NOTICE:
Take care not to damage the brake pipes and
hoses or the
ABS sensor and wiring.
5-12
ProCarManuals.com
Page 297 of 406
Headlamps 4. Connect the new headlamp assembly to the wiring
harness, making sure the connector tab snaps
into place.
5. Insert the headlamp into the slots in the fascia.
6. Slide the retainers downward until they are
fully seated.
Front Parking and Turn Signal Lamp
1. Remove the headlamp assembly. Refer to the
removal procedure earlier in this section.
2. Remove rubber bulb access cover.
3. Twist and pull the sidemarker lamp socket from the
4. Holding the base of the bulb, pull the bulb from
headlamp assembly.
the socket.
1. Pull
up on the headlamp retainers to release the
assembly locator tabs.
2. Slide the headlamp assembly out of the slots.
3. Lift the plastic locking tab on the electrical
connector and pull the connector from the headlamp
bulb socket.
5. Push the new bulb into the socket.
6. Put the socket back into the headlamp assembly and
turn it to the right until it
is secure.
7. Replace the rubber bulb access cover.
6-31
ProCarManuals.com
Page 326 of 406
Underhood Electrical Center -- Passenger's Side
Some fuses and relays are in the underhood electrical
center on the passenger's side
of the engine compartment.
D
121
(31
(41
(51 F I I I I
m
[61
18j
(71 [TI
Fuse
1
2
3
Description
Cooling Fan
Starter Solenoid
Power Seats, Rear Defog
4
5
6
7
8
Relay
9
10
11
12
13
14
High Blower, Hazard Flasher,
Stoplamps, Power Mirror, Door Locks
Ignition Switch, BTSI, Stoplamps,
ABS, Turn Signals, Cluster, Air Bag,
DRL Module
Cooling Fan
Interior Lamps, Retained Accessory
Power, ABS, Keyless Entry, Data Link,
HVAC Head, Cluster, Radio,
AUX Power, Cigarette Lighter
Ignition Switch, Wipers, Radio,
Steering Wheel Controls, Body Control
Module, AUX Power, Power Windows,
Sunroof, HVAC Controls, DRL, Rear
Defog Relay
Description
Cooling Fan 2
Cooling Fan 3
Starter Solenoid
Cooling Fan
1
Ignition Main
Not Used
ProCarManuals.com